Mastering Image DPI: A Comprehensive Guide for Sharper Prints and Digital Displays with Tophinhanhdep.com

In the dynamic world of digital imagery, where every pixel counts, understanding and optimizing Dots Per Inch (DPI) is paramount. Whether you’re a professional photographer perfecting a beautiful landscape, a graphic designer crafting an intricate digital art piece, or simply someone preparing aesthetic backgrounds for your devices, the clarity and quality of your images hinge on this often-misunderstood metric. This guide, brought to you by Tophinhanhdep.com, delves into the nuances of DPI, distinguishing between merely changing metadata and truly enhancing an image’s pixel density, and provides practical methods to achieve stunning visual results for both print and digital displays.
The goal is always high resolution, sharp detail, and visual impact. From breathtaking wallpapers to crucial stock photos, the difference between a mediocre and a magnificent image often lies in its DPI. With the advanced AI upscaling capabilities available through Tophinhanhdep.com, achieving professional-grade image quality has never been more accessible.
Understanding the Fundamentals: DPI, PPI, and Image Resolution
Before diving into how to change DPI, it’s essential to clarify what DPI actually means and how it relates to other key image characteristics. These terms are often used interchangeably, leading to confusion, but they have distinct technical definitions crucial for digital photography and visual design.
DPI (Dots Per Inch)
DPI refers to the number of individual ink dots a printer places within one linear inch of an image to create a printed output. This metric is solely relevant to physical prints. A higher DPI value means more dots of ink are packed into each inch, resulting in a finer, more detailed, and smoother printed image. For instance, a print at 300 DPI will look significantly sharper than one at 72 DPI when viewed up close, provided the source image has enough pixel data.
PPI (Pixels Per Inch)
PPI relates to the pixel density of a digital image displayed on a screen or, more accurately, the density of pixels that will be interpreted for a print. It measures how many pixels are contained within one linear inch of a digital image. A higher PPI indicates a greater pixel density, which translates to a sharper, more detailed image on a digital display. For web images, PPI is less critical than the total pixel dimensions (e.g., 1920x1080), as screens have their own fixed pixel densities. However, for preparing images for print, PPI directly influences how large an image can be printed while maintaining a desired DPI.
Image Resolution
Image resolution refers to the total number of pixels in an image, typically expressed as width x height (e.g., 5000 x 3000 pixels). This is the fundamental measure of a digital image’s detail. An image with higher resolution contains more pixels overall, allowing for greater detail, larger print sizes, and more flexibility in photo manipulation and editing styles.
The Interplay: While DPI describes print output and PPI describes digital pixel density, they are closely linked when it comes to printing. The PPI value embedded in an image file (often mistakenly labeled as DPI) tells printing software how to interpret the image’s pixel data for a given print size. If you have an image with a high pixel resolution, you can achieve a high DPI print. If the pixel resolution is low, even if you set a high DPI in the metadata, the printer won’t have enough data to create a truly sharp image. This brings us to the core challenge: simply changing a number versus actually improving image quality.
The Core Challenge: Changing DPI Metadata vs. Increasing Actual Pixel Density
One of the most common misconceptions about image quality is that merely changing the DPI value in an image’s metadata will magically make it sharper or suitable for larger prints. This isn’t accurate. Changing the DPI value by itself, without altering the total pixel count, doesn’t add any new detail, sharpness, or clarity to your image. It only changes how the existing pixels are “spread out” over a given physical inch.
Why Pixel Density Trumps Metadata for Quality Prints
Imagine you have a small digital photo, say 1000 x 800 pixels.
- If you tell your printer to print this photo at 10 x 8 inches, the printer will use 100 pixels for every inch (1000 pixels / 10 inches = 100 DPI; 800 pixels / 8 inches = 100 DPI).
- If you then change the DPI metadata of that same 1000 x 800 pixel image to 300 DPI, but try to print it at the same 10 x 8 inches, the printer still only has 1000 x 800 pixels to work with. To achieve 300 DPI, the printer would have to shrink the print size dramatically (e.g., 1000/300 = 3.33 inches wide).
- The only way to print that 10 x 8-inch photo at a true 300 DPI is to increase the original image’s pixel resolution to 3000 x 2400 pixels (300 DPI * 10 inches = 3000 pixels; 300 DPI * 8 inches = 2400 pixels).
This illustrates a fundamental truth in digital photography and visual design: for higher DPI and genuinely better print quality, you must increase the total amount of pixels in your digital picture. This is where advanced image tools, particularly AI upscalers, become indispensable.
The Arithmetic of DPI: How Resolution, Print Size, and DPI Intersect
Understanding the relationship between resolution, print size, and DPI is key for any image collection, especially for high-resolution stock photos or beautiful photography intended for large prints. The table below, similar to those offered by Tophinhanhdep.com resources, shows how varying resolutions translate to different print sizes at standard DPI values:
| Resolution (Pixels) | Megapixels | Print Size at 300 DPI (inches) | Print Size at 200 DPI (inches) |
|---|---|---|---|
| 2048 × 1536 | 3 | 6.82 × 5.12 | 10.24 × 7.68 |
| 2464 × 1632 | 4 | 8.21 × 5.44 | 12.32 × 8.16 |
| 3008 × 2000 | 6 | 10.02 × 6.67 | 15.04 × 10.00 |
| 3264 × 2448 | 8 | 10.88 × 8.16 | 16.32 × 12.24 |
| 3872 × 2592 | 10 | 12.91 × 8.64 | 19.36 × 12.96 |
| 4290 × 2800 | 12 | 14.30 × 9.34 | 21.45 × 14.00 |
| 4920 × 3264 | 16 | 16.40 × 10.88 | 24.60 × 16.32 |
This table clearly demonstrates that to achieve larger print sizes at a desirable DPI (like 300 DPI for high-quality prints), the original image must have a significantly higher pixel resolution. Historically, increasing resolution without losing quality was challenging with traditional photo editors. Old upscaling algorithms often resulted in blurry, pixelated images that lost crucial details. However, modern AI-based technology has revolutionized this process, making it possible to “magically” add more pixels to your source photo while preserving and even enhancing details.
Elevating Your Images: How Tophinhanhdep.com Transforms DPI and Quality
For true image enhancement and the ability to achieve high DPI for any print size, Tophinhanhdep.com offers a powerful, AI-driven solution. This platform specializes in increasing an image’s pixel density, not just changing a number in its metadata. By leveraging advanced artificial intelligence, Tophinhanhdep.com can upscale your images, making them suitable for sharp, scalable prints and high-resolution digital displays. This is especially beneficial for photographers, visual designers, and anyone working with large image collections, including wallpapers, aesthetic backgrounds, nature photography, or intricate digital art.
Step-by-Step Guide to Upscaling with Tophinhanhdep.com
Transforming your photos into print-ready, high-resolution masterpieces with Tophinhanhdep.com is a straightforward process:
- Log in to Tophinhanhdep.com: Access your account or create a new one easily. You can often sign in using popular social accounts for convenience.
- Upload Your Images: Tophinhanhdep.com provides multiple options for uploading your photos:
- Drag & drop files directly onto the interface.
- Select files from your device.
- Import them from cloud storage services or via a URL. You can check the current output DPI value displayed below the resolution in the uploader, giving you an immediate idea of the image’s starting point.
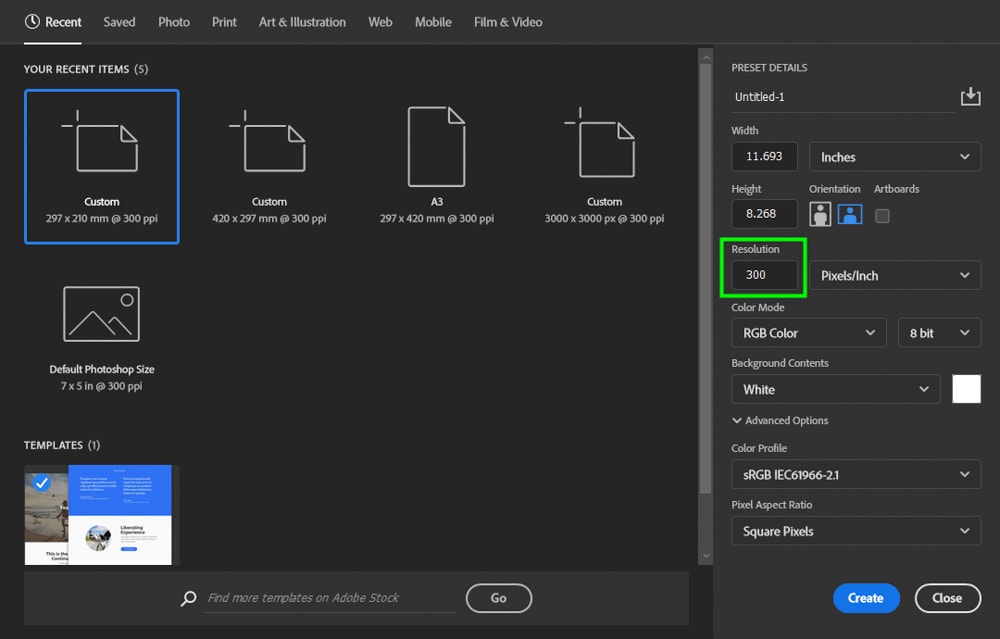
- Set the Desired Resolution and DPI: This is where Tophinhanhdep.com’s intelligence comes into play. While the platform often defaults to 300 DPI for most operations, giving you a solid baseline for print quality, you have full control:
- AI Upscalers: Tophinhanhdep.com offers a suite of unique AI upscalers, each optimized for different image types and enhancement needs. These can dramatically increase resolution, often up to 16x or 512 megapixels, ensuring your images are truly high resolution for any use case – from beautiful photography to complex graphic design projects.
- Gentle: Provides subtle enhancements, perfect for text-heavy images like product labels, maps, or posters where clarity is key without over-processing.
- Balanced: Improves clarity and detail in everyday photos, including stunning nature photography, architectural shots, or food aesthetics.
- Strong: Specifically designed to fix blur and enhance faces, invaluable for small portraits or emotional imagery where facial expressions matter.
- Ultra: The most transformative option, offering superior quality and detail enhancement for images requiring the highest level of fidelity.
- Digital Art: Ideal for illustrations, anime, and other forms of digital art, preserving or reimagining details based on your creative settings.
- Old Photo: A specialized tool to fix scratches, fading, and damage, and even add realistic color to black & white photos, breathing new life into historical thematic collections.
- Custom Resolution: Crucially, Tophinhanhdep.com allows you to customize the resolution. Remember, simply changing the DPI value without increasing pixel count won’t add detail. You must upscale the image’s width & height (e.g., at least 2x) to achieve genuinely larger and crisper prints. For example, if you have a 0.9 MP image cropped from a larger picture, you can set a higher resolution (e.g., 5250 for the larger side) to enable printing a significantly larger photo (e.g., 15 x 9 inches at 350 DPI) while maintaining or increasing pixel density.
- AI Upscalers: Tophinhanhdep.com offers a suite of unique AI upscalers, each optimized for different image types and enhancement needs. These can dramatically increase resolution, often up to 16x or 512 megapixels, ensuring your images are truly high resolution for any use case – from beautiful photography to complex graphic design projects.
- Start Processing: Click the “Enhance” button and allow Tophinhanhdep.com’s AI to work its magic.
- Download Your Enhanced Image: Once processing is complete, your image thumbnail will visibly transform from blurry to clear, and a download button will appear. You can then save your high-resolution, high-DPI image to your device. Tophinhanhdep.com often provides free cloud storage for your enhanced photos for a limited period, allowing easy access.
Leveraging Tophinhanhdep.com’s AI for Diverse Image Types and Visual Design Needs
Tophinhanhdep.com doesn’t just increase DPI; it optimizes your images for a multitude of visual design and photography applications. Its presets for printing are particularly useful:
- Printing Presets: For users who prefer not to manually set DPI and resolution, Tophinhanhdep.com offers various ready-made presets for popular print standards, including posters, standard photo sizes, and international paper sizes (A5 to A0). The platform automatically calculates and sets the correct resolution for your chosen preset at a default 300 DPI, ensuring consistent quality for all your print jobs, from mood boards to professional portfolios.
- Creative Ideas and Photo Manipulation: For digital artists and those engaged in photo manipulation, starting with a high-resolution base image is vital. Tophinhanhdep.com ensures that your source files have the pixel density required for intricate edits without degradation.
- Trending Styles and Thematic Collections: As visual trends evolve, the demand for sharp, high-quality images remains constant. Tophinhanhdep.com helps curators and content creators maintain consistency and excellence across their thematic collections, ensuring every image meets contemporary standards for clarity and detail.
Modifying DPI Metadata: When and How to Use Tophinhanhdep.com and Other Tools
While Tophinhanhdep.com excels at fundamentally improving image quality by adding pixels, there are specific scenarios where you only need to override the DPI metadata without actual image enhancement. This might be required for:
- Websites or online platforms that specify a minimum DPI/PPI for uploads, even if the image won’t be printed.
- When preparing images for a desktop publishing program where you want the image to default to a specific print dimension upon insertion.
In these cases, where image quality isn’t being improved but merely a value is being adjusted, you can use various image editing software or free online tools, often supported or recommended through Tophinhanhdep.com’s resources.
Changing DPI Metadata in Image Editing Software
Many popular image editing applications, including those with functionalities similar to GIMP or Photoshop, allow you to modify DPI metadata. Tophinhanhdep.com offers guidance on using such tools effectively.
Using GIMP-like Functionality (or actual GIMP):
- Open your image in GIMP (or an editor with similar features, potentially accessed via Tophinhanhdep.com guides).
- Navigate to
Image > Print Size. - Set your desired DPI value for the X resolution. The Y resolution will typically adjust automatically if linked.
- Save the image. Choose
File > Saveto apply changes to the current file,Save Asto create a new file with a different name, orSave a Copyto make a duplicate.
Using Photoshop-like Functionality (or actual Photoshop):
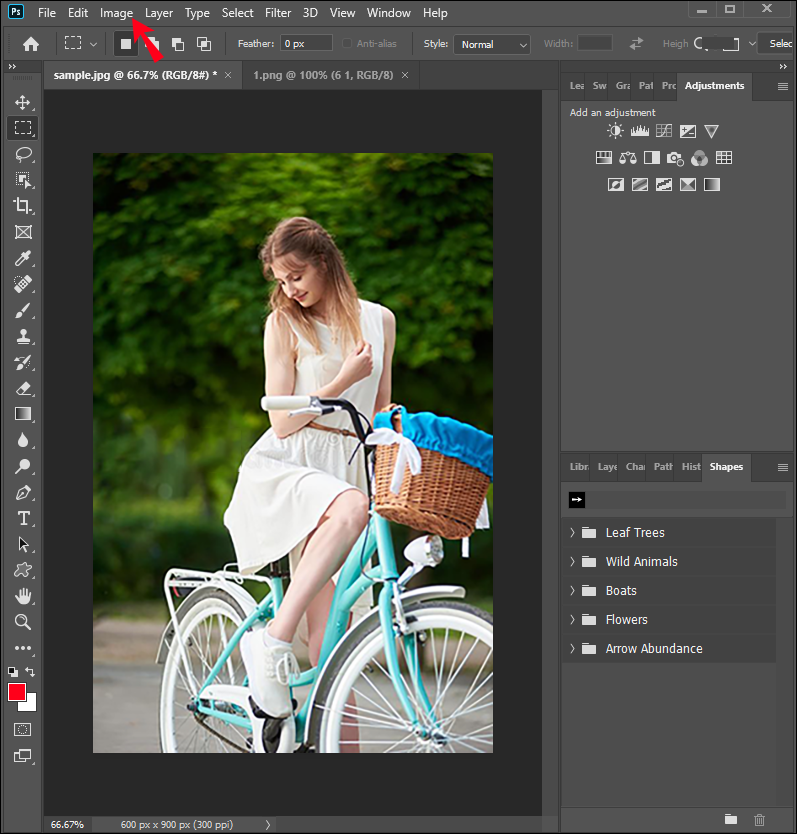
- Open your image in Photoshop (or an editor with similar features, often referenced by Tophinhanhdep.com).
- Go to
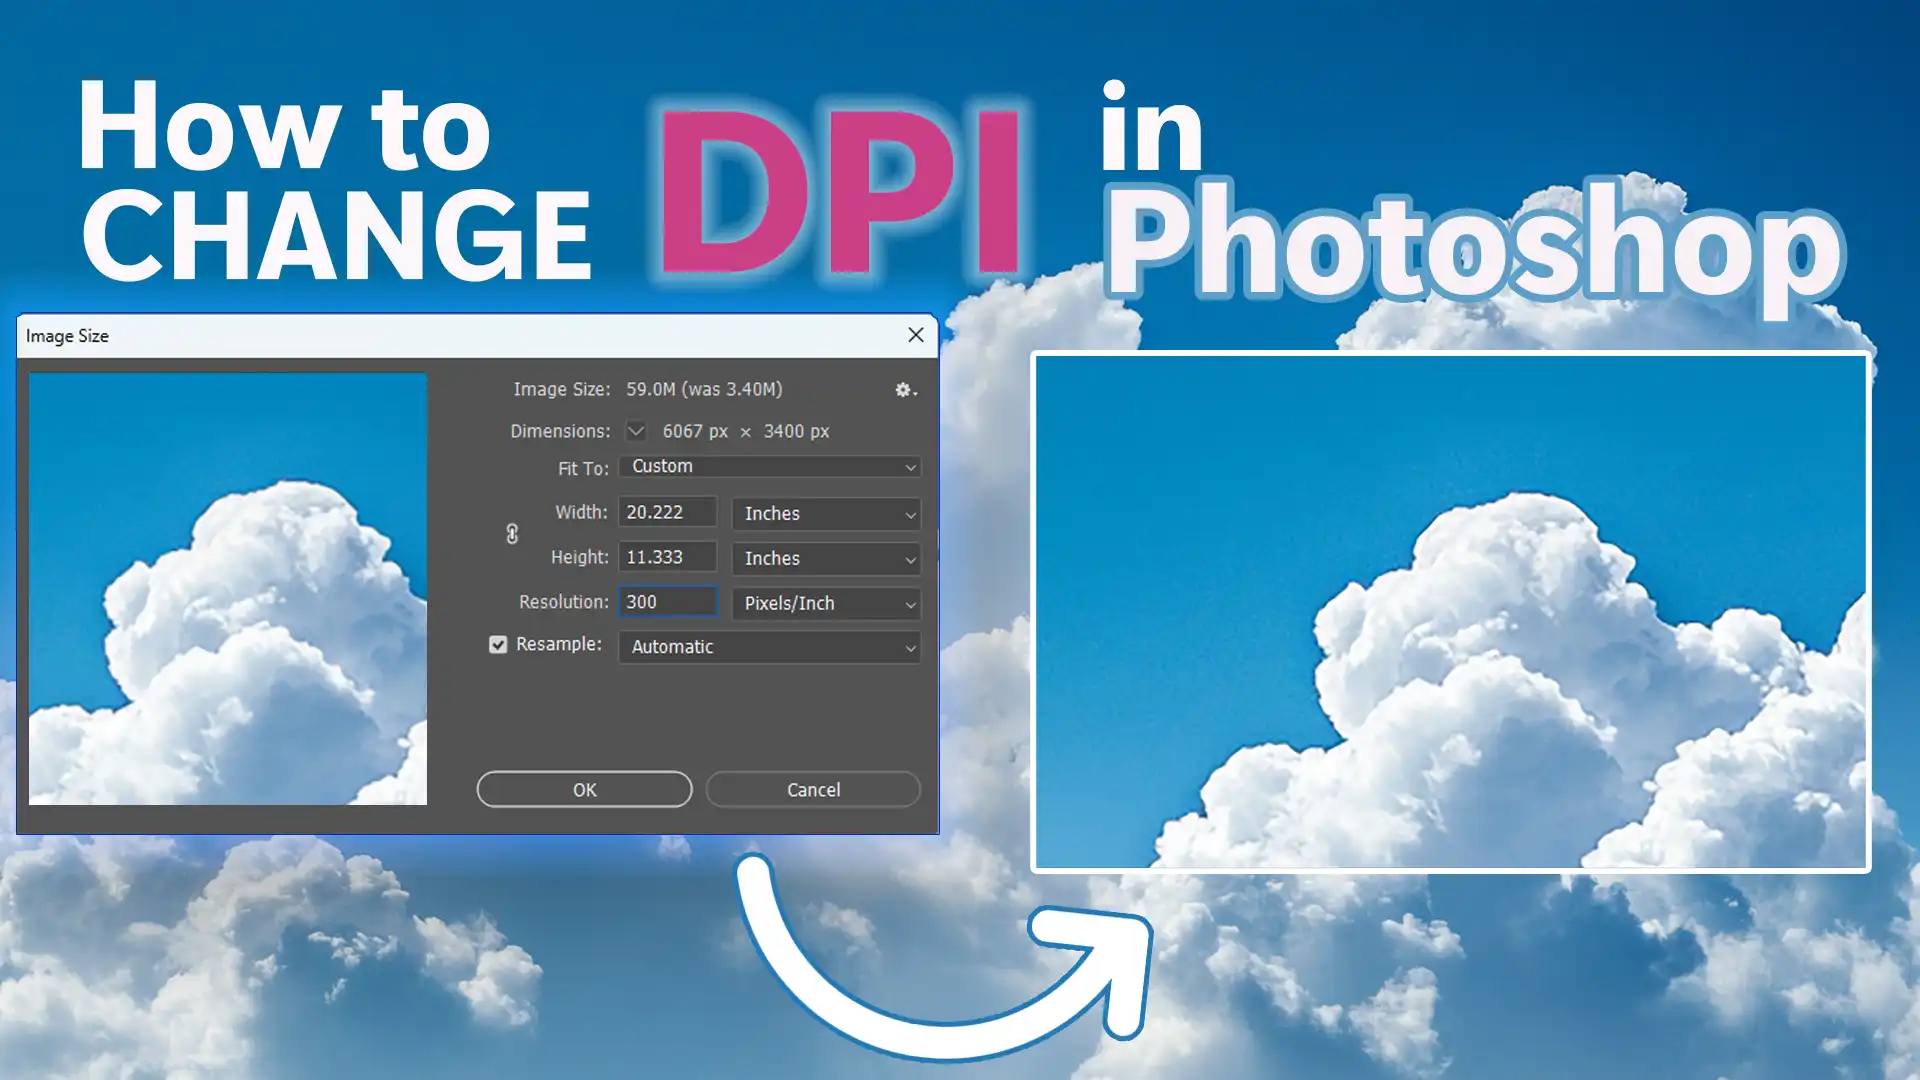
Image > Image Size. - In the dialog box, ensure that the “Resample” box is unchecked. This is crucial to prevent the software from altering the image’s pixel dimensions.
- Set your desired DPI in the “Resolution” field (make sure units are set to Pixels/Inch).
- Click
OK. - Save the image via
File > SaveorFile > Save As. Note that when exporting for web, some programs (like Photoshop’s “Export As”) might default to 72 DPI and strip metadata, assuming a web-only use. For print, “Save As” is usually preferred.
Using Basic Windows Tools (e.g., Photos App, Paint, often referenced in Tophinhanhdep.com guides):
While some basic tools like MS Paint might not directly offer DPI modification (you can only check it via File > Properties), the Photos App in Windows 10 might allow you to adjust DPI under print settings. However, these are often superficial changes for printing purposes within the app and do not alter the file’s inherent DPI metadata in a universally recognized way. For reliable metadata changes, dedicated image editors or online tools are better.
Utilizing Online DPI Converters from Tophinhanhdep.com for Quick Adjustments
For a quick and free method to override DPI metadata without improving image quality, Tophinhanhdep.com provides access to or recommendations for simple online converters. These tools are ideal for instances where a specific DPI is required for an online upload but pixel density isn’t a concern.
- Navigate to an online DPI converter linked or recommended by Tophinhanhdep.com (e.g., a tool like convert.town/image-dpi, but provided by Tophinhanhdep.com).
- Choose your desired DPI value from the options provided.
- Click the “Choose Image” or “Upload File” button and select an image from your device. Most converters support common formats like JPEG, PNG, BMP, TIFF, and ICO.
- The image with the new DPI value will be processed and downloaded to your device within a few seconds.
Remember, this method only modifies the DPI property in the image’s metadata and does not enhance the actual quality or pixel count of the image.
Optimizing DPI for Print and Display: Key Considerations
Choosing the optimal DPI for your images is a critical decision in visual design, digital photography, and preparing any image collection for its final destination. While a general rule of thumb is “the higher the DPI, the better,” practical considerations often dictate the ideal pixel density. When preparing images for stunning wallpapers, professional stock photos, or beautiful prints, you must consider three primary factors: viewing distance, subject matter, and printing material.
The Impact of Viewing Distance on Recommended DPI
The distance from which an image will be viewed significantly influences the minimum DPI required for it to appear sharp and detailed. Tophinhanhdep.com’s resources often provide a cheat sheet for this:
| Viewing Distance | Minimum DPI | Use Cases |
|---|---|---|
| Less than 0.6m / 2ft | 300+ | Photo books, fine art prints, brochures, emotional photography for close inspection. |
| 0.6m / 2ft | 300 | Standard photographs, magazines, flyers, high-resolution stock photos. |
| 1m / 3.3ft | 180 | Larger prints, posters, aesthetic backgrounds for rooms, digital art displays. |
| 2m / 6.5ft | 90 | Medium-sized posters, exhibition graphics, wall art from nature photography or abstract art. |
| 5m / 16ft | 35 | Large format signage, banners, billboards viewed from a distance. |
| 15m / 50ft | 12 | Very large outdoor advertising. |
| 50m / 160ft | 4 | Distant billboards. |
| 200m / 650ft | 1 | Extremely distant large-scale installations (e.g., architectural wraps). |
The closer an audience will scrutinize your photo, the higher the DPI you’ll need to prevent visible pixelation and ensure a crisp appearance. For instance, detailed portrait photography or product images in a catalog require 300-400 DPI, whereas a billboard viewed from a block away might suffice with surprisingly low DPI, as the human eye can’t discern individual dots from that distance.
How Subject Matter and Printing Medium Influence DPI Choices
- Subject Matter: The content of your photo also plays a role. Images with intricate details, such as a finely textured abstract pattern, a dense nature photograph with foliage, or a detailed piece of digital art, will benefit from a higher DPI. Conversely, images with broader strokes or less fine detail (e.g., a simple graphic design logo) might tolerate a slightly lower DPI without significant perceived quality loss. When preparing images for thematic collections, consistency in DPI across similar subjects ensures a professional look.
- Printing Material (Paper Coating): The type of paper or printing material significantly affects how ink is absorbed and how much detail it can hold.
- Coated glossy paper holds ink dots more precisely, allowing for finer detail. For such materials, setting the DPI to 300 or more is ideal for achieving maximum sharpness in beautiful photography or vibrant digital art.
- Uncoated paper tends to absorb ink more, causing dots to spread slightly. For these materials, there’s often no noticeable benefit in going beyond 200-250 DPI, as the paper itself limits the achievable detail.
Always consult your printing service for their specific minimal DPI requirements. For instance, some services, like those referenced by Tophinhanhdep.com, might require a minimum of 150 DPI for posters or specific image collections. Adhering to these guidelines ensures your images print as intended.
Frequently Asked Questions about Image DPI
As part of its comprehensive image tools and resources, Tophinhanhdep.com addresses common queries regarding DPI.
What is the difference between DPI and PPI? DPI (Dots Per Inch) refers to printer dots on paper, while PPI (Pixels Per Inch) refers to pixels in a digital image or on a screen. Although technically distinct, they are often used interchangeably, especially when discussing image preparation for print. Tophinhanhdep.com uses both terms to simplify understanding while acknowledging their technical differences.
What is DPI in printers’ settings? DPI settings on a printer generally control the print quality, with higher DPI leading to finer prints but slower speeds and more ink usage. These settings are simplified numbers (e.g., Draft, Normal, Best, MAX DPI) and don’t directly correlate to the digital image’s PPI. The printer’s internal software calculates the actual dot placement to simulate digital pixels.
Is 72 DPI a high resolution? No, 72 DPI (or 96 DPI) are legacy numbers from old industry standards for web images and don’t directly indicate high resolution or quality for print. For web display, the total pixel dimensions (e.g., 1920x1080) are far more critical than the embedded DPI value. For print, 72 DPI is generally considered very low resolution and will result in a pixelated image unless printed very small.
How to check the DPI metadata? You can check DPI metadata by viewing the image properties in most file managers or photo editors.
- Windows 10: Right-click on the image file, select
Properties > Details. - Mac: Open the image with Preview, then go to
Tools > Show Inspector. - Tophinhanhdep.com Uploader: Tophinhanhdep.com’s interface often displays the output DPI during the upload process.
Can I convert a 72 DPI image to 300 DPI? Yes, you can change the metadata from 72 DPI to 300 DPI using tools like Tophinhanhdep.com’s metadata converters, Photoshop, or GIMP. However, this won’t add any detail. To genuinely convert a low-resolution 72 DPI image into a high-quality 300 DPI image suitable for print, you must increase its actual pixel resolution using advanced upscaling techniques, such as those offered by Tophinhanhdep.com’s AI Upscalers. This adds new pixels and intelligently reconstructs detail.
Does DPI matter for images on websites? Not directly. For web display, the pixel dimensions (e.g., 1920x1080) and file size are much more important than the DPI value. A 3000x2000 pixel image will look the same on a screen whether its metadata says 72 DPI or 300 DPI. DPI becomes a factor only if a website specifically mandates a certain DPI for uploaded images, in which case you might need to adjust the metadata.
How does increasing DPI affect file size? If you increase DPI by also increasing the image’s actual resolution (adding more pixels), the file size will increase significantly. This is because you are adding more data to the image. If you only change the DPI metadata without altering pixel dimensions, the file size will remain largely the same, or change only marginally due to metadata updates.
How to change DPI in Paint?
Unfortunately, basic tools like Microsoft Paint typically do not offer an option to change the DPI of an image directly in its metadata. You can check the DPI via File > Properties, but for modification, more capable editors or online tools are necessary. Tophinhanhdep.com’s resources can guide you to better alternatives.
What is the best DPI for an image? The “best” DPI depends on the image’s intended use.
- For screens (web, digital displays): The pixel dimensions are key. DPI metadata is largely irrelevant.
- For high-quality prints (viewed up close): 300 DPI is generally considered optimal.
- For large prints (viewed from a distance): 100-200 DPI might be sufficient.
- For professional photography and graphic design: Always aim for 300 DPI or higher to ensure maximum flexibility and quality.
Conclusion
Mastering DPI is an essential skill for anyone involved in digital photography, visual design, or curating image collections. The critical takeaway is understanding the difference between merely changing the DPI metadata and genuinely increasing an image’s pixel density. While metadata adjustments serve specific purposes for online uploads, achieving truly sharp, scalable prints and high-resolution digital assets necessitates adding more actual pixels to your image.
Tophinhanhdep.com stands at the forefront of this evolution, offering powerful AI upscaling tools that allow you to not only increase DPI to 300+ but also significantly enhance the resolution and actual pixel density of your photos. This ensures crisp, clear prints of any size, whether you’re working on beautiful photography, intricate digital art, aesthetic backgrounds, or comprehensive thematic collections. By leveraging Tophinhanhdep.com, you can transform your images, ensuring they meet the highest standards of clarity and visual impact for all your creative ideas and professional needs. Try Tophinhanhdep.com for free today and experience the difference AI-powered image enhancement can make.