How to Resize an Image Without Losing Quality

In the vibrant world of digital imagery, where every pixel contributes to the overall aesthetic and impact, the ability to manipulate images effectively is a cornerstone skill. For a website like Tophinhanhdep.com, dedicated to showcasing stunning Images (from Wallpapers and Backgrounds to Aesthetic, Nature, Abstract, Sad/Emotional, and Beautiful Photography), providing High Resolution visual content is paramount. However, a common challenge many users face is resizing an image without compromising its inherent quality – a process that can often lead to dreaded pixelation, blurriness, or a noticeable degradation that detracts from the original beauty.
Whether you’re a professional photographer preparing Stock Photos for a client, a graphic designer crafting Digital Art, or simply a enthusiast curating a Mood Board for personal inspiration, understanding the nuances of image resizing is critical. Poorly resized images not only look unprofessional but can also severely impact website performance, a key factor for user experience. This comprehensive guide from Tophinhanhdep.com will demystify the process, explain the underlying principles, and equip you with the knowledge and tools to resize your images flawlessly, ensuring they always maintain their pristine quality. We’ll delve into the fundamental concepts, explore various Image Tools (including converters, compressors, optimizers, and even AI Upscalers), and highlight best practices in Visual Design to help you achieve exceptional results every time.
The Core Challenge: Understanding Image Pixels and Quality
At the heart of every digital image lies a grid of tiny squares called pixels. How these pixels behave during resizing determines whether your image retains its sharpness or descends into a pixelated mess. For a platform like Tophinhanhdep.com, where Beautiful Photography and High Resolution are central, maintaining pixel integrity is non-negotiable.
What Happens When You Resize? Bitmap vs. Resampling
Most common image formats you encounter online, such as JPEG, PNG, and GIF, are “Bitmap” images. This means they are essentially a map of bits, with each bit (or group of bits) defining the color and position of a specific pixel. When you zoom closely into a JPEG or PNG file, you can discern these individual square pixels.
The term “resizing” itself can be a bit misleading because there are actually two distinct methods for changing an image’s dimensions:
-
Scaling (Simple Resizing): This is the most basic method, where the software simply enlarges or decreases the size of the existing pixels to fit the new dimensions. If you’re making an image smaller, the software might discard some pixel data, which can lead to a loss of detail if not handled carefully. More critically, if you try to enlarge an image by simple scaling, the existing pixels are stretched, making them larger and more visible. This immediately introduces the “pixelated” or “blurry” effect that everyone dreads. Imagine stretching a small drawing on a rubber sheet – it gets bigger, but also thinner and less defined. This is why starting with a high-resolution original is always recommended for any Photography or Digital Art project.
-
Resampling: This is the more sophisticated and appropriate method for most resizing tasks, especially when you need to maintain or improve quality. Resampling changes the number of pixels in the image.
- When reducing size: The software analyzes neighboring pixels and intelligently discards redundant ones, aiming to preserve detail while reducing the overall pixel count.
- When enlarging size: This is where resampling truly shines. Instead of just stretching existing pixels, the software creates new pixels by analyzing the colors and patterns of the surrounding pixels. This process is called “interpolation.” Good interpolation algorithms (like Bicubic, Lanczos, or Sinc) can generate new pixel data that blends smoothly with the existing pixels, making the enlargement appear natural and much less pixelated. This is a crucial technique for anyone working with Aesthetic Images or aiming to convert Low-Quality Images Into Higher Resolution.
![]()
Why Image Quality Matters for Tophinhanhdep.com’s Audience
For a platform like Tophinhanhdep.com, focused on providing premium visual content, the importance of image quality cannot be overstated:
- User Experience and First Impressions: Wallpapers, Backgrounds, and Beautiful Photography are the main draw. If these images appear blurry or pixelated, visitors will quickly lose interest and perceive the site as unprofessional. High-quality visuals are captivating and encourage exploration, reinforcing Tophinhanhdep.com’s commitment to visual excellence.
- Website Performance (Page Speed): While quality is key, file size is equally critical. Images straight from a camera are often very high in resolution and therefore have massive file sizes. Uploading these directly can significantly slow down page loading times. A slow website frustrates users, leads to higher bounce rates, and negatively impacts SEO. Properly resizing and optimizing images reduces file size without compromising visual quality, ensuring a smooth browsing experience for users enjoying Nature, Abstract, or Thematic Collections. Our Image Tools like Compressors and Optimizers are designed precisely for this balance.
- Professionalism in Visual Design and Digital Art: For users involved in Graphic Design, Digital Art, or Photo Manipulation, maintaining pristine image quality is fundamental to their craft. Resizing without losing quality ensures that creative ideas are translated accurately and professionally, whether for a Mood Board or a final product.
- Adaptability for Different Uses: The same image might be needed for a small thumbnail, a large banner, or a print. Knowing how to resize for each specific need, such as preparing High Resolution images for print or optimizing for web, ensures versatility without re-shooting or re-creating.
Essential Techniques for Quality-Preserving Resizing
Achieving impeccable image quality after resizing involves more than just clicking a button. It requires understanding when to use specific methods and applying best practices to preserve every detail.
Resizing vs. Resampling: Making the Right Choice
As discussed, the distinction between resizing (scaling) and resampling is crucial:
- When to Scale: Simple scaling is generally acceptable when you are reducing an image’s size by a small amount, or when the image is already at a very high resolution and can afford to shed some pixels without noticeable loss. It’s also useful for quick, minor adjustments where absolute pixel precision isn’t paramount.
- When to Resample: Resampling is your go-to for significant changes. When enlarging an image, resampling is essential to prevent pixelation by generating new, interpolated pixels. When drastically reducing an image for web use, resampling ensures that the software intelligently removes pixels to minimize file size while retaining as much visual detail as possible. Most advanced Image Tools and Digital Photography software default to resampling because of its superior quality preservation.
The choice of interpolation algorithm within resampling is also important:
- Bicubic (Smoother/Sharper): This is a widely used and effective method. “Bicubic Smoother” is often preferred for enlarging images as it tries to create smoother transitions between new pixels. “Bicubic Sharper” is good for reducing images as it helps maintain edge definition.
- Lanczos (or Sinc): Many consider Lanczos to be one of the best interpolation methods, especially for enlargement, as it tends to produce very sharp and detailed results by using a more complex mathematical function to estimate new pixel values. When using tools like GIMP, “Sinc (Lanczos3)” is often the recommended choice for quality.
- Preserve Details (2.0): Modern software like Photoshop includes advanced algorithms that use machine learning to preserve textures and details when enlarging, offering even better results than traditional bicubic interpolation.
Optimal Settings and Best Practices
Regardless of the tool you use, following these practices will significantly enhance your resizing results:
- Start with the Highest Resolution Original: This is the golden rule. The more pixel information your original image has (e.g., from High Resolution camera shots or Stock Photos), the more data the software has to work with during resampling, leading to better quality in the resized output. Don’t start with a small, compressed image if you plan to enlarge it.
- Enlarge Gradually (if necessary): If you need to enlarge an image significantly (e.g., beyond 200%), doing it in smaller increments (e.g., 10-20% at a time) can sometimes yield better results, especially with older software. Each step allows the interpolation algorithm to work on a slightly better-defined image, reducing cumulative distortion. However, modern AI Upscalers can often handle large jumps in a single step with impressive results.
- Maintain Aspect Ratio: Always lock the aspect ratio (the relationship between width and height) when resizing, unless you specifically intend to crop or distort the image. Most tools provide a “link” icon or a checkbox to preserve proportions. This prevents your Beautiful Photography from appearing stretched or squashed.
- Sharpen After Resizing: While resampling aims to maintain sharpness, some minor softness might occur, especially during enlargement. Applying a subtle sharpening filter after the resizing process can help bring back crispness, but be careful not to over-sharpen, as this can introduce artifacts.
- Understand Units:
- Pixels: Used for digital displays and web images (e.g., a 1920x1080 pixel wallpaper for a screen).
- Inches/Centimeters: Used for print (along with DPI/PPI - dots/pixels per inch). A common print resolution is 300 DPI. For Digital Art or Photo Manipulation intended for large-format printing, these units are critical.
- Choose the Right File Format:
- JPEG: Ideal for photographs and complex images with many colors. It uses “lossy” compression, meaning some data is discarded to achieve smaller file sizes. You can adjust the compression level to balance quality and file size, crucial for Website Backgrounds to load quickly.
- PNG: Best for images with transparency (like logos or overlays) or sharp-edged graphics (e.g., Abstract Art with clean lines). It uses “lossless” compression, preserving all original data, but often results in larger file sizes than JPEGs.
- WEBP: A modern format offering superior “lossy” and “lossless” compression for web images, often resulting in smaller file sizes than JPEGs or PNGs while maintaining comparable quality. Tophinhanhdep.com’s Optimizers can help you convert to and leverage WEBP effectively.
- TIFF/BMP/HEIC: These are often higher-quality or specific-use formats (like HEIC for iPhones) that are good for originals but usually converted for web use.
Leveraging Tophinhanhdep.com’s Image Tools and Popular Software
Tophinhanhdep.com is not just a source of stunning visuals; it’s also a hub for powerful Image Tools designed to empower you in your digital endeavors. From online convenience to professional desktop software, there are solutions for every need.
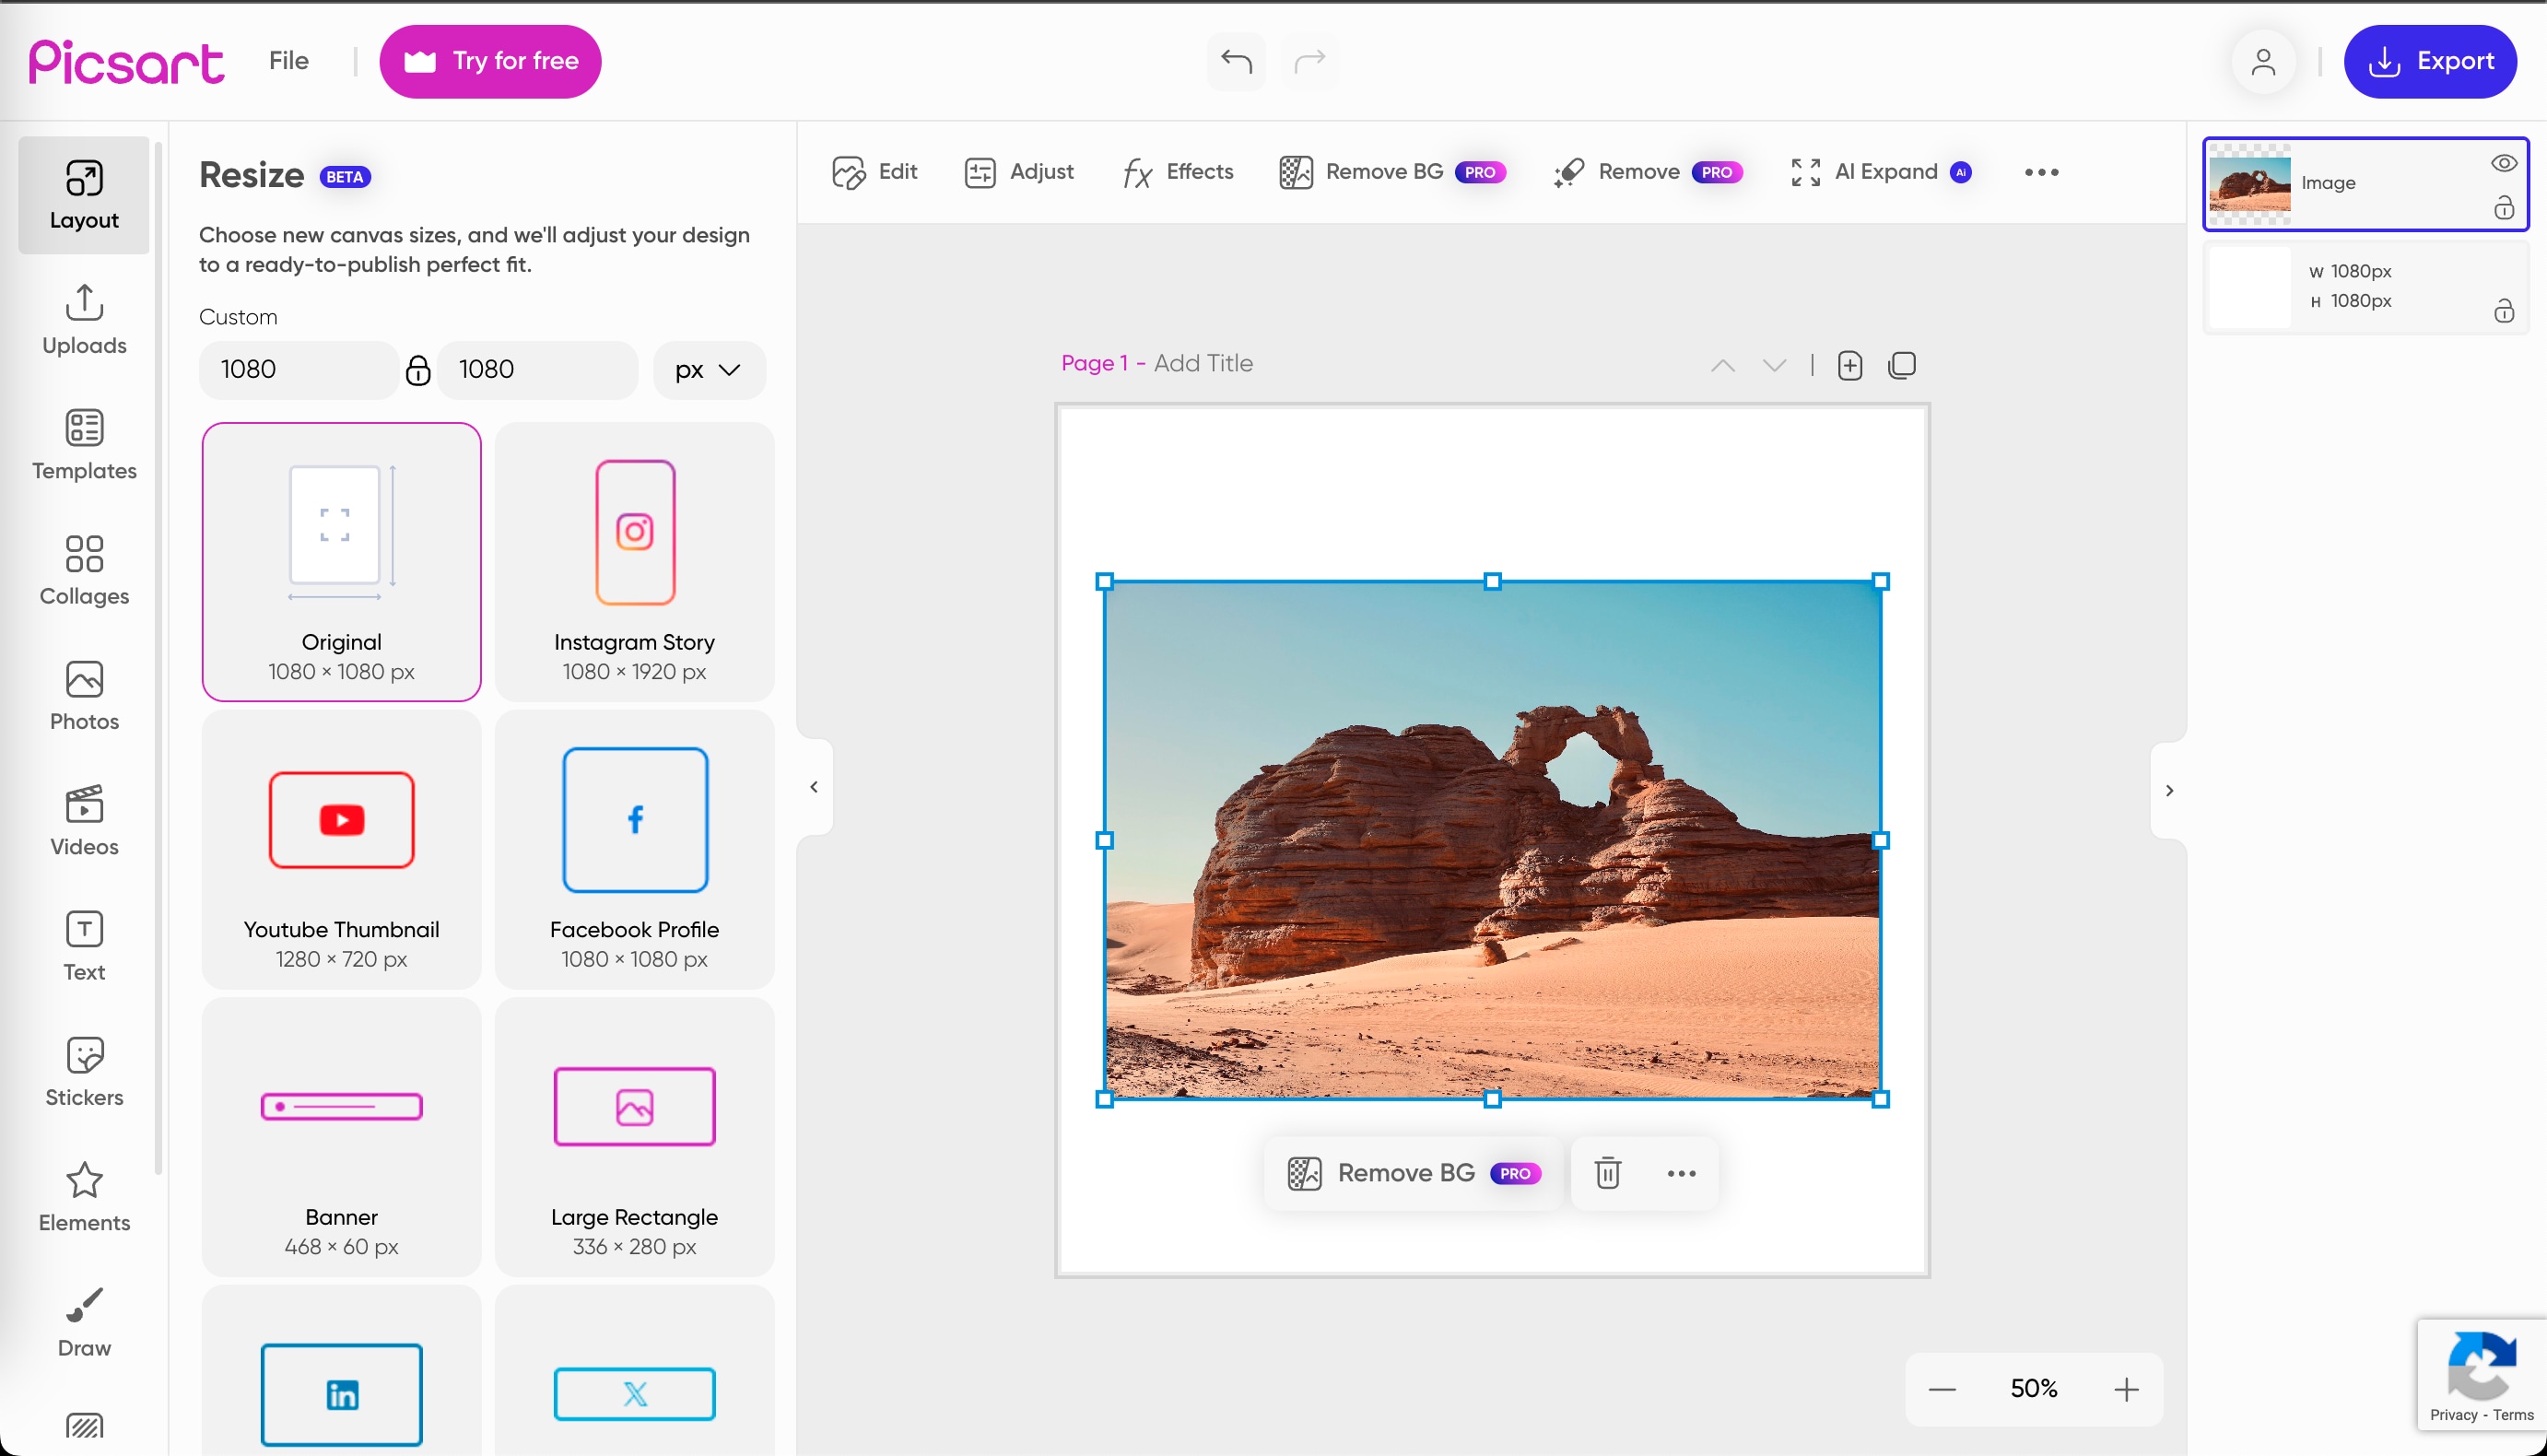
Tophinhanhdep.com’s Online Resizer: Simplicity and Efficiency
For quick and effective image resizing without needing complex software, Tophinhanhdep.com offers an intuitive online tool. This is perfect for everyday users, bloggers, or anyone needing to optimize images for their website quickly.
Here’s how easy it is to use the Tophinhanhdep.com online resizer:
- Upload Your Image: Simply drag and drop your photo from your desktop into the designated box, or select it from your gallery. Our tool supports a wide range of popular formats including GIF, JPEG, BMP, PNG, HEIC, and TIFF, ensuring versatility for all your Photography and Digital Art files.
- Choose Your Settings: Once uploaded, you can customize the image settings. Decide whether you want to make it smaller or larger than the original dimensions. Just input your desired width and height (pixels, percentage, or other units), select your preferred output format (JPEG, PNG, or WEBP for optimal web performance), and adjust any optimization settings for the perfect balance of quality and file size.
- Apply the Changes: Satisfied with your selections? Click the “Save” or “Apply” button, and your newly resized image will automatically download to your device in seconds, ready for your Wallpapers, Backgrounds, or Thematic Collections. This seamless process highlights our commitment to providing user-friendly Image Tools that simplify tasks like conversion, compression, and optimization.
Advanced Control with Desktop Software: GIMP and Adobe Photoshop
For those who require more granular control, batch processing capabilities, or advanced Photo Manipulation features, dedicated desktop software remains indispensable.
GIMP (Free and Powerful)
GIMP (GNU Image Manipulation Program) is a fantastic, open-source alternative to premium software like Photoshop. It’s a robust tool, highly recommended for its flexibility and ability to resize images without losing quality, making it accessible for Digital Art enthusiasts and budget-conscious designers alike.
To resize an image with GIMP:
- Open Your Image: Launch GIMP and open the image you wish to resize.
- Navigate to Scale Image: Go to
Imagein the top menu bar, then selectScale Image. - Input Dimensions: A dialog box will appear. Enter your desired
WidthandHeight. Ensure the “chain” icon is linked to preserve the aspect ratio. - Select Interpolation Method: Under
Quality, chooseSinc (Lanczos3)for the best results, especially when enlarging, as it performs advanced pixel interpolation. - Scale: Click the
Scalebutton. Your image will be resized with sustained quality. - Save Your Work: Remember to save your new image in your preferred format.
Adobe Photoshop (Industry Standard)
Adobe Photoshop is the undisputed leader in professional image editing, used globally by photographers, graphic designers, and Digital Art creators. While a premium tool, its capabilities for precise image manipulation and quality preservation are unmatched, making it ideal for High Resolution Photography and complex Visual Design projects.
Here’s how to resize an image in Photoshop without losing quality:
- Open Your Image: Open your desired image in Photoshop.
- Access Image Size: Go to
Image > Image Size(or use the shortcutCtrl+Alt+Ion Windows,Cmd+Option+Ion Mac). A dialog box will appear. - Set Dimensions and Ensure Resampling:
- Enter your desired
WidthandHeightin pixels (for web) or inches/centimeters (for print). - Crucially, ensure the
Resamplecheckbox is checked. This activates Photoshop’s intelligent pixel manipulation. - From the
Resampledropdown menu, choose an appropriate interpolation method:Preserve Details 2.0(orPreserve Details) is excellent for enlarging, as it uses advanced algorithms to maintain texture and sharpness.Bicubic Smootheris also good for enlargement.Bicubic Sharperis often preferred when reducing image size.- For general purposes,
Automaticcan also be effective.
- Ensure the “link” icon is enabled to maintain aspect ratio.
- Enter your desired
- Confirm: Click
OKto apply the changes. - Free Transform (for interactive scaling): For more interactive resizing of layers, you can use
Edit > Free Transform(orCtrl+T/Cmd+T). A bounding box will appear around your layer. Click and drag corner handles. Always hold down the Shift key while dragging to maintain proportions and prevent distortion. HitEnter/Returnto commit the transformation. - Save: Save your resized image, choosing the appropriate format and quality settings.
Photoshop also offers Image Processor Pro for batch photo editing and Perfect Resize (formerly OnOne’s Perfect Resize, now part of ON1 Resize), a highly recommended plugin that automates high-quality resampling with even more specialized algorithms for superior enlargements, beneficial for Beautiful Photography intended for large prints.
Special Considerations and Advanced Techniques
The landscape of image manipulation is continuously evolving, with new technologies offering even more sophisticated ways to manage image quality. Tophinhanhdep.com stays at the forefront, integrating these advancements into our understanding and Image Tools.
AI Upscalers: The Future of Image Enlargement
One of the most exciting developments in image resizing is the advent of AI Upscalers. Unlike traditional interpolation methods that rely on mathematical algorithms to guess new pixel values, AI Upscalers leverage machine learning models trained on vast datasets of images.
How they work:
- AI Upscalers analyze the patterns, textures, and details in a low-resolution image.
- They then use their learned knowledge to intelligently “invent” new pixels, not just by averaging surrounding colors, but by understanding what those patterns should look like at a higher resolution.
- This results in significantly sharper, more detailed, and natural-looking enlargements, often capable of transforming genuinely Low-Quality Images Into Higher Resolution with remarkable success.
Tophinhanhdep.com’s integration of AI Upscalers offers a revolutionary way for users to enhance their Aesthetic, Nature, and Abstract Images, making them suitable for larger displays, high-quality prints, or improving older, lower-resolution Photography without the need for manual touch-ups in complex software. This tool is a game-changer for anyone looking to scale images beyond what traditional methods can achieve without noticeable quality loss.
Optimizing for Web and Specific Platforms
Resizing isn’t just about changing dimensions; it’s also about preparing images for their intended use, especially for web platforms.
- Image Compression and Optimization: For a visually rich site like Tophinhanhdep.com, page speed is critical. After resizing, images often still have larger file sizes than necessary for web display. Tophinhanhdep.com’s Compressors and Optimizers are designed to reduce file size without sacrificing visual quality. They employ techniques like removing unnecessary metadata, optimizing color palettes, and applying efficient compression algorithms. This ensures that your Wallpapers and Backgrounds load quickly, enhancing user experience.
- Responsive Images: Modern web design demands images that adapt to different screen sizes (desktops, tablets, phones). Instead of serving one massive image to all devices, implementing responsive images involves creating multiple versions of an image at different resolutions and letting the browser choose the most appropriate one. This is a crucial aspect of Visual Design for ensuring optimal display of Trending Styles and Thematic Collections.
- Batch Processing: If you have many images to resize (e.g., a gallery of Stock Photos or a large Thematic Collection), manual resizing can be tedious. Tools like Photoshop’s
Image Processor Proor specialized online Image Tools allow you to apply the same resizing and optimization settings to an entire folder of images, saving immense time and ensuring consistency. - Image-to-Text Integration: While not directly related to resizing, for certain Visual Design projects where text might be embedded within images or extracted from them, understanding how resizing might impact optical character recognition (OCR) can be relevant. Our Image-to-Text tools complement a holistic approach to image management.
Conclusion
The journey of resizing an image without losing quality is one that intertwines technical understanding with artistic intent. For a platform like Tophinhanhdep.com, dedicated to bringing the best of visual content to its audience – from breathtaking Nature Photography to intricate Digital Art and inspiring Mood Boards – mastering this skill is not merely an option, but a necessity.
We’ve explored the fundamental differences between scaling and resampling, highlighted the critical role of interpolation, and provided practical, step-by-step guides for both powerful desktop software like GIMP and Adobe Photoshop, as well as the convenient online Image Tools offered right here on Tophinhanhdep.com. Moreover, we’ve touched upon the exciting potential of AI Upscalers to redefine what’s possible in image enlargement and the importance of optimization for web performance.
Remember, every pixel contributes to the narrative and impact of your image. By applying these techniques and leveraging the right Image Tools, you can confidently resize your High Resolution visuals, Beautiful Photography, and creative Digital Art without compromise. Whether you’re curating Wallpapers, enhancing Backgrounds, or preparing images for Visual Design projects, Tophinhanhdep.com is your trusted partner in achieving stunning, quality-preserved results.
Now that you’re armed with this knowledge, we encourage you to explore Tophinhanhdep.com’s extensive collections for Image Inspiration, experiment with our intuitive Image Tools, and continue your journey into the captivating world of Digital Photography and Visual Design. Let your images always be sharp, vibrant, and perfectly sized, ready to captivate and inspire.