How to Save Images from Google: A Comprehensive Guide for Visual Enthusiasts

In the vast digital landscape, images are everywhere, from captivating wallpapers and backgrounds to intricate illustrations for professional projects. Whether you’re a casual browser seeking an aesthetic background, a photographer curating a mood board, or a graphic designer needing high-resolution stock photos, the ability to save images efficiently is fundamental. While the seemingly simple act of “saving an image from Google” might appear straightforward, the reality, especially when dealing with platforms like Google Docs, often presents unexpected challenges. At Tophinhanhdep.com, we understand the importance of seamless image management and creative inspiration. This guide will demystify the process of saving images from various Google sources, equipping you with practical methods and insights to enhance your visual library, from stunning nature photography to abstract art, and leveraging powerful image tools.
Effortlessly Capturing Visuals from Google Image Search
The most common scenario for wanting to save images from Google involves Google Image Search. This powerful tool provides access to billions of images, perfect for finding inspiration, thematic collections, or trending styles for your next digital art project.
Direct Download to Your Device (Right-Click & Save)
For most images displayed in Google Image Search results, the process is remarkably simple on a desktop computer:
- Perform your search: Navigate to Google Images (images.google.com) and enter your desired keywords (e.g., “beautiful photography nature,” “abstract wallpapers,” “aesthetic backgrounds”).
- Select an image: Click on the thumbnail of the image you wish to save. This will open an expanded preview of the image, usually alongside its source website.
- Right-click and save: Right-click directly on the expanded image. A context menu will appear. Select the option “Save image as…” (the exact wording might vary slightly depending on your browser, e.g., “Save Picture As”).
- Choose location and filename: A dialog box will prompt you to choose where on your computer you want to save the image and what to name it. Give it a descriptive name for easy organization, especially if you’re building a collection of specific photo ideas or sad/emotional imagery.
- Confirm and download: Click “Save,” and the image will be downloaded to your specified location.
On mobile devices (Android and iOS), the process is similar but adapted for touchscreens:
- Search and select: Open Google Images in your mobile browser or Google app, search for your image, and tap on a thumbnail to expand it.
- Long-press to save: Press and hold your finger on the expanded image. This action typically brings up a menu.
- Choose “Download image”: Select “Download image” or “Save image” from the options. The image will usually be saved to your device’s photo gallery or downloads folder.
Important Note on Copyright: While saving images from Google Image Search is easy, it’s crucial to be mindful of copyright. Many images are protected by intellectual property laws. For personal use (like a desktop wallpaper), this is generally fine. However, if you plan to use images for commercial purposes, on your blog, social media, or any public-facing project, always seek permission or use images with appropriate licenses (e.g., Creative Commons, public domain, or royalty-free stock photos from reputable sources as often highlighted on Tophinhanhdep.com). Always check the image’s usage rights before incorporating it into your visual design or digital art.
Leveraging Google Collections for Inspiration
Google offers a convenient feature called “Collections” (formerly “Saves”) which allows you to save images directly within your Google account. This is particularly useful for organizing photo ideas, creating mood boards, or curating thematic collections without immediately downloading them to your device.
On Desktop:
- Search and expand: Perform an image search and click on an image to expand its view.
- Add to collection: Below the image, you’ll see an “Add to” button (often represented by a bookmark icon). Click this.
- Organize: By default, it might save to a “Favorites” collection or your most recently used one. You can click “CHANGE” or “New collection” to create a specific folder for your nature photography ideas, abstract art inspiration, or sad/emotional imagery collections.
- View collections: To access your saved collections, either click “Collections” below the search bar on any image search results page, or go to Google.com, click the 3x3 grid (Google Apps icon), and select “Collections.”
On Mobile (Android and iOS):
- Search and tap: Conduct an image search and tap an image to view its expanded version.
- Tap “Add to”: Below the image, tap the bookmark icon (“Add to”).
- Customize (optional): A notification will appear at the bottom indicating which collection it was added to. Tap “CHANGE” to select a different collection or create a new one.
- Access collections: From any Google search results page, tap the Menu icon (three horizontal lines), then select “Collections.” Here you can browse your meticulously curated mood boards and thematic collections.
Google Collections serve as an excellent digital sketchbook for visual artists, photographers, and graphic designers, allowing you to gather inspiration effortlessly for your next creative ideas.
Unlocking Images from Google Docs: Essential Techniques
While saving images from Google Image Search is generally intuitive, extracting images embedded within Google Docs can be surprisingly tricky. There’s no direct “Save Image As” option when you right-click an image in a Google Doc. However, several clever workarounds allow you to download individual images or even entire sets of visuals, ensuring your high-resolution photography and digital art assets are never trapped.
Method 1: The HTML Download Approach (Bulk Extraction)
This is often considered the fastest and easiest method, especially if you have numerous images in a document that you need to download simultaneously. It converts your document into a web page file and packages all embedded images into a neat, organized folder.
- Open your Google Doc: Access the document containing the images you wish to save.
- Navigate to “Download”: Go to File > Download > Web Page (.html, zipped).
- Download and unzip: Your browser will download a
.zipfile to your computer. Once downloaded, locate this file (usually in your “Downloads” folder) and double-click it to unzip its contents. - Access the “images” folder: Inside the unzipped folder, you’ll find an “images” subfolder. Open it, and all the images from your Google Doc will be there, typically named
image1.jpeg,image2.png, etc.
Pros: Ideal for bulk downloads, creates a dedicated folder for images. Cons: Image filenames are generic and don’t reflect their original names or their order in the document, requiring manual renaming if specific organization is needed. The downloaded HTML file itself is only for local viewing and not publicly accessible.
Method 2: Publishing to the Web for Easy Access
This method leverages Google Docs’ “Publish to the web” feature, making your document temporarily accessible as a web page where images can be saved like any other web image.
- Open your Google Doc: Access the document.
- Initiate “Publish to the web”: Go to File > Share > Publish to the web.
- Publish the document: In the pop-up window, ensure the “Link” tab is selected, then click the “Publish” button. Confirm by clicking “OK” when prompted.
- Copy the link: Google Docs will generate a public link for your document. Copy this link.
- Open in browser: Paste the copied link into a new tab in your web browser. Your document will now appear as a regular web page.
- Save images: You can now right-click on any image on this web page and select “Save image as…” to download it to your computer, just like saving images from Google Image Search.
Pros: Allows saving individual images with a familiar right-click menu, images often retain their original names or more descriptive filenames than the HTML download method. Cons: Your document becomes publicly accessible via the link, so ensure no sensitive information is present. Remember to “Stop publishing” (via File > Share > Publish to the web, then “Published content & settings” and “Stop publishing”) once you’ve saved your images to revert privacy settings.
Method 3: Utilizing Google Keep for Individual Images
For extracting one or a few specific images from a larger document without publishing the entire thing or downloading a zip file, Google Keep is an excellent, integrated solution.
- Open your Google Doc: Access the document with the image.
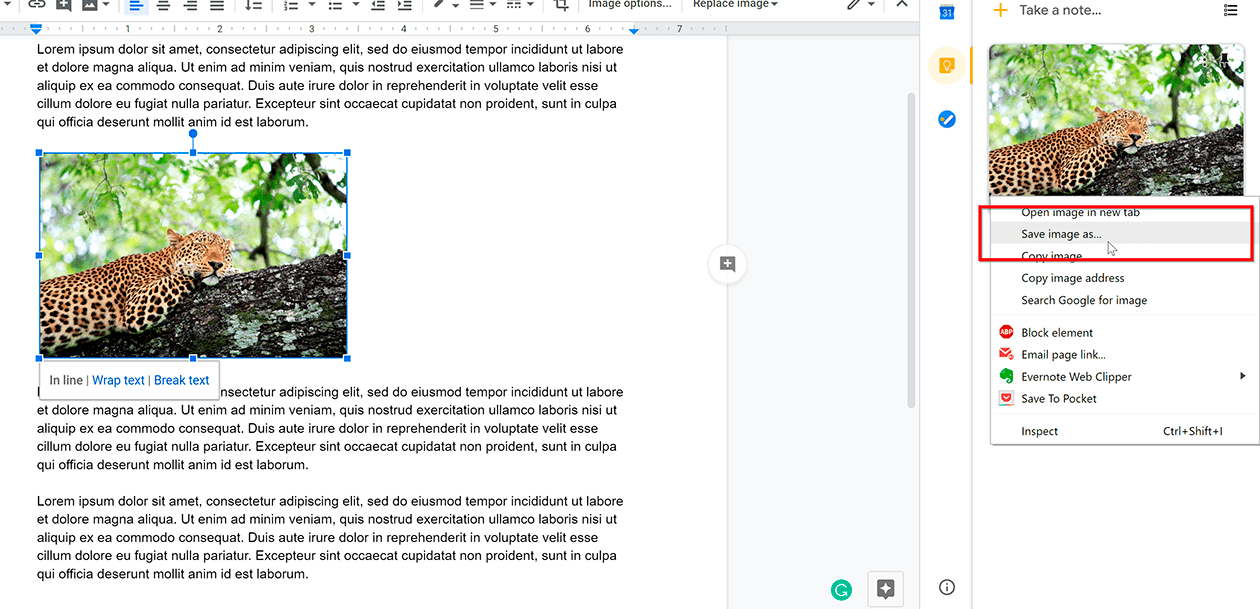
- Right-click on the image: Select the specific image you want to save.
- Choose “Save to Keep”: From the right-click context menu, select “Save to Keep”.
- Access Keep sidebar: The Google Keep sidebar will open on the right side of your Google Docs interface, displaying the image as a new note.
- Save image from Keep: Right-click on the image within the Google Keep sidebar and select “Save image as…”.
- Download and delete (optional): Choose your save location and filename. After downloading, you can delete the note from Google Keep if it was created solely for this purpose.
Pros: Perfect for saving individual images, avoids making the entire document public or downloading a zip file. Cons: Best for one-off image saves; becomes tedious for multiple images.
Mobile Strategies: Saving Images on iOS and Android
Saving images from Google Docs on mobile devices has its own specific procedures:
On iOS (iPhone/iPad):
- Open in Google Docs app: Access the document in the Google Docs app.
- Copy the image: Long-press the image you want to save, then select “Copy.”
- Paste into Notes app: Open your device’s Notes app, create a new note, long-press a blank space, and select “Paste.”
- Save from Notes: Tap on the pasted image in Notes, then tap the share icon (square with an arrow pointing up) in the bottom-left corner.
- Select “Save Image”: Choose “Save Image” from the share sheet. The image will be saved to your Photos app.
On Android:
Currently, saving individual images directly from the Google Docs app on Android is not as straightforward as on iOS. The most effective method is to use the HTML download approach via Google Drive:
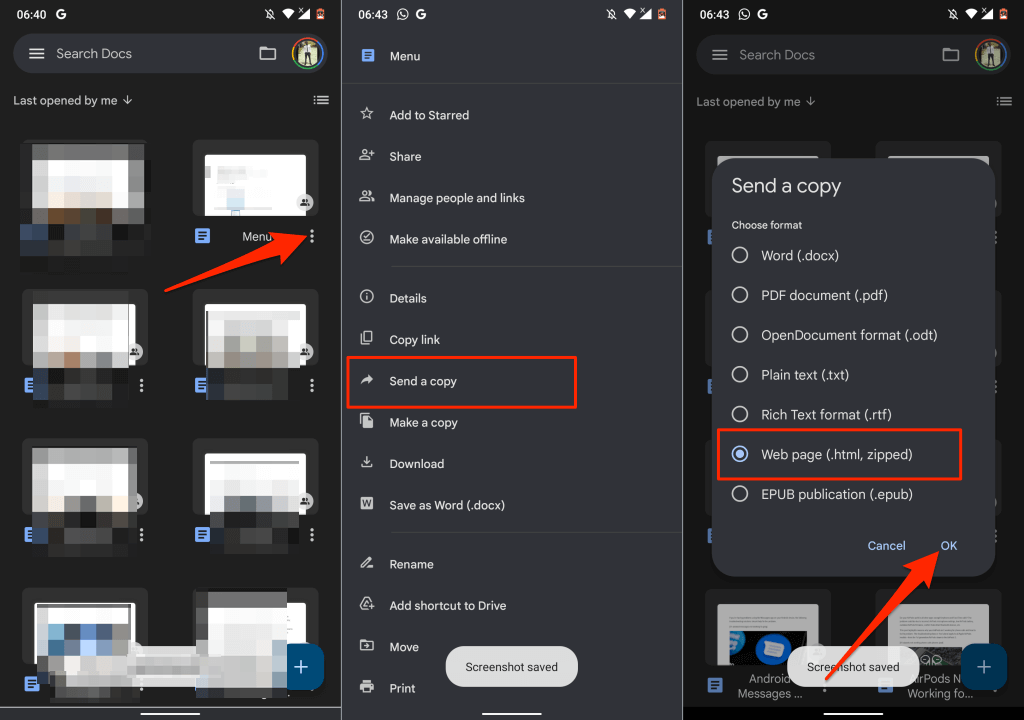
- Open in Google Docs app: Open the document in the Google Docs app.
- Send a copy: Tap the three-dot menu icon (More options) on the document, then select “Share and export” > “Send a copy.”
- Choose HTML: Select “Web page (.html, zipped)” and tap “OK.”
- Upload to Drive: In the share menu, select “Drive” to upload the zipped file to your Google Drive account. Give it a name and select a folder, then tap “Save.”
- Download from Drive: Once uploaded, go to the Google Drive app, locate the
.zipfile, tap its three-dot menu icon, and select “Download.” - Extract images: Use your phone’s file manager app (e.g., “Files” or “My Files”) to locate the downloaded
.zipfile. Unzip it, and you’ll find the images in a separate folder.
Alternative Export: Using Microsoft Word for Image Extraction
If you have Microsoft Word installed, you can leverage it as an intermediary for image extraction.
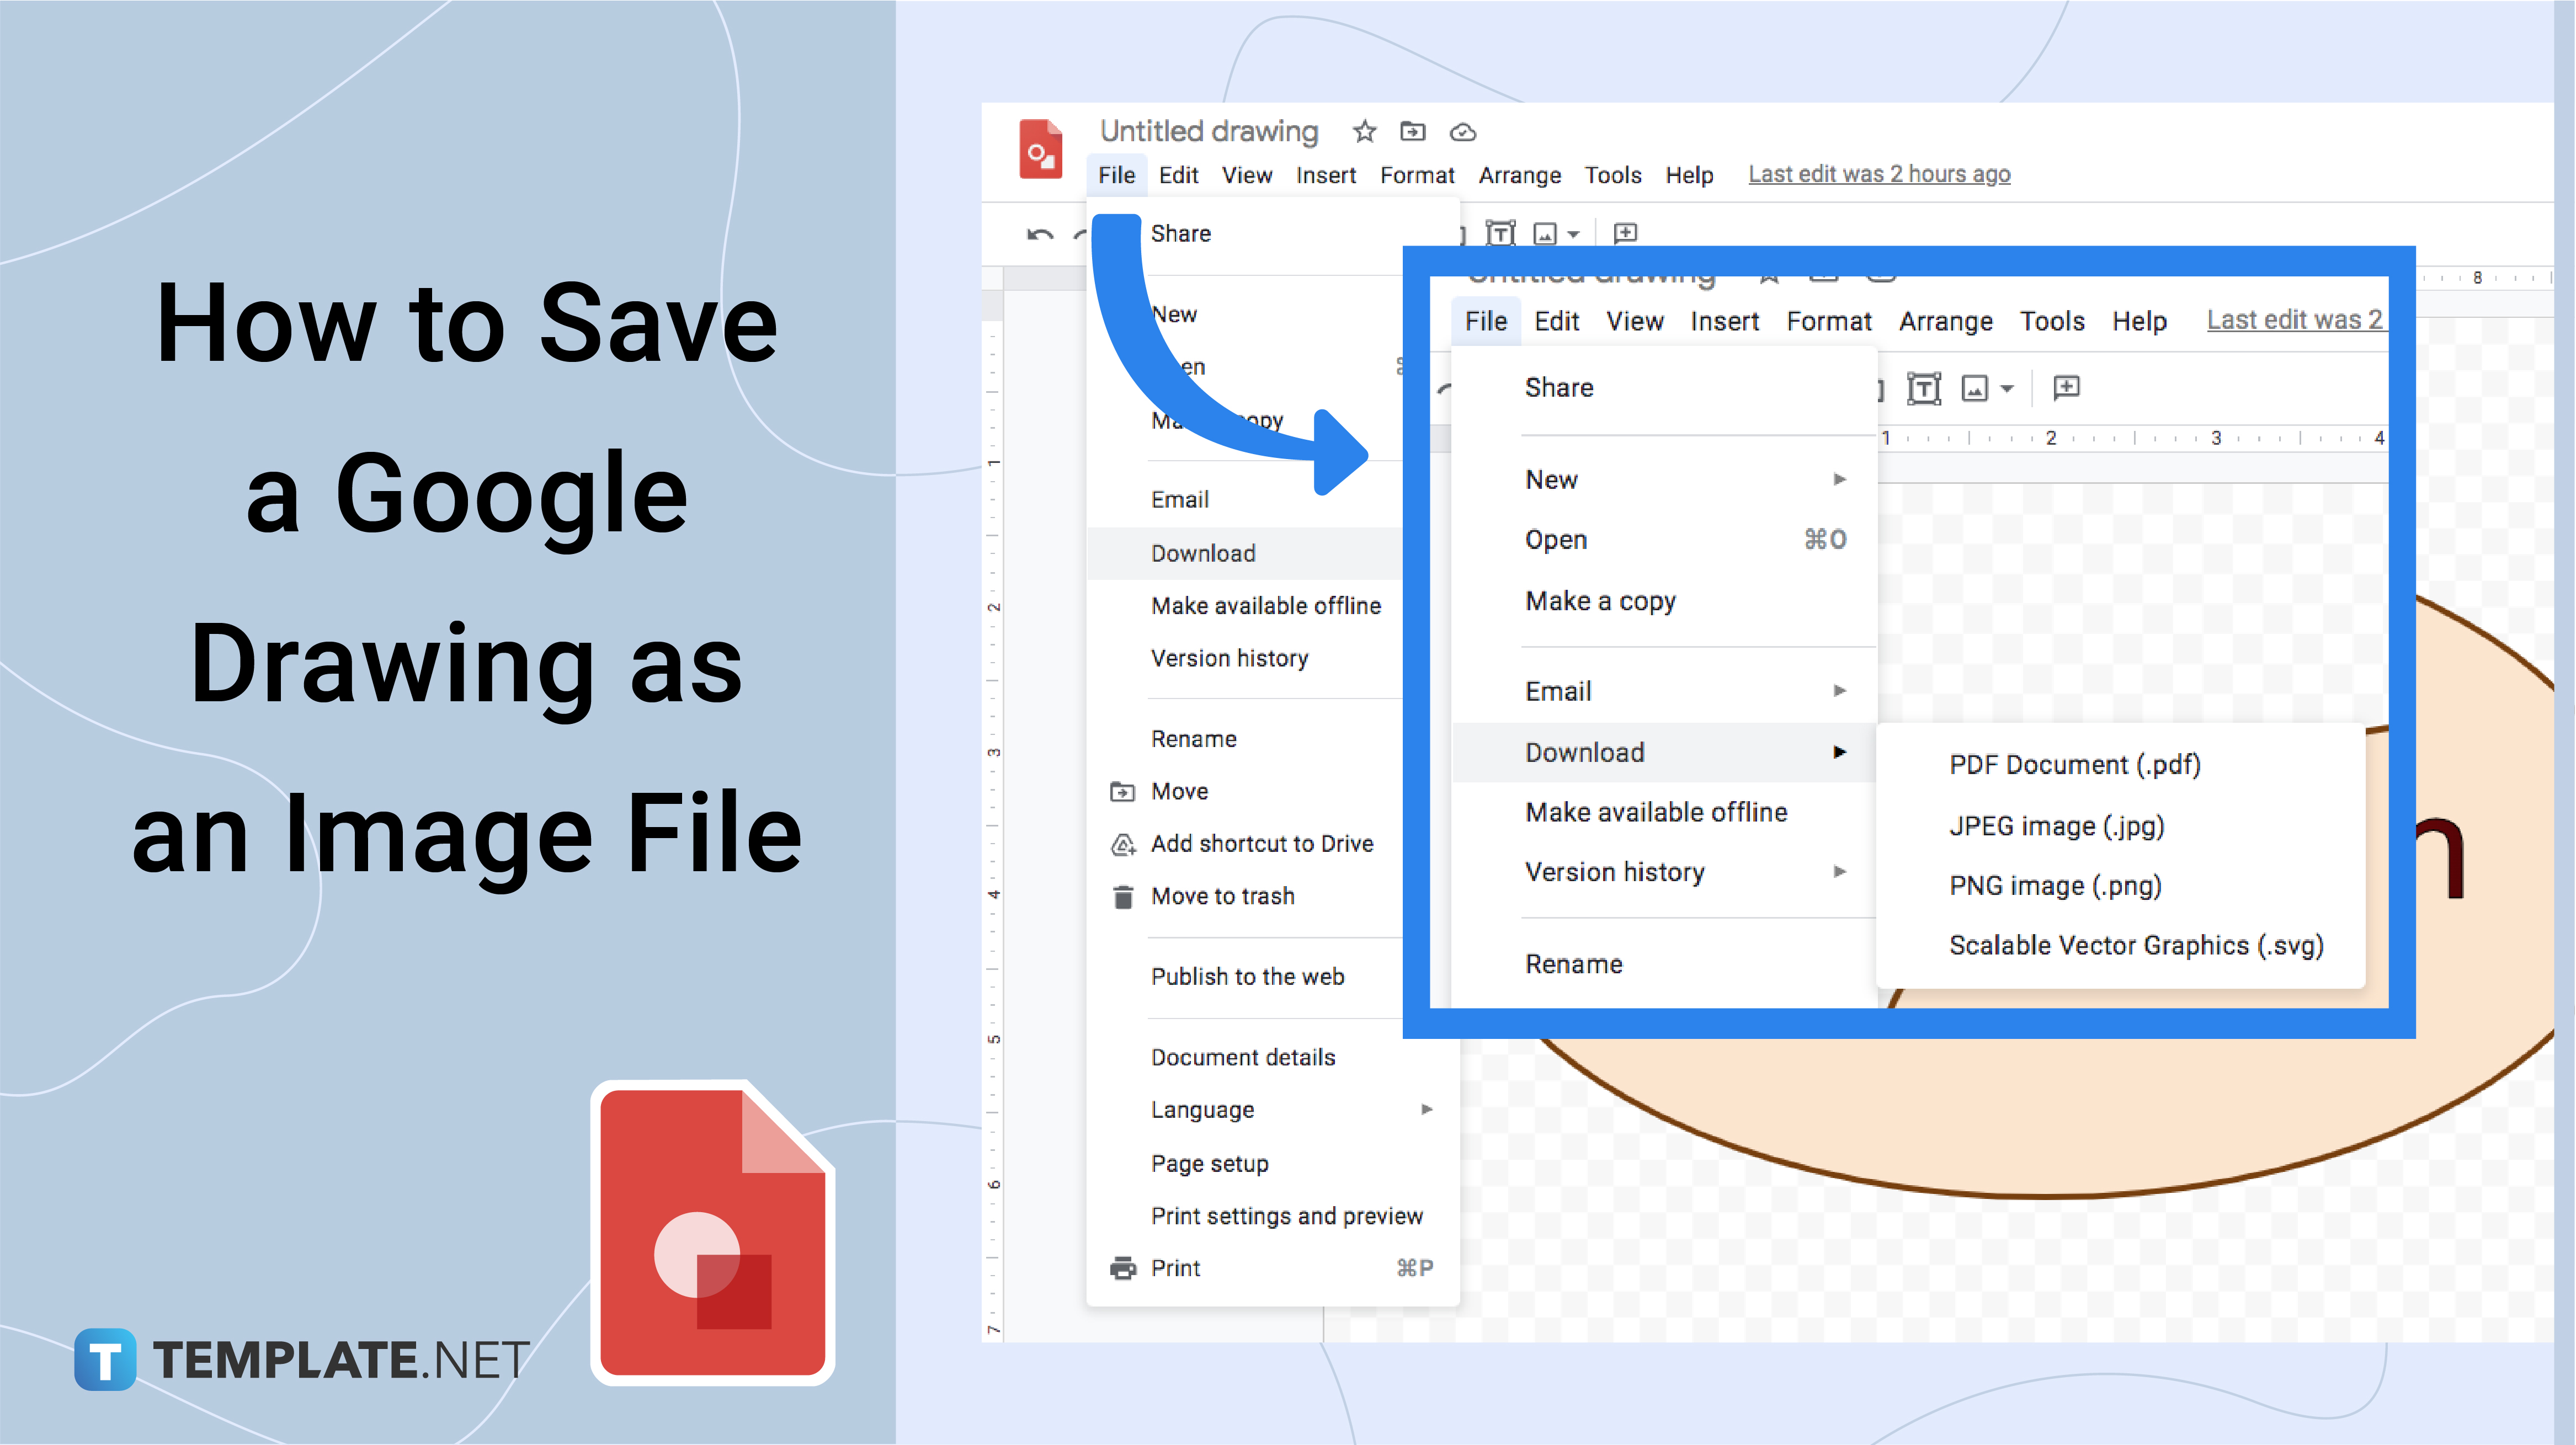
- Download as Word document: In Google Docs, go to File > Download > Microsoft Word (.docx).
- Open in Word: Open the downloaded
.docxfile in Microsoft Word. - Save individual images: Right-click on any image within Word and select “Save as Picture…”. You can choose the format (PNG, JPEG, GIF, BMP) and filename.
- Save all images (advanced): To save all images, go to File > Save As, change the “Save as type” to “Web Page (.htm, .html),” and save the document. Word will create a folder alongside the HTML file containing all the document’s images.
Pros: Offers flexibility in saving formats for individual images. Cons: Requires Microsoft Word installed on your computer.
Third-Party Add-ons
The Google Workspace Marketplace offers various third-party add-ons designed to extract images from Google Docs. One popular example is “Image Extractor & Remover.”
- Install the add-on: In Google Docs, go to Extensions > Add-ons > Get add-ons. Search for “Image Extractor & Remover” and install it.
- Grant permissions: Be aware that these add-ons typically require extensive permissions to access your Google Drive files and personal information. Always review these permissions carefully before installing. Tophinhanhdep.com advocates for user privacy and security, so proceed with caution and only use trusted add-ons if you are comfortable with the access they request.
- Use the add-on: Once installed, you can typically access it via Extensions > Image Extractor & Remover > Open. A sidebar will appear, allowing you to select and download images.
Pros: Streamlined interface for image extraction. Cons: Requires granting significant permissions to a third-party application, which carries inherent privacy risks.
Enhancing and Managing Your Tophinhanhdep.com Image Library
Simply downloading images is just the first step. To truly make the most of your visual assets, particularly for purposes like high-resolution photography, digital art, or professional graphic design, proper management and optimization are crucial. Tophinhanhdep.com is dedicated to providing resources that empower you to not only acquire but also refine and organize your visual content.
Image Optimization and Compression
Images downloaded from Google Docs or even some web sources might not be optimized for web use. Large file sizes can slow down websites and applications, impacting user experience and SEO.
- Compression Tools: Utilize online image compressors (many free options exist) or dedicated software. These tools reduce file size without significantly compromising visual quality. Tophinhanhdep.com frequently recommends various image tools, including converters, compressors, and optimizers, to ensure your images load quickly and look great.
- Format Selection: Choose appropriate image formats. JPEG is excellent for photographs, offering good compression. PNG is better for images with transparency or sharp lines (like logos or abstract art). WebP offers superior compression and quality for both.
Understanding Image Resolution and Quality
When saving images, pay attention to their resolution. High-resolution images are essential for digital photography, professional prints, and detailed graphic design.
- Original Source: Always try to save images from their highest available resolution source. If an image looks pixelated when expanded, it’s likely low-resolution.
- AI Upscalers: For instances where you only have access to a lower-resolution image but need higher quality, AI upscalers (another tool category often covered by Tophinhanhdep.com) can intelligently enlarge images, adding detail and reducing blur, effectively transforming a standard image into something closer to high-resolution.
Navigating Copyright and Usage Rights
As mentioned earlier, image copyright is a critical consideration.
- Personal vs. Commercial Use: Distinguish clearly. What’s acceptable for a personal wallpaper is not necessarily acceptable for a commercial blog post.
- Licensing: Understand different licenses:
- Public Domain: Free to use without restrictions.
- Creative Commons: Various licenses allowing use with certain conditions (e.g., attribution, non-commercial use, no derivatives).
- Royalty-Free Stock Photos: Purchased once for unlimited use, but specific terms apply.
- Rights-Managed: Licensed for specific uses and timeframes.
- Attribution: When required, always credit the original creator. This is not just a legal obligation but also a respectful practice in the photography and digital art community. Tophinhanhdep.com emphasizes ethical image sourcing as a cornerstone of good visual design.
Integrating Saved Images into Your Creative Workflow
The images you save, whether they are inspiring aesthetic backgrounds or high-resolution stock photos, are raw material for your creative endeavors. Tophinhanhdep.com is your go-to resource for leveraging these visuals across various domains.
Exploring Diverse Image Categories
Your saved images can serve many purposes:
- Wallpapers & Backgrounds: Transform your devices with stunning nature photography, abstract art, or aesthetic backgrounds.
- Mood Boards & Inspiration: Curate thematic collections, gather photo ideas, and build visual mood boards for any project, from interior design to sad/emotional storytelling.
- Content Creation: Use beautiful photography for blog posts, social media, or presentations, ensuring you adhere to copyright guidelines.
Photography and Digital Art Applications
For photographers and digital artists, saved images can be:
- Reference Material: Study lighting, composition, and editing styles.
- Photo Manipulation: Integrate elements from different images to create new digital art pieces. Always ensure proper licensing for source images in professional work.
- Learning & Development: Deconstruct high-resolution examples to understand techniques in digital photography and visual storytelling.
Visual Design and Creative Ideas
Graphic designers will find immense value in a well-organized image library:
- Layout & Composition: Experiment with different images for creative ideas in graphic design projects.
- Branding: Find visual assets that align with a brand’s aesthetic.
- Prototyping: Quickly mock up designs with placeholder images, which can then be replaced with custom or licensed stock photos.
Advanced Image Manipulation and AI Upscaling
Beyond simple saving and organizing, modern image tools offer advanced possibilities:
- Image Editing Suites: Software like Photoshop allows for intricate photo manipulation, color grading, and creative enhancements to truly personalize your visuals.
- AI Upscalers: As mentioned, these tools are invaluable for breathing new life into older or lower-resolution images, transforming them into high-quality assets suitable for larger displays or prints.
- Image-to-Text: For accessibility and SEO, tools that convert images to text can extract valuable data or descriptions, enhancing the discoverability and utility of your visual content.
Conclusion: Your Visual Journey with Tophinhanhdep.com
Saving images from Google, whether from a simple search or a complex Google Docs document, is an essential skill in today’s visually-driven world. From the direct right-click method to intricate workarounds for Google Docs, you now have a comprehensive toolkit to acquire the visual content you need. Remember the importance of responsible image use, optimizing files for performance, and appreciating the nuances of copyright.
At Tophinhanhdep.com, we are committed to being your ultimate resource for all things visual. We believe that stunning images—from captivating wallpapers and diverse aesthetic collections to professional high-resolution photography—should be accessible and manageable for everyone. Explore our extensive collections, discover new creative ideas, and delve into our guides on image tools, photography techniques, and visual design to elevate your digital presence and artistic endeavors. Start building your perfect visual library today, empowered by the knowledge and resources Tophinhanhdep.com provides.