How to Insert an Image in Photoshop: Your Comprehensive Guide to Visual Mastery

Adobe Photoshop stands as the industry benchmark for image editing and graphic design, a powerful suite transforming raw visuals into breathtaking digital art. Whether you’re a burgeoning digital artist, a seasoned photographer refining your shots, or a graphic designer crafting stunning client visuals, mastering image insertion is a fundamental skill. This comprehensive guide, brought to you by Tophinhanhdep.com, will walk you through five essential methods for bringing your chosen images into Photoshop, ensuring you have the flexibility and control needed for any creative endeavor. From seamlessly blending high-resolution stock photos into a captivating aesthetic background to manipulating nature photography for a surreal abstract design, mastering image insertion is your crucial first step towards unlocking endless possibilities in visual design and digital photography.
Tophinhanhdep.com serves as your premier resource for image inspiration, high-quality visuals, and practical tools. We understand that your creative journey often commences with discovering the perfect wallpaper, background, or a piece of beautiful photography that deeply resonates with your vision. This article will not only impart the technical “how-to” but also inspire you to contemplate the vast potential each inserted image holds for your next mood board, thematic collection, or trending visual design.
Foundational Methods for Image Insertion
Before delving into the specific techniques, it’s essential to grasp why and how different insertion methods serve various creative purposes. In Photoshop, every image you introduce typically becomes a new “layer.” Layers are the fundamental building blocks of any Photoshop project, enabling you to manipulate individual elements—be it an abstract image, a background for your graphic design, or a poignant piece of sad/emotional photography—without affecting other components of your composition. This non-destructive editing approach is vital for complex photo manipulation and sophisticated digital art.
The method you select for inserting an image largely depends on your starting point and your desired outcome. Are you embarking on a blank canvas, enhancing an existing project, or integrating images sourced directly from Tophinhanhdep.com’s extensive collections? Each scenario warrants a slightly different approach, yet all converge on the same objective: enriching your Photoshop document with new visual content. Understanding these nuances will significantly streamline your visual design process, helping you transition from initial photo ideas to polished, high-resolution masterpieces.
Open an Image as a New Document
This is often the initial step for many Photoshop users, particularly when commencing a new project centered around a single image. It’s ideal when your primary objective is to edit or enhance a standalone photograph, perhaps a beautiful piece of digital photography you’ve captured or acquired from Tophinhanhdep.com. This method treats the image as the entire canvas, ready for focused editing styles.
Steps:
- Launch Photoshop: Open the Adobe Photoshop application. On the home screen, you’ll encounter options such as “Create new” and “Open.”
- Initiate Open Command: Click “File” in the top menu bar, then select “Open” from the dropdown menu. Alternatively, you can click “Open” directly from Photoshop’s starting screen for a quicker access.
- Browse and Select: A file explorer (Finder on Mac, Explorer on Windows) window will materialize. Navigate to the location of your desired image file. This could be a breathtaking landscape intended for a new wallpaper, an abstract background, or a personal photo you aspire to transform.
- Confirm Selection: Click on the image file to select it, then click “Open.”
Your chosen image will now open as a new, independent Photoshop document. By default, it will often appear as a “Background” layer, which is typically locked to prevent accidental alterations. To unlock it and enable full manipulation as a regular layer, simply double-click the layer in the Layers panel (usually situated on the right side of your screen) and click “OK.” This readies your image for any advanced editing styles or intricate photo manipulation you envision.
Copy and Paste for Quick Layer Addition
The copy and paste method is perfect for swiftly adding an image snippet or a graphic element from another application or even another Photoshop document into your current project. It offers a rapid means to integrate small visual design elements or references, proving especially useful when assembling mood boards or constructing digital art compositions. It’s a versatile technique for incorporating trending styles or unique photo ideas from diverse sources found on Tophinhanhdep.com.
Steps:
- Locate Your Image: Find the image you wish to copy. This could be a section of a larger wallpaper, a small aesthetic graphic, or an icon pertinent to your visual design project. It can originate from your web browser (e.g., directly from Tophinhanhdep.com) or an image viewer on your computer.
- Copy the Image:
- From the Web: Right-click (Ctrl-click on Mac) the image and select “Copy image.”
- From a File: Open the image in your computer’s default image previewer (e.g., Windows Photos, Mac Preview), then right-click (Ctrl-click on Mac) and choose “Copy image.” Note: Merely copying the image file from your file explorer will not transfer the image data; you must copy the actual image itself.
- Prepare in Photoshop: Open your target Photoshop document. If no document is currently open, create a new one (Ctrl+N / Cmd+N) to serve as your canvas.
- Paste into Document: Navigate to “Edit” in the top menu bar, then select “Paste.” Alternatively, employ the keyboard shortcut: Ctrl+V (Windows) or Cmd+V (Mac).
The copied image will manifest as a new layer in your active Photoshop document, poised for resizing, positioning, or further photo manipulation. This method is incredibly versatile for incorporating trending styles or unique photo ideas from diverse sources.
Drag and Drop for Intuitive Placement
Arguably the most straightforward and rapid method, drag and drop is a preferred technique for many Photoshop users. It bypasses menus and dialogues, making it exceptionally efficient for importing multiple images swiftly, such as assembling a collection of nature photography for a digital art piece or gathering abstract images for a new design. This intuitive approach makes it a staple for graphic design and quick mock-ups.
Steps:
- Open Photoshop and Your Document: Ensure Photoshop is running, and the document you intend to add the image to is actively displayed. If your aim is to open the image as a new, standalone document, simply drag it onto the Photoshop application icon or the gray workspace area.
- Locate Image File: Open your operating system’s file explorer (Finder/Explorer) and navigate to the image file(s) you wish to import.
- Drag and Drop: Click and hold the image file(s) with your mouse. Drag it (or them) directly from your file explorer window into your open Photoshop document.
- Confirm Placement: Once released, the image(s) will appear as new layers, typically encompassed by a bounding box. Press Enter (Windows) or Return (Mac) to finalize their placement.
This method automatically converts the imported image into a Smart Object, preserving its original quality for non-destructive editing—a crucial concept we will explore further. It offers an excellent way to rapidly construct complex compositions for graphic design or digital art projects, integrating diverse visuals from aesthetic backgrounds to beautiful photography.
Advanced Techniques: Embedded, Linked, and Refinement
Beyond the basic opening and pasting, Photoshop provides more controlled and powerful avenues to insert images, particularly when grappling with high-resolution imagery, intricate compositions, or collaborative visual design projects. These methods offer enhanced flexibility and diligently maintain image quality, which are critical considerations for any serious digital artist or photographer.
Place Embedded for Independent Layers
“Place Embedded” is a robust method for importing images as Smart Objects directly into your Photoshop document. The primary advantage here is that the image data is embedded within your Photoshop file, rendering it self-contained. This is ideal when you want to ensure all elements of your digital art or photo manipulation project are consolidated, removing concerns about external file dependencies. It proves particularly useful when working with stock photos or curated image collections from Tophinhanhdep.com that you wish to integrate permanently into your project.
Steps:
- Open or Create Document: In Photoshop, open an existing project or create a new one where you intend to place the image.
- Access “Place Embedded”: Navigate to “File” in the top menu bar. From the subsequent dropdown menu, select “Place Embedded.”
- Select Image: A file explorer window will open. Navigate to and select the image file you want to insert. This could be a high-resolution abstract wallpaper or a detailed piece of nature photography.
- Place and Confirm: Click “Place.” The image will appear in your document, enclosed by a bounding box. Adjust its size and position as required, then press Enter (Windows) or Return (Mac) to confirm the placement.
The image is automatically converted into a Smart Object, which is pivotal for maintaining high resolution and facilitating non-destructive editing. This feature is particularly valuable when you are experimenting with various editing styles or exploring creative ideas without compromising the original image quality.
Place Linked for Dynamic Asset Management
“Place Linked” is akin to “Place Embedded” in its function, but with a crucial difference: instead of embedding the image data directly into the Photoshop file, it establishes a link to the original source file on your computer. This mechanism means the Photoshop document itself remains smaller, and any modifications made to the original linked file outside of Photoshop will automatically update within your Photoshop project. This method is a cornerstone for professional graphic design, digital art, and photo manipulation workflows, especially when collaborating or working with frequently updated assets like aesthetic backgrounds or product photography.
Steps:
- Prepare Your Document: Open or create your Photoshop document.
- Choose “Place Linked”: Go to “File” in the top menu bar, then select “Place Linked” from the dropdown. Note: If you do not observe both “Place Embedded” and “Place Linked,” your Photoshop version might integrate them, or the option could be context-dependent.
- Locate and Link Image: Browse through your file explorer to locate and select the desired image. This approach is excellent for referencing a large collection of wallpapers or backgrounds that may undergo updates over time.
- Confirm Placement: Click “Place.” The image will appear with a bounding box; adjust its dimensions and position, then confirm with Enter/Return.
Important Considerations for “Place Linked”:
- File Management: If you relocate or delete the original linked image file, Photoshop will lose its connection, and the image will display as offline in your document. Always ensure linked files are meticulously organized and readily accessible.
- Version Control: This method is superbly suited for iterative design. Should your team update a base image (e.g., a logo or a product shot), your Photoshop document will automatically reflect the latest version upon reopening.
- Web Compatibility: Be aware that “Place Linked” performs optimally with local files. While some sources might suggest pasting URLs, directly linking to web images can be unstable as online content is prone to changes or removal. For web images, “Copy and Paste” or “Place Embedded” is generally more dependable. For reliable linking, it is recommended that images from Tophinhanhdep.com are downloaded first.
Cutting and Refining Images for Composition
Once an image is inserted, whether it’s a vibrant nature scene or a subtle abstract texture, you often need to refine its shape or eliminate unwanted elements to perfectly suit your visual design. This is where cutting and masking become indispensable, facilitating precise photo manipulation.
Steps for Basic Cutting (Destructive):
- Select Area to Keep: Employ any of Photoshop’s selection tools (e.g., Marquee Tool, Lasso Tool, Quick Selection Tool, Magic Wand Tool) to meticulously outline the specific portion of the image you wish to retain. For instance, isolating a subject from a background image.
- Invert Selection: Go to “Select” in the top menu, then choose “Inverse.” This action reverses your selection, so now everything outside your initial selection is highlighted.
- Cut the Unwanted Area: Navigate to “Edit” in the top menu, then select “Cut” (or use Ctrl+X / Cmd+X). The inverse selection will be removed. Be cautious: this is a destructive edit, meaning the pixels are permanently deleted from the layer.
Non-Destructive Alternatives (Recommended for Visual Design & Photography): For enhanced flexibility and to circumvent permanently altering your images, particularly high-resolution photography, consider adopting:
- Layer Masks: A Layer Mask empowers you to selectively hide or reveal parts of a layer without irreversibly erasing them. It is fundamental for advanced photo manipulation and seamlessly blending multiple images (e.g., combining different aesthetic backgrounds or elements from various thematic collections). To create one, select your layer, then click the “Add layer mask” icon at the bottom of the Layers panel (a rectangle with a circle inside). Painting with black will hide parts of the layer, while painting with white will reveal them.
- Clipping Masks: These are invaluable for confining an image within the boundaries of another layer (e.g., placing a wallpaper inside a custom shape for digital art). Right-click on the image layer and choose “Create Clipping Mask,” ensuring the shape layer is positioned directly below it.
These techniques, especially layer masks, are crucial for achieving professional-grade graphic design and digital art, enabling the flawless integration of diverse image types.
Optimizing Your Workflow: Smart Objects and Quality
Beyond the mechanics of insertion, maximizing your efficiency and the quality of your output necessitates adopting best practices. These tips, informed by extensive experience in digital photography and visual design, will help you harness Photoshop’s formidable power, whether you’re working with high-resolution images, refining editing styles, or simply seeking creative ideas on Tophinhanhdep.com.
The Strategic Use of Smart Objects
As discussed previously, Smart Objects represent a revolutionary feature in Photoshop, particularly for graphic designers and digital artists who frequently resize and transform images. When you “Place Embedded,” “Place Linked,” or drag and drop an image into Photoshop, it frequently converts into a Smart Object automatically.
What are Smart Objects? A Smart Object is a special layer that contains raster or vector image data from Photoshop or other Adobe applications (such as Illustrator). They preserve an image’s source content with all its original characteristics, empowering you to perform non-destructive editing on the layer.
Benefits:
- Non-Destructive Scaling: You can scale, rotate, warp, and transform a Smart Object multiple times without any degradation in image quality. If you scale down a regular raster layer and subsequently scale it back up, it will pixelate. A Smart Object, however, retains its original high resolution irrespective of transformations. This is incredibly valuable when working with images from Tophinhanhdep.com’s high-resolution stock photo collections.
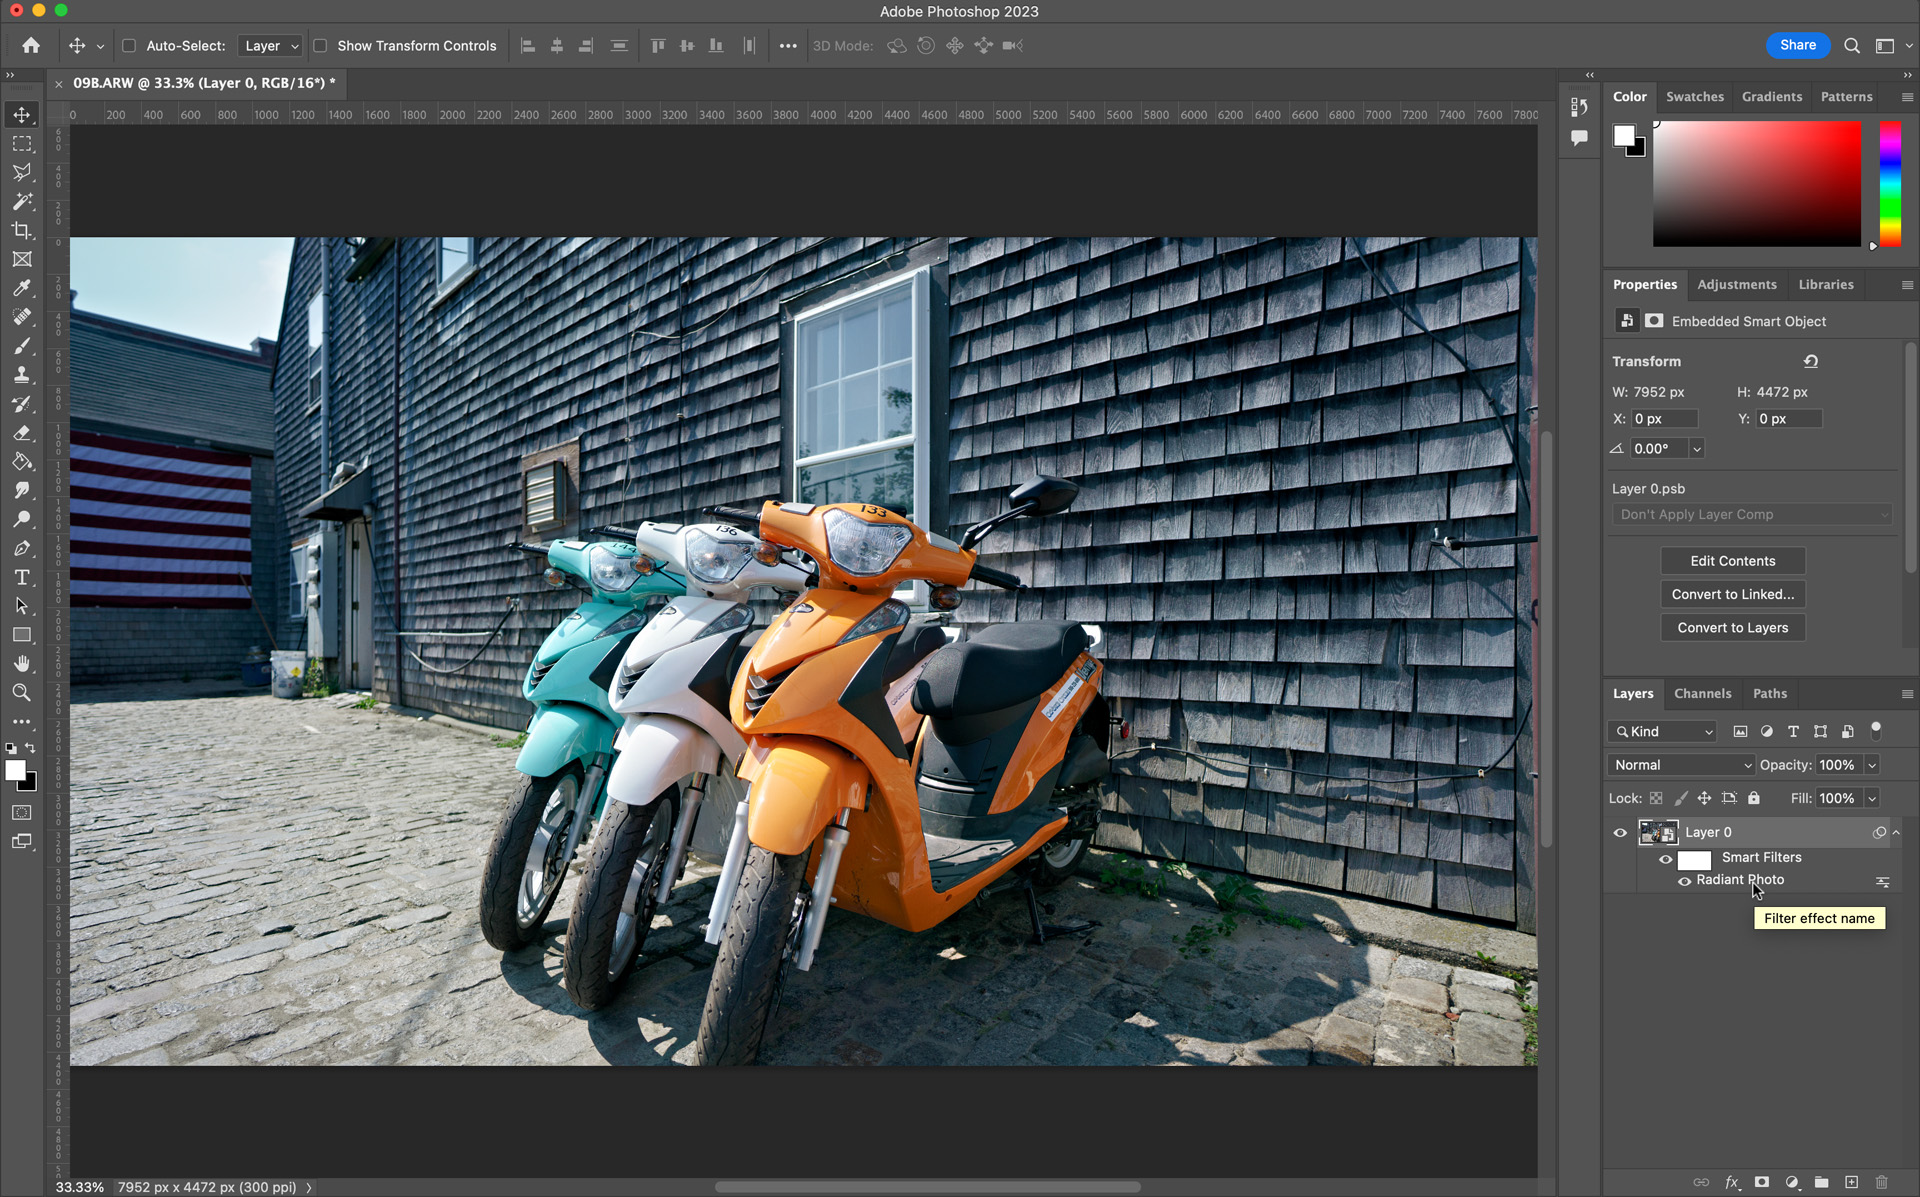
- Non-Destructive Filters: Apply filters to Smart Objects non-destructively. These filters transform into “Smart Filters” that can be easily edited, adjusted, or removed later, offering immense flexibility for experimenting with diverse editing styles.
- Linked Instances: Create multiple instances of the same Smart Object. Any modifications applied to the original Smart Object will automatically update all its instances. This is a significant time-saver for graphic design templates or recurring elements in digital art.
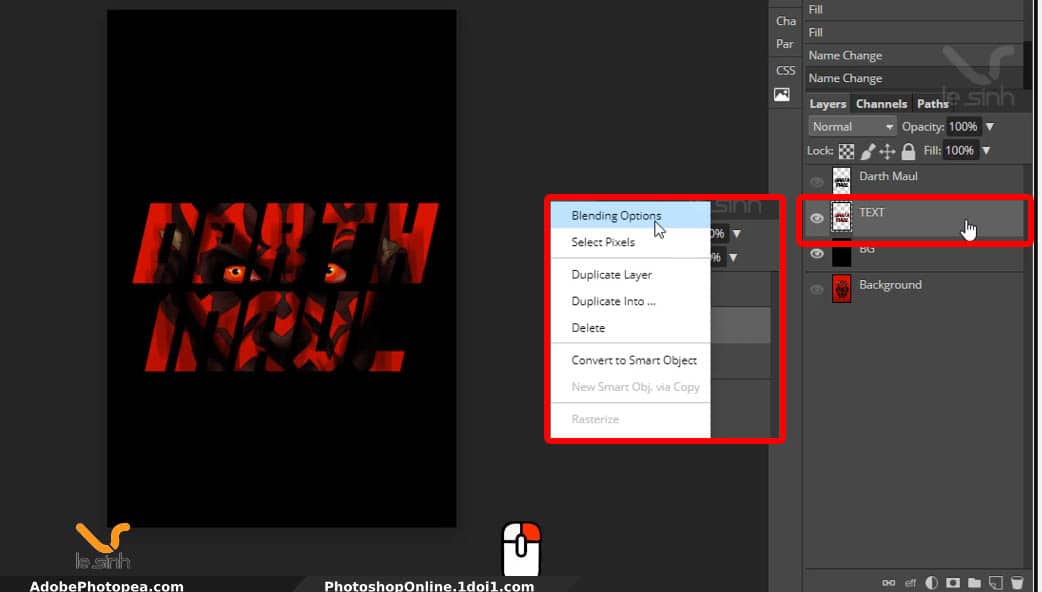
Converting to Smart Object (if not automatic): Right-click on the desired layer in the Layers panel and select “Convert to Smart Object.”
Rasterizing Smart Objects (when needed): Occasionally, you might need to convert a Smart Object back to a regular raster layer to apply pixel-based edits (e.g., direct painting on the image). Right-click the Smart Object layer and select “Rasterize Layer.” Be advised: after rasterizing, you forfeit the non-destructive scaling benefits.
Precision Resizing and Image Quality Assurance
Once an image resides within your document, adjusting its size and position is almost invariably necessary. Maintaining the correct aspect ratio is paramount to avoid distorting your beautiful photography or meticulously crafted aesthetic backgrounds.
Steps for Resizing:
- Select the Layer: In the Layers panel, click on the layer containing the image you wish to resize.
- Activate Free Transform: Go to “Edit” > “Free Transform” (or use the shortcut Ctrl+T / Cmd+T). A bounding box with interactive handles will appear around your image.
- Maintain Aspect Ratio: Crucially, before dragging, ensure the “Maintain Aspect Ratio” link icon is selected in the options bar at the top of your Photoshop window. This icon resembles a chain link. Alternatively, hold down the Shift key while dragging any of the corner handles. This action is critical for preventing disproportionate scaling.
- Drag to Resize: Click and drag any of the corner handles of the bounding box to adjust the size. You can also input specific width (W) and height (H) percentages or pixel values directly into the options bar for precise control.
- Position: Click and drag inside the bounding box to reposition the image within your canvas.
- Confirm: Press Enter (Windows) or Return (Mac) to apply the transformations.
Precise resizing is fundamental for accurate photo manipulation and ensuring your digital art compositions maintain a professional and visually appealing aesthetic.
Conclusion: Unleashing Your Creative Vision with Tophinhanhdep.com
Mastering the art of inserting images into Photoshop is more than a mere technical skill; it is the definitive gateway to unleashing your full creative potential in visual design. From the straightforward drag-and-drop to the strategic deployment of Smart Objects and linked files, each method presents unique advantages tailored to different phases of your digital art and photography journey. Whether you are crafting an intricate photo manipulation, designing striking graphic elements, or merely compiling a mood board of trending styles, Photoshop furnishes the tools, and Tophinhanhdep.com provides the inspiration and high-quality assets.
By consistently applying these methods and adhering to the shared tips, you will not only significantly streamline your workflow but also guarantee the integrity and impactful resonance of your visual projects. Remember to leverage Tophinhanhdep.com’s expansive resources—from high-resolution wallpapers and beautiful photography to advanced image tools and thematic collections—to continuously ignite your creative ideas and push the boundaries of your digital creations. Dive in, experiment, and allow your imagination to transform the canvas of Photoshop into breathtaking visuals that captivate and inspire. The world of images eagerly awaits your unique touch!