How to Resize an Image or Picture the Right Way for Optimal Visual Impact

In the vast and ever-evolving digital landscape, images are the cornerstone of communication, capturing attention, conveying emotion, and narrating stories without a single word. Whether you’re curating a gallery of breathtaking nature photography for Tophinhanhdep.com, designing a captivating digital art piece, or simply preparing a profile picture for your social media, the quality and appropriate sizing of your images are paramount. High-quality, thoughtfully sized visuals are not just aesthetically pleasing; they are a direct reflection of competence and professionalism, building trust and engagement with your audience.
Yet, the seemingly simple act of resizing an image can be fraught with pitfalls. Many common methods, if not executed correctly, can lead to undesirable outcomes: stretched compositions, blurry details, or pixelated artifacts that detract from your message and undermine your brand’s credibility. An image that appears amateurish or distorted can quickly erode the impact of even the most stunning photography or meticulously crafted graphic design.
For anyone who regularly works with images – from professional photographers and graphic designers to content creators and enthusiasts sharing aesthetic wallpapers – mastering the art of correct image resizing is an indispensable skill. The good news is that, while critical, it is also surprisingly straightforward once you understand the underlying principles and employ the right techniques and tools. This comprehensive guide from Tophinhanhdep.com will walk you through the nuances of image resizing, ensuring your visuals always shine, irrespective of their final destination. We’ll delve into why quality preservation is crucial, how to maintain perfect proportions, and equip you with essential tips for optimizing your images for any platform, leveraging the full potential of your visual assets.
Why Resize Images Without Losing Quality: The Foundation of Visual Excellence
The digital realm thrives on visuals. From the immersive experience of a full-screen wallpaper to the subtle impact of an icon, images play a pivotal role in how we perceive and interact with content. At Tophinhanhdep.com, we understand that every pixel counts when it comes to showcasing beautiful photography, captivating abstract art, or an inspiring collection of thematic images. Therefore, the decision to resize an image is rarely about making it “just fit” but rather about ensuring it maintains its intrinsic quality, visual integrity, and intended impact.
The Importance of High-Quality Visuals
High-quality images are the bedrock of any successful digital presence. They imbue your content with professionalism and credibility, acting as a visual testament to your attention to detail and commitment to excellence. Imagine browsing through a collection of nature photography; a crisp, vibrant image evokes awe and wonder, drawing you deeper into the scene. Conversely, a blurry, pixelated, or distorted image—even if the original subject matter was magnificent—instantly signals carelessness, eroding the viewer’s trust and diminishing their perception of your work or brand.
This principle extends far beyond professional portfolios. Even for seemingly minor applications, such as a profile picture on a social media platform, the quality of your image directly influences how others perceive you. A poorly resized image can make your personal brand appear amateurish, untrustworthy, or simply less engaging. For businesses and individual creators, this can translate into missed opportunities, reduced engagement, and a diluted brand message. Tophinhanhdep.com emphasizes that your visual assets, whether they are high-resolution stock photos or unique digital art pieces, are often the first impression you make. Ensuring they are perfectly presented is not an option; it’s a necessity.
The impact of visual quality is multifaceted:
- User Experience (UX): Crisp, clear images enhance the user experience by making content more enjoyable and easier to digest. Distorted images, on the other hand, can be jarring and frustrating, leading users to abandon content or websites.
- Brand Perception: Consistent high-quality visuals foster a sense of professionalism and reliability. For Tophinhanhdep.com, showcasing stunning aesthetic backgrounds and beautiful photography means upholding a standard of excellence.
- Engagement: Visually appealing images are more likely to capture and hold attention, encouraging longer viewing times and deeper interaction with your content.
- Search Engine Optimization (SEO): While not directly about quality, appropriately sized and optimized images contribute to faster page load times, which is a significant factor in SEO rankings. High-quality images that are also well-optimized strike the perfect balance.
- Creative Integrity: For artists and photographers, maintaining the integrity of their work is paramount. Resizing without quality loss ensures that the artistic vision, color accuracy, and sharpness of their digital art or emotional photography remain intact.
Preserving Aspect Ratio and Clarity
At the heart of successful image resizing lies the understanding of how to maintain an image’s aspect ratio, sharpness, clarity, and color accuracy. Aspect ratio refers to the proportional relationship between an image’s width and height. When this ratio is not preserved during resizing, your image will appear stretched, squashed, or warped, leading to a distorted and unprofessional look. This is especially critical for images where precise proportions are key, such as portraits, architectural photography, or graphic design elements.
Proper resizing techniques ensure that:
- Aspect Ratio is Maintained: Preventing images from looking stretched or squashed, preserving their original composition and visual harmony. This is crucial for all types of images, from widescreen wallpapers to square profile pictures.
- Sharpness and Clarity are Retained: Avoiding the dreaded blurriness or pixelation that often accompanies incorrect enlargement or excessive compression. Your high-resolution stock photos should always look as sharp as intended.
- Color Accuracy is Uncompromised: Ensuring that the colors in your image remain true to the original, preventing desaturation or shifts that can occur with improper processing. This is vital for aesthetic images and emotional photography where color conveys mood.
Understanding these principles is the first step towards harnessing the power of your images. With the right approach, your visuals will continue to engage your audience, convey your message effectively, and represent your brand or artistic vision in the best possible light across all digital platforms. Tophinhanhdep.com is dedicated to helping you achieve this visual mastery, turning every image into a professional, impactful statement.
How to Resize an Image Without Stretching It: Mastering Proportionality
One of the most common pitfalls in image resizing is inadvertently distorting the image by stretching or squashing it. This often happens when users attempt to manually adjust an image’s dimensions without understanding the critical concept of aspect ratio. At Tophinhanhdep.com, we emphasize that preserving an image’s natural proportions is fundamental to maintaining its visual integrity and professional appearance, whether it’s a vibrant background or a detailed piece of digital art.
Understanding Aspect Ratio
Aspect ratio is simply the proportional relationship between an image’s width and its height. It’s typically expressed as two numbers separated by a colon (e.g., 16:9, 4:3, 1:1).
- 16:9 (Widescreen): Common for monitors, televisions, and modern video, ideal for landscape photography and dynamic wallpapers.
- 4:3 (Standard): Traditional screen ratio, still used in some older displays and photography.
- 1:1 (Square): Popular for social media platforms like Instagram, and often used for profile pictures or minimalist graphic design elements.
- 3:2 (Classic Photography): A standard aspect ratio for many DSLR cameras, offering a slightly wider frame than 4:3.
When you resize an image, it’s crucial to maintain this ratio. If you change only the width without proportionally adjusting the height (or vice versa), the image will become distorted, looking either stretched horizontally or vertically. Imagine a beautiful nature photograph of a mountain range; if you stretch it vertically, the mountains become unnaturally tall and thin, losing their natural grandeur. If you stretch it horizontally, they become short and wide, similarly undermining the original composition.
The temptation to drag the corners of an image directly within a document editor like Microsoft Word or Google Docs, or even some basic image viewers, is strong. However, this is precisely what leads to distortion. These programs often allow independent adjustment of width and height by default, breaking the aspect ratio unless a specific constraint is applied. This method should generally be avoided for any image destined for public display or professional use.
Practical Techniques to Avoid Distortion
To resize an image correctly and avoid stretching or warping, you must use image editing software that allows you to lock the aspect ratio. This feature ensures that when you adjust one dimension (width or height), the other dimension automatically scales proportionally.
Most professional and even many free image editing tools offer this essential functionality. Here’s a general approach applicable to many image editing applications:
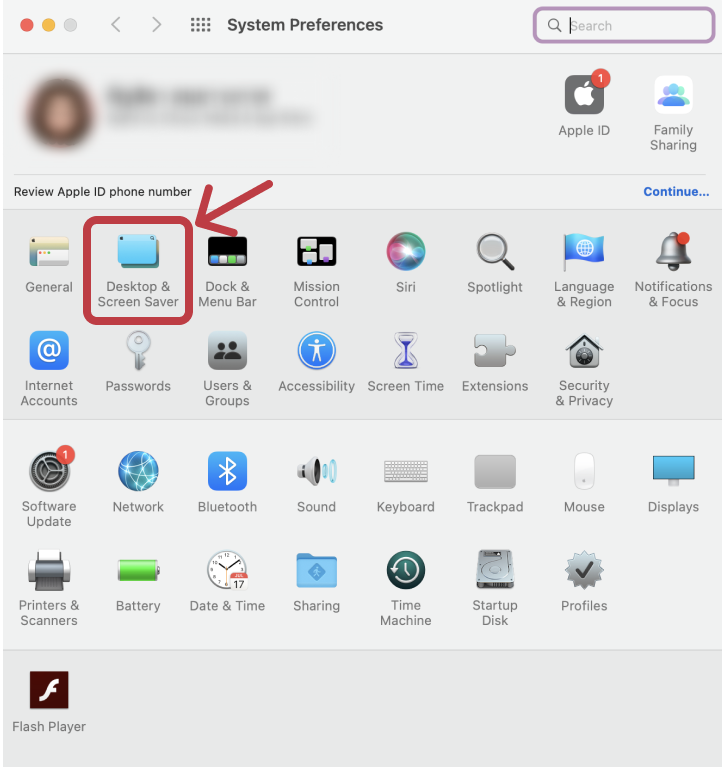
- Open Your Image: Load your photograph, digital art, or wallpaper into your chosen image editing software. This could be anything from advanced programs like Adobe Photoshop to simpler online tools or even built-in operating system editors.
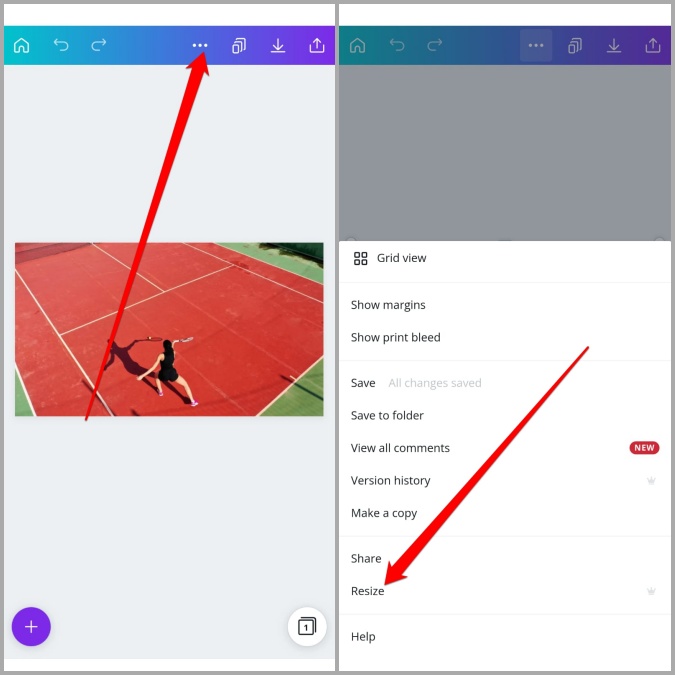
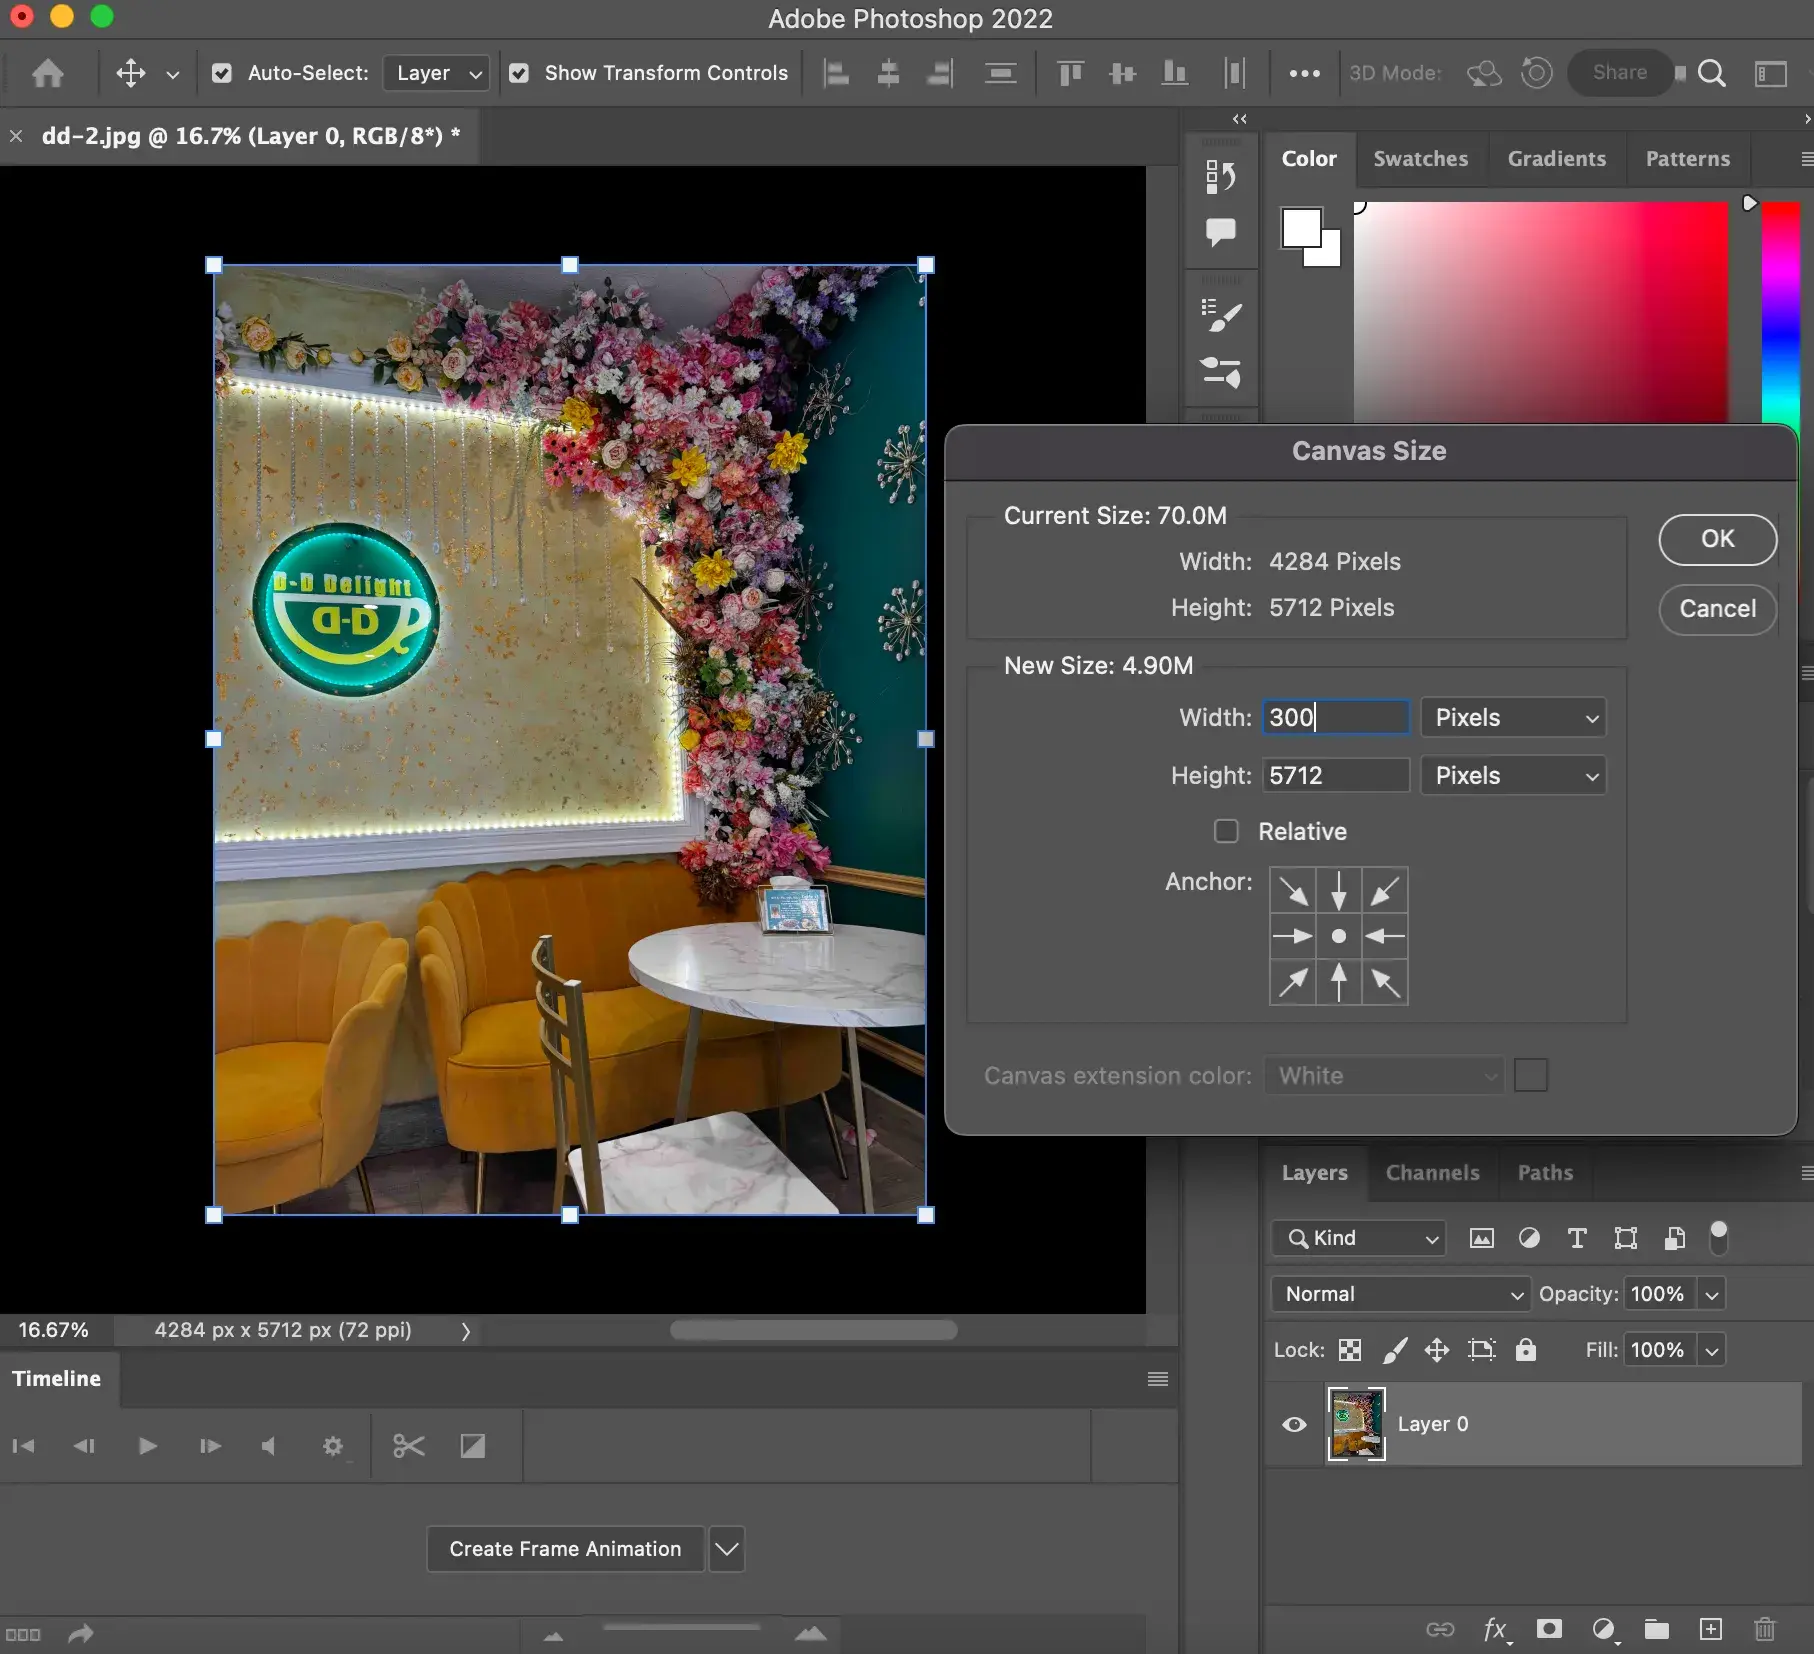
- Locate Resizing Options: Look for options like “Image Size,” “Canvas Size,” “Transform,” or “Scale” within the menus, usually under “Image” or “Edit.”
- Enable Aspect Ratio Lock: This is the most critical step. You’ll typically find a “lock” symbol, a chain icon, or a checkbox labeled “Constrain Proportions” or “Maintain Aspect Ratio.” Click or check this to activate it. Once activated, the width and height fields will be linked.
- Adjust Dimensions: Now, you can safely input your desired width or height. As you change one value, the other will automatically update to maintain the original aspect ratio. For instance, if your image is 1920x1080 (a 16:9 ratio) and you set the width to 1280 pixels, the height will automatically adjust to 720 pixels, preserving the 16:9 ratio.
- Review and Apply: Before confirming, preview the resized image if your software allows it. Once satisfied, apply the changes.
- Save Your Work: Remember to save your resized image. If you wish to keep the original file, use “Save As” and give the new image a different name or save it to a new location.
For users seeking robust yet intuitive solutions, Tophinhanhdep.com recommends exploring various image tools that specifically cater to these needs. Many online optimizers and compressors also offer basic resizing capabilities with aspect ratio locking, making them excellent choices for quick adjustments without specialized software. For more advanced photo manipulation or graphic design projects, dedicated software provides granular control over pixels, resolution, and image integrity. By consistently utilizing the aspect ratio lock, you ensure that every image, from a vibrant background to a detailed portrait, retains its intended form and impact, contributing to a professional and aesthetically pleasing visual experience.
How to Resize an Image Without Losing Quality: The Pixel Paradox
While preventing distortion is about maintaining proportions, ensuring quality during resizing delves into the very fabric of digital images: pixels. The ability to resize an image without a noticeable drop in quality is a crucial skill for anyone working with digital visuals, particularly when dealing with high-resolution photography, stock photos, or intricate digital art. However, this aspect of resizing often presents a “pixel paradox”: making an image smaller is generally far less problematic than attempting to make it larger.
The Pixel Challenge: Upscaling vs. Downscaling
Digital images, especially common bitmap formats like JPEGs, GIFs, and TIFFs, are composed of a fixed grid of tiny squares called pixels. Each pixel holds specific color information.
- Downscaling (Making Smaller): When you reduce an image’s dimensions, you are essentially discarding pixels. The software intelligently averages or selects pixels to create a smaller representation. As long as the reduction isn’t too drastic for the final viewing size, this process usually results in a smaller file size with little to no perceptible loss in quality. In fact, for web use, downscaling a high-resolution image to appropriate web dimensions often improves its perceived quality by making it sharper and faster to load.
- Upscaling (Making Larger): This is where the challenge arises. When you enlarge a bitmap image, the software has to invent new pixels to fill the expanded space. Since it doesn’t have original pixel data for these new areas, it interpolates them based on the surrounding existing pixels. This interpolation often leads to a softer, blurry, or “pixelated” appearance, as the software struggles to create detail that wasn’t there in the first place. The more you enlarge a bitmap image beyond its original dimensions, the more noticeable this quality degradation becomes.
The Golden Rule: It’s almost always better to start with an image that is larger than you need it to be. If your source image is high-resolution (e.g., a high-resolution stock photo or an original capture from a digital camera), you can confidently crop it or downscale it to any smaller dimension without worrying about quality loss. This approach ensures you always have ample pixel data to work with, allowing for flexibility in visual design and future adaptations. Trying to reverse engineer a small, low-resolution image into a large, high-quality one is rarely successful with traditional methods.
Vector vs. Raster Images: A Fundamental Difference
Understanding the distinction between vector and raster (bitmap) images is critical for quality-preserving resizing.
-
Raster (Bitmap) Images:
- Definition: Composed of a grid of pixels (e.g., JPEGs, PNGs, GIFs, TIFFs, BMPs). These are typically photographs, scanned images, or complex digital art created in pixel-based software.
- Resizing Behavior: Quality loss occurs when upscaled. Downscaling is generally safe.
- Best Use: Realistic images, photographs, images with subtle color gradients.
- Example: A beautiful photograph of a sunset, an aesthetic wallpaper downloaded from Tophinhanhdep.com, a sad/emotional picture.
-
Vector Images:
- Definition: Composed of mathematical paths, points, and curves (e.g., SVGs, EPS, AI, PDF). These are typically logos, icons, illustrations, graphic designs, and digital art created in vector-based software.
- Resizing Behavior: Can be scaled to any size, larger or smaller, without any loss in picture quality. The mathematical definitions simply recalculate for the new dimensions, always rendering crisp and sharp.
- Best Use: Graphics that need to be scaled frequently (logos, illustrations, infographics), sharp lines, solid colors.
- Example: The Tophinhanhdep.com logo, an abstract art illustration, graphic design elements for a website banner.
This distinction highlights why vector graphics are preferred for elements like company logos, which must appear perfectly sharp on everything from a business card to a billboard. For photographs, which are inherently raster, the challenge of upscaling without quality loss requires a different approach.
Enter AI Upscalers: For situations where starting with a high-resolution image isn’t possible, and you absolutely need to enlarge a raster image, AI Upscalers have emerged as a revolutionary solution. These advanced image tools, often available on platforms like Tophinhanhdep.com, utilize artificial intelligence and machine learning algorithms to intelligently analyze an image and “guess” what new pixels should look like. Unlike traditional interpolation, AI upscalers can add detail, reduce noise, and sharpen edges, making low-resolution images appear significantly better when enlarged. This technology is a game-changer for restoring old photos, enhancing digital art, or preparing smaller images for high-resolution displays, offering a powerful workaround to the pixel challenge.
In summary, for bitmap images (most photos), prioritize starting large and downscaling. For vector graphics, resize with complete freedom. And when enlarging a raster image is unavoidable, turn to Tophinhanhdep.com’s recommended AI Upscalers as your most powerful ally in the quest for quality preservation.
Tips for Resizing Images: Optimizing for Every Platform and Purpose
Beyond the fundamental principles of maintaining aspect ratio and understanding pixel behavior, several practical tips can elevate your image resizing game. These insights are particularly valuable for visual designers, photographers, and content creators aiming to optimize their images for a variety of uses, from web banners and social media posts to print materials and digital art portfolios. Tophinhanhdep.com understands that every image has a purpose, and proper optimization ensures it fulfills that purpose beautifully and efficiently.
Optimizing Dimensions for Various Platforms
The “correct” dimensions for an image are highly contextual. What works perfectly for a desktop wallpaper from Tophinhanhdep.com will be entirely different from a thumbnail on a blog post or a picture on a specific social media channel. Tailoring your image dimensions to their intended destination is crucial for both visual appeal and performance.
- Website Banners and Heroes: These often require specific widths (e.g., 1920 pixels or more for full-width designs) and a landscape aspect ratio (e.g., 16:9 or 21:9). The height can vary, but generally, a good balance prevents excessive scrolling.
- Blog Post Images: In-article images typically range from 600 to 1200 pixels in width, allowing them to look crisp on most screens without being excessively large. Maintaining a consistent width for images within a blog post enhances readability and visual flow, which is important for showcasing beautiful photography or thematic collections.
- Social Media: Each platform has its own recommended dimensions for optimal display, preventing auto-cropping or compression that could degrade quality.
- Instagram: Square (1080x1080px), portrait (1080x1350px), landscape (1080x566px).
- Facebook: Shared images (1200x630px), profile pictures (170x170px for desktop).
- X (formerly Twitter): In-stream photos (1600x900px).
- Pinterest: Vertical images (1000x1500px, 2:3 aspect ratio) are highly favored.
- E-commerce Product Images: High-resolution images with clear backgrounds are essential. Dimensions often need to be consistent across products (e.g., 1000x1000px or larger for zoom functionality).
- Print: Print resolution is measured in DPI (dots per inch) or PPI (pixels per inch), with 300 DPI being the industry standard for high-quality prints (e.g., brochures, magazines, fine art prints). This means an image for print will need significantly more pixels than a web image of the same physical size. For example, a 5x7 inch photo at 300 DPI would need to be 1500x2100 pixels.
- Wallpapers and Backgrounds: For desktop or mobile wallpapers available on Tophinhanhdep.com, match the common screen resolutions (e.g., 1920x1080, 2560x1440, 3840x2160 for desktop; specific device resolutions for mobile).
Ultimately, the goal is to ensure your resized image looks crisp and clear on its target medium without causing layout issues or, crucially for web content, slowing down load times.
Balancing File Size and Visual Fidelity
One of the most critical aspects of image optimization is finding the “sweet spot” between reducing file size and maintaining perfect visual quality. Large image files can significantly slow down website loading times, impacting user experience and SEO. Conversely, over-compressing can lead to noticeable quality degradation.
- Target File Size: As a general rule for web images, aim for a file size of 100KB or less. For full-screen hero images or very high-resolution photography, you might allow slightly more, but always strive for the smallest possible file size without compromising visual integrity. Tophinhanhdep.com emphasizes that faster loading means happier users and better search engine rankings for your beautiful photography and aesthetic collections.
- Image Compression Tools: This balance is achieved through effective compression. Many online image tools, including those recommended by Tophinhanhdep.com, specialize in image compression. These tools analyze your image and apply smart algorithms to reduce file size, often with imperceptible quality loss. Experiment with different compression levels to find the optimal balance for your specific image.
- Resolution vs. Dimensions: Remember that “resolution” (pixels per inch/DPI) matters more for print, while “dimensions” (total pixels in width x height) and “file size” are paramount for web. A very high-resolution image (e.g., 300 DPI) at very large dimensions will have a massive file size. For web, reducing the DPI to 72 (a common web standard) will reduce file size without affecting its visual quality on screen, as screen density is different from print density.
Choosing the Right File Format: JPG vs. PNG and Beyond
Understanding the differences between various image file formats is essential for selecting the best option for your images, ensuring optimal quality and file size.
-
JPG (Joint Photographic Experts Group):
- Characteristics: Uses “lossy” compression, meaning some data is permanently discarded to achieve smaller file sizes. This makes it ideal for photographs and complex images with many colors and gradients.
- Resizing/Compression: Typically easier to resize and compress than PNGs. Excellent for achieving small file sizes for web images.
- Limitations: Does not support transparency. If an image has transparent areas, saving as JPG will replace them with a solid color (usually white or black).
- Best Use: All types of photographs (nature, emotional, beautiful photography), images with continuous tones, web banners where transparency isn’t needed.
-
PNG (Portable Network Graphics):
- Characteristics: Uses “lossless” compression, meaning no data is discarded, preserving perfect image quality. Offers support for alpha channel transparency, allowing for varying degrees of opacity.
- Resizing/Compression: Files tend to be larger than JPGs, especially for complex photographic images.
- Limitations: Can result in very large file sizes if used for high-detail photos, potentially slowing down web pages.
- Best Use: Logos, icons, graphics with sharp lines and solid colors, images requiring transparency (e.g., an overlay on a wallpaper, a digital art element with a transparent background). If you need to compress a PNG for web use, converting it to JPG might be an option if transparency is not required. Otherwise, specialized PNG compressors are available.
-
Other Important Formats:
- GIF (Graphics Interchange Format): Supports animation and transparency (binary, either fully opaque or fully transparent, no semi-transparency). Limited to 256 colors, making it unsuitable for photography but good for simple graphics and memes.
- TIFF (Tagged Image File Format): High-quality, lossless format, often used in professional printing and archiving. Files are very large, not suitable for web use.
- WebP: A modern image format developed by Google, offering superior lossless and lossy compression for web images. It can achieve significantly smaller file sizes than JPGs and PNGs while maintaining similar or better quality, and supports transparency. Increasingly supported by browsers, it’s becoming a favorite for web optimization on platforms like Tophinhanhdep.com.
- SVG (Scalable Vector Graphics): A vector format, as discussed earlier. Perfect for logos, icons, and illustrations that need to scale without pixelation.
When working with images, always consider the final output and choose the format that best suits its requirements for quality, file size, and features like transparency. This strategic approach, coupled with careful dimensioning and intelligent compression, will ensure your visual assets always perform at their best, enriching your projects and captivating your audience. Tophinhanhdep.com is committed to empowering you with the knowledge and tools to achieve visual perfection in every image you create and share.