How to Make an Image Bigger Without Losing Quality: A Comprehensive Guide from Tophinhanhdep.com

In today’s visually-driven digital landscape, the clarity and resolution of your images are paramount. Whether you’re curating stunning wallpapers, designing compelling backgrounds for your website, or preparing high-resolution photography for print, the need to adjust image size often arises. However, a common frustration for many is the immediate degradation of image quality when a small picture is enlarged. The crisp details you once admired can quickly dissolve into a blurry, pixelated mess, undermining the aesthetic and professional appeal of your visual content.
At Tophinhanhdep.com, we understand that maintaining image integrity is crucial, especially when dealing with precious digital photography or crafting intricate digital art. This comprehensive guide will delve into the science behind image enlargement, explain why quality loss occurs, and, most importantly, provide you with an array of effective tools and techniques to make your images bigger and clearer. We’ll explore everything from cutting-edge AI upscalers to traditional photo manipulation software, ensuring your visuals always stand out, whether they’re thematic collections or trending styles.
![]()
Understanding Image Scaling: Why Quality Matters
Before diving into the “how-to,” it’s essential to grasp the fundamental principles of digital images and why enlarging them can be so challenging. A clear understanding will empower you to choose the right tools and methods for your specific needs, be it for abstract art or beautiful nature photography.
The Pixel Predicament: Why Enlarging Can Be Challenging
The vast majority of images you encounter online, from vibrant wallpapers to subtle backgrounds, are bitmap images, composed of thousands of tiny squares called pixels. Each pixel holds a specific color value and is fixed in a particular location within the image grid. When you “zoom in” on a bitmap image, you are essentially magnifying these individual pixels.

When you shrink an image, the software intelligently discards pixels, compressing the visual information. This often results in a seemingly seamless reduction in size, as imperfections are hidden by the increased density of remaining pixels. However, the reverse process—enlarging an image—presents a significant challenge. To make the image bigger, the software must create new pixels to fill the expanded space. Without sufficient original data, the software essentially guesses the color and detail of these new pixels. This “guessing game” leads to the familiar blurriness, jagged edges, and blocky appearance associated with pixelation. The image’s resolution, which dictates the total number of pixels, directly impacts its ability to withstand enlargement without noticeable degradation. This is why starting with high-resolution photography is always ideal for any visual design project.
The Imperative of High Resolution: Starting with Quality
The golden rule of image enlargement is simple: start with the highest possible resolution. High-resolution images, rich in pixel data, offer a far greater canvas for manipulation. When an image has more original detail and data, enlargement tools have more information to work with, making the “guessing” process far more accurate. This is particularly vital for professional applications like stock photos or high-quality printing, where clarity is non-negotiable.
Choosing the right base image can save countless hours in editing and significantly improve the final outcome, whether you’re creating aesthetic mood boards or detailed digital photography. Always prioritize acquiring or capturing images with ample resolution if you anticipate needing to enlarge them later.
The Power of AI Upscaling: Modern Solutions for Image Enlargement
In recent years, Artificial Intelligence (AI) has revolutionized the way we approach image enlargement, offering groundbreaking solutions for increasing image size without compromising quality. AI upscalers leverage complex algorithms to analyze image patterns, predict missing details, and generate new pixels that seamlessly blend with the existing ones. This results in sharper, clearer, and more detailed enlarged images, making them invaluable tools for visual design and digital art creators seeking high-resolution results.
Tophinhanhdep.com’s AI Upscaler: Effortless Enhancement
For those seeking an incredibly user-friendly and powerful solution, Tophinhanhdep.com’s AI Image Enlarger is a top choice. Built with advanced AI technology, it allows you to instantly increase image size and resolution with just one click, delivering superior quality without the need for complex adjustments. This tool is perfect for beginners and seasoned professionals alike, capable of transforming a small, low-resolution picture into a high-resolution masterpiece suitable for aesthetic backgrounds, nature photography, or abstract art.
How to enlarge images without losing quality with Tophinhanhdep.com’s AI Enlarger:
- Access Tophinhanhdep.com’s Editor: Open the Tophinhanhdep.com platform and click “Edit a photo.”
- Upload Your Image: Upload the small image you wish to enlarge.
- Find the AI Enlarger Tool: On the left toolbar, locate and select the “Adjust” option, then choose the “AI Enlarger” tool.
- Automatic Enlargement: The AI will automatically process and enlarge your small picture, enhancing its resolution. You’ll see a clear side-by-side comparison of the “before” and “after.”
- Apply and Download: Click “Apply” to finalize the changes and then download your high-quality picture in JPG or PNG format.
The beauty of Tophinhanhdep.com’s AI Enlarger lies in its automation; the AI handles all the intricate details, providing a large and clear picture without any manual pixel adjustments.
Advanced AI Solutions: Beyond the Basics
Beyond Tophinhanhdep.com’s dedicated tool, other advanced AI-powered platforms offer similar capabilities, further enhancing the possibilities for image tools and digital photography.
- insMind Image Expander: This AI photo editor is designed to make pictures beautiful instantly, offering various levels of resizing without compromising quality. Its “Smart Resize” feature allows customization for different platforms, while the “Image Expander” can seamlessly increase image size and expand the overall canvas, perfect for high-quality product images or creative ideas.
- Smart Resize: Upload your photo, select “Smart Resize,” input custom or suggested sizes, then download your high-quality result.
- AI Image Expander: Upload your image, select “AI expands image” under “Tools,” choose an aspect ratio, and click “Start” to generate an expanded image. Apply and download the finished picture.
- ON1 Resize AI (formerly Perfect Resize): This premium software utilizes AI to intelligently resize images, maintaining high resolution even when significantly enlarged or zoomed. It’s available as a standalone application and a plugin for professional software like Adobe Photoshop and Lightroom, making it a valuable investment for serious photographers and visual designers.
These AI upscalers represent the forefront of image enlargement technology, delivering results that were once impossible with traditional methods.
Traditional Image Editing Software for Enlargement
While AI upscaling offers a streamlined, high-tech approach, conventional image editing software remains a powerful and versatile option for enlarging images. These tools offer granular control over the resizing process, allowing for precise adjustments that can be crucial for graphic design, photo manipulation, and specific editing styles.
Mastering Photoshop: Precision Enlargement
Adobe Photoshop is an industry-standard powerhouse for graphic design and advanced image editing. While it might seem daunting for beginners, understanding its resizing capabilities is invaluable for achieving professional results.
How to make images bigger in Photoshop without losing quality:
- Open Your Image: Launch Photoshop and open your small picture (File > Open).
- Access Image Size: Go to “Image” > “Image Size” on the top menu bar.
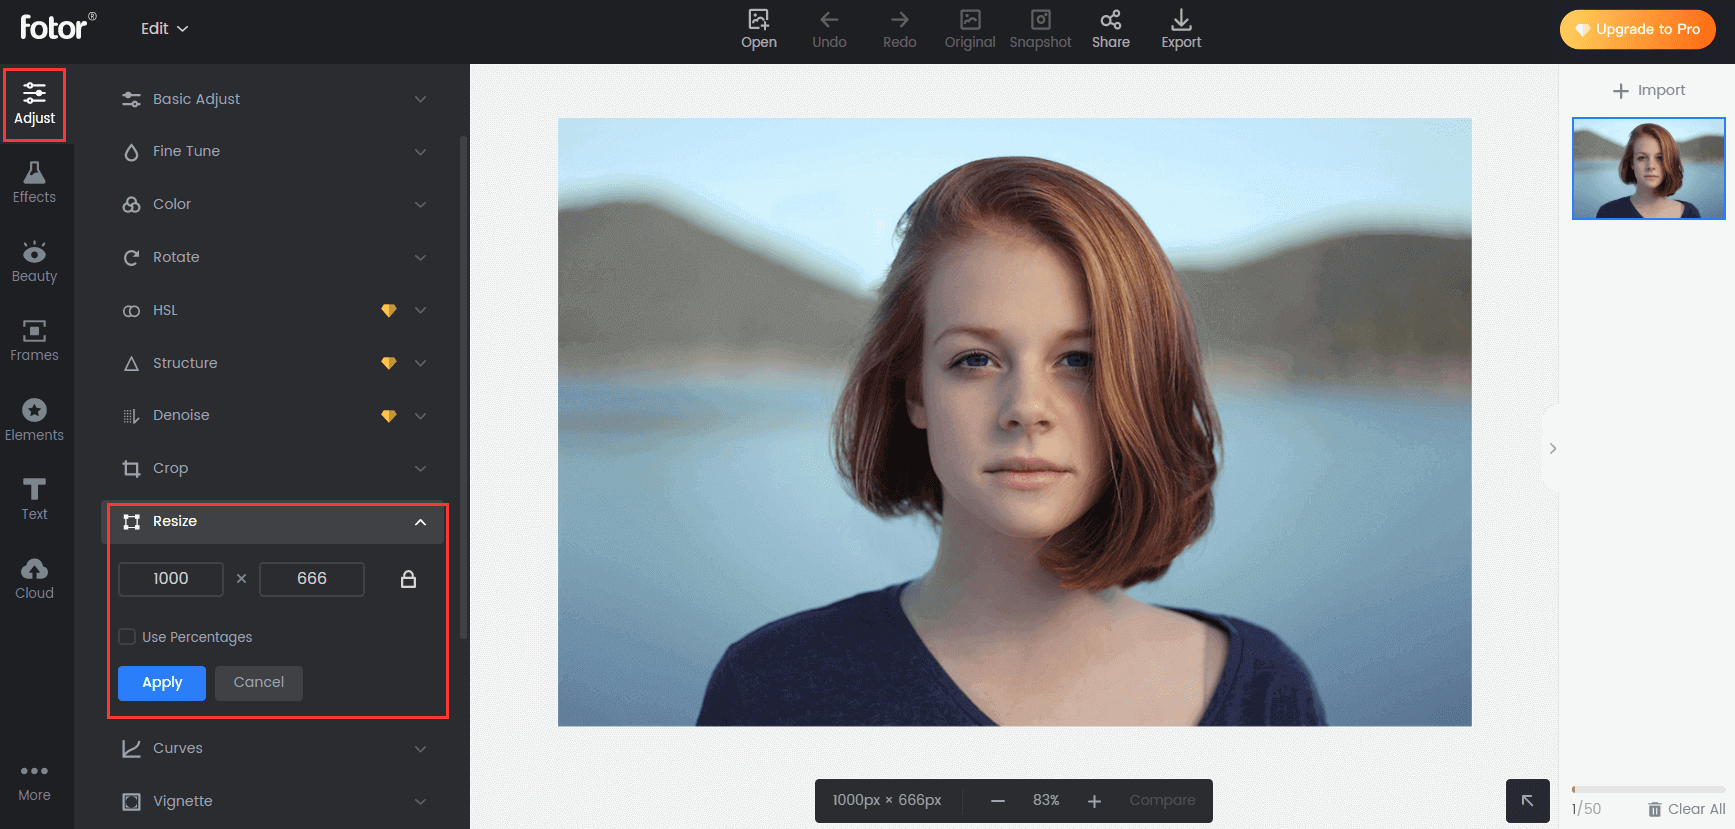
- Set Dimensions and Resolution: In the pop-up window, enter your desired values for width, height, and resolution. For “Resample” type, select “Preserve Details (2.0)” or “Preserve Details.” This feature is crucial for minimizing quality loss during enlargement. Tophinhanhdep.com recommends setting the resolution to around 100 Pixels/Inch to manage file size effectively, and advising against exceeding twice the original size for target dimensions to maintain quality.
- Convert to Smart Object (Optional but Recommended): Click on your layer in the bottom right corner and choose “Convert to Smart Object.” This allows for non-destructive scaling, meaning you can revert changes without permanent quality loss.
- Enhance Details (Advanced):
- Duplicate the Smart Object layer and set its “Blend Mode” to “Soft Light.”
- Go to “Filter” > “Other” > “High Pass” to sharpen the edges and contours of your picture. Adjust the radius to your liking.
- Save/Export: Click “File” > “Export” > “Layers to File” (or “Export As”) to download your clear, enlarged picture in high-quality JPG or PNG format.
Open-Source and Online Alternatives: Accessibility for All
For those who may not have access to premium software like Photoshop, several free and online tools provide effective solutions for image enlargement.
- GIMP (GNU Image Manipulation Program): This free, open-source raster graphics editor is a robust alternative for photo retouching, image composition, and general image editing.
- How to enlarge images in GIMP: Open your image, go to “Image” > “Scale Image.” Input target dimensions and resolution. For “Interpolation,” choose “NoHalo” (similar to Photoshop’s “Preserve Details”) to maintain quality. Click “Scale” and then export.
- Lightroom: While primarily a photo management and editing tool, Lightroom also offers resizing capabilities during export.
- How to enlarge images in Lightroom: Select the image, go to “File” > “Export.” Choose a specific folder, select your desired format and quality under “File Settings.” Check “Resize to Fit” under “Image Sizing,” customize other settings, and click “Export.”
- MS Paint (Windows): For basic resizing on Windows, MS Paint is a simple, built-in option.
- How to make a picture bigger in MS Paint: Right-click image > “Open With” > “Paint.” Go to “Image” > “Resize/Skew.” Adjust “Horizontal” and “Vertical” percentages (keeping them equal to preserve aspect ratio) to a value greater than 100. “File” > “Save As.”
- Preview (macOS): Mac users can utilize the built-in Preview app for quick image enlargement.
- How to make a picture larger in Preview: Drag image to Preview. Click the edit button (square with a pencil), then “Tools” > “Adjust Size.” Modify resolution and dimensions, ensuring “Scale proportionally” is checked. Click “OK” and save.
- Befunky (Online): This online photo editor is user-friendly and offers a resize option.
- How to increase image size in Befunky: Drag your image into Befunky. Find “Edit” on the left toolbar, choose “Resize.” Enter target width/height or use percentages. Click “Apply” and “Save.”
- Image Resizer (Online): A dedicated online tool for changing image size while aiming for high quality.
- How to enlarge image with Image Resizer: Upload your image. It will go to the “Resize” option automatically. Enter target size by dimensions or percentages. Click “Export settings,” choose format, then “Resize Image” and “Download.”
Optimizing Enlarged Images for Various Applications
Enlarging an image is often just one step in a larger visual design workflow. The ultimate goal is to present your image effectively, whether it’s a high-resolution background, a striking piece of digital art, or a critical stock photo.
Preparing Images for Print: DPI and File Formats
When enlarging images for printing, specific considerations come into play to ensure optimal quality. The most important metric is DPI (Dots Per Inch), which refers to the physical density of ink dots on paper. For high-quality prints, 300 DPI is generally recommended.
- High-Resolution Sources: Always start with the highest quality original image. Low-resolution images will appear pixelated when enlarged for print, even with advanced tools.
- Suitable File Formats: Choose file formats that support lossless compression to preserve quality. TIFF is excellent for print, while PNG is also a strong choice. JPEG, being a lossy format, can degrade further with multiple saves or significant enlargement.
- Check Printing Medium: Different materials (paper, canvas, metal) can affect the final printed quality. Test outputs are crucial.
- Test Output: Always print a small test version of your enlarged image before committing to a large print. This allows you to evaluate clarity, color, and sharpness.
Web and Digital Platforms: Balancing Size and Speed
For web applications, such as aesthetic mood boards, thematic collections, or image inspiration, the balance between image size and loading speed is critical. While you want a clear image, excessively large file sizes can slow down your website, impacting user experience and SEO.
- Resolution vs. Display Size: Enlarge images only to the size they will be displayed. An image displayed at 800 pixels wide on a screen does not need to be 3000 pixels wide.
- Compression and Optimization: After enlarging, use image compressors and optimizers (many available at Tophinhanhdep.com) to reduce file size without significant visual quality loss. This ensures your beautiful photography loads quickly.
- Responsive Design: Consider how your enlarged image will appear on different screen sizes (desktops, tablets, phones). Tools that allow for precise dimension control are beneficial.
Enhancing Visual Appeal: Beyond Just Size
Beyond simply increasing dimensions, the ultimate goal of enlargement is to enhance the image’s overall visual appeal, aligning with various editing styles and creative ideas.
- Sharpening: After enlargement, a slight sharpening can bring back some perceived detail. Many tools, including Photoshop and Tophinhanhdep.com’s AI upscaler, offer sharpening features.
- Noise Reduction: Enlarging images can sometimes introduce digital noise. Tools with noise reduction capabilities can help smooth out these imperfections, making your nature or abstract images cleaner.
- Color and Contrast Adjustments: Fine-tuning color, contrast, and saturation can further elevate the image quality, making it more vibrant and appealing. These adjustments are key to achieving specific aesthetic results or matching particular photo ideas.
Best Practices for Image Enlargement: Tips from Tophinhanhdep.com
Achieving successful image enlargement is a blend of understanding the underlying technology and employing smart editing strategies. Here are Tophinhanhdep.com’s essential tips to ensure your pictures, whether sad/emotional or beautifully aesthetic, maintain their allure when made larger.
Gradual Upscaling and Interpolation Methods
One of the most common mistakes is trying to jump from a very small image to a very large one in a single step.
- Upscale Gradually: If your image is very small and needs significant enlargement, consider upscaling in smaller increments. For example, instead of going from 100% to 400% directly, try 100% to 200%, then 200% to 300%, and finally to 400%. This can sometimes result in better detail preservation by giving the interpolation algorithms more intermediate data to work with.
- Choose the Right Interpolation Method: Interpolation methods are the algorithms software uses to create new pixels. Different methods are optimized for various scenarios:
- Bicubic Smoother (Enlargement): Generally good for enlarging images, aiming for smoother transitions.
- Bicubic Sharper (Reduction): Better for reducing image size while maintaining sharpness.
- Preserve Details (2.0)/NoHalo/Sinc (Lanczos3): These are advanced methods (found in Photoshop, GIMP, IrfanView, Tophinhanhdep.com’s AI Enlarger) that are specifically designed to preserve details and sharpness during enlargement, often leveraging smarter algorithms to prevent pixelation and haloing. Always choose the most advanced option available in your software for the best results.
Sharpening and Post-Processing
Once an image has been enlarged, some degree of perceived softness is almost inevitable. Strategic post-processing can significantly mitigate this.
- Sharpen After Resizing: Applying a sharpening filter after the enlargement process can help restore crispness to edges and details. Be cautious not to over-sharpen, as this can introduce undesirable artifacts or a “digital” look. Tools like Photoshop’s Unsharp Mask or Smart Sharpen, or the “Apply Sharpen After Resample” option in IrfanView, are excellent for this.
- Adjust Contrast: Increasing contrast slightly can also make an image appear sharper and more defined, complementing the enlargement process.
- Noise Reduction: Enlarging can sometimes emphasize existing image noise or introduce new noise. If your image looks grainy after enlargement, apply a subtle noise reduction filter to smooth out textures without sacrificing too much detail.
Sourcing High-Quality Originals
Ultimately, the best way to ensure an enlarged image looks fantastic is to start with a superior source.
- Prioritize High Resolution: Whenever possible, always use the highest resolution version of an image you can obtain. This applies whether you’re taking your own digital photography, downloading stock photos, or choosing images for your mood boards. More initial pixel data means more information for enlargement algorithms to work with, leading to significantly better outcomes.
- Avoid Repeated Compression: If you’re working with JPEGs, remember that they are “lossy.” Each time a JPEG is opened, edited, and re-saved, it loses a little more quality due to re-compression. If you plan to make multiple edits or enlargements, save your original image as a lossless format (like TIFF or PNG) before you start, and work from that lossless copy. Only convert back to JPEG (if needed) for final web use.
By combining the powerful AI upscaling capabilities of Tophinhanhdep.com with diligent traditional editing techniques and smart sourcing, you can conquer the challenge of image enlargement and achieve stunning, high-quality visuals for all your creative endeavors.
In conclusion, the ability to make an image bigger without losing quality is a valuable skill in the world of visual content creation. From understanding the limitations of pixels to harnessing the power of AI upscalers like Tophinhanhdep.com’s own tool, and mastering traditional software like Photoshop, you now have a comprehensive toolkit. Tophinhanhdep.com is committed to providing you with the best image tools, inspiration, and knowledge to elevate your digital photography and visual designs, ensuring every image you create is visually stunning and attention-grabbing. Explore Tophinhanhdep.com today to begin your journey toward perfect image enlargement and discover a world of creative possibilities.