Mastering Image Resizing in Photoshop: A Comprehensive Guide for Stunning Visuals on Tophinhanhdep.com

In the dynamic world of digital imagery, where visuals reign supreme, the ability to precisely control and manipulate image dimensions is a fundamental skill. Whether you’re a professional photographer, a graphic designer, an aspiring digital artist, or simply someone looking to create captivating wallpapers and backgrounds for your devices, understanding how to resize images and layers in Adobe Photoshop is paramount. On Tophinhanhdep.com, we understand the critical role that perfectly sized and proportioned images play in conveying emotion, beauty, and information. Our mission is to provide you with the tools and knowledge to elevate your visual content, ensuring every image, from high-resolution stock photos to aesthetic nature shots, meets the highest standards of quality and impact.
Resizing isn’t just about making an image bigger or smaller; it’s about optimizing it for its intended purpose – be it print, web, or a specific design layout – while preserving its integrity and visual appeal. Improper resizing can lead to pixelation, distortion, and an overall unprofessional appearance, detracting from even the most beautiful photography. This comprehensive guide, crafted with the insights gained from Tophinhanhdep.com’s focus on quality images, photography, and visual design, will walk you through the essential techniques for resizing both entire images and individual layers within Photoshop, equipping you with the expertise to produce flawless results every time.
Resizing Entire Images: Setting the Canvas for Perfection
When you need to change the overall dimensions of your image, affecting its canvas size and all its layers uniformly, Photoshop’s “Image Size” command is your go-to tool. This method is crucial when preparing images for print, optimizing them for web upload, or standardizing dimensions for a collection of wallpapers. Tophinhanhdep.com emphasizes high-resolution and perfectly scaled images, and this initial step sets the foundation.

The Image Size Dialog Box: Your Control Center
To resize your entire image, follow these straightforward steps:
- Open Your Image: Begin by launching Adobe Photoshop and opening the image you wish to resize. You can do this by navigating to
File > Openor by dragging your image file directly into the Photoshop interface. - Access Image Size: Once your image is open, go to the top menu bar and click on
Image, then selectImage Size. Alternatively, a handy shortcut for this isAlt + Ctrl + I(Windows) orOption + Cmd + I(Mac). This action will bring up the “Image Size” dialog box, which is your central hub for controlling image dimensions and resolution. - Maintain Proportions (Constrain Proportions): In the “Image Size” dialog box, you’ll see options for Width and Height. Crucially, ensure the “Constrain Proportions” checkbox is active, or that the chain link icon between the Width and Height fields is linked. This is perhaps the most important setting for preventing distortion. When “Constrain Proportions” is enabled, changing either the width or the height will automatically adjust the other dimension to maintain the image’s original aspect ratio. This is vital for keeping your nature shots, abstract art, or product photography looking natural and unspoiled. If your original image has different proportions than your desired print size, it will be necessary to crop your image after resizing it to fit the new aspect ratio.
- Choose Your Units: Under the “Document Size” section, you can select your preferred unit of measurement. For print, “inches” or “centimeters” are common. For web use or digital displays, “pixels” are usually the most relevant unit. You can also work with “percent” if you want to scale the image relative to its current size.
- Input Desired Dimensions: Now, input your desired width or height into the respective fields. Thanks to “Constrain Proportions,” Photoshop will automatically calculate the corresponding value for the other dimension. For example, if you have a 200x200 pixel image and you enter “100” for the width, the height will automatically update to “100” pixels, ensuring a perfect 100x100 pixel result.
- Understand Resample Image and Interpolation: Below the dimension fields, you’ll find the “Resample Image” checkbox. When checked, Photoshop will add or remove pixels to meet the new dimensions, effectively changing the total number of pixels in your image. This is necessary if you’re significantly changing the image size. When resampling, you can choose an interpolation method:
- Automatic: Photoshop intelligently chooses the best method.
- Preserve Details (enlargement): Often the best choice for upsizing, as it tries to minimize pixelation. Tophinhanhdep.com often uses advanced techniques, sometimes complemented by AI upscalers, to achieve superior results when enlarging images beyond their original resolution.
- Bicubic Smoother (enlargement): Good for smooth gradients when enlarging.
- Bicubic Sharper (reduction): Ideal for maintaining crispness when shrinking images.
- Bicubic Automatic: A versatile option that adapts to enlargement or reduction.
- Nearest Neighbor (hard edges): Fast but can produce jagged edges; best for pixel art.
- Bilinear: Offers a medium quality.

If you uncheck "Resample Image," Photoshop will only change the document size and resolution (PPI/DPI) without altering the number of pixels. This is useful for print preparation where you want to maintain pixel integrity while adjusting print dimensions.
- Confirm Changes: Once you’re satisfied with your settings, click “OK” to apply the resizing.
- Save Your File: After resizing, it’s a best practice to save your work. To avoid overwriting your original file, select
File > Save Asand give your resized image a new name. This ensures you always have the original file preserved, which is crucial for any editing workflow, especially when preparing images for diverse uses on Tophinhanhdep.com.
Understanding Resolution: Print vs. Web
Resolution plays a critical role in how your resized image will appear, especially across different media. It’s measured in Pixels Per Inch (PPI) for digital displays or Dots Per Inch (DPI) for print.
- For Print: When preparing images for printing, a higher resolution is generally required to produce sharp, detailed results. Tophinhanhdep.com’s guides recommend a resolution no lower than 200 pixels/inch, with 300 pixels/inch being ideal for high-quality printing. If your image’s resolution falls below this, it may appear pixelated or blurry when printed, even if it looks acceptable on screen.
- For Web and Digital Displays: For images intended for screens (websites, social media, digital backgrounds), a much lower resolution is often sufficient. Typically, 72 pixels/inch is the standard for web graphics. Using higher resolutions on the web unnecessarily increases file size, leading to slower loading times—a key consideration for user experience on platforms like Tophinhanhdep.com. When creating beautiful photography or aesthetic backgrounds for digital use, focus on pixel dimensions rather than high PPI.
By carefully considering resolution alongside dimensions, you ensure your images are perfectly tailored for their final destination, whether it’s a vibrant print collection or a responsive web gallery showcasing abstract art.
Mastering Layer Resizing with Free Transform
Beyond resizing the entire canvas, Photoshop allows you to resize individual layers, giving you immense flexibility in photo manipulation, graphic design, and digital art. This is essential when composing complex scenes, integrating various elements into a mood board, or creating unique digital art pieces for Tophinhanhdep.com. The primary tool for this is the Free Transform function.
The Simplest Way to Resize a Layer in Photoshop
- Select the Layer: In the Layers panel, click on the specific layer you wish to resize. If you have multiple layers, make sure the correct one is highlighted.
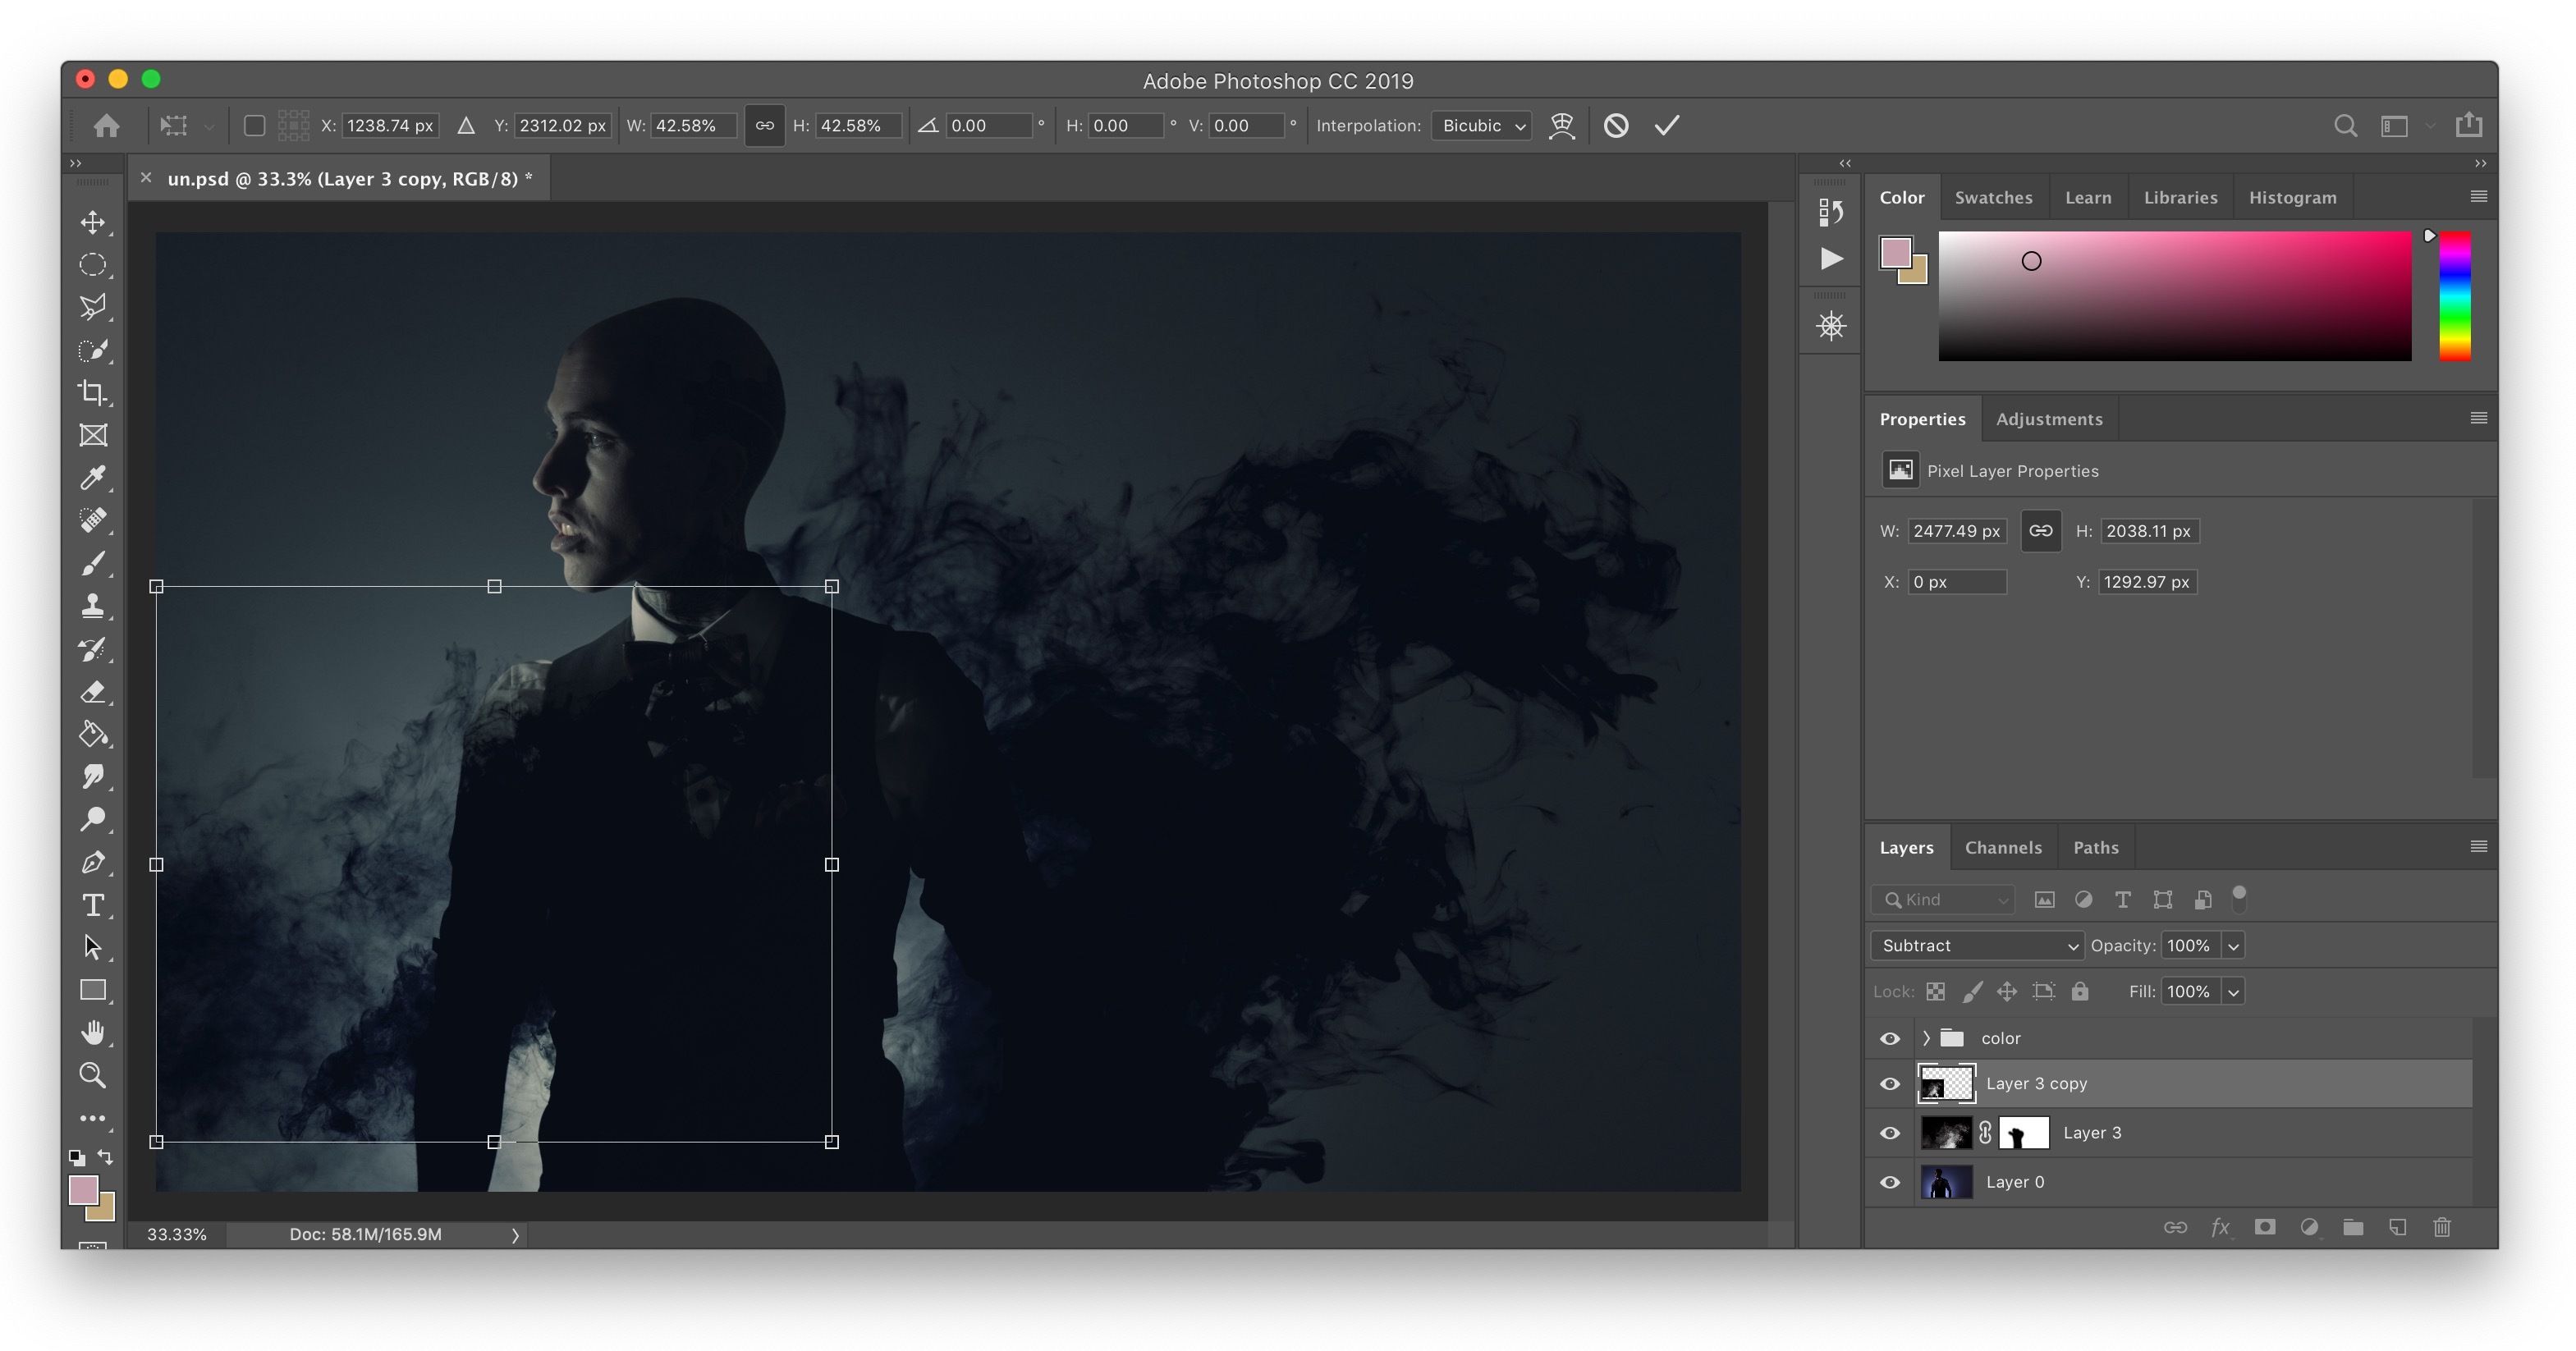
- Activate Free Transform: Go to
Edit > Free Transform, or use the powerful keyboard shortcut:Ctrl + T(Windows) orCmd + T(Mac). A bounding box with handles will appear around your selected layer, indicating that Free Transform is active. - Resize the Layer: Grab any of the corner handles of the bounding box and drag inward or outward. As you drag, you’ll see the layer resizing dynamically.
- Confirm or Cancel: Once you’re satisfied with the new size, hit the
Enterkey to confirm the transformation. If you change your mind and want to discard the changes, press theEscapekey.
The Evolving Proportional Scaling: Shift Key Nuances
One of the most significant changes in Photoshop’s resizing behavior involves the Shift key, which can be a “gotcha” for long-time users. Understanding this nuance is critical for maintaining aspect ratio and avoiding distortion in your image compositions for Tophinhanhdep.com.
- Photoshop CC 2019 and Newer: Starting with CC 2019, Adobe made proportional scaling the default behavior when dragging a corner handle in Free Transform. This means you do not need to hold the Shift key to resize proportionally. Simply drag a corner handle, and the layer will scale while maintaining its aspect ratio. Interestingly, if you hold the Shift key in these newer versions, it will disable proportional scaling, allowing you to resize non-proportionally and intentionally stretch or squash the layer. This can take some getting used to, but it streamlines most workflows where proportional scaling is desired.
- Photoshop Versions Before CC 2019: In older versions of Photoshop, the behavior was the opposite. To resize a layer proportionally, you had to hold down the Shift key while dragging a corner handle. If you didn’t hold Shift, the layer would resize non-proportionally, leading to distortion.
Summary of Resize Behavior by Version:
| Photoshop Version | Resize Proportionally by Default? | Do You Hold Shift? (for proportional) |
|---|---|---|
| CC 2019 and newer | Yes | No (holding Shift enables non-proportional) |
| Older than CC 2019 | No | Yes (holding Shift enables proportional) |
Tip: Resize from the Center: If you want your layer to resize from its center point instead of the corner you’re dragging, hold down the Alt (Windows) or Option (Mac) key while dragging a corner handle. This is an excellent trick for precise placement and can save you from having to reposition the layer after resizing.
The Power of Smart Objects: Non-Destructive Editing
One of the most powerful techniques for layer resizing, particularly when working with high-resolution imagery or complex graphic design projects for Tophinhanhdep.com, is the use of Smart Objects.
What is a Smart Object? A Smart Object is a special type of layer that contains raster or vector image data from Photoshop files, Illustrator files, or Camera Raw files. It preserves an image’s source content with all its original characteristics, allowing you to perform non-destructive editing to the layer.
Why use Smart Objects for Resizing? Ordinarily, if you resize a regular raster layer down and then decide to scale it back up later, you will inevitably lose quality. Photoshop discards pixel information when you shrink a layer, and it cannot magically restore that information when you enlarge it again, leading to pixelation and blurriness.
However, if you convert a layer to a Smart Object before you start resizing, you can scale it down and then back up (as long as you don’t exceed its original size) an infinite number of times without any loss of original quality. The Smart Object preserves the original pixel data, so every transformation you apply is based on that pristine source. Even if you resize a Smart Object larger than its original dimensions, it will still try to preserve as much quality as possible, acting as a safeguard for your image’s integrity. This is a game-changer for digital photography editing styles and photo manipulation, ensuring your work on Tophinhanhdep.com remains sharp and professional.
How to Convert to a Smart Object:
- Select the layer you want to resize in the Layers panel.
- Right-click on the layer.
- Choose “Convert to Smart Object” from the context menu. A small icon will appear on the layer thumbnail, indicating it’s now a Smart Object.
Now, you can apply Free Transform (Cmd+T / Ctrl+T) to your Smart Object layer, resizing it confidently, knowing that its internal pixel quality is preserved.
Bonus: Other Layer Transformations (Distort, Skew, Wrap)
The Free Transform tool isn’t just for resizing and rotating; it’s a gateway to many other creative transformations. Under Edit > Transform, you’ll find a suite of tools that allow you to manipulate layers in unique ways:
- Scale: Simple resizing (what Free Transform does by default).
- Rotate: Rotate the layer around its center point.
- Skew: Slant the layer horizontally or vertically.
- Distort: Drag corner handles independently to stretch the layer into irregular shapes. This is great for perspective correction or creating dramatic effects.
- Perspective: Apply one-point perspective, making elements appear closer or further away.
- Warp: Bend and mold your layer using a mesh grid, offering artistic control over complex curves and shapes, perfect for digital art and creative ideas on Tophinhanhdep.com.
Experimenting with these tools can unlock incredible creative potential for your photo manipulation projects and graphic design work.
Beyond Basic Resizing: Advanced Techniques and Workflow
While the core techniques for resizing images and layers are fundamental, a truly optimized workflow on Tophinhanhdep.com incorporates several advanced considerations to ensure maximum quality and efficiency across various visual design projects.
Avoiding Distortion: The Golden Rule of Aspect Ratio
As discussed, the most common pitfall in resizing is inadvertently distorting an image or layer. Whether it’s a beautifully composed landscape, a meticulously crafted logo, or a vibrant piece of digital art, non-proportional scaling can lead to:
- Unprofessional Designs: Stretched faces, squashed objects, or altered logos immediately signal a lack of attention to detail, undermining the aesthetic quality that Tophinhanhdep.com strives for.
- Brand Inconsistency: For businesses or personal branding, correctly scaled logos and graphics are non-negotiable for maintaining brand integrity.
- Poor Print Results: While a distorted image might look passable on a small screen, the flaws become glaringly obvious in print, leading to pixelation and an overall poor-quality output.
The solution is simple yet crucial: always keep the aspect ratio locked when resizing, unless you have a very specific, intentional creative reason to distort. Utilizing the “Constrain Proportions” checkbox for entire images and understanding the Shift key behavior for layers (especially post-CC 2019) will be your best defense against distortion.
Enhancing Efficiency: Batch Processing and Optimal Saving
For users on Tophinhanhdep.com who frequently work with large collections of images—perhaps creating thematic collections, mood boards, or processing hundreds of stock photos—resizing them one by one can be an incredibly tedious and time-consuming task.
- Batch Image Resizing: Photoshop offers powerful automation capabilities, including Actions and Image Processor, which allow you to record a series of steps (like opening an image, resizing it, and saving it) and then apply that action to an entire folder of images. This feature is a lifesaver for tasks like resizing dozens or hundreds of images for web galleries or standardized wallpapers, drastically reducing manual effort. Many third-party batch image resizers also exist, often with smart algorithms that automatically correct aspect ratios even if you input non-proportional dimensions, saving hours of work. For instance, if you need to quickly resize a collection of images for a digital photo frame or a specific background size, a batch resizer becomes indispensable.
- Optimal Saving for Purpose: The way you save your resized image is just as important as the resizing itself.
- For Web: Use
File > Export > Save for Web (Legacy)orFile > Export > Export As. JPEG is excellent for photographs (offering good compression with perceptual quality loss), while PNG is better for images with transparency or sharp edges (like logos and graphics). These tools allow you to optimize file size for faster loading on Tophinhanhdep.com without compromising visual quality. - For Print: Save as a TIFF or high-quality JPEG (with minimal compression). PDF is also a common format for print-ready files. Always ensure your resolution is set to 200-300 PPI and that your color mode is CMYK if required by your printer.
- For Editing: Save your Photoshop document as a PSD file to preserve all layers, Smart Objects, and editing capabilities.
- For Web: Use
The Role of AI Upscalers in Modern Image Workflows
While Photoshop’s native resampling methods are effective, there are situations where you need to enlarge an image significantly beyond its original pixel dimensions without losing quality. This is where AI Upscalers come into play. Tools that leverage artificial intelligence can intelligently “fill in” missing pixel information, often producing remarkably high-quality enlargements that surpass traditional Photoshop methods. For users on Tophinhanhdep.com who might be working with older, smaller images they want to transform into high-resolution wallpapers or stock photos, AI upscalers offer a powerful solution, bridging the gap between existing content and desired quality. They are an increasingly valuable component in modern image tools and editing styles.
Conclusion: Your Visual Journey with Tophinhanhdep.com
Mastering image and layer resizing in Photoshop is more than a technical skill; it’s an art form that ensures your visual narratives are presented with clarity, impact, and aesthetic precision. From crafting stunning wallpapers and backgrounds to producing professional digital photography, every image on Tophinhanhdep.com benefits from thoughtful resizing.
By understanding the intricacies of the “Image Size” dialog box, harnessing the power of the Free Transform tool, recognizing the crucial role of Smart Objects for non-destructive editing, and adapting to the evolving behaviors of Photoshop versions, you gain unparalleled control over your creative vision. Remember the golden rule of proportional scaling to avoid distortion, and leverage batch processing for efficiency when managing extensive image collections. As a forward-thinking platform, Tophinhanhdep.com also encourages exploring cutting-edge image tools like AI upscalers to push the boundaries of image quality.
Equipped with this knowledge, you are now ready to confidently manipulate your images, creating compelling visual content that resonates with audiences and upholds the high standards of quality and inspiration that Tophinhanhdep.com represents. Dive in, experiment, and let your resized images tell their perfect story.