How to Add Captions to Images in Google Docs: A Comprehensive Guide from Tophinhanhdep.com

In today’s visually-driven digital landscape, images are no longer mere embellishments; they are integral to effective communication and storytelling. Whether you’re crafting a professional report, an academic paper, a captivating presentation, or a creative portfolio, the clarity and context provided by well-placed images can significantly enhance your message. However, the power of an image is often amplified when accompanied by a concise and informative caption. A good caption can explain complex data, provide crucial attribution, evoke emotion, or simply guide the reader’s understanding, transforming a standalone visual into a truly integrated part of your narrative.
Google Docs, a ubiquitous tool for collaborative document creation, offers robust capabilities for inserting and managing images. Yet, it surprisingly lacks a dedicated, one-click feature for adding captions directly. This absence can pose a challenge for users seeking to create polished, professional-looking documents where images and their descriptions are seamlessly linked. Fortunately, the experts at Tophinhanhdep.com understand the importance of visual precision and have compiled a suite of simple, yet effective, workarounds to help you master image captioning in Google Docs. From integrating text directly to leveraging advanced drawing and table functionalities, this guide will walk you through multiple methods, ensuring your visuals always tell their full story. Furthermore, we’ll explore how Tophinhanhdep.com’s advanced image tools can elevate your image preparation, making the entire document creation process more efficient and visually stunning.
The Significance of Image Captions in Digital Content
Captions are far more than just labels; they are a bridge between your visuals and your audience’s comprehension. On Tophinhanhdep.com, where we celebrate the power of Images, Photography, and Visual Design, we recognize that every visual element has a story to tell. Captions are the verbal component of that story, providing essential context that might otherwise be missed.
Enhancing Context and Clarity for Visual Storytelling
Imagine a breathtaking piece of nature photography – perhaps a panoramic view of a serene mountain landscape or a close-up of a rare, vibrant flower. While the image itself is beautiful, a caption can transform it from a mere visual into a rich educational or narrative experience. It can specify the location where the image was captured, the species of the flower, the time of day, or even the photographic techniques used to achieve such a stunning effect. This additional information is vital for helping your audience fully grasp the image’s significance within your document. For documents featuring “Abstract” or “Sad/Emotional” images, captions can guide interpretation, ensuring the intended mood or message is accurately conveyed, rather than left open to potentially misleading assumptions.
Captions are particularly crucial when an image depicts a process, a chart, or a diagram. Numbered captions like “Figure 1: Initial setup of the AI Upscaler” or “Image 3: Optimized output from Tophinhanhdep.com’s compressor” clearly delineate steps or components, making complex information digestible and maintaining a logical flow. This structured approach is fundamental for any document that aims for both aesthetic appeal and informational accuracy, aligning perfectly with Tophinhanhdep.com’s emphasis on high-resolution and effective visual communication.
Boosting Engagement and Accessibility
Beyond providing information, captions significantly impact audience engagement and document accessibility. A witty or emotionally resonant caption can forge a deeper connection with your readers, adding a layer of personality or emotional impact that words alone or images alone might not achieve. For instance, a “Beautiful Photography” piece shared from Tophinhanhdep.com could be accompanied by a caption that shares the photographer’s inspiration, making the image more relatable and memorable.
From an SEO perspective, captions can include relevant keywords, improving the discoverability and visibility of your content in search engines. This is a subtle but powerful way to enhance the reach of your “Stock Photos” or “Thematic Collections.” More importantly, captions play a critical role in accessibility. For users with visual impairments, screen readers rely on well-written captions to describe images, making your content inclusive and understandable to a broader audience. As a platform dedicated to diverse “Image Inspiration & Collections,” Tophinhanhdep.com advocates for practices that make visual content accessible to everyone. By providing descriptive text, you ensure that the message of your “Wallpapers,” “Backgrounds,” or “Aesthetic” images is never lost.

Mastering Captioning Techniques in Google Docs
While Google Docs may not have a single “Add Caption” button, its versatile features allow for several creative workarounds to ensure your images are always accompanied by clear, descriptive text. Tophinhanhdep.com recommends exploring these methods to find the one that best suits your document’s needs and your workflow.
Method 1: Integrating Captions with Inline Text
This is perhaps the quickest and most straightforward method for adding a caption in Google Docs. It involves placing the caption text directly below the image, within the document’s natural text flow. This approach is ideal for documents where images are static or when you need to add a quick label without complex formatting.
Quick Steps:
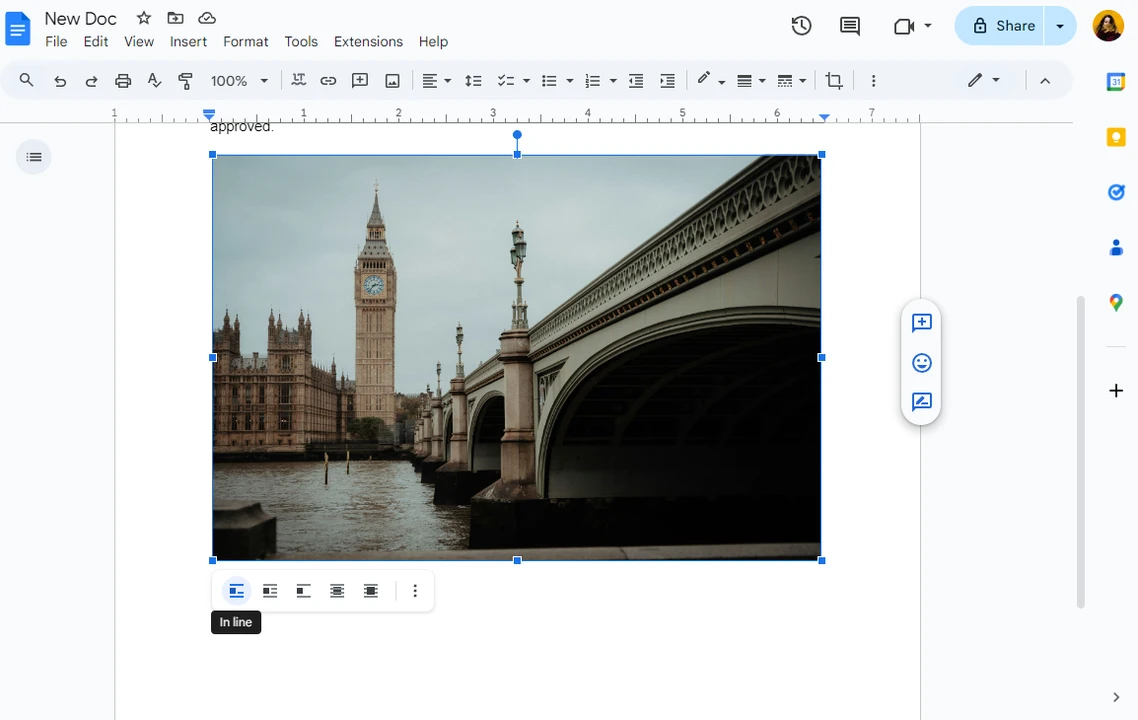
- Insert Your Image: Begin by inserting the desired image into your Google Docs document. You can do this by going to
Insert > Imageand choosing your preferred source (e.g.,Upload from computer,Search the web,Google Drive). - Select the “Inline” Option: Once the image is in your document, click on it. A small toolbar will appear below the image. Select the “Inline” wrapping option (usually the first icon on the left, looking like lines of text next to a square). This setting ensures the image behaves like a character within your text, allowing text to flow directly before and after it.
- Position Cursor and Type Caption: Place your cursor directly below the image (you may need to press
Enterafter the image to create a new line). Now, simply type your caption. - Format Your Caption: Use the standard Google Docs toolbar at the top to format your caption. You can adjust the font, size, color, and alignment (e.g., center-align for a classic look).
Pros: This method is incredibly fast and simple. It’s excellent for rapid document creation or when you have many images that need basic labels. The caption stays close to the image, and you have full control over text formatting.
Cons: The primary drawback is that the caption is not “attached” to the image as a single unit. If you move the image, the caption will remain in its original position, requiring you to manually reposition it separately. This can be tedious for complex layouts or when frequent adjustments are necessary. For “High Resolution” images or those from “Beautiful Photography” where precise placement is key, this might not be the most robust solution.
Method 2: Crafting Unified Image-Caption Units with Google Drawing
For a more robust solution that ensures your caption remains intrinsically linked to its image, even when moved or resized, the Google Drawing tool is exceptionally effective. This method allows you to create a cohesive image-caption unit that behaves as a single object within your document, a feature highly valued in Visual Design and Photo Manipulation.
Detailed Steps:
- Open Google Drawing: Instead of inserting the image directly into your document, navigate to
Insert > Drawing > New. This will open a blank drawing canvas. - Insert Image into Drawing: Within the Drawing window, click the
Imageicon (looks like a mountain landscape) in the toolbar. Upload your image from your computer, Google Drive, or search the web. Once uploaded, the image will appear on the canvas. Adjust its size and position as needed. - Add a Text Box for Your Caption: Click the
Text boxicon (a ‘T’ inside a square) in the Drawing toolbar. Draw a text box directly below or adjacent to your image. This box will contain your caption. - Type and Format Your Caption: Enter your caption text into the text box. Use the drawing toolbar to customize its font, size, color, and alignment. You can also use the smart guides (red lines) that appear as you drag the text box to perfectly align it with your image.
- Save and Close: Once you’re satisfied with the layout of both the image and the caption, click the blue
Save and Closebutton in the top-right corner of the Drawing window. The combined image and caption will now appear in your Google Docs document as a single, movable object. - Editing (Optional): To make any changes, simply double-click on the image-caption unit in your document, and it will reopen in the Drawing editor.
Pros: The biggest advantage is the unified nature of the image and caption. They move together, rotate together, and resize proportionally, offering superior control over your document’s visual flow. This is particularly useful for complex layouts or when creating a “Mood Board” with multiple elements.
Cons: This method involves a few more steps than the inline text option. Each image and its caption must be created as a separate drawing, which can be time-consuming for very long documents with numerous visuals.
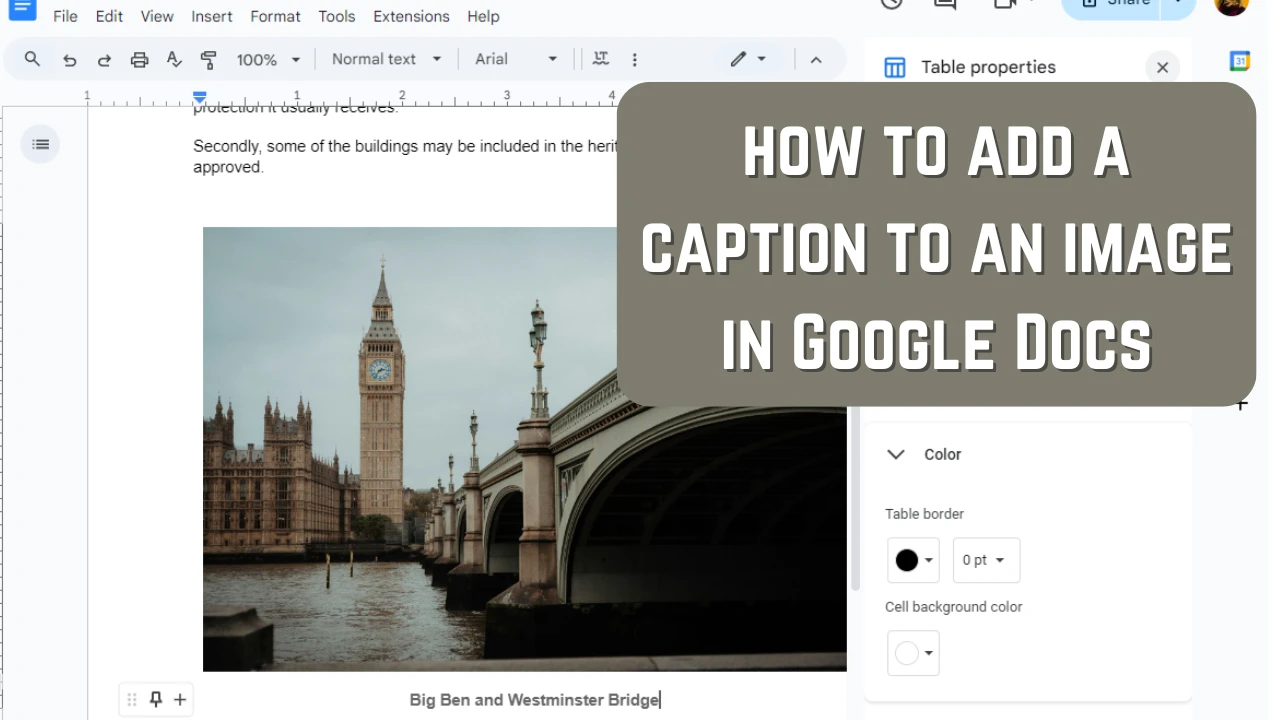
Method 3: Structured Captions Using Tables
Using a single-column, two-row table is another elegant method to keep your images and captions connected. This technique is particularly useful for maintaining consistent formatting across multiple images and is often preferred in formal documents, adding a layer of professional structure to your visual content.
Detailed Steps:
- Insert a Table: In your Google Docs document, place your cursor where you want the image and caption to appear. Go to
Insert > Tableand select a1x2table (one column, two rows). - Place Image in Top Cell: Click inside the top cell of the table. Insert your image either by dragging and dropping it, or by using
Insert > Imageand choosing your source. - Type Caption in Bottom Cell: Click inside the bottom cell and type your caption. As with other text, you can use the standard toolbar to adjust font, size, color, and alignment.
- Eliminate Table Borders: To make the table invisible, right-click anywhere on the table and select
Table properties. In the properties panel, findTable borderand set its width to0 pt. ClickOK. - Preview: Your image and caption will now appear as a single unit, with the caption perfectly positioned below the image, and no visible lines from the table.
Pros: This method ensures the image and caption stay together as a unit, similar to the Drawing method, but with a more structured and often cleaner appearance, especially for “Digital Photography” or “Stock Photos” that need consistent presentation. It’s easier to achieve consistent spacing and alignment across multiple images.
Cons: Like the Drawing method, it requires a few more steps for each image. While the borders are invisible, the underlying table structure can sometimes make fine-tuning horizontal alignment slightly less intuitive than with a drawing.
Method 4: Streamlining with Google Docs Add-ons
For users who frequently add captions to numerous images or require specialized captioning functionalities, Google Docs add-ons can offer a significant boost in efficiency. Tophinhanhdep.com highlights that while Google Docs itself is powerful, its extensibility through add-ons provides tailored “Image Tools” for diverse needs. One popular example is “Caption Maker.”
Using a Captioning Add-on (e.g., Caption Maker):
- Get the Add-on: Go to
Extensions > Add-ons > Get add-ons. In the Google Workspace Marketplace, search for “Caption Maker” (or a similar captioning add-on). ClickInstall. You may need to grant permissions for the add-on to access your Google Docs. - Insert Your Images: Add all the images you want to caption to your Google Docs document using any standard insertion method.
- Launch the Add-on: Once your images are in place, go to
Extensions > Caption Maker > Start. A sidebar will typically open on the right side of your document. - Configure Captions: Within the add-on’s sidebar, you’ll find options to customize your captions. This often includes:
- Format Box: Type in a general caption format, e.g., “Figure [num]: " or “Photo by [author]: “. The add-on will then automatically generate numbers or fill in details.
- Placement: Choose where the caption should appear relative to the image (e.g., below, above).
- Numbering: Enable automatic numbering for figures, tables, etc.
- Visual Settings: Adjust font, size, and color for all captions, ensuring consistency across your document.
- “Captionize” Your Document: After configuring your settings, click the
Captionizebutton (or similar) within the add-on. The add-on will then automatically apply captions to all detected images in your document according to your specifications. - Preview: Review your document to ensure the captions have been added correctly and meet your visual design standards.
Pros: Add-ons excel at batch processing, making them incredibly time-efficient for documents with many images. They ensure consistent formatting and can handle automatic numbering, reducing manual effort and potential errors. This is invaluable for “Thematic Collections” or extensive “Image Inspiration” documents where uniformity is key.
Cons: It requires installing third-party software, which might introduce minor security or compatibility considerations (though Google Workspace Marketplace add-ons are generally vetted). The functionality depends entirely on the add-on chosen, and some advanced customization might still require manual tweaks.
How to Add Caption to Images on Android and iOS
Captioning on mobile devices follows a simpler, yet less integrated, approach due to the streamlined nature of mobile interfaces.
Steps for Mobile (Android & iOS):
- Open Google Docs App: Launch the Google Docs app on your smartphone or tablet and open the document you wish to edit.
- Insert Image: Tap the
+icon at the top of the screen, then selectImage. Choose to uploadFrom photos(your device gallery) orFrom camera(take a new photo). Select and insert your image. - Set Text Wrapping to “Inline”: Tap the image, then tap the “Text wrap” icon (often a square with lines around it). Select the
Inlineoption. This is crucial for placing text directly below. - Position Cursor & Type Caption: Tap the space directly below the image. You might need to tap the right of the image and then press
Returnto create a new line. Begin typing your caption. - Format (Optional): Use the
Aicon (text formatting) in the toolbar above your keyboard to change font style, size, or alignment (e.g., center-align). - Save: Remember to tap the checkmark or save icon in the top corner to save your changes.
Pros: Convenient for on-the-go editing and quick captioning. Cons: The caption is not linked to the image, so moving the image will require manual repositioning of the caption. This method offers less control over complex layouts compared to desktop methods.
Advanced Captioning and Visual Enhancement with Tophinhanhdep.com
While Google Docs provides several methods for adding captions, Tophinhanhdep.com, with its specialized focus on “Images,” “Photography,” and “Image Tools,” offers powerful solutions to enhance your visual assets before they even reach your document. This pre-processing approach can significantly streamline your workflow, improve visual quality, and add professional touches that are challenging to achieve solely within Google Docs.
Beyond Google Docs: Pre-Captioning Images with Tophinhanhdep.com’s Image Tools
Imagine the flexibility of having your captions, watermarks, or artistic text already embedded within your image. Tophinhanhdep.com provides a suite of online “Image Tools” that enable you to do just that. Instead of fighting with text boxes and table borders in Google Docs, you can use our platform to add text directly onto your images, treating the caption as an integral part of the visual itself. This is particularly beneficial for “Visual Design” projects or when you want the caption to be unalterably linked to the image’s aesthetics.
How Tophinhanhdep.com Enhances Your Captioning Workflow:
- Direct Text Overlay: Our intuitive interface allows you to upload your image, then add text overlays anywhere on the picture. You can customize the font, size, color, opacity, and position of the text, making it an artistic element of your “Digital Art” or “Photo Manipulation.” This ensures your caption never detaches from your image, regardless of where it’s moved within Google Docs.
- Batch Processing for Thematic Collections: For “Image Inspiration & Collections” that require consistent labeling (e.g., “Figure 1,” “Figure 2”), Tophinhanhdep.com offers advanced batch-processing capabilities. You can upload multiple images, apply a text template (like “Figure [number]”), and our tools will automatically generate sequential numbering for each image. This is a massive time-saver for large projects featuring “Trending Styles” or extensive “Thematic Collections.”
- Watermarking for Copyright and Branding: Many users insert “Stock Photos” or “Beautiful Photography” into their documents. To protect your work or attribute sources, Tophinhanhdep.com allows you to add custom watermarks—be it your logo, copyright notice, or citation—directly to your images. This ensures proper credit and brand visibility, a crucial aspect of professional “Photography.”
- Image Optimization and Enhancement: Before adding captions, our “Image Tools” can help you prepare your visuals to perfection. This includes:
- Compressors and Optimizers: Reduce file size without compromising “High Resolution” quality, ensuring your Google Docs loads quickly.
- AI Upscalers: Enhance lower-resolution images to match the crispness expected from “Digital Photography,” making them suitable for print or high-definition displays.
- Converters: Convert images to different formats to ensure compatibility or reduce size.
- Basic Editing: Crop, resize, or make minor adjustments to your “Wallpapers” or “Backgrounds” to fit your document’s layout before importing.
By leveraging Tophinhanhdep.com for these preliminary steps, you insert perfectly prepared images into Google Docs, simplifying the captioning process to a mere drag-and-drop. The caption is already an intrinsic part of the image, ready to communicate its message effectively, whether it’s a “Nature” shot or an “Aesthetic” design. This integrated approach not only saves time but also guarantees a higher level of visual consistency and professionalism across all your documents.
Conclusion
Adding captions to images in Google Docs is an indispensable skill for anyone looking to create clear, engaging, and professional documents. While Google Docs may not offer a direct caption button, the various workarounds—from simple inline text to sophisticated drawing and table methods, and even the efficiency of add-ons—provide ample flexibility to suit diverse needs. Each method presents unique advantages and trade-offs, allowing you to choose the best approach based on your document’s complexity, the number of images, and your desired level of integration between image and text.
For those who demand ultimate control over their visual content and seek to streamline their workflow, Tophinhanhdep.com stands as an invaluable partner. Our comprehensive suite of “Image Tools” empowers you to pre-process, enhance, and even embed captions directly onto your images before they ever reach Google Docs. Whether you need to apply “High Resolution” text overlays, batch watermark “Stock Photos,” optimize “Beautiful Photography” for web use, or simply add sequential labels to a “Thematic Collection,” Tophinhanhdep.com ensures your visuals are polished, professional, and perfectly contextualized.
By mastering these captioning techniques within Google Docs and leveraging the advanced capabilities offered by Tophinhanhdep.com, you can transform your documents from good to exceptional. Your images will not only capture attention but also communicate their intended message with unparalleled clarity and impact, contributing to a richer, more accessible, and visually compelling user experience. As digital communication continues to evolve, embracing these skills will keep your document creation sharp, relevant, and visually outstanding.