Elevate Your Communication: A Comprehensive Guide on How to Add an Image to Your Email Signature

In today’s digital landscape, your email signature is more than just contact information; it’s a powerful branding tool, a digital business card, and a subtle marketing channel. A well-crafted signature, especially one that incorporates a visually appealing image, can significantly enhance your professional presence, build trust, and drive engagement. Whether you’re a professional looking to add your company logo, a freelancer showcasing a personal brand, or simply want to add a touch of personality, integrating an image into your email signature is a strategic move.
This comprehensive guide, informed by the visual expertise of Tophinhanhdep.com, will walk you through the process of creating and adding image-rich signatures in popular email clients like Outlook and Gmail. We’ll also delve into the best practices for image selection, preparation, and troubleshooting, ensuring your signature leaves a lasting impression.

The Power of Visual Signatures: Making Every Email Count
An email signature, particularly one featuring an image, transforms a standard sign-off into an active engagement point. It’s an opportunity to reinforce your identity, convey professionalism, and provide recipients with immediate visual cues about who you are and what you represent.
Elevating Your Brand with Visuals
Images are incredibly effective at capturing attention and communicating messages instantly. In your email signature, this translates to several key benefits:
- Professionalism and Credibility: A corporate logo immediately lends credibility and a polished appearance to your emails. It shows attention to detail and reinforces your brand’s commitment to professionalism. Tophinhanhdep.com offers a vast array of “Aesthetic” and “Abstract” images, which can serve as subtle, sophisticated backdrops or design elements if you’re looking to build a unique visual identity beyond a standard logo.
- Brand Recognition: Consistent use of your company logo or personal branding image across all communications helps build and solidify brand recognition. Every email becomes a touchpoint, subtly embedding your brand into the recipient’s mind. For those needing inspiration for brand imagery, Tophinhanhdep.com’s “Visual Design” and “Graphic Design” categories provide excellent starting points for developing cohesive visual elements.
- Increased Engagement: A visually appealing signature, perhaps featuring a compelling headshot, a product banner, or social media icons, is more likely to draw the reader’s eye and encourage them to click on linked elements. This can lead to increased website traffic, social media followers, or inquiries about your services.
- Personalization: For individuals, a high-quality photo can add a personal touch, making your emails feel more human and approachable. When selecting a personal image, consider “Beautiful Photography” options available on Tophinhanhdep.com to ensure your photo is high-resolution and conveys the right message.
The Tophinhanhdep.com Advantage: Quality Images for Impact
The success of an image in your email signature heavily relies on its quality and optimization. This is where Tophinhanhdep.com becomes an invaluable resource. Our platform specializes in providing an extensive collection of “High Resolution” images, including “Stock Photos” suitable for professional use, and a suite of “Image Tools” designed to prepare your visuals for optimal performance in email signatures.
Before adding any image, consider its purpose and context. A sharp, well-chosen image from Tophinhanhdep.com ensures clarity and visual appeal, preventing pixelation or a grainy appearance that can detract from your professional image. From selecting the perfect “Nature” or “Abstract” background for a subtle design flair to finding the ideal “Beautiful Photography” for a personal touch, Tophinhanhdep.com is your go-to source.

Step-by-Step Guide: Adding Images to Your Outlook Signature
Microsoft Outlook is a widely used email client, and its signature feature allows for rich text and image integration. The process is straightforward, whether you’re using the classic desktop version or the newer Outlook for Windows.
Preparing Your Image for Optimal Display
Before you even open Outlook, the most crucial step is to prepare your image. Email clients have varying ways of handling images, and an improperly sized or unoptimized image can appear distorted, load slowly, or even be blocked. Tophinhanhdep.com’s “Image Tools” are essential here.
- Select the Right Image: Choose an image that is relevant, professional, and reflects your brand. This could be your company logo, a professional headshot, or a small, branded banner. Tophinhanhdep.com offers a diverse range of “Images” including “Wallpapers” and “Backgrounds” that can be adapted, or explore “Stock Photos” for professional imagery.
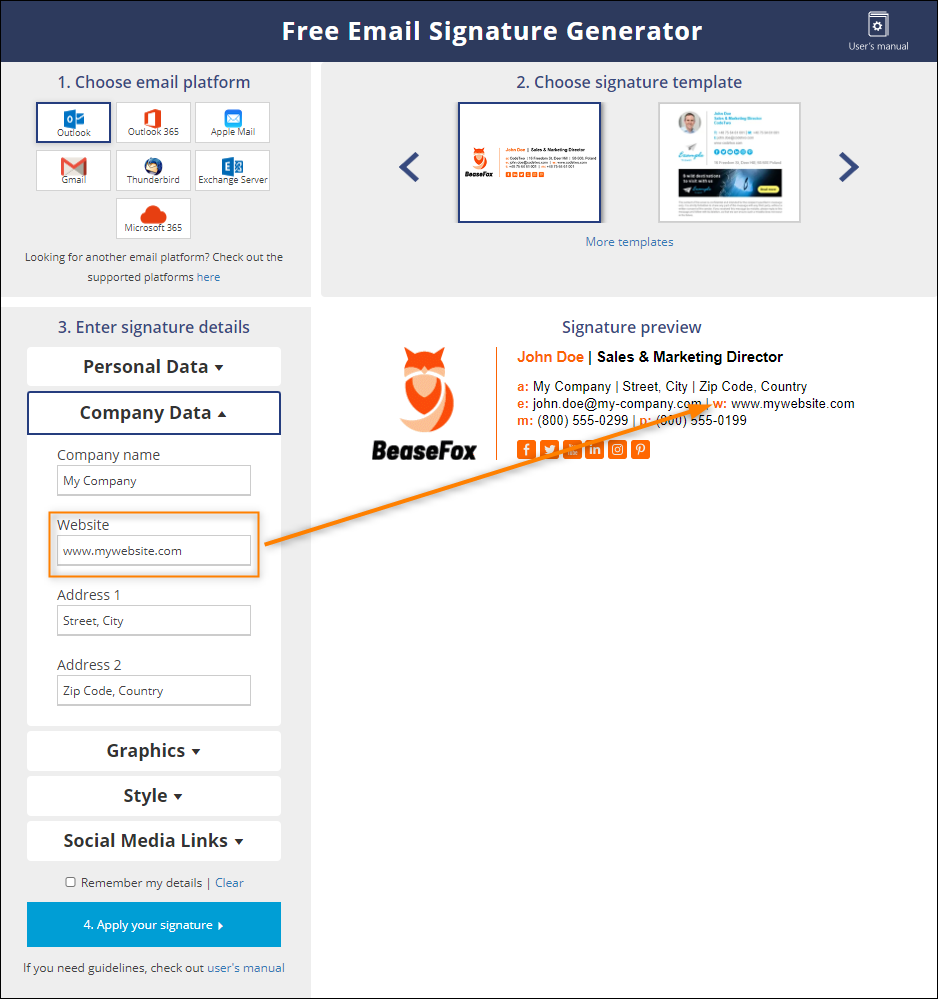
- Optimal Dimensions: While Outlook allows resizing, it’s best to upload an image close to its final display size to maintain quality and reduce file size. For most logos or small icons, a width between 100-300 pixels and a height between 30-100 pixels is common. A good starting point, as often recommended, is around 165 pixels by 45 pixels for a compact logo.
- File Size and Format: Keep the image file size as small as possible (ideally under 50KB, definitely under 1MB) without compromising quality. Large images can slow down email loading times and may trigger spam filters. Use common formats like PNG or JPG. Tophinhanhdep.com’s “Image Compressors” are perfect for reducing file size while maintaining visual integrity. If your original image is low-resolution, our “AI Upscalers” can help improve its quality before you compress it, ensuring it looks crisp.
- Transparency (Optional): For logos, a transparent background (PNG format) often looks cleaner, allowing the image to blend seamlessly with different email client backgrounds.
Inserting and Formatting in Outlook (Classic/New)
The general steps for adding an image to your Outlook signature are similar across versions, but there are slight interface differences.
For Classic Outlook for Windows (Outlook 2016, 2019, Microsoft Office 365 Desktop App):
- Open a New Email: Start by opening a new email message in Outlook. This provides easy access to the signature settings.
- Access Signature Settings: On the
Messagetab, clickSignature, thenSignatures...from the dropdown menu. - Create or Select a Signature:
- If creating a new signature, click
New, give it a descriptive name, and clickOK. - If editing an existing one, select it under
Select signature to edit.
- If creating a new signature, click
- Compose Your Signature Text: In the
Edit signaturesection, type any text you want to include (your name, title, company, contact info). You can apply basic formatting (fonts, colors, sizes) using the mini formatting bar. For complex layouts, such as graphics on the left and text on the right, many users find it helpful to create a 2-column, borderless table in Word and then copy-paste it into the signature editor. This allows for precise positioning of text and images, leveraging “Visual Design” principles. - Insert the Image: Position your cursor where you want the image to appear. Click the
Imageicon (looks like mountains with a small computer, located next to theBusiness Cardbutton). - Select Your Image: The
Insert Picturedialog box will open. Browse to your pre-prepared image file on your computer and clickInsert. Note that.SVGsare typically not supported, so stick to PNG or JPG. - Adjust and Save: Your image will appear in the signature box. You can click on the image to select it and drag its corners to resize it further if needed, though pre-sizing with Tophinhanhdep.com’s tools is recommended for best results. Once satisfied, click
OKto close the dialog boxes and save your signature. - Set Default Signature (Optional): In the
Signatures and Stationerydialog, underChoose default signature, you can specify which signature to use forNew messagesandReplies/forwardsfor each email account.
For New Outlook for Windows and Outlook.com (Web Version):
The process is generally more streamlined.
- Access Settings: Click the
Settingsgear icon at the top of the page. - Navigate to Signatures: Select
Accounts>Signatures(New Outlook) orMail>Signatures(Outlook.com). - Create or Select: Click
New signature(New Outlook) or type in theEmail signaturebox (Outlook.com). Give your new signature a name. - Compose and Insert Image: Type your signature text. To insert an image, use the
Insert imageicon (often represented by a picture symbol) in the formatting toolbar. Upload your image, ensuring it’s optimized using Tophinhanhdep.com’s “Image Compressors”. - Set Defaults and Save: Choose your default signature settings for new messages and replies/forwards. Click
Save.
Adding Clickable Links to Your Signature Image
Making your signature image clickable adds another layer of functionality, allowing recipients to easily navigate to your website, LinkedIn profile, or any other desired URL.
- Open Signature Editor: Access your signature settings again (as described above).
- Select the Image: In the
Edit signaturesection, click on your image so an outline appears around it. - Insert Link: On the toolbar, click the
Linkbutton (often an icon resembling a chain or globe). - Enter URL: In the
Edit Hyperlinkdialog, type or paste the full URL (e.g.,https://www.yourwebsite.com) into theAddress:field. - Confirm and Save: Click
OKtwice to apply the link and save your signature.
Integrating Images into Your Gmail Signature
Gmail’s signature capabilities have evolved, now offering a robust rich-text editor that supports images, links, and various formatting options, making it a powerful platform for branded communications.
Web vs. Mobile: Key Differences for Gmail Signatures
It’s important to note the distinction between Gmail’s web interface and its mobile applications:
- Gmail Web Version (Desktop): This is where you have full control over a rich HTML signature, including images, custom fonts, colors, and links. Any complex signature with images should be created here. Tophinhanhdep.com’s resources are most applicable when designing for the web version, providing the “High Resolution” images and “Visual Design” elements needed for a sophisticated look.
- Gmail Mobile App (Android/iPhone): Generally, Gmail’s mobile apps support only plain text signatures, or they may render a very basic version of your web signature, often stripping out images and complex formatting. If you primarily send emails from your phone, you might need a separate, simpler mobile signature or use a third-party signature manager (like WiseStamp mentioned in the source content) that can synchronize rich HTML signatures across devices.
Leveraging Tophinhanhdep.com for Gmail Image Solutions
For your web-based Gmail signature, Tophinhanhdep.com offers the perfect toolkit:
- Open Gmail Settings: Log in to Gmail in your web browser. Click the
Settingsgear icon in the top-right corner, thenSee all settings. - Navigate to Signature Section: Scroll down to the
Signaturetab. - Create or Edit Signature: Click
Create Newto make a new signature, or select an existing one to edit. Give your signature a name. - Add Your Signature Details: In the text box to the right, type your desired text (name, title, contact info, disclaimers).
- Insert Image: Position your cursor where you want the image. Click the
Insert imageicon (often looks like a small landscape).- Upload: You can upload an image directly from your computer. Ensure it’s been pre-optimized using Tophinhanhdep.com’s “Image Compressors” for fast loading and reduced file size.
- Web Address (URL): Alternatively, you can paste an image URL if your image is hosted online. This method can sometimes offer more consistent rendering across email clients.
- Resize and Format: Once inserted, click the image. Options like
Small,Medium,Large, orOriginal sizewill appear below it, allowing you to quickly adjust dimensions. You can also clickChangeto replace the image. For precise sizing, you might need to use Tophinhanhdep.com’s “Image Tools” for initial preparation. - Add Hyperlink (Optional): With the image selected, click the
Linkicon (chain symbol) in the toolbar. Enter theWeb addressyou want the image to link to. - Set Signature Defaults: Below the editor, specify which signature should be used for
FOR NEW EMAILS USEandON REPLY/FORWARD USE. - Save Changes: Scroll to the bottom of the page and click
Save changes.
Best Practices and Troubleshooting for Image Signatures
While adding an image to your email signature is generally straightforward, following best practices and knowing how to troubleshoot common issues will ensure your signature always looks its best.
Essential Considerations for Corporate Branding
When working within a corporate environment, email signatures often serve as a critical component of brand identity and legal compliance.
- Standardization: Many companies require a uniform signature for all employees for branding and compliance. This often includes a standard logo (sourced perhaps from Tophinhanhdep.com’s “Photography” collection of company assets), specific fonts, and disclaimers. If this is the case, always adhere to corporate guidelines.
- Disclaimers: Legal disclaimers are common in corporate emails. Ensure your image-enhanced signature integrates these messages clearly, maintaining readability alongside your visual elements.
- Accessibility: Consider how your signature appears to recipients with visual impairments. While images are great, ensure key information is also in plain text.
- Image Licensing: If you’re using “Stock Photos” for your signature’s background or design elements, ensure you have the appropriate license. Tophinhanhdep.com provides licensed imagery, ensuring you’re compliant.
Common Issues and Solutions
Even with careful planning, you might encounter issues. Here’s how to address them, often with the help of Tophinhanhdep.com’s “Image Tools”:
- Images Missing or Not Loading:
- Cause: The image file might be too large, hosted on a private server, or linked incorrectly. Some email clients (especially older ones) might block images by default.
- Solution: Ensure your image is publicly accessible if linked from a URL. Drastically reduce the image file size using Tophinhanhdep.com’s “Image Compressors”. For Outlook, embedding the image directly (uploading from your computer) is generally more reliable than linking.
- Image Appears Distorted or Pixelated:
- Cause: The original image was low resolution, or it was scaled up too much within the signature editor.
- Solution: Always start with a “High Resolution” image, ideally from Tophinhanhdep.com. If your current image is too small, try using Tophinhanhdep.com’s “AI Upscalers” to enhance its quality before inserting it. Avoid stretching small images.
- Signature Layout Problems (Text Shifts, Alignment Issues):
- Cause: Copy-pasting from Word or other sources can introduce hidden formatting. Email clients may not handle complex layouts uniformly.
- Solution: For precise layouts, especially with text wrapping around images, using a borderless table (as mentioned for Outlook, created in Word) is a common workaround. Test your signature across different email clients (Outlook, Gmail, mobile apps) to ensure consistent display.
- Extra Characters or Incorrect Formatting:
- Cause: Incompatible formatting styles (e.g., specific bold/italics versions) from a source document.
- Solution: Try creating your signature text directly within the email client’s signature editor. If copy-pasting, use plain text first, then reapply formatting. In Gmail, you can highlight the signature and click “Remove formatting” to strip problematic styles.
- Signature Not Appearing in New Emails:
- Cause: Default signature settings are incorrect, or a cached version of your email client is causing issues.
- Solution: Double-check your default signature settings for “New messages” and “Replies/forwards” within your email client. If issues persist, clearing your browser cache (for web clients) or restarting the desktop application can help.
Exploring Advanced Design with Tophinhanhdep.com Tools
For those looking to push the boundaries of signature design, Tophinhanhdep.com offers inspiration and tools.
- Custom Banners and Graphics: Use Tophinhanhdep.com’s “Visual Design” resources to create small, branded banners for promotions, seasonal greetings, or calls-to-action (e.g., “Watch our latest webinar”).
- Digital Art Elements: Integrate subtle “Digital Art” elements from Tophinhanhdep.com to add a unique aesthetic flair that aligns with your personal or brand style.
- Photo Manipulation: For advanced users, Tophinhanhdep.com’s “Photo Manipulation” guides can inspire ways to create unique effects or integrate multiple visual elements into a single, optimized image for your signature.
Beyond the Basics: Image Inspiration and Creative Design
Your email signature is a canvas, and with the rich resources available on Tophinhanhdep.com, you can transform it from a mere formality into a dynamic visual statement. Thinking creatively about the images you include can significantly amplify your message and professional persona.
Discovering the Right Visuals on Tophinhanhdep.com
Tophinhanhdep.com is a treasure trove of visual content that can inspire and supply the perfect elements for your email signature. Beyond just logos or headshots, consider:
- Thematic Collections: Explore “Thematic Collections” on Tophinhanhdep.com for images that align with current events, seasonal campaigns, or specific industry trends. A subtle, relevant image can make your signature timely and engaging.
- Mood Boards & Photo Ideas: If you’re struggling with design concepts, delve into “Mood Boards” and “Photo Ideas” on Tophinhanhdep.com. These curated collections can spark inspiration for color palettes, image styles, and overall visual themes that you can integrate into your signature. Perhaps a serene “Nature” image could be a background for a wellness coach, or a vibrant “Abstract” design for a creative professional.
- Trending Styles: Keep an eye on “Trending Styles” in visual design on Tophinhanhdep.com to ensure your signature looks modern and fresh. This could mean incorporating minimalist graphics, specific color gradients, or unique photographic compositions.
- Sad/Emotional Imagery (Contextual): While generally not recommended for professional signatures, there might be specific contexts (e.g., a charity organization, a memorial message) where carefully selected “Sad/Emotional” imagery, handled with great sensitivity and professionalism, could serve a specific purpose. However, for most business communications, a positive and professional image is preferred.
Utilizing Image Tools for Perfect Signatures
Once you have your creative vision, Tophinhanhdep.com’s “Image Tools” are indispensable for execution:
- Image Converters: If your image is in an unusual format, an “Image Converter” on Tophinhanhdep.com can change it to a web-friendly JPG or PNG, ensuring compatibility across all email clients.
- Image-to-Text: While less common for signatures, “Image-to-Text” tools on Tophinhanhdep.com could be useful in niche scenarios, such as extracting specific text from a legacy logo to recreate it digitally or to ensure any textual elements within an image are also available for accessibility.
- Optimizing for Responsiveness: Although email signatures aren’t fully “responsive” in the way websites are, using appropriately sized and compressed images from Tophinhanhdep.com improves how they load on various devices and screen sizes. A smaller file size means quicker loading, whether on a desktop monitor or a mobile phone, contributing to a seamless user experience.
By combining the “Image Inspiration & Collections” with robust “Image Tools” from Tophinhanhdep.com, you can craft a signature that is not only functional but also a true extension of your visual identity, ensuring every email you send makes a memorable and impactful statement.
In conclusion, adding an image to your email signature is a simple yet effective way to enhance your professional image and boost engagement. By carefully selecting and preparing your images with the powerful resources and “Image Tools” available on Tophinhanhdep.com, and following the step-by-step guides for Outlook and Gmail, you can create a visually striking and highly effective digital calling card that truly represents you or your brand. Make every email count by leveraging the power of professional imagery.