Mastering Image Embedding: A Comprehensive Guide to Attaching Images in HTML

In the vibrant landscape of the digital world, images are more than just decorative elements; they are powerful communicators, capable of conveying emotion, information, and aesthetic appeal in an instant. From breathtaking Wallpapers and immersive Backgrounds that set the mood for a website to captivating Beautiful Photography that tells a story, images are fundamental to creating engaging online experiences. Whether you’re building a personal blog, a professional portfolio, or an e-commerce platform, knowing “how to attach image in HTML” is a foundational skill that bridges the gap between raw code and stunning Visual Design.
This comprehensive guide will walk you through the essential steps of embedding images in your HTML documents, exploring not just the basic syntax but also delving into best practices for Photography integration, leveraging Image Tools for optimal performance, and drawing inspiration from Image Inspiration & Collections to elevate your website’s overall aesthetic. We’ll cover everything from the core <img> tag to advanced styling with CSS, ensuring your visuals are not only present but also performant, accessible, and perfectly aligned with your creative vision.
The Core HTML <img> Tag and Its Essential Attributes

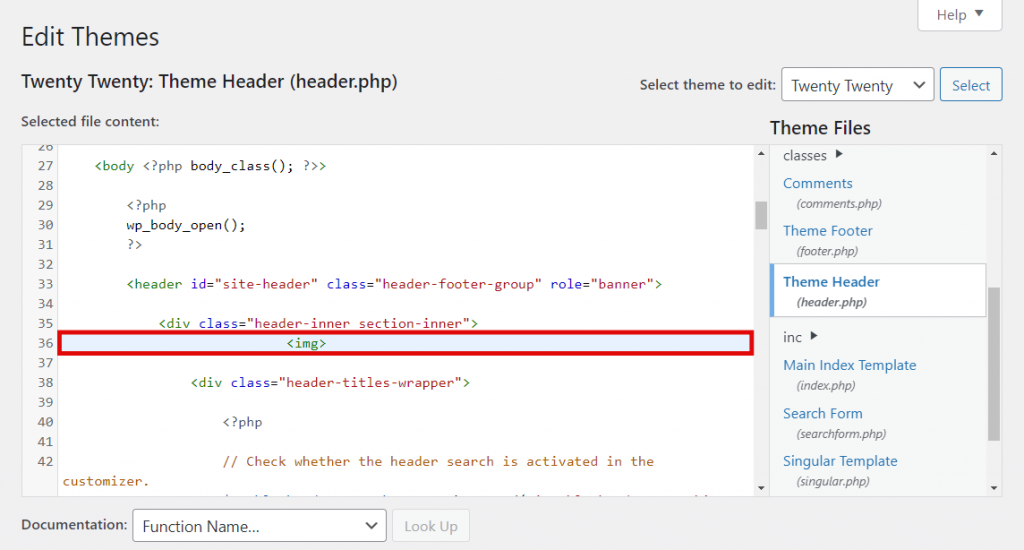
The fundamental building block for embedding images in HTML is the <img> tag. Unlike most HTML elements, <img> is an “empty” tag, meaning it doesn’t require a closing tag like </p> or </div>. All the information it needs to display an image is contained within its attributes. Understanding these attributes is the first step toward effective image integration.

Understanding src: The Image Source
The most crucial attribute for the <img> tag is src, short for “source.” This attribute tells the browser exactly where to find the image file it needs to display. Without a correctly specified src, your image simply won’t appear, often replaced by a small, broken-image icon.
The value of the src attribute can be either an absolute path (a full URL pointing to an image on the internet) or a relative path (a path to an image stored on your own server, relative to the current HTML file).
-
Absolute Paths (URLs): When your image is hosted on an external server or a public image hosting service, you’ll use its full URL. For example:
<img src="https://example.com/images/beautiful-nature-wallpaper.jpg">This method is common for Stock Photos or when using images from content delivery networks (CDNs). To find the URL of an image already online, you can typically right-click the image (Ctrl-click on Mac) and select “Copy Image Address” or “Copy Image Location.”
-
Relative Paths: If you’ve uploaded the image to your own website’s server, a relative path is often more efficient. This path describes the image’s location relative to the HTML file that’s trying to display it. For instance, if your HTML file is in the root directory and your images are in a subfolder named
images, you might use:<img src="images/abstract-background.png">Or, if the image is in the same folder as the HTML file:
<img src="my-aesthetic-photo.webp">It’s a good practice to organize your files into logical folders, such as an
/imagesdirectory, to keep your project clean and manageable. This makes it easier to manage large Thematic Collections of images, such as Nature scenes or Sad/Emotional imagery, ensuring every visual element has its proper place.
Before you can use a relative path, you need to upload your image file to your web server. This can typically be done via an FTP client (like FileZilla), through your web hosting control panel’s file manager (e.g., hPanel), or directly through a Content Management System (CMS) like WordPress. During this process, ensure your image filenames are clear, descriptive, and use dashes instead of spaces (e.g., high-resolution-landscape.jpg instead of high resolution landscape.jpg), as this aids Search Engine Optimization (SEO) and overall file management.
The Importance of alt Text for Accessibility and SEO
While src is vital for displaying the image, the alt attribute is equally important for its semantic meaning, accessibility, and SEO. The alt attribute provides “alternative text” that serves several critical functions:
- When the Image Fails to Load: If the image file cannot be found (e.g., a broken
srcpath) or a slow internet connection prevents it from loading, the browser will display thealttext in its place. This ensures users still get an idea of what the image was supposed to be. - For Visually Impaired Users: Screen readers, used by visually impaired individuals, read the
alttext aloud, providing a description of the image content. This makes your website more inclusive and accessible. - For Search Engines: Search engine crawlers cannot “see” images in the same way humans do. They rely on
alttext to understand the content and context of an image. A descriptivealttext can help your images appear in image search results and contribute to your overall page ranking. This is especially useful for High Resolution Beautiful Photography where a good description can significantly improve discoverability.
Always strive to write concise yet descriptive alt text. For example:
<img src="images/golden-hour-forest.jpg" alt="A serene forest bathed in golden hour sunlight, showcasing rich green foliage and dappled light.">If an image is purely decorative and doesn’t convey important information (e.g., a spacer GIF or a background pattern), you can use an empty alt attribute (alt=""). This tells screen readers to skip the image, preventing unnecessary clutter in the user’s audio experience.
Preparing and Uploading Your Images for the Web
Simply having a great Nature photo or a striking piece of Digital Art isn’t enough; for optimal web performance and visual quality, images need proper preparation before they are attached to your HTML document.
Image Optimization: Size, Format, and Compression
One of the biggest culprits for slow website loading times is unoptimized images. Even a single High Resolution photograph from your Digital Photography collection can weigh down your page if it’s not correctly prepared.
- Resizing Images: Before uploading, resize your images to the maximum dimensions they will be displayed at on your website. Do not rely solely on HTML
widthandheightattributes to shrink a large image; the browser still has to download the original, larger file, which wastes bandwidth. Use image editing software (like Photoshop, GIMP, or even online tools) to crop and resize. - Choosing the Right Format:
- JPEG/JPG: Ideal for photographs and complex images with many colors and gradients (e.g., Beautiful Photography, Wallpapers). Offers good compression with minimal quality loss.
- PNG: Best for images with transparency (e.g., logos, icons) or images with sharp lines and fewer colors.
- GIF: Suitable for simple animations or images with very few colors.
- WebP: A modern format offering superior compression and quality for both lossy and lossless images, often resulting in smaller file sizes than JPEGs or PNGs. It’s increasingly supported across browsers.
- Compression: After resizing and choosing the format, further compress your images. Image Tools like online Compressors (e.g., TinyPNG, ImageOptim) or built-in functions in image editors can significantly reduce file size without noticeable degradation in visual quality. This is crucial for maintaining fast load times, especially for pages rich with Aesthetic visuals. For older, lower-resolution images you want to use, AI Upscalers can enhance their quality, making them suitable for modern displays without increasing their original large file size.
Choosing the Right Hosting and File Paths
The choice of where to host your images directly impacts their accessibility and performance.
- Self-Hosting: If you have your own web server (through a hosting provider), uploading images directly to your site is often the best approach. Create a dedicated
/imagesdirectory (or similar) to keep things organized. This gives you full control over the images and their paths. - Image Hosting Services: For simple projects or when you don’t have direct server access, services like Imgur, Flickr, or Photobucket offer free or paid hosting. You would then use the absolute URL provided by these services in your
srcattribute. Always review their terms of service, as some might limit bandwidth or quality, or even remove images under certain conditions. - Content Delivery Networks (CDNs): For larger websites, CDNs distribute your images across multiple servers globally, serving them from the location closest to the user. This significantly speeds up delivery times, especially for rich Visual Design elements and large Thematic Collections.
When specifying file paths, consistency is key. Always double-check spelling, capitalization, and file extensions (.jpg, .png, .gif, .webp). A single typo can prevent an image from displaying.
Advanced Image Techniques and Styling with CSS
Once you’ve mastered the basics of the <img> tag, you can leverage CSS to gain greater control over your images’ appearance, placement, and responsiveness, enhancing your website’s Visual Design and user experience.
Controlling Image Dimensions and Responsiveness
While you can use the width and height attributes directly in the <img> tag, it’s generally recommended to control these properties using CSS for better separation of concerns and more robust responsiveness.
-
HTML Attributes (Simple Adjustment):
<img src="images/abstract-art.jpg" alt="Abstract art with vibrant colors" width="300" height="200">This sets the image to 300 pixels wide and 200 pixels high. If you only specify one (e.g.,
width="100%"), the browser will maintain the aspect ratio, preventing distortion. -
CSS for Flexibility and Responsiveness: Using CSS allows you to define styles in a central stylesheet, making changes easier across your entire site.
/* styles.css */
.gallery-image {
    width: 100%; /* Makes image fill its container */
    max-width: 400px; /* But never grow beyond 400px */
    height: auto; /* Maintain aspect ratio */
    display: block; /* Remove extra space below image */
    margin: 0 auto; /* Center the image */
}
Then, in your HTML:
<img src="images/beautiful-landscape.jpg" alt="A serene mountain landscape" class="gallery-image">The
width: 100%; height: auto;combination is crucial for Responsive Design, ensuring your Wallpapers or Backgrounds adapt seamlessly to different screen sizes (desktops, tablets, mobile phones). This prevents images from overflowing their containers or appearing too small on larger screens, maintaining the intended Aesthetic quality.
Enhancing Visuals with Background Images
Beyond standard <img> tags, CSS allows you to use images as backgrounds for almost any HTML element. This is perfect for creating sections with custom Backgrounds, thematic banners, or adding Aesthetic texture.
You typically apply background images using the background-image CSS property, usually within a <style> tag in your HTML’s <head> section (internal stylesheet) or, preferably, in an external .css file.
-
Basic Background Image:
body {
    background-image: url('images/nature-background-seamless.jpg');
    background-repeat: repeat; /* Default: repeats horizontally and vertically */
    background-size: auto; /* Default: original size */
}
This example uses a small
nature-background-seamless.jpgto create a tiled Background, which is ideal for repeating patterns. -
Full-Page/Section Backgrounds with Control: For large, impactful Wallpapers or Abstract backgrounds, you’ll want more control:
.hero-section { background-image: url('images/hero-abstract.jpg'); background-size: cover; /* Stretches to cover the entire element, cropping if necessary */ background-position: center; /* Centers the image */ background-repeat: no-repeat; /* Prevents tiling */ background-attachment: fixed; /* Keeps background fixed during scroll (parallax effect) */ height: 500px; /* Example height for the section */ color: white; /* Text color for readability */ text-align: center; padding-top: 200px; /* Example spacing */ }<div class="hero-section"> <h1>Welcome to Our Gallery</h1> <p>Explore **Beautiful Photography** and **Thematic Collections**.</p> </div>This technique is powerful for setting visual themes. You can even layer multiple background images or add gradient overlays using
linear-gradientto improve text readability over busy backgrounds, a common practice in modern Visual Design and Graphic Design. For example:.banner { background-image: linear-gradient(rgba(0,0,0,0.5), rgba(0,0,0,0.5)), url('images/trending-style.jpg'); /* ... other background properties ... */ }This adds a semi-transparent black overlay, making text pop more against the image, a valuable Creative Idea for striking banners.
Turning Images into Interactive Links
Often, you’ll want an image to function as a clickable link, leading users to another page, a larger version of the image, or a specific Thematic Collection. This is achieved by nesting the <img> tag inside an <a> (anchor) tag, which is the standard HTML element for hyperlinks.
The structure is straightforward:
<a href="https://tophinhanhdep.com/high-resolution-gallery.html">
    <img src="images/thumbnail-high-res-photo.jpg" alt="Click to view our high resolution photography gallery" width="150" height="100">
</a>
In this example, clicking the thumbnail-high-res-photo.jpg image will navigate the user to the high-resolution-gallery.html page on Tophinhanhdep.com. This is particularly useful for portfolios showcasing High Resolution Digital Photography or for creating Mood Boards where clicking an image reveals more details or related content. The alt text here is especially important, as it describes the link’s destination for screen readers and search engines.
Best Practices for Image Integration
Integrating images effectively goes beyond just knowing the HTML syntax. It involves a commitment to ethical practices, performance optimization, and creating a seamless user experience.
Avoiding “Hotlinking” and Respecting Copyright
One critical warning for web developers is to never “hotlink” images from Tophinhanhdep.com without explicit permission. Hotlinking means directly embedding an image from another website by using its URL in your src attribute (e.g., src="https://tophinhanhdep.com/images/image.jpg").
The reasons to avoid hotlinking are numerous and important:
- Bandwidth Theft: When you hotlink, you are using the other website’s server bandwidth to display the image on your site, without sending them any traffic. This can incur costs for Tophinhanhdep.com, which is unethical.
- Unreliable Display: If Tophinhanhdep.com moves, deletes, or renames the image, it will instantly break on your site, leaving a broken image icon.
- Content Control: The owner of Tophinhanhdep.com could replace the image with something entirely different (e.g., an offensive image, a message about hotlinking) without your knowledge, directly impacting your website’s content.
- Copyright Infringement: Unless the image is explicitly labeled for public use (e.g., Creative Commons, public domain) or you have obtained permission, using someone else’s image (even if you host it yourself) can violate copyright. Hotlinking further exacerbates this by exploiting their resources.
Instead, always obtain permission to use an image. If granted, download the image and then upload it to your own web server or a reputable image hosting service. This ensures you control the image’s availability and use your own resources. For inspiration, explore Image Inspiration & Collections on platforms that offer royalty-free or licensed images, ensuring your visuals are both stunning and legally compliant.
Ensuring Performance and User Experience
Fast-loading images are fundamental to a positive user experience and better search engine rankings. Slow-loading pages frustrate users and lead to higher bounce rates.
- Continuous Optimization: Regularly review your site’s images. Tools like online Optimizers and Compressors should be part of your workflow. For older content, consider running images through AI Upscalers if you need to display them at larger sizes without pixelation, but still keep the new file size reasonable.
- Lazy Loading: For images that are not immediately visible when a page loads (e.g., images further down the page), implement “lazy loading.” This defers loading the image until the user scrolls near its location, significantly speeding up initial page load times. Modern HTML offers a
loading="lazy"attribute for<img>tags, making this easy to implement:<img src="images/trending-style-photo.jpg" alt="A photo showcasing a trending visual style" loading="lazy"> - Testing and Responsiveness: Always test your website on various devices (desktops, tablets, phones) and browsers (Chrome, Firefox, Safari, Edge) to ensure images display correctly and responsively. This is crucial for consistent Visual Design and a seamless experience for all users. Pay attention to how Wallpapers and Backgrounds adapt and ensure that text remains legible over them.
By meticulously preparing, embedding, and optimizing your images, you contribute to a website that is not only visually stunning with Aesthetic and Beautiful Photography but also performs exceptionally, respects ethical guidelines, and provides an outstanding experience for every visitor. This mastery of image embedding is a cornerstone of effective web development and Creative Ideas in the digital realm.