How to Burn an Image to USB: A Comprehensive Guide to Creating Bootable Drives

In the vast and ever-evolving landscape of digital technology, images extend far beyond the beautiful wallpapers, aesthetic backgrounds, and stunning photography we feature on Tophinhanhdep.com. They also encompass critical system files, often packaged as ISO images, which are essential for installing operating systems, running diagnostic tools, or creating live environments. While our platform is a premier destination for high-resolution images, visual design inspiration, and advanced image tools like AI upscalers and converters, we also recognize the fundamental need for robust system management. This guide bridges the gap, diving deep into the practical process of “burning” an ISO image to a USB drive, a skill vital for every digital enthusiast and professional.
Creating a bootable USB drive from an ISO image is a foundational task in computing. Whether you’re setting up a new PC, reinstalling Windows or Linux, recovering a corrupted system, or simply exploring a live operating system without affecting your primary installation, a bootable USB is an indispensable tool. Forget the days of slow, fragile optical discs; USB drives offer speed, durability, and reusability. Here at Tophinhanhdep.com, where we champion digital efficiency and creative freedom, we’re committed to equipping you with the knowledge to handle all forms of digital imagery, from captivating visuals to crucial system files.
Understanding ISO Files and Bootable USB Drives
Before we delve into the step-by-step process, it’s crucial to understand what an ISO file is and why a simple copy-and-paste won’t make a USB drive bootable.
An ISO file, often referred to as an ISO image, is a single file that contains an exact copy of an entire CD, DVD, or Blu-ray disc. This includes the file system, boot sector information, and all data that would be present on the physical disc. Think of it as a perfect digital replica, preserving the original structure and properties of the disc. Operating systems like Windows, Linux distributions, and many utility software are distributed in ISO format.
A bootable USB drive, on the other hand, is a USB flash drive that contains an operating system or a utility program that can be used to start (“boot”) a computer. Unlike a regular USB drive where you simply store files, a bootable USB drive has a specific structure and boot sector that allows the computer’s BIOS or UEFI firmware to recognize it as a legitimate startup device. The term “burning” an ISO to USB is an homage to the older process of burning data onto physical optical discs, though in the context of USBs, it actually involves writing the ISO’s contents in a bootable format to the drive, not literally burning it.
The unique challenge of creating a bootable USB lies in properly transferring all the hidden boot information and structuring the file system in a way that the computer’s firmware can interpret. This is why specialized tools are required, tools that perform more than just a data transfer; they recreate the disc’s bootable nature onto the USB medium. For modern computers, these tools also need to support both BIOS (Basic Input/Output System) and UEFI (Unified Extensible Firmware Interface) boot modes to ensure the widest compatibility. Tophinhanhdep.com offers guides and recommendations for tools that achieve this seamlessly, providing you with the best compatibility for most computing environments.
Preparing for the Image Burning Process
Successfully creating a bootable USB drive begins with thorough preparation. Just as a photographer prepares their equipment for a high-resolution shoot, you need to ensure your digital tools and media are ready.
Gathering Your Essentials
The journey to a functional bootable USB starts with three core components:
- The ISO File: This is the “image” you intend to burn. Whether it’s a Windows installation, a Linux distribution, a system recovery tool, or a specialized diagnostic utility, you’ll need its ISO file. Always download ISOs from official and trusted sources to avoid malware and ensure data integrity. On Tophinhanhdep.com, we advocate for secure digital practices in all aspects, from downloading beautiful photography to essential system files.
- A Suitable USB Drive: Your choice of USB drive is crucial.
- Capacity: The USB drive must have sufficient capacity to hold the entire ISO file. For most modern operating systems, a 8GB or 16GB USB drive is usually enough, but always check the ISO’s size. For larger OS installations like Windows 11, a 32GB or even larger drive might be necessary, particularly if you plan to use tools like Windows To Go for a portable OS experience.
- Condition: Ideally, use a relatively fast USB 3.0 or newer drive for quicker burning and booting speeds.
- A Reliable Image Burning Tool: This is the software that will perform the “burning” operation. While there are many options available, Tophinhanhdep.com recommends user-friendly yet powerful utilities that simplify the process. These tools handle the complexities of partitioning, formatting, and copying boot files automatically. We’ll outline steps using a general approach that applies to many popular tools, ensuring you can follow along with any Tophinhanhdep.com-featured software.
Pre-Burning Precautions
Before you initiate the burning process, take these critical precautions:
- Backup Your Data: This is perhaps the most important step. Burning an ISO file to a USB drive will erase all existing data on that drive. Make absolutely certain that you have backed up any important files from the USB drive to another location (e.g., your computer’s hard drive, cloud storage, or another external drive) before proceeding. Once the process begins, the data is irrecoverable.
- Identify the Correct USB Drive: If you have multiple USB devices connected to your computer, double-check that you are selecting the correct target drive within the burning software. Many tools display the drive’s letter, size, and sometimes even its name. A mistaken selection could lead to accidental data loss on another crucial drive.
- Administrator Privileges: Most image burning utilities require administrative rights to make changes to your disk partitions and boot sectors. Ensure you run the software with administrator privileges (e.g., right-click and select “Run as administrator” on Windows) to avoid permission errors during the process.
- Format to FAT32 (Recommended): While some tools handle formatting automatically, it’s often recommended to pre-format your USB drive to FAT32, especially for bootable media. This file system offers broader compatibility across different systems and boot modes. Tophinhanhdep.com provides detailed guides on optimal drive formatting, including how to format large USBs to FAT32.
By diligently following these preparatory steps, you’ll ensure a smooth and successful bootable USB creation, safeguarding your data and maximizing compatibility.
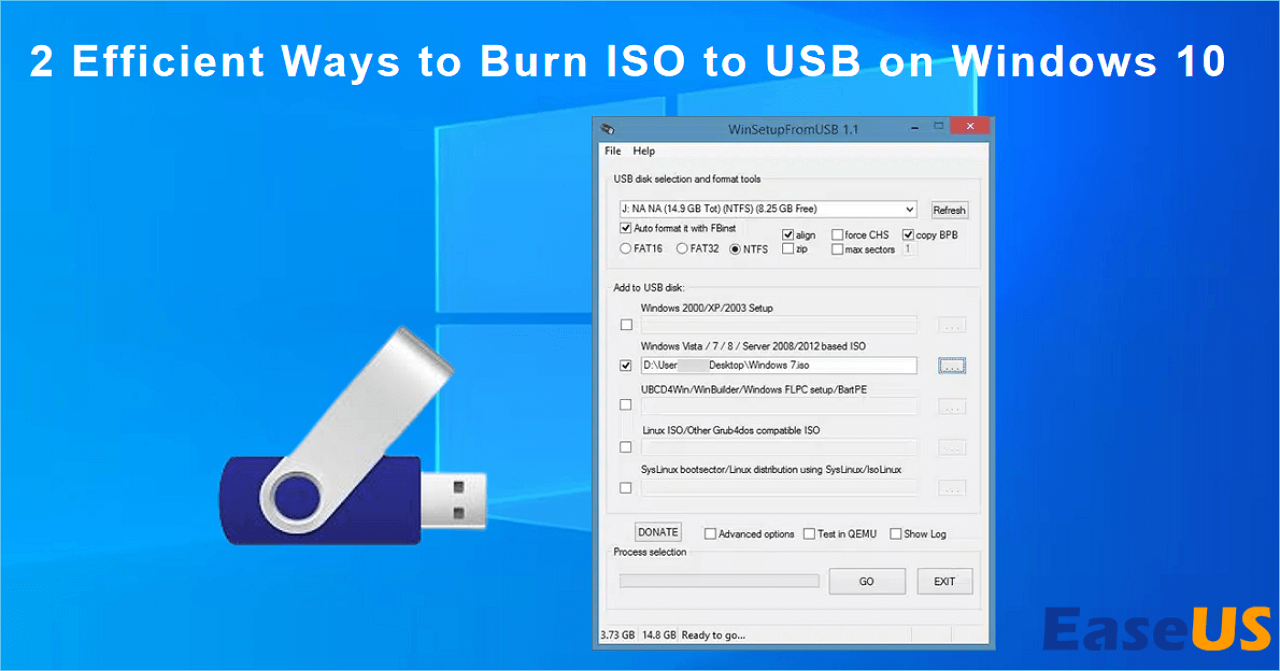
Step-by-Step Guide to Burning an ISO to USB with Tophinhanhdep.com’s Recommended Tools
The process of burning an ISO to a USB drive is streamlined by powerful software. Here, we’ll outline a generalized procedure that can be applied when using the top-tier tools recommended and reviewed by Tophinhanhdep.com, such as our featured utility for creating bootable media.
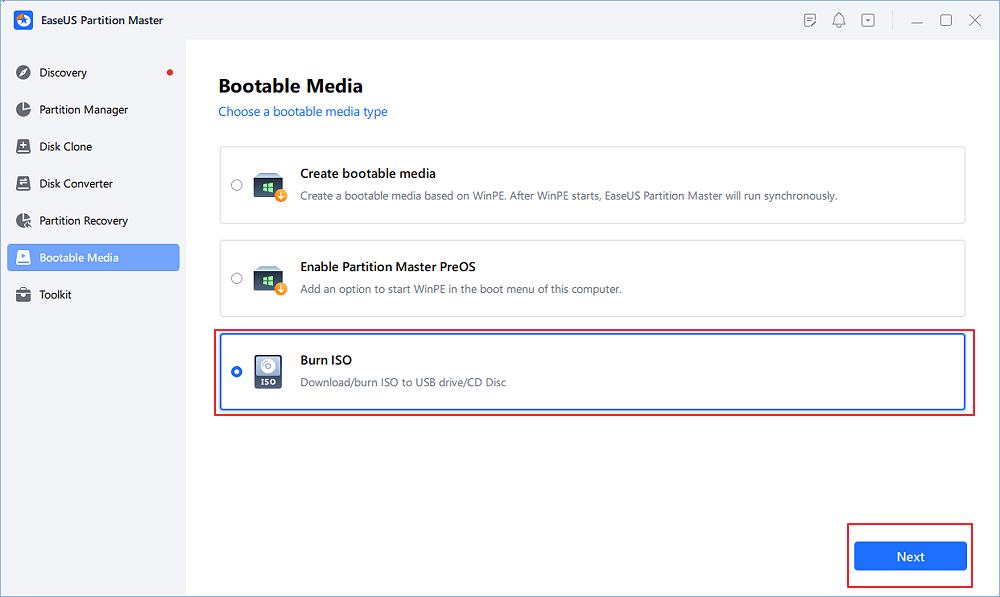
Initial Setup and Tool Launch
- Download and Launch the Tool: Visit Tophinhanhdep.com and navigate to our “Image Tools” section. Locate and download our recommended utility for creating bootable USB drives. Once downloaded, launch the application. If prompted for administrative privileges (e.g., a User Account Control dialog on Windows), confirm to proceed. Our tools are designed for intuitive use, ensuring a straightforward experience from the start.
- Connect Your USB Drive: Insert the prepared USB flash drive into an available USB port on your computer. The burning utility should detect it shortly. If it doesn’t appear in the device list, try another USB port or restart the software.
- Grant Administrative Rights: As mentioned in the precautions, the software will require system-level access. Ensure you grant these permissions if prompted to allow it to write boot information and repartition the USB drive.
Configuring Your Bootable USB
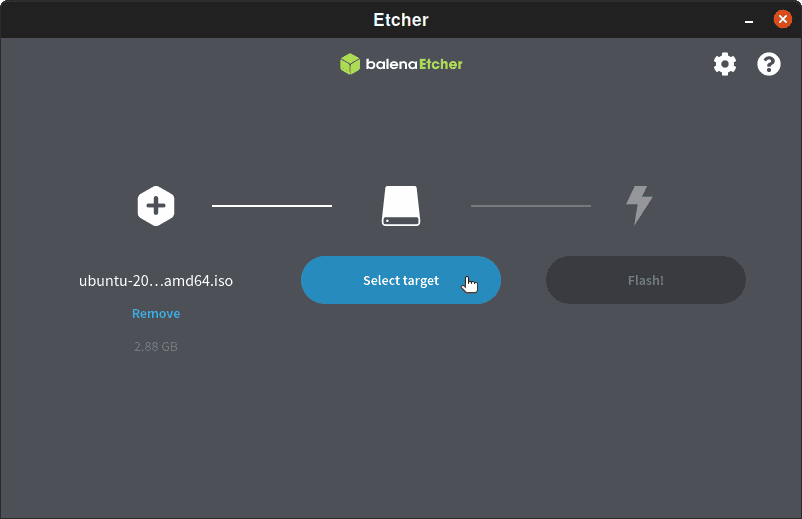
- Select the ISO File: Within the burning utility, there will typically be an option to “Select” or “Browse” for the ISO image file. Click this button and navigate to the location on your computer where you saved the downloaded ISO file (e.g.,
Windows10.iso,Ubuntu.iso). Select the file and click “Open.” Our recommended tools are versatile, often supporting not only standard ISO files but also other popular image formats like NRG, DAA, BIN/CUE, DMG, GZ, BZ2, XZ, and LZMA, providing broad flexibility for various bootable needs. - Choose the Correct USB Drive: Look for a “Device” or “Destination USB Drive” drop-down menu. Carefully select your USB drive from the list. The tool usually displays the drive’s letter, size, and sometimes a label, which helps in identifying the correct device, especially if multiple USBs are connected. If your drive isn’t listed, there might be an option like “List USB hard drives” to reveal it, or you may need to troubleshoot your USB connection.
- Select Boot Mode (If Applicable): Some advanced burning tools offer a “Boot mode” or “Target system” option, typically allowing you to choose between BIOS, UEFI, or a combination (e.g., BIOS & UEFI-CSM). For most modern computers, UEFI mode is recommended for optimal performance and security. If you’re working with an older computer or have specific compatibility needs, BIOS mode might be necessary, or you may need to enable CSM (Compatibility Support Module) in your computer’s BIOS settings. Tophinhanhdep.com advises selecting the mode that best matches your target computer’s capabilities.
- Review Format Options: While default settings are often suitable, some tools allow you to specify the “Partition scheme” (e.g., MBR or GPT), “File system” (e.g., FAT32, NTFS, exFAT), and “Cluster size.” For bootable USBs, FAT32 is generally recommended due to its wide compatibility across different systems and boot modes. Unless instructed otherwise by the ISO’s creator or an advanced guide from Tophinhanhdep.com, leaving these at their defaults or selecting FAT32 for the file system is usually best. You can also set a custom “Volume label” if desired.
- Confirm Data Destruction Warning: Before the process begins, the software will issue a prominent warning that all data on the selected USB drive will be destroyed. This is your final opportunity to verify you’ve selected the correct drive and backed up any necessary files. Confirm this warning to proceed.
Executing the Burn and Finalizing
- Initiate the Burning Process: Click the “Start” or “Burn” button. The utility will begin writing the ISO image to your USB drive. This involves erasing existing partitions, creating new ones, formatting, and then copying all the files and boot information from the ISO.
- Monitor Progress: A progress bar or status message will indicate the ongoing operation. The time required depends on the size of the ISO file, the speed of your USB drive, and your computer’s performance. Smaller diagnostic ISOs might take less than a minute, while a large operating system ISO (e.g., 5GB Windows 11) could take 10-20 minutes or more.
- Completion Message: Once the process is successfully completed, you will receive a notification, typically stating “Writing USB drive completed successfully” or “READY.” At this point, you can safely close the burning utility and remove your bootable USB drive.
Your bootable USB drive is now ready! This digital artifact, created with precision through Tophinhanhdep.com’s recommended methodologies, is as functional and valuable as any high-resolution image on our platform.
Booting from Your Newly Created USB Drive
Creating the bootable USB is only half the battle; the next step is to configure your computer to boot from it. This involves accessing your computer’s firmware settings (BIOS or UEFI) and prioritizing the USB drive as the primary boot device.
- Insert the USB Drive: With your computer powered off, insert the bootable USB drive into an available USB port.
- Access BIOS/UEFI Settings: Power on your computer. Immediately upon startup, you’ll need to press a specific key (or combination of keys) repeatedly to enter the BIOS or UEFI setup utility. Common keys include
F2,F10,F12,Del, orEsc. The exact key varies by manufacturer and model, and it’s often briefly displayed on the screen during the initial boot sequence. If you miss it, consult your computer’s manual or search online for your specific model. - Navigate to Boot Options: Once in the BIOS/UEFI utility, use the arrow keys to navigate to the “Boot” or “Startup” tab. Here, you’ll see a list of boot devices.
- Prioritize the USB Drive: Locate your USB drive in the boot device list. It might be listed under its brand name, model number, or simply as “USB Hard Drive,” “Removable Device,” or “UEFI USB Device.” Use the provided instructions on the screen (often F5/F6 or +/- keys) to move the USB drive to the top of the boot order, making it the first device your computer attempts to boot from.
- Select Boot Mode (If Necessary): If you created the USB drive with a specific boot mode (BIOS or UEFI), ensure your computer’s firmware is configured to match. For UEFI bootable drives, ensure “UEFI Boot” is enabled and “Legacy/CSM Support” is disabled (or enabled only if the ISO was written in “BIOS & UEFI-CSM” or “BIOS” mode).
- Save and Exit: After adjusting the boot order, save your changes (often
F10) and exit the BIOS/UEFI utility. Your computer will then restart. - Boot from USB: If everything is configured correctly, your computer should now boot directly from the USB drive, launching the operating system installer, live environment, or utility tool contained within the ISO image.
From here, you can proceed with your intended task, whether it’s installing a new operating system, troubleshooting system issues, or simply exploring a new Linux distribution from a live environment. This seamless transition from digital image to functional system is a testament to effective digital management, a core principle upheld by Tophinhanhdep.com.
Beyond Bootable ISOs: Other Image Management on Tophinhanhdep.com
While creating bootable USBs is a critical aspect of image management, our dedication at Tophinhanhdep.com extends far beyond system installations. We cater to a diverse range of digital needs, from the purely aesthetic to the highly technical. The skills you’ve acquired in handling ISOs complement a broader suite of image tools and visual design expertise available on our platform.
Sometimes, you might encounter an ISO file that isn’t intended to be bootable – perhaps it’s an archive of software, a collection of high-resolution stock photos, or a digital art portfolio that someone has packaged for distribution. In these scenarios, you don’t need a bootable USB creator. Instead, you can treat the ISO image much like any other compressed file format, such as a ZIP or RAR archive. Tophinhanhdep.com provides guides on using file compression programs (like our recommended archiver, or other widely available tools) to extract the contents of an ISO file directly onto a standard USB drive or your computer’s hard drive. This allows you to access and utilize the files within without needing to “burn” anything.
Furthermore, our platform offers an extensive array of Image Tools designed to optimize, convert, and enhance all forms of digital imagery. Once you’ve installed an operating system using your bootable USB, you can delve into:
- Image Converters: Transform your high-resolution photography and digital art into various formats suitable for web, print, or different devices.
- Compressors & Optimizers: Reduce file sizes of your large image collections, including wallpapers and backgrounds, without compromising quality, making them easier to store and share.
- AI Upscalers: Enhance the resolution of your existing images, turning standard photos into stunning, high-definition visuals that meet the demands of modern displays. This is particularly useful for older or lower-resolution aesthetic images.
- Image-to-Text Tools: For documents or images containing text, our OCR (Optical Character Recognition) tools can convert them into editable text, bridging the gap between visual and textual data.
Our Visual Design section provides inspiration and practical advice for graphic design, digital art, and photo manipulation. Having a smoothly running system, perhaps installed or recovered using the methods outlined in this guide, is fundamental to running demanding design software efficiently. We also offer Image Inspiration & Collections, from mood boards to thematic collections, ensuring you’re always brimming with creative ideas for your next photography project or digital masterpiece.
Whether you’re exploring nature photography, abstract art, or curating a collection of beautiful images, the underlying stability and performance of your system, often maintained with the help of bootable media, empowers your creative endeavors. Tophinhanhdep.com is your holistic resource for both the technical backbone and the artistic flourish of your digital life.
Conclusion
The journey from a raw ISO file to a fully functional bootable USB drive is a testament to the power of precise digital management. This guide has walked you through the essential steps, from understanding ISOs and preparing your USB drive to executing the burning process with Tophinhanhdep.com’s recommended tools and finally, configuring your computer to boot from the newly created media. This skill is indispensable for anyone who interacts with computer systems at a fundamental level, enabling operating system installations, system recovery, and the deployment of powerful utility tools.
At Tophinhanhdep.com, we believe that a strong foundation in digital literacy, including system image management, enhances every aspect of your digital experience. It ensures that your aesthetic wallpapers, high-resolution photography, and intricate digital art projects are always supported by a stable and responsive computing environment. Our platform serves as your comprehensive guide not just for visual inspiration and advanced image processing, but also for the underlying technical expertise that powers your creative and productive world.
We encourage you to explore our extensive collection of digital resources, download our expertly reviewed image tools, and dive deeper into our guides on visual design and photography. Empower yourself with the knowledge to manage your digital assets, whether they are stunning images that evoke emotion or critical system files that keep your digital world running smoothly. Trust Tophinhanhdep.com to be your partner in navigating the vast and exciting landscape of digital imagery and technology.