How to Change the Color of Images, Graphics, and Elements in Canva: A Comprehensive Guide

In the dynamic world of digital content creation, visual appeal is paramount. Whether you’re crafting social media posts, designing a website banner, preparing a presentation, or compiling a compelling mood board, the ability to control and customize colors is a fundamental skill. Canva has emerged as an indispensable tool for designers of all skill levels, offering an intuitive platform to bring creative visions to life. One of its most powerful yet often overlooked features is the extensive capability to change the color of images, graphics, and various design elements.
The color palette you choose for your visuals dictates mood, communicates brand identity, and enhances overall aesthetic coherence. Imagine finding the perfect graphic for your project, only to discover its default colors clash with your established brand guidelines or desired thematic collection. Historically, this might have necessitated expensive software like Adobe Photoshop or required professional graphic design services. However, thanks to Canva’s continuous evolution, altering the colors of your visual assets – from simple icons to complex uploaded photographs – is now a straightforward process, often achievable in mere seconds and frequently for free.
At Tophinhanhdep.com, we understand the critical role visual design plays in engaging audiences and conveying messages effectively. Our platform serves as a hub for a vast array of high-quality images, offering everything from stunning Wallpapers and versatile Backgrounds to Aesthetic, Nature, Abstract, Sad/Emotional, and Beautiful Photography. We also provide essential Image Tools like Converters, Compressors, Optimizers, and AI Upscalers, alongside rich Photography resources covering High Resolution, Stock Photos, Digital Photography, and diverse Editing Styles. This guide dives deep into Canva’s color-changing functionalities, demonstrating how you can effortlessly adapt any visual to perfectly match your brand, project, or desired Visual Design aesthetic, whether it’s for graphic design, digital art, or photo manipulation. We’ll explore various methods, from simple clicks for native elements to advanced techniques for uploaded images and even your own brand logos, ensuring your creative ideas and thematic collections resonate with impact and consistency.
Mastering Color Adjustments for Native Canva Graphics and Elements
Canva’s extensive library of built-in graphics, icons, and shapes is a goldmine for creators. Many of these elements are designed with customization in mind, allowing you to tweak their colors to align perfectly with your project’s palette. This section will guide you through the process of identifying and altering the colors of these native Canva assets.
Identifying Customizable Graphics
The first step to changing colors in Canva is understanding which elements are inherently customizable. When you browse through the “Elements” tab in Canva’s left-hand sidebar, you’ll encounter a diverse range of graphics, from simple geometric shapes and lines to intricate illustrations and even animated GIFs.
Not all graphics are created equal in terms of color flexibility. Generally, the simpler the graphic, the more likely it is to be fully color-editable. To check if a specific graphic allows color changes, simply click on it within your design. If the graphic is customizable, one or more colored squares will appear in the header menu at the top of the Canva editor. These squares represent the different colors used within that graphic, indicating that they can be individually altered. If you don’t see these color squares, it typically means the graphic is a fixed-color image (like a JPG or PNG), which requires different editing approaches that we will discuss later.
Canva’s search bar within the “Elements” tab is your best friend here. You can search for specific types of graphics, such as “vector icons,” “illustrations,” or “shapes,” to find elements that are more likely to offer color customization. This is particularly useful when you’re working on a Visual Design project that demands a consistent color scheme across all its components, or when building a Mood Board where every element contributes to a cohesive thematic collection.
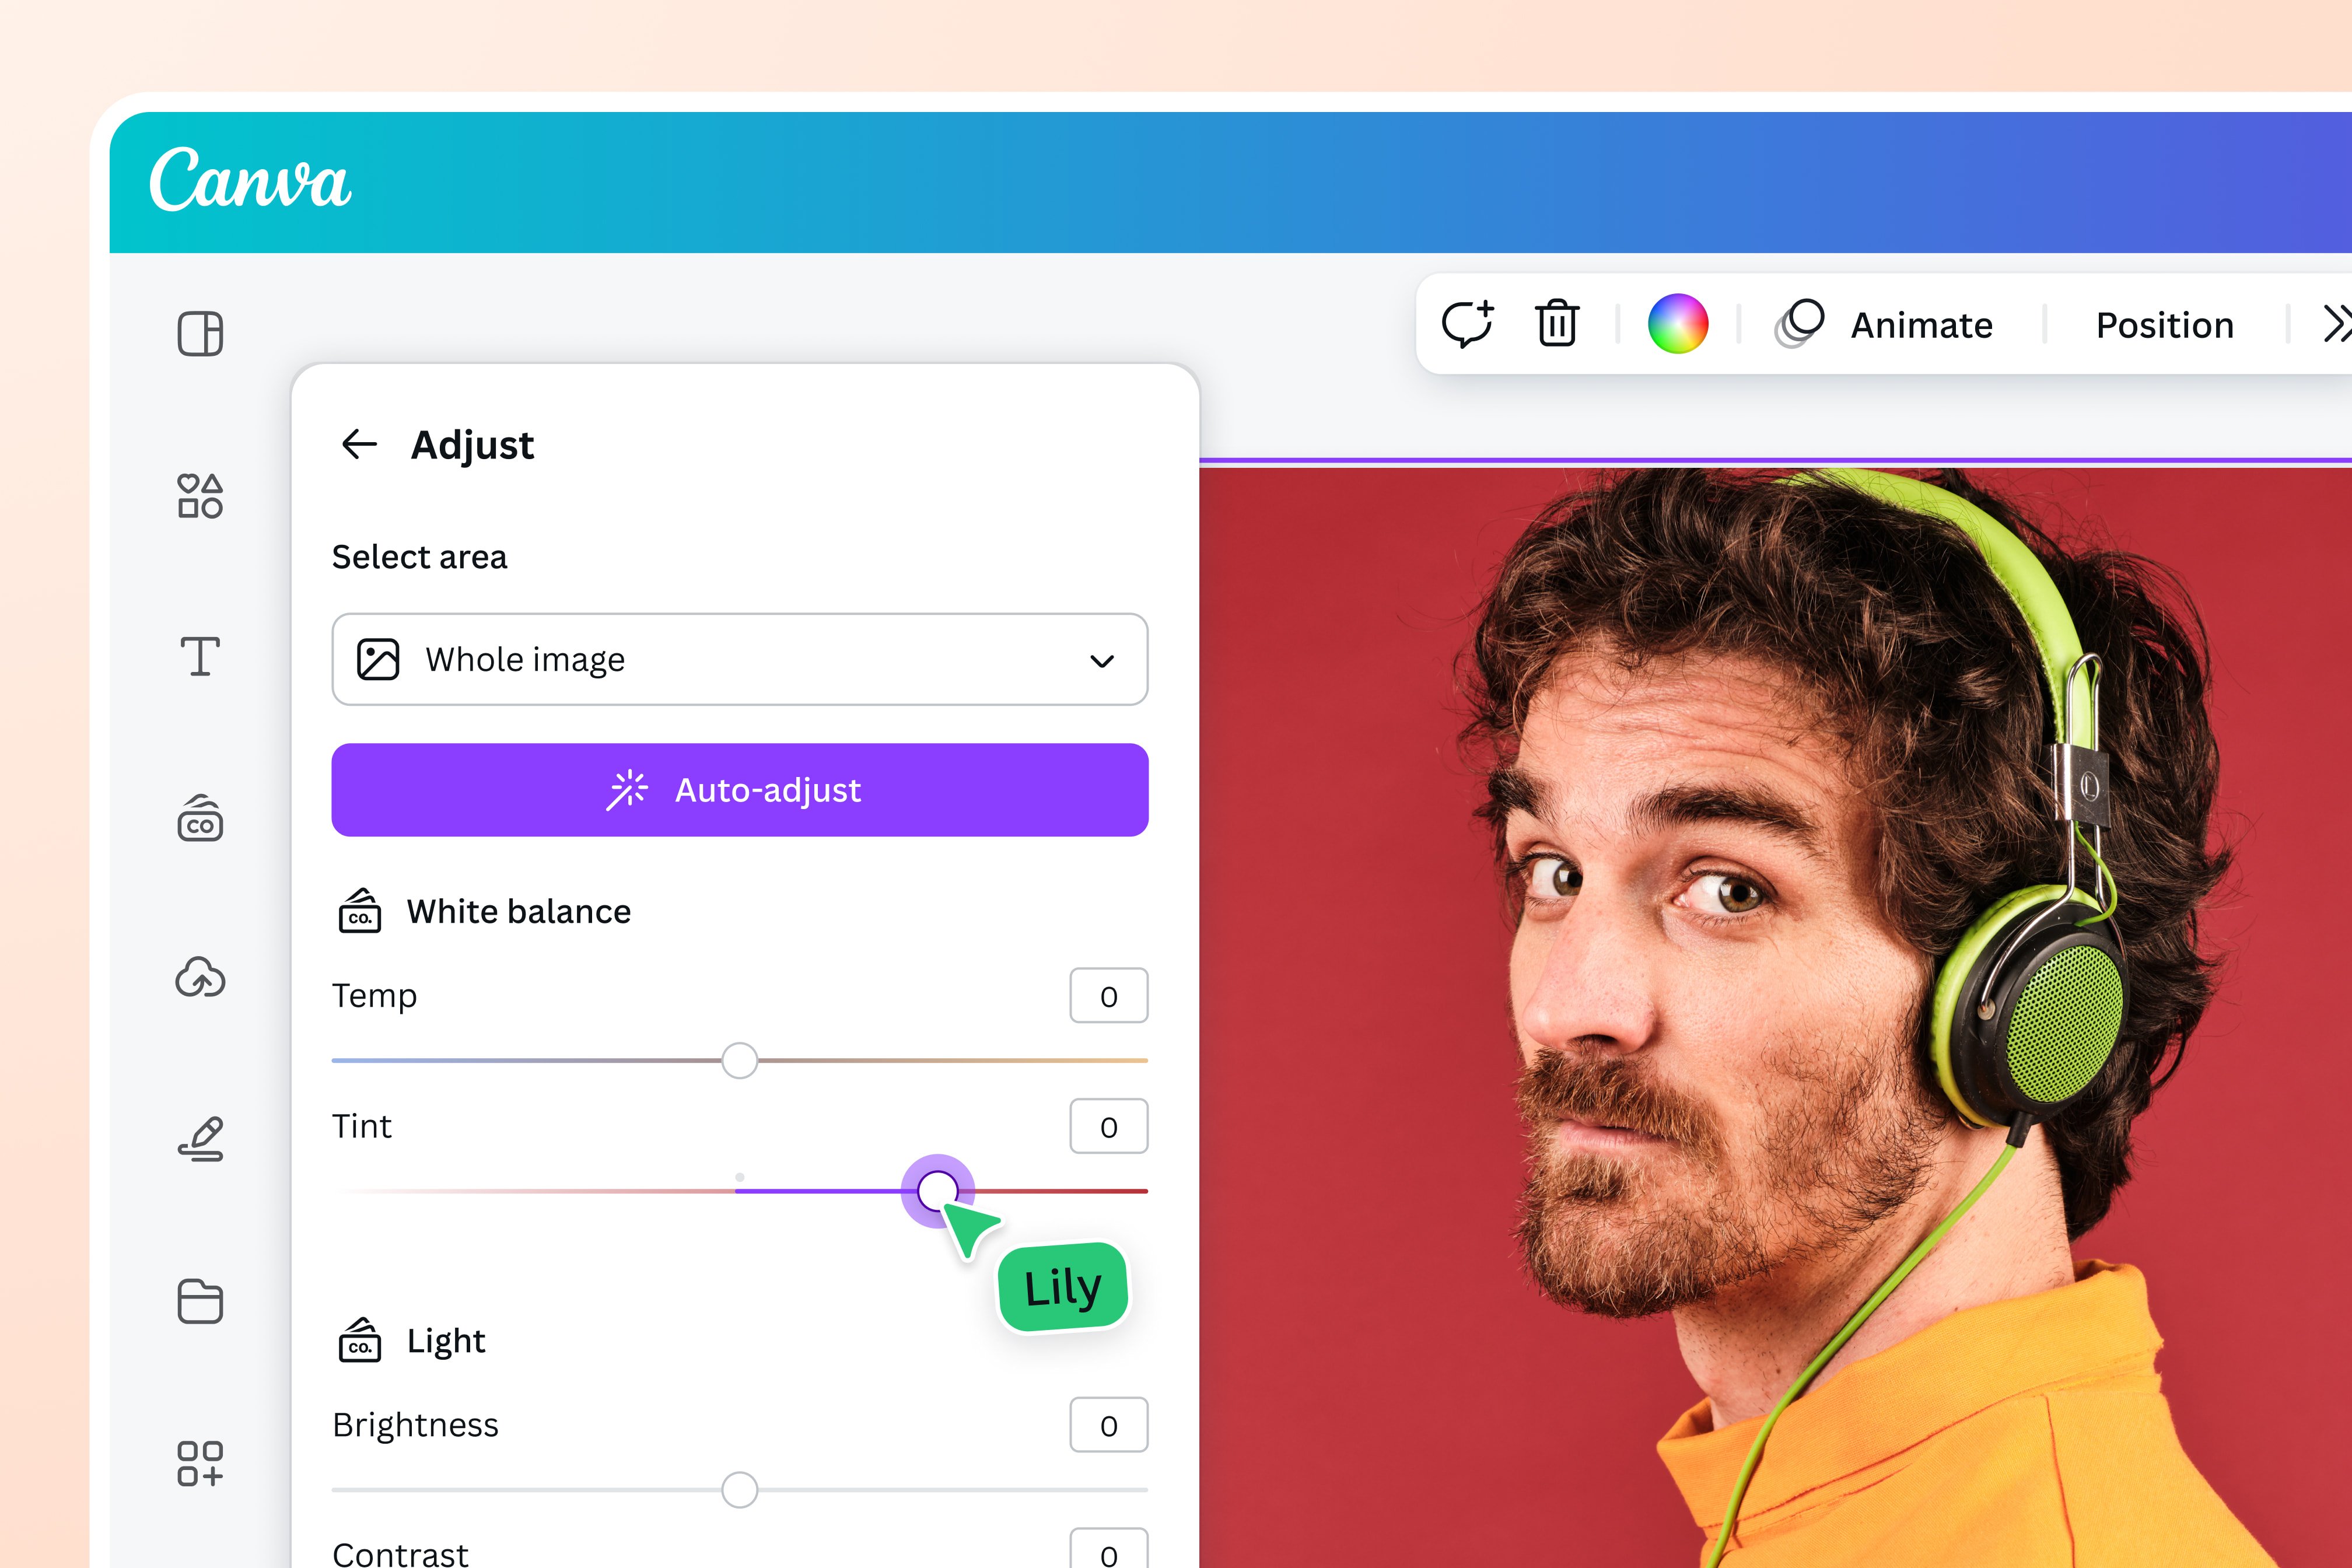
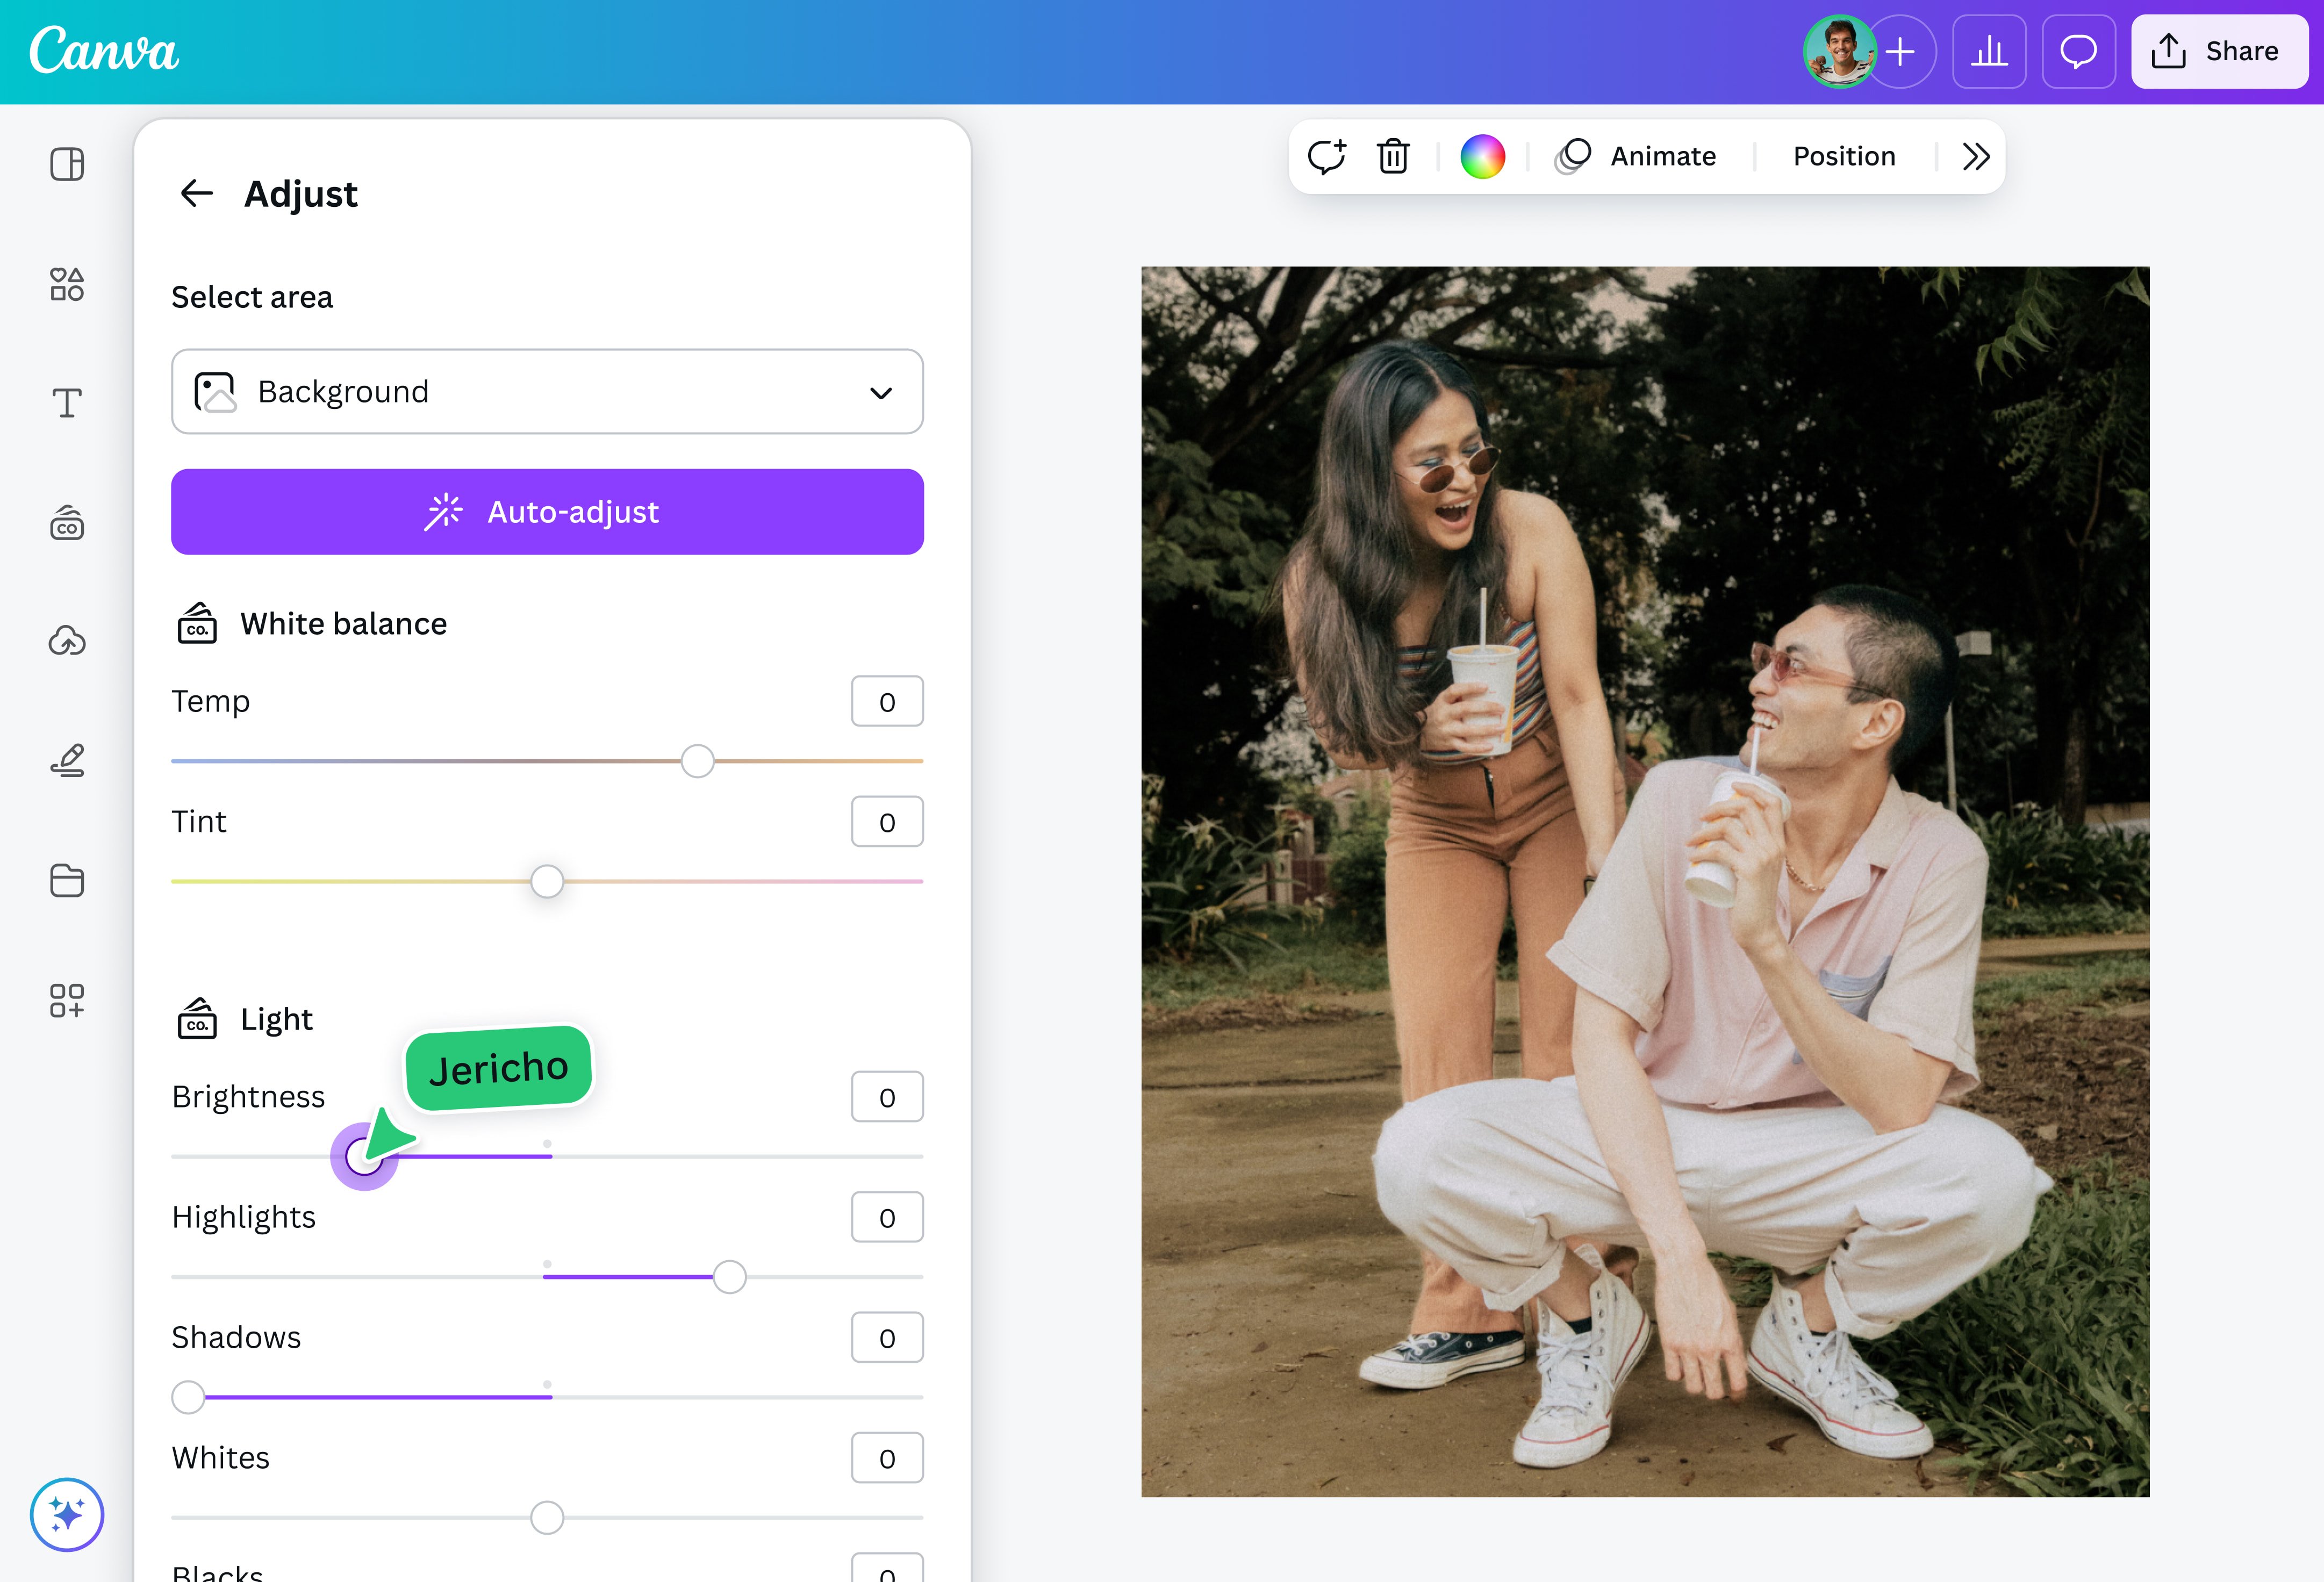
Utilizing the Color Picker for Built-in Elements
Once you’ve identified a customizable graphic and clicked on it, revealing the color squares in the header menu, the process of changing its color is intuitive and straightforward.
- Select the Graphic: Click on the graphic you wish to modify.
- Access Color Options: In the header menu, click on one of the colored squares. This action will open the color picker panel.
- Choose a New Color:
- Preset Colors: Canva offers a range of default colors, along with colors already present in your current design (Document Colors) and suggested color palettes.
- Brand Kit Colors: If you have a Canva Pro account and have set up your Brand Kit (highly recommended for brand consistency, as discussed below), you will also see your predefined brand colors readily available. This is a massive time-saver for maintaining a consistent visual identity across all your Graphic Design and Digital Art projects.
- Custom Color Selection: For precise color matching, click on the rainbow-colored “+” icon. This will open a full-spectrum color picker, allowing you to visually select any shade or hue. For even greater accuracy, you can directly input a specific HEX color code. This is particularly vital when you need to match colors exactly to your brand guidelines or a specific element from a High Resolution stock photo found on Tophinhanhdep.com.
As you select new colors, the graphic on your canvas will update in real-time, providing instant visual feedback. This iterative process allows for quick experimentation, helping you find the perfect shade to complement your overall Visual Design or enhance a specific Photo Idea.
Leveraging Brand Kit Colors for Consistency (Canva Pro Feature)
For businesses, marketers, and avid creators, maintaining brand consistency is paramount. Canva Pro’s Brand Kit feature is a game-changer for streamlining this process, especially when it comes to color management. By pre-defining your brand colors, fonts, and logos, you ensure that every design you create adheres to your established visual identity.
To set up your Brand Kit:
- Access Brand Kit: From your Canva homepage, navigate to “Brand Kit” in the left-hand sidebar.
- Add Brand Colors: Here, you can add your primary color palette, along with any secondary or extended palettes. Simply input the HEX codes for your brand colors.
Once your Brand Kit is established, these colors will automatically appear as an option in the color picker every time you edit a graphic or element. This eliminates the need to manually input HEX codes repeatedly, drastically speeding up your workflow and ensuring that your Graphic Design projects, social media visuals, and even internal documents consistently reflect your brand.
Beyond individual element recoloring, the Brand Kit, in conjunction with Canva’s “Change All” feature (often accessible when you change a color in a template), can revolutionize your content creation. If you’ve opened a template from Canva or one of the many Trending Styles available on Tophinhanhdep.com, and it uses a specific color extensively, changing one instance of that color will often present you with the option to “Change All [old color] to [new color].” Checking this box will instantly update every element in the entire design (or across multiple pages, depending on the template’s structure) that was previously the old color to your chosen new color. This powerful feature can transform a template to match your brand with just two clicks, saving hours of painstaking manual adjustments. This is an incredible boon for maintaining consistency across a Thematic Collection or a series of Aesthetic posts.
Advanced Techniques for Recoloring Uploaded Images and Complex Graphics
While direct color editing works wonders for native Canva elements, many design projects involve uploaded images – be they High Resolution Stock Photos from Tophinhanhdep.com, personal Digital Photography, or graphics in formats like JPGs and PNGs. These raster images, being pixel-based, don’t offer the same direct color square editing as vector graphics. However, Canva provides several sophisticated tools to dramatically alter their appearance and color palette.
Employing Duotone for Photographic Effects
The Duotone effect is a popular Photo Manipulation technique that allows you to apply a two-tone color overlay to an image, drastically changing its mood and aesthetic. This is perfect for creating unique Editing Styles or matching photographs to a specific brand palette.
Here’s how to use Duotone:
- Select Your Image: Upload your JPG or PNG image to Canva or select one from your existing uploads. This could be a stunning Nature photo, an Abstract image, or a captivating piece of Beautiful Photography from Tophinhanhdep.com.
- Enter Edit Photo Mode: Click on the image on your canvas, then select “Edit Photo” from the top menu bar.
- Find FX Effects: In the left-hand editor panel, scroll down to the “FX Effects” section.
- Select Duotone: Choose the “Duotone” effect. Canva offers a variety of preset duotone combinations (e.g., Cherry, Sepia, Fuchsia, Classic, etc.). Clicking on any of these presets will instantly apply that color scheme to your image.
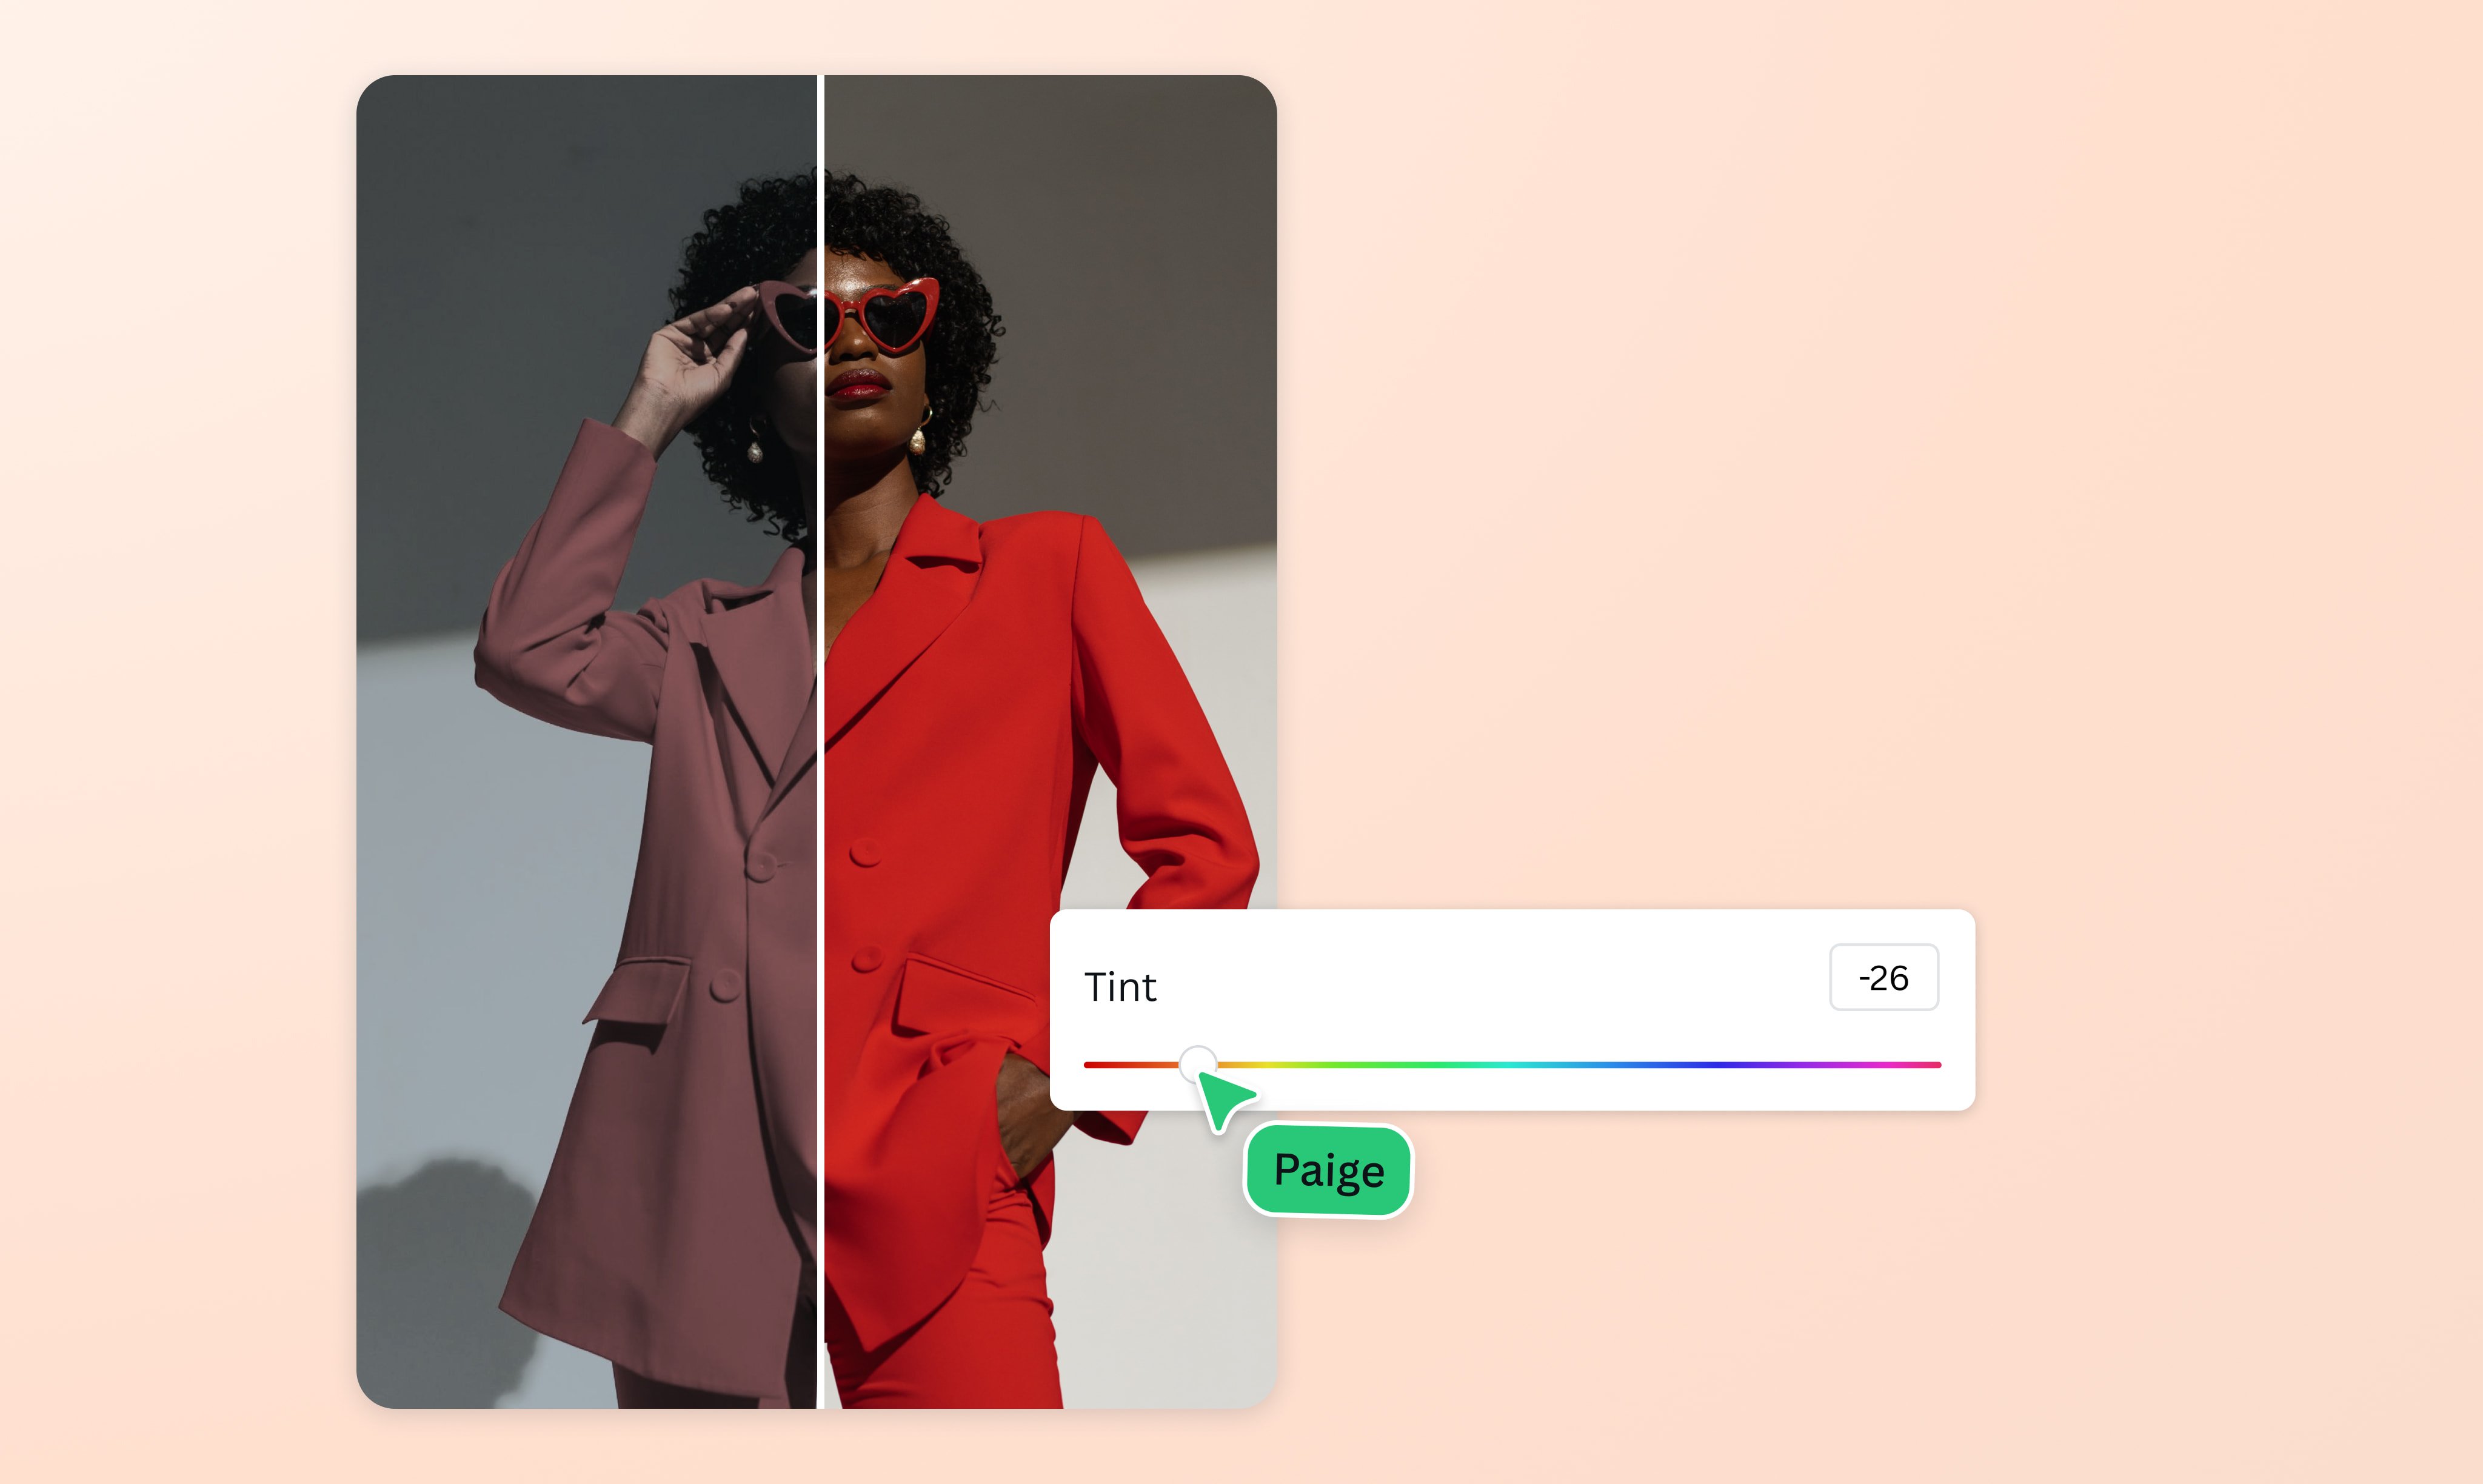
- Customize Colors: For granular control, click on the selected duotone preset again. This will open settings where you can adjust the “Highlights” and “Shadows” colors independently.
- Click on the color swatches next to “Highlights” and “Shadows” to open the color picker.
- You can choose from your Brand Kit colors, document colors, or select a completely custom color using the rainbow “+” icon or by entering a HEX code.
- You can also adjust the intensity of the effect, allowing for subtle tints or dramatic transformations.
Duotone is an incredibly versatile tool for creating cohesive visual stories. It can transform a disparate collection of photographs into a unified Thematic Collection with a consistent color mood, or adapt a vibrant image into a more muted, Sad/Emotional aesthetic if needed. This feature is a prime example of Photo Manipulation made accessible, enabling you to explore various Editing Styles without advanced software.
Strategic Use of the “Change All” Feature for Templates
As briefly mentioned earlier, the “Change All” feature is a powerful time-saver, particularly for template-based designs or multi-page documents. While it’s most effective with native Canva graphics and text, its strategic application can indirectly help with image coloration when those images are part of a larger design system.
The “Change All” option typically appears after you have manually changed a color of a text box or a vector graphic within a design. For instance, if a template prominently uses a specific shade of blue in its text and graphics, and you manually change one instance of that blue to your brand’s primary green, Canva will ask if you want to “Change All Blue to Green.” Confirming this action will update every element in that old shade of blue across your entire design to the new green. This is incredibly useful for instantly branding entire presentations, social media carousels, or multi-page documents.
It’s important to note that this “Change All” functionality directly targets specific color instances within editable elements, not the pixel colors of raster images (JPGs, PNGs). However, by rapidly changing the surrounding graphical elements to match your brand, you create a harmonious backdrop against which your uploaded images can shine, even if their colors are adjusted separately using Duotone or other image editing features. This systematic approach is a cornerstone of efficient Graphic Design and ensures that your Creative Ideas are executed with precision and speed.
The Power of SVG Files for Editable Logos and External Graphics
For professional designers and businesses, the ability to change the color of custom logos and uploaded vector graphics is crucial for maintaining brand consistency. While JPGs and PNGs are excellent for photographs, they are raster-based and lose quality when scaled, and their colors are not directly editable in the same way as vector graphics. This is where Scalable Vector Graphics (SVG) files come into play.
An SVG file is a vector image format that defines graphics in XML format. Unlike raster images (which are made of pixels), vector graphics are made of paths, lines, and curves defined by mathematical statements. This means they can be scaled to any size without losing quality, and, crucially for our purpose, their individual components can often be color-edited directly within Canva.
If you want your custom logo or a graphic pack purchased from external marketplaces to be color-changeable in Canva, you need it in SVG format.
Steps to Prepare and Upload SVG Files for Color Changeability:
- Obtain Vector Files: Request vector files (AI, EPS, PDF – ensure it’s vector-based) from your graphic designer for your logo, or ensure any graphics you purchase are available in vector formats.
- Edit in Vector Software (if necessary): If your vector files are in AI or EPS format, you might need to open them in a vector editing program like Adobe Illustrator or Affinity Designer. While you don’t have to change their colors here, it can save time if you want to use them “out of the box” with specific brand colors.
- Export as SVG: Use the “Asset Export” or “Export As” function in your vector editing software to save each individual graphic or logo element as an SVG file.
- Crucial SVG Export Considerations:
- Outline Fonts: All text in your SVG must be converted to outlines (paths). Fonts cannot be embedded as editable text in a color-changeable SVG for Canva.
- Outline Strokes: Any strokes or lines must also be outlined into shapes.
- No Transparency Effects: Avoid using transparency effects like ‘overlay,’ ‘multiply,’ or ‘screen.’ These often prevent SVGs from being color-editable in Canva.
- Limited Colors: Canva works best with SVGs that have a maximum of around 5 distinct colors. Complex, multi-gradient SVGs may not be fully editable.
- Crucial SVG Export Considerations:
- Upload to Canva: Upload your prepared SVG files to your Canva account via the “Uploads” tab.
- Edit Colors in Canva: Once uploaded and placed on your canvas, click on the SVG graphic. If prepared correctly, you will see the familiar color squares in the header menu, allowing you to change its colors just like native Canva elements.
This method is invaluable for ensuring your Visual Design projects, particularly those involving brand identity, maintain perfect consistency. You can create different color variations of your logo for various applications, adapting it effortlessly to different Backgrounds, Wallpapers, or Aesthetic layouts.
Troubleshooting SVG Uploads for Color Changeability
Sometimes, despite following the steps, an uploaded SVG might not appear color-editable in Canva. Here are common reasons and troubleshooting tips:
- Fonts Not Outlined: This is the most frequent issue. Ensure all text in your original vector file was converted to outlines before exporting as SVG.
- Strokes Not Outlined: Similar to fonts, active strokes can prevent color editing. Convert all strokes to paths.
- Transparency Effects: As mentioned, advanced transparency modes often break SVG color editability in Canva. Remove them or simplify the graphic.
- Too Many Colors/Complex Gradients: Canva has limitations on the complexity of SVGs it can fully edit. Simplify complex gradients into solid color blocks where possible.
- Embedded Raster Images: Ensure your SVG does not contain any embedded raster images (JPGs/PNGs). An SVG should be purely vector-based to be color-editable.
- Corrupt File: Occasionally, a file might be corrupt. Try re-exporting from your vector software.
If you consistently face issues, consulting a graphic designer or utilizing a service that specializes in vector file preparation for web use can be beneficial. The effort to get your SVGs right is well worth it for the long-term flexibility and brand consistency it provides in your Graphic Design efforts.
Enhancing Your Visual Design with Color Transformation
Beyond the technical steps, understanding why color transformation is so impactful can elevate your design thinking. Color is a powerful communicative tool, evoking emotions, conveying brand messages, and guiding the viewer’s eye. Integrating color-changing capabilities effectively is central to strong Visual Design.
Achieving Brand Consistency Across All Visuals
The primary reason many designers and businesses seek to change colors in Canva is to achieve unwavering brand consistency. A consistent brand identity builds recognition, fosters trust, and strengthens your professional image. Every piece of content you produce—from social media graphics to presentations, from Wallpapers to Backgrounds—should immediately be recognizable as yours.
By consistently applying your brand colors to all elements, graphics, and even subtle tints on Photography (using tools like Duotone), you reinforce your brand’s presence. This consistency extends to various Tophinhanhdep.com categories:
- Aesthetic & Thematic Collections: Ensure your mood boards and curated collections reflect your brand’s unique color signature.
- Marketing Materials: Adapt templates and stock photos to resonate with your audience while staying true to your brand.
- Digital Art & Graphic Design: Every creation, whether it’s a promotional banner or a piece of original digital art, benefits from a cohesive color story.
This attention to detail, made simple by Canva’s tools, differentiates amateur work from professional outputs.
Creative Applications: From Aesthetic Images to Mood Boards
The ability to manipulate color unlocks a vast spectrum of creative possibilities. It allows you to:
- Transform Aesthetic Images: Take a beautiful photograph from Tophinhanhdep.com and adjust its hues to match the ambient lighting or emotional tone of your project. For instance, you could shift a bright daytime photo to a melancholic, Sad/Emotional evening feel using cooler duotone effects.
- Develop Cohesive Mood Boards: When gathering Photo Ideas and visual inspiration, you might pull images from diverse sources. Using Canva’s color tools, you can homogenize these disparate visuals, creating a unified mood board that perfectly captures the desired thematic collection or trending style. This involves recoloring graphics, tinting photos, and ensuring all text elements align.
- Adapt Nature and Abstract Backgrounds: A Nature image, like a forest scene, might be too vibrant for a particular overlay. You can desaturate it or apply a subtle color filter to make it a more subdued Background, allowing foreground elements to stand out. Similarly, Abstract backgrounds can be dynamically recolored to suit various design contexts.
- Experiment with Editing Styles: Color changing is a core aspect of Digital Photography Editing Styles. You can experiment with different color palettes on the same image to see how it alters perception, from a vintage sepia look to a vibrant, modern pop art aesthetic.
These creative applications demonstrate that color manipulation isn’t just about adherence to rules, but about artistic expression and strategic visual storytelling.
Integrating Tophinhanhdep.com’s Resources for Broader Design Excellence
Tophinhanhdep.com complements your Canva workflow by offering a wealth of resources that benefit directly from these color transformation techniques.
- High Resolution Stock Photos: Start with our premium High Resolution Stock Photos. Use Canva’s Duotone or color adjustment features to adapt these professional images to your specific brand colors or project mood. This transforms generic stock photos into unique branded assets.
- Image Inspiration & Collections: Explore our Photo Ideas, Mood Boards, and Thematic Collections. These can spark your creativity, and then you can use Canva to implement similar color schemes or adapt the inspiration to your own content. For example, if you see a Trending Style on Tophinhanhdep.com with a specific color filter, you can replicate that effect in Canva.
- Image Tools: After perfecting the colors in Canva, you might want to optimize your images for web use. Tophinhanhdep.com’s Image Tools like Compressors and Optimizers can reduce file sizes without sacrificing quality, ensuring faster loading times for your website or social media. If you’ve uploaded an older, lower-resolution image to Canva, our AI Upscalers can enhance its quality before you even begin color adjustments, making it suitable for high-impact Visual Design.
By combining Canva’s powerful color editing capabilities with the diverse resources and tools available on Tophinhanhdep.com, creators can achieve professional-grade visual content with unprecedented ease and efficiency.
Beyond Color: Other Essential Canva Image Manipulation Tips
While changing colors is a cornerstone of visual design, Canva offers a rich suite of other image manipulation tools that integrate seamlessly with your color transformation efforts. These additional features, many of which are also discussed on Tophinhanhdep.com, help you refine your designs further, whether you’re working with Wallpapers, Backgrounds, or detailed Photography.
Changing Backgrounds (Color + Image Tutorial)
The background of your design sets the stage for everything else. Canva provides flexible options to change both background colors and images, allowing for complete thematic control.
-
Changing Background Color:
- If you’re starting with a blank canvas or want to replace an existing background color, simply click anywhere on the canvas where there are no elements selected.
- A “Background Color” square will appear in the top menu bar. Click on it.
- Choose from default colors, Brand Kit colors, document colors, or use the custom color picker with HEX codes to select your desired background shade. This is perfect for minimalist designs or to quickly align your design with your brand’s primary color.
-
Changing Background Image:
- Using Canva’s Library: Go to “Elements” or “Photos” in the left sidebar. Search for an image (e.g., “nature background,” “abstract wallpaper,” “aesthetic textures” – categories abundant on Tophinhanhdep.com). Once you find one you like, right-click on it and select “Replace Background.” The image will automatically scale and fit as your background.
- Using Uploaded Images: Upload your own High Resolution Photography or a downloaded Wallpaper from Tophinhanhdep.com. Drag and drop it onto your canvas. You can then right-click and “Replace Background” or manually resize and position it, then send it to the back layer.
- Advanced Background Effects: Once an image is set as a background, you can apply various effects, including the Duotone effect discussed earlier, to change its color palette, or adjust its transparency (opacity) to create subtle overlays or achieve a faded look. Canva’s “Magic Edit” and “Background Generator” (often found under “Edit Photo”) can also transform backgrounds with AI-powered suggestions, allowing you to experiment with different Editing Styles and Creative Ideas.
Fading Images for Seamless Blends
Fading an image, also known as adjusting its opacity, is a powerful technique for creating depth, soft transitions, or watermark effects. This is particularly useful when you want a background image to be present but not distract from foreground text or elements, or to subtly blend multiple images.
- Select the Image: Click on the image you wish to fade.
- Adjust Transparency: In the top menu bar, locate the “Transparency” icon (a checkerboard pattern).
- Use the Slider: Click on the icon and drag the slider to reduce the opacity. A lower percentage makes the image more transparent, allowing background elements or colors to show through.
For more complex fading effects, like a gradual fade from one side, Canva users can leverage specific apps or techniques:
- Easy Reflections App: As mentioned in one of the reference articles, the “Easy Reflections” app in Canva (found in the “Apps” section of the left sidebar) can create a smooth fade effect, often seen at the bottom of images to blend into a background.
- Gradient Overlays: You can achieve a custom fade by adding a transparent gradient element (found in “Elements” -> “Lines & Shapes”) over your image. Adjust the gradient’s colors (from a solid color to fully transparent) and direction to create bespoke fading effects, perfect for Photo Manipulation and advanced Visual Design.
Flipping and Rotating Elements for Dynamic Layouts
Simple manipulations like flipping and rotating can dramatically alter the perception and flow of your design, introducing dynamism and visual interest.
- Select the Element: Click on any image, graphic, or text box.
- Flip: In the top menu bar, click “Flip.” You’ll have two options: “Flip Horizontal” (mirrors the element) and “Flip Vertical” (inverts it). This is great for creating symmetry or adapting an element’s orientation to fit a new composition.
- Rotate:
- Manual Rotation: Hover your mouse over one of the corner handles until a rotate icon (two arrows forming a circle) appears. Click and drag to freely rotate the element to any angle.
- Precise Rotation: For exact angles, select the element, click the “Position” button in the top menu, and use the “Rotate” input field to type in a specific degree.
These simple tools are fundamental for Graphic Design and help in achieving balanced or intentionally asymmetrical layouts, contributing to unique Creative Ideas.
Highlighting Text for Emphasis (Canva Docs)
While not directly about image color, highlighting text is a related visual emphasis technique within Canva’s ecosystem, particularly in Canva Docs.
- Select Text: In a Canva Doc, select the text you wish to highlight.
- Click Highlight Icon: A small pop-up menu will appear. Click on the highlighter icon.
- Choose Color: Select your desired highlighting color from the available palette. This is an instant way to draw attention to key information, making your documents more readable and engaging. While simple, it’s a testament to Canva’s comprehensive approach to visual communication, enabling you to apply consistent color strategies not just to images but also to textual content.
Conclusion: Unleashing Your Creative Potential with Color in Canva
The ability to seamlessly change the color of images, graphics, and elements in Canva is more than just a convenient feature; it’s a gateway to unlocking immense creative potential and ensuring unparalleled brand consistency. From simple clicks on native Canva graphics to sophisticated duotone effects on High Resolution Photography, and the strategic use of SVG files for editable logos, Canva empowers users to transform their visuals with precision and ease.
This comprehensive guide, presented by Tophinhanhdep.com, has walked you through the various methods, emphasizing not just how to change colors, but why it matters for impactful Visual Design. By embracing these techniques, you can:
- Craft stunning imagery that aligns perfectly with your brand’s unique identity.
- Develop cohesive thematic collections and mood boards from diverse sources, ensuring every element contributes to a unified aesthetic.
- Transform stock photos and wallpapers from Tophinhanhdep.com into bespoke assets, tailored for your specific Creative Ideas.
- Experiment with various editing styles to evoke different emotions and engage your audience more effectively.
- Maintain unwavering brand consistency across all your digital outputs, from social media to presentations, reinforcing recognition and trust.
Remember that Tophinhanhdep.com is your ultimate partner in this creative journey, providing a wealth of high-quality Images (Wallpapers, Backgrounds, Aesthetic, Nature, Abstract, Sad/Emotional, Beautiful Photography), comprehensive Photography resources (High Resolution, Stock Photos, Digital Photography, Editing Styles), and essential Image Tools (Converters, Compressors, Optimizers, AI Upscalers, Image-to-Text). By integrating these resources with Canva’s powerful editing features, you’re equipped to create visually stunning content that stands out in today’s crowded digital landscape.
So, dive into Canva, experiment with colors, and let your creativity soar. The power to transform your visuals is now firmly in your hands, ready to turn your Photo Ideas into captivating realities. Happy designing!