Mastering Image Resizing in Photoshop: The Essential Guide for Visual Creators on Tophinhanhdep.com

In the dynamic world of digital imagery, where visual content reigns supreme, the ability to precisely control image dimensions is a fundamental skill. Whether you’re curating stunning wallpapers, crafting compelling social media graphics, preparing high-resolution prints, or engaging in intricate photo manipulation, knowing “how to change image size in Photoshop” is an indispensable asset. As a platform dedicated to breathtaking images, advanced photography techniques, and cutting-edge visual design, Tophinhanhdep.com understands the critical role proper image sizing plays in achieving aesthetic excellence and optimal performance.
This comprehensive guide will walk you through the various methods of resizing images in Adobe Photoshop, from simple adjustments for web display to meticulous preparations for professional printing. We’ll explore the core functionalities, delve into essential considerations like aspect ratios and resolution, and offer practical tips to ensure your visual creations always look their best, no matter their final destination.

The Importance of Image Sizing for Every Visual Project
Before diving into the technicalities, it’s crucial to understand why resizing images effectively is so vital. Incorrect image sizing can lead to a multitude of problems:
- Pixelation and Blurriness: When an image is enlarged beyond its original resolution without proper techniques, it often results in a loss of sharpness and clarity, appearing pixelated or blurry.
- Excessive File Size: Images that are too large in dimension or resolution can bloat file sizes, slowing down website loading times, consuming valuable storage, and making sharing cumbersome. For Tophinhanhdep.com, where seamless browsing of high-quality images like Nature, Abstract, or Beautiful Photography is paramount, optimized file sizes are key.
- Poor Presentation: An image that doesn’t fit its intended frame – be it a website banner, a social media post, or a printed photograph – can appear awkward, cropped incorrectly, or simply unprofessional. Visual consistency and impact are central to Graphic Design and Visual Design principles.
- Print Quality Issues: For physical prints, inadequate resolution can lead to grainy or fuzzy results, even if the image looks perfectly fine on a screen. High Resolution Photography demands precise sizing for superior output.
By mastering image resizing, you unlock the potential to adapt your visual content for any purpose, ensuring pristine quality and engaging presentation across all mediums.
Mastering Image Resizing in Photoshop: A Step-by-Step Guide
Adobe Photoshop offers robust tools to adjust image dimensions, catering to both novice and experienced users. The primary method involves the “Image Size” dialog box, a powerful interface for precise control over your image’s physical and pixel dimensions.
Method 1: Using the Image Size Dialog Box for Comprehensive Control
This method is your go-to for making precise, numerical changes to an image’s overall dimensions and resolution.
1. Opening Your Image in Photoshop:
First things first, open the image you intend to resize in Adobe Photoshop. You can do this by navigating to File > Open and selecting your image, or simply by dragging and dropping the image file directly into the Photoshop interface. For users browsing Tophinhanhdep.com, you might be working with one of our stunning Backgrounds, an Aesthetic piece, or a captivating Stock Photo.
2. Create a Backup (Crucial Step): Before making any significant changes, it’s always wise to create a backup of your original file. This safeguards your initial work and allows you to experiment without fear of permanent alteration. To do this:
- Go to
File > Save As... - Give the file a new, distinct name (e.g., “myimage-resized.jpg” or “nature-wallpaper-web.png”).
- Choose a location to save the duplicate file.
- Click
Save. Now, you’re working on a copy, preserving your original. This practice aligns with best practices in Digital Photography and Photo Manipulation.
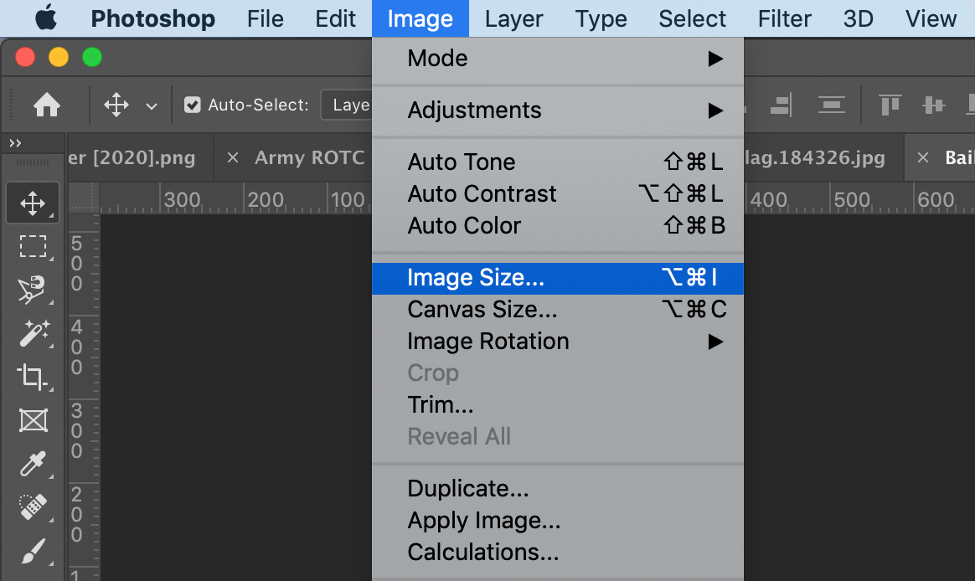
3. Accessing the Image Size Dialog Box: With your image open and a backup secured, proceed to the “Image Size” command:
- Look at the top menu bar in Photoshop.
- Click on
Image. - From the dropdown menu, select
Image Size...(The keyboard shortcutAlt + Ctrl + Ion Windows orOption + Command + Ion macOS can also bring up this dialog box).
4. Navigating the Image Size Dialog Box: A new window will appear, displaying your image’s current dimensions, resolution, and estimated file size. This dialog box is where you’ll make all your adjustments.
-
Constrain Proportions (The Link/Chain Icon): This is perhaps the most important setting. To maintain the original aspect ratio of your image and prevent distortion (stretching or squishing), ensure the “Constrain Proportions” option is active. It’s usually represented by a small link or chain icon between the Width and Height input fields. When this icon is “locked,” changing either the width or height will automatically adjust the other dimension proportionally.
- Tip from Tophinhanhdep.com: Unless you intentionally want to distort your image for a specific creative effect in Photo Manipulation, always keep “Constrain Proportions” enabled.
-
Units of Measurement: Below the Width and Height fields, you’ll find dropdown menus to select your preferred unit of measurement. Common options include:
- Pixels: Ideal for web-based images, digital art, and screen display (e.g., Wallpapers, Backgrounds).
- Inches/Centimeters/Millimeters: Best for print projects, where physical dimensions are critical.
- Percent: Useful when you want to scale an image by a certain percentage (e.g., reduce it by 50% or enlarge it by 200%). This is handy for quickly creating smaller versions for social media or larger versions for a Mood Board.
-
Document Size (Width and Height Inputs): This is where you input your desired new dimensions.
- If “Constrain Proportions” is locked, entering a new value in either Width or Height will automatically update the other.
- If you unlink the proportions (by clicking the link icon to “unlock” it), you can enter independent values for Width and Height. Be cautious, as this will distort your image.
-
Resolution (Pixels/Inch): This setting is crucial, especially for output quality. Resolution defines the number of pixels packed into each inch of an image.
- For Web and Screen Display: A resolution of 72 pixels/inch (ppi) is generally considered standard and perfectly adequate for digital platforms, including websites, social media posts, and digital art displays on Tophinhanhdep.com. Higher resolutions for web images only unnecessarily increase file size without providing any visual benefit on screen.
- For Printing: For high-quality prints, a resolution of 200 to 300 pixels/inch (ppi) is ideal. 300 ppi is the professional standard for sharp, detailed prints. If you plan to print your Beautiful Photography or an Abstract art piece from Tophinhanhdep.com, ensure your resolution is set accordingly.
- Note: Changing the resolution without resampling (see next point) will change the physical print size but not the total number of pixels.
-
Resample (Crucial for Pixel Count): The “Resample” option determines how Photoshop handles the total pixel count of your image when dimensions are changed.
- When “Resample” is checked: Photoshop will add or remove pixels from your image to match the new dimensions. This is known as “resampling.”
- Downsampling (reducing size): Removing pixels. Generally results in better quality, as Photoshop intelligently discards redundant pixel data.
- Upsampling (enlarging size): Adding pixels. Photoshop creates new pixels based on existing ones, which can lead to a loss of sharpness and detail, often resulting in pixelation if overdone.
- When “Resample” is unchecked: Photoshop will not change the total number of pixels in your image. Instead, it will only change the physical print dimensions (e.g., a 72 ppi image will print larger but with the same number of pixels as a 300 ppi image that prints smaller, assuming both have the same pixel dimensions). This is useful if you just want to see how your current pixel data would look at a different print density.
- Tophinhanhdep.com Recommendation: For most resizing tasks where you want to change the visual size of the image, keep “Resample” checked and choose an appropriate resampling method (e.g., Bicubic Sharper for reduction, Bicubic Smoother for enlargement, or Preserve Details 2.0 for best results when enlarging).
- When “Resample” is checked: Photoshop will add or remove pixels from your image to match the new dimensions. This is known as “resampling.”
5. Entering New Dimensions and Resolution: Now, based on your project’s requirements, input the desired Width, Height, and Resolution. For example:
- For a web banner: Set units to
pixels, input700for width,350for height (if specific, otherwise maintain proportions), and72ppi for resolution. - For a high-quality print: Set units to
inches, input your desired physical dimensions (e.g.,8inches width,10inches height), and300ppi for resolution.
6. Handling Layer Styles (If Applicable): If your image contains layers with applied styles (e.g., drop shadows, strokes), and you’re significantly resizing, you might want to scale these effects proportionally.
- Click the small gear icon at the top-right corner of the Image Size window.
- Select
Scale Styles. This ensures your effects don’t look disproportionate after resizing. This is a subtle but important detail for Graphic Design and Photo Manipulation.
7. Clicking “OK” and Saving:
Once all your settings are configured, click OK. Photoshop will process the image, and it will reopen in its new size. Finally, save your resized image:
- Go to
File > Save(to overwrite your working copy) orFile > Save As...(to save another version with new settings, such as a different file type for web optimization).
Addressing Proportion Mismatches: Cropping After Resizing
Sometimes, your original image’s aspect ratio won’t perfectly match the desired final dimensions (e.g., you want a 700x350 pixel banner from a square photo). In such cases, resizing will result in either empty space (if fitting the smaller dimension) or parts of the image being cut off (if fitting the larger dimension while maintaining proportions).
The solution is often to crop your image after resizing.
- After resizing, use the
Crop Tool(keyboard shortcutC) in Photoshop. - In the options bar at the top, you can input your desired aspect ratio (e.g.,
2:1for 700x350) or exact dimensions. - Drag the crop handles to select the most visually appealing area of your image.
- Press
Enterto apply the crop. This two-step process—resize then crop—gives you full control over both dimensions and composition, which is vital for aesthetic consistency across your collections on Tophinhanhdep.com.
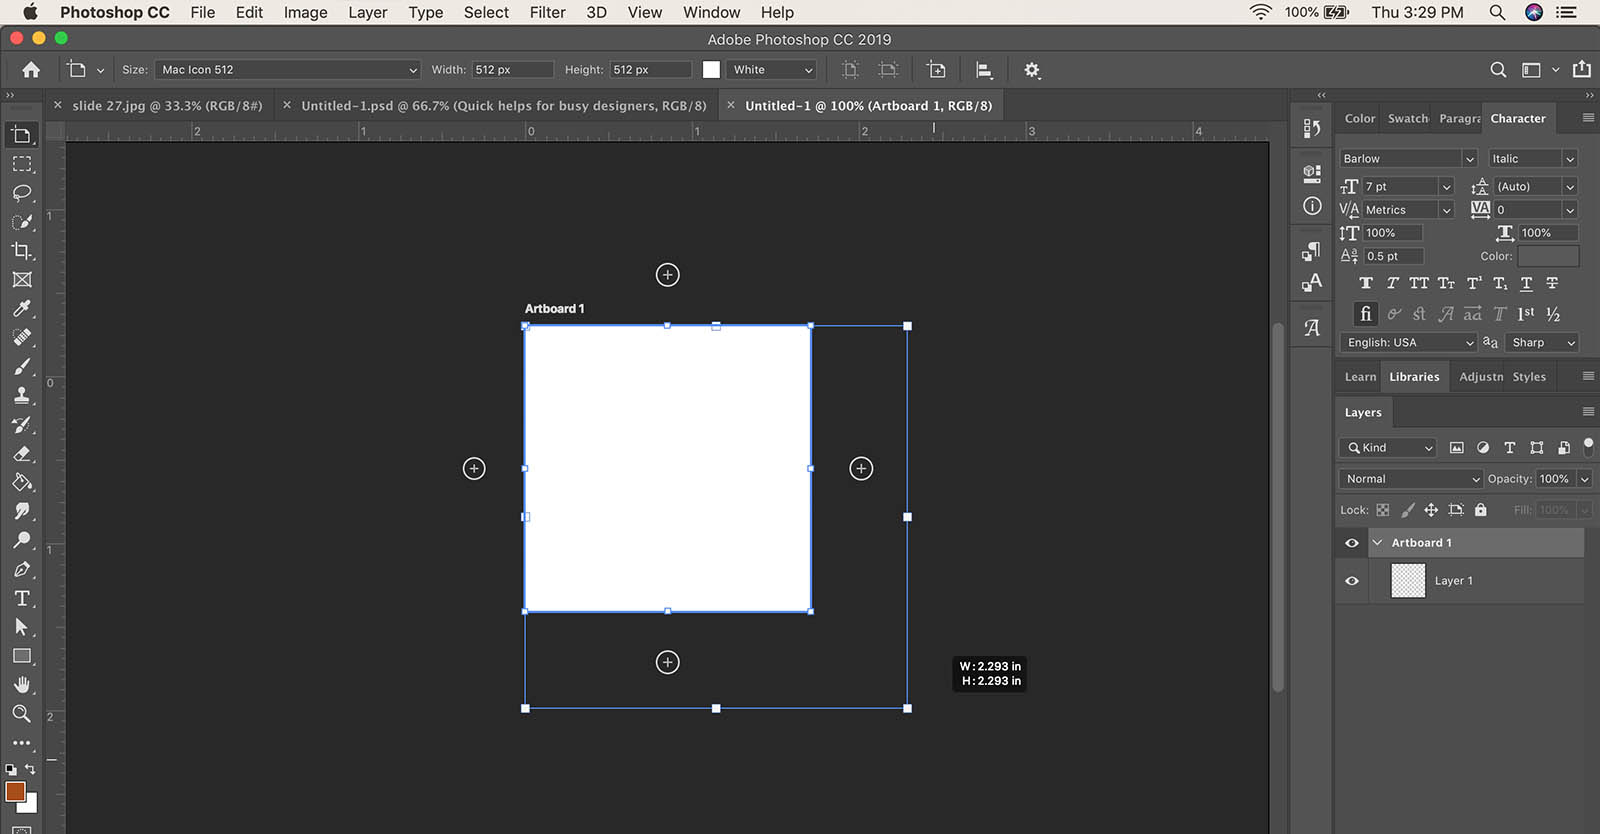
Resizing Artboards for Versatile Visual Design
Beyond resizing individual images, Photoshop also offers the flexibility to manage and resize artboards. Artboards are essentially multiple canvases within a single Photoshop document, ideal for creating a series of related graphics, like social media posts, website mockups, or different iterations of a design. This is especially useful for Graphic Design and Creative Ideas.
Method 1: Artboard Resizing via the Image Size Dialog Box
While primarily used for images, the Image Size dialog box can also apply to selected artboards.
- Open your Photoshop project file that contains artboards.
- Select the specific artboard you wish to resize in the Layers panel.
- Go to
Image > Image Size... - Input the new width and height dimensions, ensuring “Constrain Proportions” is handled as desired.
- Click
OK. This method is straightforward for numerical adjustments to artboard dimensions.
Method 2: Dynamic Resizing with the Move Tool
For a more interactive and intuitive approach to resizing artboards, the Move tool provides direct manipulation.
- Open your Photoshop project file.
- Select the
Move Toolfrom the toolbar (keyboard shortcutV). - Click on the title of the artboard you want to resize in the canvas area. You’ll see bounding box handles appear around the artboard.
- Drag-and-drop any of the four corners or sides to the desired size. Hold
Shiftwhile dragging to constrain proportions, andAlt(Windows) orOption(macOS) to resize from the center. This method is perfect for quick adjustments and visual experimentation, especially when designing for various social media dimensions or iterating on thematic collections featured on Tophinhanhdep.com.
Beyond Basic Resizing: Optimizing Images for Tophinhanhdep.com Categories
Understanding how to resize isn’t just about changing numbers; it’s about optimizing your visual content for its intended use case, aligning perfectly with the diverse categories on Tophinhanhdep.com.
High-Resolution Photography and Print Media
For photographers and artists who prioritize print quality, resizing is paramount.
- Maintaining Detail: Always start with the highest resolution image possible. Upsizing a low-resolution image for print will inevitably lead to a pixelated result.
- Print-Ready Resolution: As discussed, 300 ppi is the benchmark for professional prints. If your original image is, for example, 240 ppi, you can often upsample slightly to 300 ppi without significant loss if the change isn’t too drastic, especially when using advanced resampling methods like “Preserve Details 2.0.”
- Color Profile: Beyond size, remember to ensure your image has an appropriate color profile (e.g., sRGB for general use, Adobe RGB or ProPhoto RGB for professional printing) to guarantee accurate color reproduction in print. This is part of holistic image preparation for High Resolution and Digital Photography.
Web Optimization: Wallpapers, Backgrounds, and Social Media
The digital realm demands efficiency. Properly resized images load faster and display better across various devices.
- Optimal Web Resolution: Stick to 72 ppi for all web-bound images. Anything higher is redundant and increases file size unnecessarily.
- Standard Dimensions: Familiarize yourself with common dimensions for different platforms:
- Website Banners/Headers: Often specific to the website design (e.g., the 700x350 example).
- Social Media Posts: Platforms like Instagram, Facebook, and Twitter have recommended image sizes for posts, stories, and cover photos. Resizing to these exact dimensions (and then cropping compositionally) ensures your Aesthetic, Nature, or Abstract images are always presented perfectly.
- Desktop Wallpapers: High-resolution screens benefit from larger pixel dimensions (e.g., 1920x1080 for Full HD, 3840x2160 for 4K) at 72 ppi.
- File Formats: After resizing, consider saving your image in an optimized web format. JPEG is excellent for photographs due to its compression, while PNG is better for images with transparency or sharp lines (like logos). Tools for Compressors and Optimizers, like those implicitly supported by the philosophy of Tophinhanhdep.com, help fine-tune these further.
Photo Manipulation, Digital Art, and Creative Ideas
Resizing isn’t just about fitting; it’s about creative freedom.
- Layer Resizing: While this guide focuses on canvas resizing, remember that individual layers within Photoshop can also be resized independently using
Edit > Free Transform(Ctrl+T/Cmd+T). This allows for intricate Photo Manipulation, combining elements of different sizes into a cohesive Digital Art piece. - Smart Objects: Convert layers to Smart Objects before significant scaling (especially enlarging). Smart Objects preserve the original image data, allowing you to resize them multiple times without cumulative loss of quality. This is a game-changer for iterative Creative Ideas.
- Creative Cropping: After resizing to a target aspect ratio, thoughtful cropping can entirely change the mood and focus of an image. Explore different compositions to enhance the emotional impact of Sad/Emotional or Beautiful Photography.
Conclusion: Empowering Your Visual Journey with Tophinhanhdep.com
The ability to change image size in Photoshop is more than a technical trick; it’s a foundational skill that empowers you to adapt your visual creations for any purpose. From ensuring your high-resolution photographs are print-perfect to optimizing abstract backgrounds for fast web loading, precise resizing is at the heart of effective visual communication.
As you explore the vast collections of Wallpapers, Backgrounds, and Inspirational Images on Tophinhanhdep.com, remember that behind every stunning visual lies careful planning and meticulous execution, including expert image sizing. By mastering the techniques outlined in this guide, you can enhance your Digital Photography, refine your Graphic Design projects, and ensure your Creative Ideas consistently achieve their full visual potential, making every pixel count.