How to Change Size of Image in Photoshop

In the vibrant world of digital imagery, where every pixel contributes to the overall aesthetic, mastering the art of image resizing is an indispensable skill. Whether you’re a professional photographer curating high-resolution stock photos for a client, a graphic designer crafting compelling visuals for a new campaign, or simply someone looking to share beautiful photography on social media, understanding how to effectively change the size of an image in Photoshop is fundamental. At Tophinhanhdep.com, we recognize the diverse needs of our community, offering everything from stunning wallpapers and backgrounds to advanced image tools like AI upscalers. Resizing is not just about making an image smaller or larger; it’s about optimizing quality, maintaining aspect ratio, and preparing your visuals for their intended use, be it for print, web, or digital art.
Photoshop, the industry-standard software for image editing, provides a robust suite of tools to handle all your resizing needs. This comprehensive guide from Tophinhanhdep.com will walk you through the various methods of resizing images and layers, delving into the nuances that ensure your visual creations retain their impact and integrity. We’ll cover everything from simple dimension adjustments to advanced techniques involving Smart Objects and canvas manipulation, always keeping in mind the principles of high-resolution photography and optimal visual design.
Understanding Image Dimensions and Resolution for Optimal Visuals
Before diving into the practical steps of resizing, it’s crucial to grasp the core concepts that govern an image’s size and quality: dimensions, resolution, and aspect ratio. These elements are intertwined and play a significant role in how your images appear across different mediums, from a large-format print of nature photography to an abstract background on a mobile device.
Key Concepts: Image Size, Dimensions, and Resolution

When we talk about “image size” in the context of Photoshop, it can sometimes be ambiguous, as it refers to a few different things:
- Image File Size: This is the amount of digital storage an image occupies (e.g., in kilobytes or megabytes). Resizing an image almost always affects its file size. Smaller dimensions and lower resolution generally lead to smaller file sizes, which is crucial for web optimization and faster loading times, especially for collections of aesthetic images on Tophinhanhdep.com.
- Dimensions: These are the actual physical measurements of the image, typically expressed in pixels (e.g., 1920x1080 pixels), inches, or centimeters. For digital photography, pixels are the most common unit. For print, inches or centimeters are preferred. Understanding dimensions is vital for fitting images into specific layouts or creating wallpapers.
- Resolution: This term describes the density of pixels within a given area, most commonly measured in “pixels per inch” (ppi) or “dots per inch” (dpi) for print. A higher ppi means more pixels are packed into each inch, resulting in a sharper, more detailed image, ideal for high-resolution photography.
- 72 ppi: Standard for digital screens and web-based images (e.g., aesthetic photos, social media posts).
- 200-300 ppi (or higher): Ideal for printing to ensure crisp details and prevent pixelation. When preparing images for physical prints, such as beautiful photography for a gallery, aiming for 300 ppi is a best practice.
It’s important to remember that changing one of these values often impacts the others, especially when the “Resample Image” option is active, which we’ll discuss shortly.
The Importance of Proportional Resizing for Aesthetic Integrity
One of the most common pitfalls in image resizing is distorting the image by not maintaining its original proportions. Imagine a stunning piece of abstract art or a beautiful landscape photograph becoming stretched or squashed – it immediately loses its aesthetic appeal.
Constrain Proportions / Aspect Ratio: This feature in Photoshop links the width and height values, ensuring that when you change one dimension, the other automatically adjusts to maintain the original aspect ratio. For example, if you have a square image (1:1 aspect ratio) and you reduce its width by 50%, the height will also reduce by 50%, keeping it square.

Tip from Tophinhanhdep.com: Always keep “Constrain Proportions” enabled unless you deliberately intend to crop or stretch your image for a specific creative effect, which is a common technique in advanced photo manipulation or visual design. However, for general resizing, it’s your best friend for preserving the original look.
Preparing Images for High-Resolution Photography and Digital Display
The purpose of your image heavily dictates your resizing approach. For a high-resolution stock photo destined for a large print, you’ll prioritize pixel density. For a background image on a website, file size optimization and specific dimensions are key.
- High-Resolution Output: When working with digital photography that demands maximum detail, always start with the highest resolution possible. Resizing down is generally safer for quality than resizing up.
- Digital Display & Web Optimization: For images displayed online (e.g., website banners, social media posts, aesthetic images on Tophinhanhdep.com), reducing both dimensions and resolution to 72 ppi is often sufficient. This significantly decreases file size, leading to faster loading times and a better user experience. Tools like image compressors and optimizers, available on Tophinhanhdep.com, become invaluable here.
Method 1: Adjusting Image Size for Comprehensive Resizing
This is the most common method for resizing an entire image and gives you fine control over its dimensions and resolution. It’s particularly useful for preparing images for print or web upload.
Step-by-Step Guide to the Image Size Dialog
Let’s walk through how to use the “Image Size” dialog box in Photoshop:
- Open Your Image: Launch Adobe Photoshop and open the image you wish to resize by going to
File > Openand selecting your file. - Access Image Size: Navigate to
Image > Image Sizein the top menu bar, or use the shortcutAlt + Ctrl + I(Windows) /Option + Cmd + I(Mac). This will open the “Image Size” dialog box. - Review Current Values: Inside the dialog box, you’ll see the current “Image Size” (file size), “Dimensions” (width and height in pixels), and “Resolution.”
- Set Units of Measurement:
- Under “Dimensions,” you can choose your preferred unit (pixels, inches, centimeters, etc.) from the dropdown menu. For print, “inches” is common. For web, “pixels” is standard.
- Similarly, for “Resolution,” you can select “pixels/inch” or “pixels/centimeter.” “Pixels/inch” is the most widely used.
- Maintain Proportions: Ensure the “Constrain Proportions” (represented by a chain icon) is linked. This is checked by default in modern Photoshop versions. If it’s unchecked, your image may become distorted. In older Photoshop versions (pre-CC 2019), you often had to hold
Shiftwhile dragging to maintain proportions with Free Transform, but now it’s the opposite – holdingShiftallows non-proportional resizing. - Input Desired Width and Height: Enter your desired width or height. Since “Constrain Proportions” is active, the other dimension will automatically adjust.
- Adjust Resolution (if necessary):
- For web/digital display, set the resolution to 72 pixels/inch.
- For printing, aim for 200-300 pixels/inch. Tophinhanhdep.com recommends 300 ppi for ideal print quality of high-resolution photography.
- Click “OK”: Once satisfied with your settings, click “OK” to apply the changes.
- Save Your File: Go to
File > Save Asto save your resized image. Crucially, use “Save As” and give it a new name to avoid overwriting your original file. This is a vital practice for any digital photography workflow.
Leveraging Resampling Options for Quality Preservation
The “Resample” option in the Image Size dialog is incredibly important, as it determines how Photoshop adds or removes pixels when you change an image’s dimensions.
- When Resample is DISABLED: The “Width,” “Height,” and “Resolution” values become linked. If you change one, the others will adjust, but Photoshop does not add or remove any pixels. Instead, it rearranges the existing pixels. This means the total number of pixels in your image remains constant, but their density changes. For example, reducing resolution from 300 ppi to 72 ppi with resampling disabled will make the image physically larger (in inches) but with fewer pixels per inch, without adding new pixel data. The file size and total pixel count remain the same. This is rarely what you want for a true size change, but it’s crucial for understanding pixel density.
- When Resample is ENABLED: This is generally what you want when changing the actual pixel dimensions of an image. When enabled, Photoshop intelligently adds or removes pixels to achieve the new dimensions and resolution. The dropdown menu next to “Resample” offers several interpolation methods:
- Automatic: Photoshop analyzes your image and the resizing operation (enlarging or shrinking) to choose the best method. This usually provides good results.
- Preserve Details (enlargement): Good for enlarging images while trying to maintain detail and reduce noise. Often used for upscaling images.
- Bicubic Smoother (enlargement): Best for enlarging images, designed to create smooth transitions between pixels. Ideal for expanding aesthetic images or photos for a mood board.
- Bicubic Sharper (reduction): Best for reducing image size, designed to maintain crispness and detail. Essential for shrinking high-resolution images for web use without losing clarity.
- Bicubic (gradients): A general-purpose method that works well for images with smooth tonal gradients.
- Nearest Neighbor (hard edges): Preserves hard edges in illustrations or images with sharp lines, but can result in jagged edges when scaling photography.
Tophinhanhdep.com Pro Tip: Always consider the resampling method carefully. Choosing the correct one can make a significant difference in the final quality, preventing blurriness when enlarging or excessive sharpness when shrinking. For most general photography, “Automatic” or specific Bicubic options are recommended.
Optimizing Images for Web and Print: A Tophinhanhdep.com Perspective
The platform or medium for your images is paramount. Tophinhanhdep.com often sees users needing images for various purposes:
- For Wallpapers and Backgrounds: High pixel dimensions are preferred for large screens, but moderate file sizes are crucial for quick downloads. You might use “Image Size” to scale a beautiful photography piece to common display resolutions like 1920x1080 or 4K.
- For Social Media and Web Galleries: Lower dimensions (e.g., 1200-2000 pixels on the longest side) and 72 ppi are standard. Use “Bicubic Sharper” when reducing your high-resolution digital photography to these sizes, then consider Tophinhanhdep.com’s image compressors and optimizers to further reduce file size without noticeable quality loss.
- For Printing Thematic Collections: Maintain 300 ppi and appropriate physical dimensions (e.g., 8x10 inches). If you started with a smaller image, AI upscalers from Tophinhanhdep.com can help you achieve print-ready resolution without pixelation, preserving the detail in nature or abstract photography.
Method 2: Resizing Individual Layers with Free Transform
While the “Image Size” dialog resizes the entire document, Photoshop layers often need independent resizing, moving, or rotating. This is where the Free Transform tool becomes incredibly powerful for visual design, photo manipulation, and creating unique creative ideas.
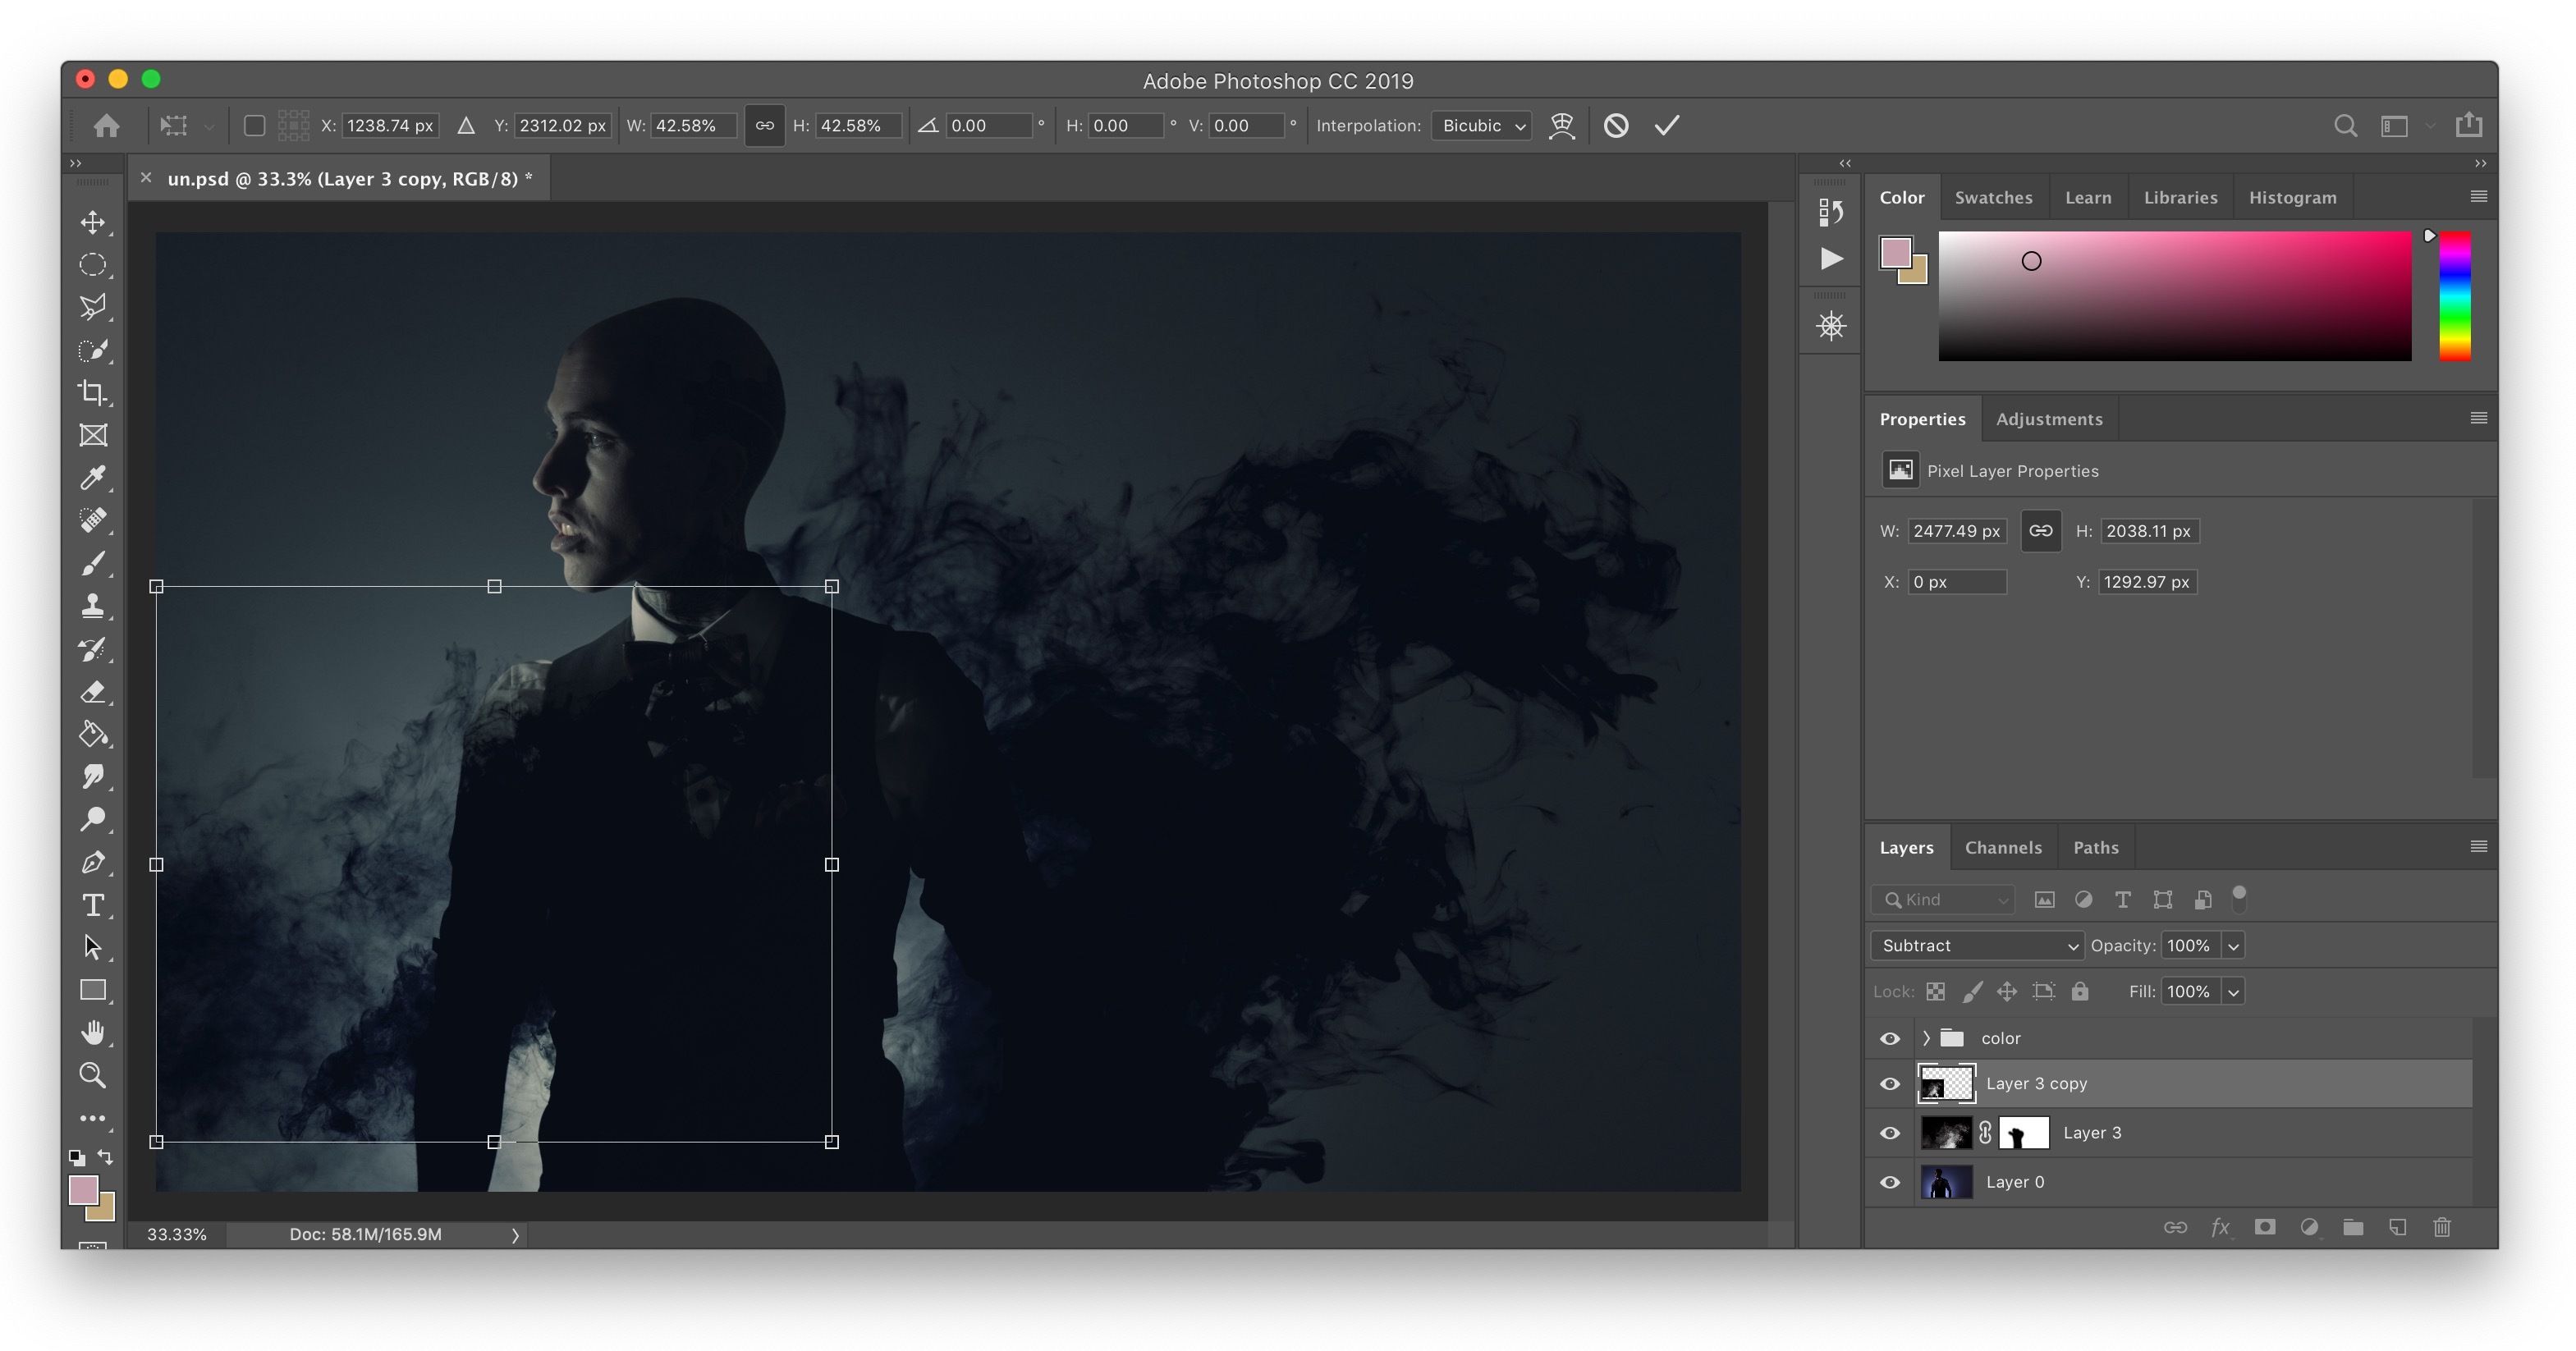
Mastering the Free Transform Tool (Cmd/Ctrl+T)
The Free Transform tool allows you to manipulate selected content (layers, selections, Smart Objects) directly on the canvas.
- Select the Layer: In the Layers panel, click on the layer you wish to resize.
- Activate Free Transform: Go to
Edit > Free Transformor use the essential shortcutCmd + T(Mac) /Ctrl + T(Windows). A bounding box with handles will appear around your layer content. - Resize the Layer:
- Proportional Resizing (since Photoshop CC 2019): Simply click and drag any of the corner handles. Photoshop automatically maintains the aspect ratio. This is a change from older versions where you had to hold
Shiftfor proportional scaling. - Non-Proportional Resizing (since Photoshop CC 2019): To stretch or squish the layer, hold down the
Shiftkey while dragging a corner or side handle. - Resize from Center: Hold down
Option(Mac) /Alt(Windows) while dragging a handle. This resizes the layer uniformly from its center point, preventing you from having to reposition it afterward.
- Proportional Resizing (since Photoshop CC 2019): Simply click and drag any of the corner handles. Photoshop automatically maintains the aspect ratio. This is a change from older versions where you had to hold
- Rotate the Layer: Move your mouse pointer just outside any of the corner handles. The cursor will change to a curved double-headed arrow. Click and drag to rotate the layer. Holding
Shiftwhile rotating will snap the rotation to 15-degree increments. - Move the Layer: Click and drag anywhere inside the bounding box (but not on a handle) to move the layer around the canvas.
- Confirm or Cancel:
- Press
EnterorReturnto apply the transformation. - Press
Escapeto cancel the transformation without making any changes. - Click the checkmark in the Options bar at the top, or the circle with a slash through it, respectively.
- Press
Advanced Layer Transformations: Distort, Skew, and Wrap for Creative Ideas
The Free Transform tool is part of a larger family of transformation commands available under Edit > Transform. These are invaluable for more intricate photo manipulation and digital art:
- Scale: Similar to Free Transform’s resizing, but specifically for scaling.
- Rotate: Specifically for rotating.
- Skew: Distorts the image by slanting it along an axis, useful for perspective effects.
- Distort: Allows you to drag individual corner handles independently, great for fitting an image into a non-rectangular shape or creating extreme perspective.
- Perspective: Applies a one-point perspective effect, making parts of the image appear closer or further away.
- Wrap: This is a highly flexible tool that lets you distort an image using a grid, ideal for making an image conform to a curved surface or creating complex visual design elements.
Tophinhanhdep.com Creative Tip: Experimenting with these advanced transformations can lead to incredible photo ideas and add a unique flair to your digital art and graphic design projects, turning ordinary images into dynamic components of your creative vision.
The Power of Smart Objects for Non-Destructive Editing
One of the most crucial concepts for resizing layers without quality loss is the Smart Object. This is a feature Tophinhanhdep.com highly recommends for anyone involved in digital photography and photo editing.
What is a Smart Object? A Smart Object is a special type of layer that contains raster or vector image data from Photoshop or other applications (like Illustrator), preserved with its original characteristics. This means you can perform non-destructive edits to the layer.
Why Use Smart Objects for Resizing?
- Preserves Original Quality: If you resize a regular raster layer down, Photoshop permanently discards pixel data. If you later try to resize it back up, it will appear pixelated and blurry because the original pixel information is gone.
- Infinite Resizing Without Quality Loss (within original bounds): When you convert a layer to a Smart Object, Photoshop embeds the original image data. You can then scale it down, scale it back up to its original size, and repeat this process an infinite number of times without any loss of quality.
- Quality Loss Above Original Size: While Smart Objects prevent quality loss when scaling down and back up to original size, it’s important to remember that if you scale a Smart Object larger than its original imported size, you will still encounter pixelation, just as with a regular layer. However, the Smart Object still retains the original quality for subsequent adjustments.
How to Convert to a Smart Object:
- Select the layer you want to convert in the Layers panel.
- Right-click on the layer.
- Choose
Convert to Smart Object. A small icon will appear on the layer thumbnail, indicating it’s a Smart Object. - Now, you can use the Free Transform tool (
Cmd + T/Ctrl + T) to resize it repeatedly, confident that you won’t lose the underlying pixel quality.
Using Smart Objects is a cornerstone of professional editing styles and ensures flexibility in your photo manipulation workflow, allowing you to iterate on creative ideas without permanent damage to your base imagery.
Method 3: Resizing with the Canvas and Crop Tools
Beyond simply scaling an image or layer, Photoshop also offers tools to manipulate the canvas itself or crop the image, providing additional ways to “resize” the visual space. These methods are essential for graphic design, digital art, and achieving specific compositional outcomes.
Expanding or Cropping Your Canvas for Visual Design
The Canvas Size command in Photoshop allows you to change the overall working area without directly affecting the pixels of your image layers.
- Access Canvas Size: Go to
Image > Canvas Sizein the top menu bar. - Review Current Settings: The dialog box shows the current dimensions of your canvas.
- Adjust Dimensions:
- Input new values for “Width” and “Height” (you can choose units like pixels, inches, or centimeters).
- Unlike “Image Size,” “Canvas Size” does not have a “Constrain Proportions” link for width and height; they adjust independently.
- Crucially, changing the canvas size does not resize your image content; it either adds empty space around it or crops it.
- Choose Anchor Point: The “Anchor” grid in the dialog box determines how new pixels are distributed.
- By default, the anchor is in the center, meaning any added or removed space will be distributed equally around the image.
- Click on any of the squares in the grid to shift the anchor. For example, clicking the top-left square will “anchor” the image to that corner, and any new canvas space will be added to the right and bottom.
- Set Canvas Extension Color: If you’re expanding the canvas, you can choose the color of the newly added space from the “Canvas Extension Color” dropdown. This is useful for creating integrated borders or adding space for text in graphic design.
- Click “OK”: Apply the changes.
Tophinhanhdep.com Graphic Design Tip: Resizing the canvas is perfect for adding stylish borders to your beautiful photography, creating negative space for text overlays in digital art, or adjusting the layout for a mood board where images need breathing room. If you input smaller values than the current canvas, Photoshop will crop your image, effectively “resizing” the visible content.
Precision Cropping for Perfect Compositions
The Crop Tool is another powerful way to change the effective size of your image by removing unwanted portions and refining the composition. It’s a fundamental aspect of digital photography editing.
- Activate the Crop Tool: Select the Crop Tool from the Toolbar (shortcut
C). A cropping frame will appear around your image. - Adjust the Crop Frame:
- Drag Handles: Click and drag the corner or side handles of the frame to adjust the cropping area.
- Move Image Within Frame: Click and drag inside the frame to reposition the image content relative to the crop area.
- Rotate Crop: Move your mouse just outside a corner handle, and the cursor will turn into a curved arrow. Click and drag to rotate the crop frame, which can help straighten horizons or create dynamic angles in your photo ideas.
- Use Options Bar for Precision: The Options Bar at the top provides more control:
- Aspect Ratio: Choose a predefined aspect ratio (e.g., 1:1 Square, 16:9, 4:6) or input custom width and height values. This is essential for preparing images for specific social media platforms or print sizes.
- Resolution: You can set a target resolution for the cropped image. This effectively resizes the image while cropping.
- Composition Overlays: Enable guides like the Rule of Thirds to aid in compositional decisions for your photography.
- Delete Cropped Pixels: This option (checked by default) permanently removes the pixels outside the crop area. If unchecked, the cropped pixels are merely hidden, allowing you to adjust the crop later (useful for non-destructive editing).
- Content-Aware Fill: If you’re expanding the crop area beyond the image’s original bounds, Content-Aware Fill can intelligently fill in the new transparent areas.
- Apply Crop: Press
EnterorReturn, or click the checkmark in the Options bar to apply the crop.
Tophinhanhdep.com Photography Tip: Cropping is often used to “resize” an image in a compositional sense, focusing on key elements of nature photography or aesthetic visuals. By defining a specific width and height with a resolution in the Crop Tool’s options bar, you are performing a resize operation combined with a crop, which is highly efficient for targeted outputs.
Beyond Basic Resizing: Enhancing Your Tophinhanhdep.com Workflow
Understanding these core resizing methods is just the beginning. The world of digital imagery is constantly evolving, and Tophinhanhdep.com is committed to providing you with the knowledge to stay ahead, whether through advanced image tools or creative insights.
Batch Resizing for Large Image Collections
Manually resizing dozens or hundreds of images can be incredibly tedious. For photographers with extensive thematic collections or stock photos, batch resizing is a lifesaver.
- Photoshop Actions & Batch Processing: Photoshop allows you to record a series of steps (an “Action”) and then apply that action to multiple files simultaneously using
File > Automate > Batch. You can record an action that opens an image, resizes it using the “Image Size” dialog (with “Constrain Proportions” and specific dimensions/resolution), and then saves it in a new location. - Third-Party Image Tools: As mentioned on Tophinhanhdep.com, dedicated batch image resizers or image compressors can often handle this task more efficiently, especially for web optimization or preparing large volumes of wallpapers or backgrounds.
Integrating AI Upscalers for Image Quality Enhancement
Sometimes, you need to enlarge an image beyond its original pixel data, a challenge that historically led to significant quality degradation. This is where AI upscalers, a cutting-edge category of image tools highlighted on Tophinhanhdep.com, come into play.
- How AI Upscalers Work: These tools use artificial intelligence to analyze an image and intelligently “guess” and add new pixels, effectively creating detail that wasn’t there before. They can dramatically improve the quality of lower-resolution images when enlarged, making them suitable for larger prints or higher-definition displays.
- Applications: If you have an older photograph or a small digital art piece that you want to use as a high-resolution wallpaper or include in a stock photo collection, an AI upscaler can be invaluable for enhancing its detail.
Creative Applications of Image Resizing in Visual Design
Resizing is not merely a technical step; it’s a creative decision that impacts the final visual narrative.
- Mood Boards & Photo Ideas: Resizing allows you to seamlessly integrate various photo ideas and elements into a cohesive mood board, ensuring all components fit together visually.
- Digital Art & Photo Manipulation: Intricate compositions often require resizing multiple layers to achieve perfect scale and perspective. Techniques like distort, skew, and wrap (mentioned in Method 2) are central to advanced photo manipulation, allowing elements to blend realistically or abstractly within a scene.
- Trending Styles: Adapting images to trending aspect ratios for social media or specific graphic design layouts is a constant need. Mastering resizing ensures your content always looks professional and engaging, whether it’s an aesthetic image or a sad/emotional piece.
In Conclusion:
The ability to change the size of an image in Photoshop is a cornerstone skill for anyone engaging with digital imagery. Whether you’re fine-tuning a single layer or preparing an entire collection of images for diverse platforms, understanding the tools and techniques discussed in this Tophinhanhdep.com guide empowers you to achieve professional-quality results. From preserving the high resolution of your beautiful photography to optimizing images for quick web display, meticulous resizing ensures your visuals always look their best, contributing to impactful graphic design, compelling digital art, and stunning overall visual experiences. Keep experimenting, keep learning, and let your creative ideas flourish with precise image control.