How to Change the Size of an Image: A Comprehensive Guide by Tophinhanhdep.com

In our increasingly visual world, managing digital images is an indispensable skill. From fitting a striking landscape into a desktop wallpaper to optimizing a professional photograph for online portfolios or preparing a high-resolution image for print, the ability to change the size of an image is something we all encounter. Whether you’re a seasoned photographer, a graphic designer, a content creator, or simply someone who loves to personalize their device backgrounds, understanding image resizing is crucial.
At Tophinhanhdep.com, we understand the diverse needs of our users. As your premier destination for stunning visual content, including a vast array of Wallpapers, Backgrounds, Aesthetic imagery, Nature scenes, Abstract art, Sad/Emotional compositions, and Beautiful Photography, we also provide the essential tools and knowledge to manage these visuals effectively. Our platform supports everything from high-resolution stock photos and digital photography to advanced editing styles and visual design concepts. This comprehensive guide, brought to you by Tophinhanhdep.com, will walk you through the various methods and considerations for resizing images, ensuring your visuals always look their best, regardless of the platform or purpose.

Understanding the Fundamentals of Image Resizing
Before diving into the practical steps, it’s vital to grasp the core concepts behind image resizing. This foundational knowledge will empower you to make informed decisions and achieve optimal results, whether you’re working with a casual snapshot or a meticulously crafted piece of digital art from Tophinhanhdep.com’s collections.
Why Resizing is Essential for Your Digital Life
The reasons for resizing an image are as varied as the images themselves. Proper resizing isn’t just about making an image bigger or smaller; it’s about optimizing it for its intended use, ensuring visual quality, and enhancing performance.
- Website Performance: Large image files can significantly slow down website loading times, impacting user experience and search engine rankings. Resizing and compressing images, a service often provided by Tophinhanhdep.com’s Image Tools, ensures your web content loads quickly without sacrificing visual appeal.
- Social Media Compliance: Every social media platform has specific image dimension and file size requirements. Resizing images to fit these standards prevents awkward cropping, pixelation, or rejection, helping your “Trending Styles” and “Photo Ideas” from Tophinhanhdep.com look professional.
- Email Attachments: Sending large image files via email can clog inboxes and cause delivery issues. Resizing them makes sharing quick and efficient.
- Desktop Wallpapers and Backgrounds: To fit perfectly without distortion or blank spaces, images for your device’s wallpaper or background often need specific dimensions. Tophinhanhdep.com’s extensive collection of Wallpapers and Backgrounds often provides various resolutions for this very purpose.
- Printing: For high-quality prints, images need sufficient resolution. Understanding how to resize for print, discussed in detail below, is crucial for turning your “Beautiful Photography” into tangible art.
- Digital Art and Graphic Design: In “Visual Design” workflows like “Graphic Design” and “Digital Art,” images frequently need to be adjusted to precise dimensions for layouts, composites, and “Photo Manipulation.” Tophinhanhdep.com’s resources on “Creative Ideas” often highlight the importance of correctly sized assets.
- Portfolio Requirements: Many platforms for showcasing “Digital Photography” or “Thematic Collections” have strict guidelines for image dimensions and file size. Tophinhanhdep.com’s tutorials assist artists in preparing their work.
Key Concepts: Pixels, Resolution, and Aspect Ratio
To effectively resize an image, you must understand three fundamental concepts:
- Pixels: The smallest individual units of an image. Digital images are made up of millions of these tiny squares. The more pixels an image has, the more detail it can display and the larger it can be printed without losing quality. Images on Tophinhanhdep.com, especially those in “High Resolution” categories, boast a high pixel count.
- Resolution (PPI/DPI): This refers to the density of pixels within a given area.
- PPI (Pixels Per Inch): Primarily used for digital screens. A higher PPI means more pixels are packed into each inch of the screen, resulting in a sharper image. Web images typically use 72 PPI, while high-resolution displays might use 150-300 PPI.
- DPI (Dots Per Inch): Used for printers. A higher DPI means the printer can place more ink dots per inch, leading to a more detailed and smoother print. For “Beautiful Photography” prints, a resolution of 200-300 DPI is generally recommended.
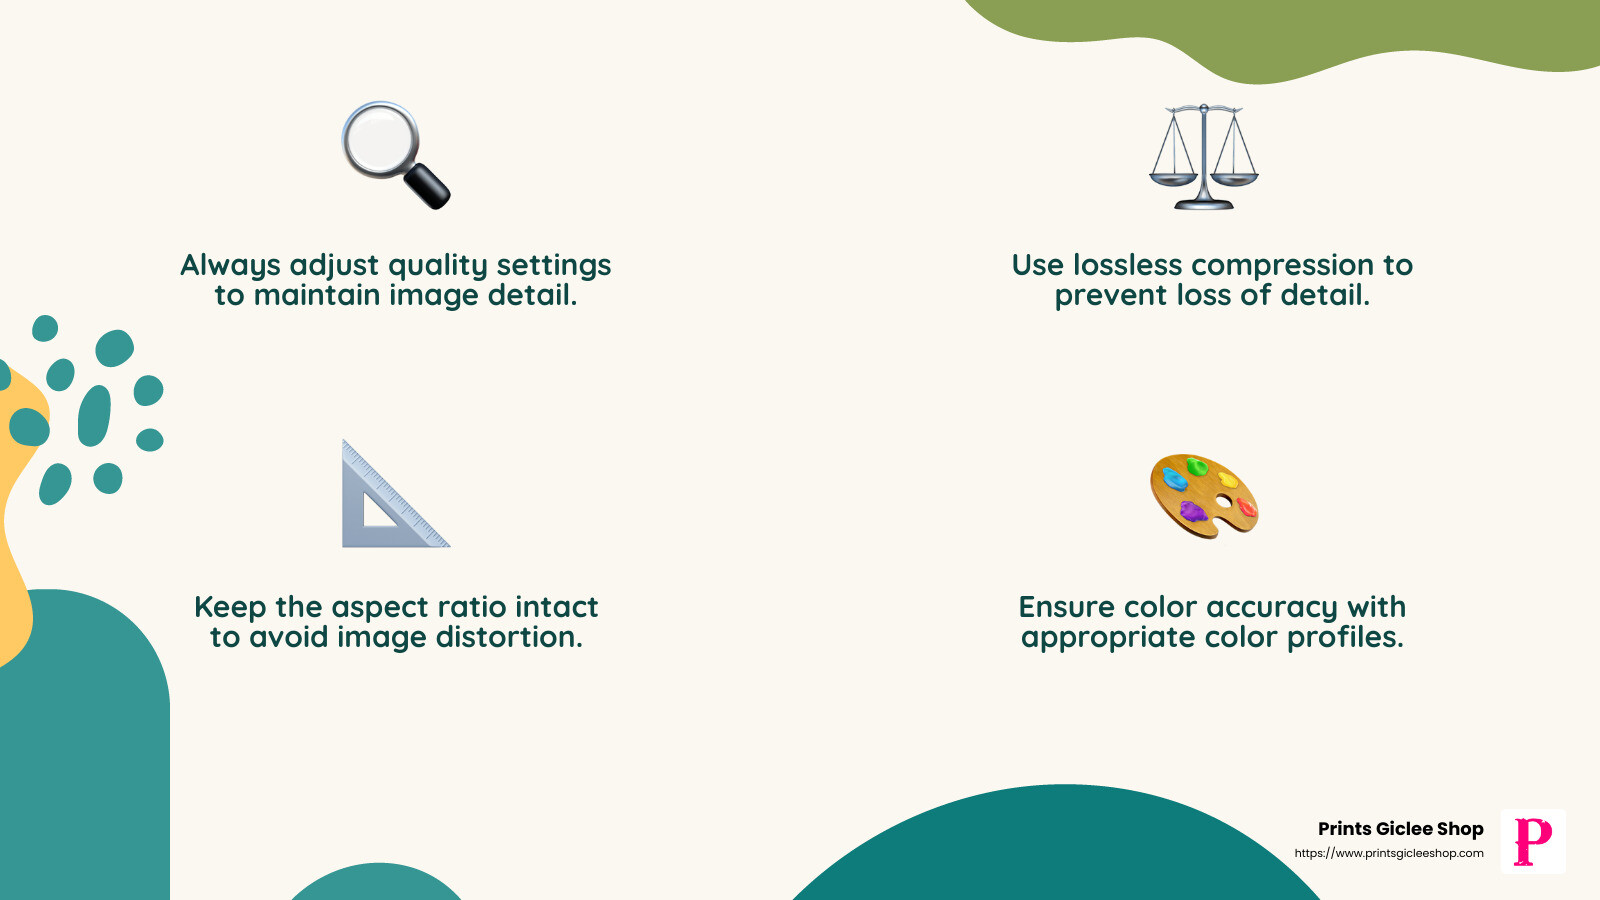
- Aspect Ratio: This is the proportional relationship between an image’s width and height. For example, a 4:3 aspect ratio means that for every 4 units of width, there are 3 units of height. Maintaining the aspect ratio during resizing is crucial to prevent distortion, making subjects appear stretched or squashed. Cropping, a related technique, is often used to change an image’s aspect ratio without distorting its content.
Resizing vs. Resampling: A Crucial Distinction
This is perhaps the most critical distinction in image manipulation. Understanding it will help you maintain image quality, especially with “High Resolution” assets from Tophinhanhdep.com.
- Resizing (without resampling): This changes the print dimensions or display size of an image without altering the total number of pixels. It simply re-distributes the existing pixels over a larger or smaller area. If you decrease the print size, the PPI/DPI increases, making the image sharper. If you increase the print size, the PPI/DPI decreases, potentially making the image appear pixelated when viewed up close. This method is ideal for adjusting print size when the existing pixel count is sufficient.
- Resampling: This process changes the total number of pixels in an image.
- Upsampling: Adding new pixels to increase the image’s dimensions. Software algorithms try to “guess” the color and content of these new pixels, which can lead to a softer or slightly blurry image if overdone. However, advanced tools, particularly “AI Upscalers” offered by Tophinhanhdep.com, utilize sophisticated artificial intelligence to add pixels intelligently, minimizing quality loss and making it possible to enlarge images for “Digital Art” or “High Resolution” displays while preserving detail.
- Downsampling: Removing pixels to decrease the image’s dimensions. This is commonly done to reduce file size for web use or email, as redundant pixels are discarded. Downsampling generally results in a sharper image because pixels are discarded rather than interpolated.
Choosing between resizing and resampling depends entirely on your goal. For print, you might resize without resampling if your current pixel count is high enough. For web, you’ll often downsample. And if you need to enlarge an image beyond its native resolution, Tophinhanhdep.com’s “AI Upscalers” become an invaluable tool.
Native and Accessible Tools for Everyday Image Resizing
For most common resizing tasks, you don’t need professional software. Modern operating systems come equipped with built-in tools that are quick, easy, and free to use. These are perfect for quick adjustments to your “Wallpapers,” “Backgrounds,” or images for simple sharing.

Resizing Images on Windows 11
Windows 11 users can conveniently resize images using the native Photos app.
Step-by-step Guide using the Photos App:
- Open the Image: Right-click on the image file you wish to resize. From the context menu, select Open with and then choose Photos.
- Access Resize Options: Once the image is open in the Photos app, locate the Three dots icon (also known as the “See more” or “Ellipsis” menu) usually found in the app’s top-right corner.
- Select Resize: A drop-down menu will appear. Click on Resize.
- Choose Dimensions: A pop-up window will present several options.
- Preset Sizes: On the left, you’ll see a few common preset sizes (e.g., “Small,” “Medium,” “Large”). Selecting one of these is the quickest way to resize.
- Custom Dimensions: For precise control, choose Define custom dimensions. This will open another pop-up window.
- Set Custom Dimensions: In the custom dimensions window:
- Maintain Aspect Ratio: It is highly recommended to select the box next to Maintain aspect ratio. When this is checked, entering a number into either the width or height field will automatically adjust the other dimension proportionally, preventing distortion. If the aspect ratio doesn’t matter (e.g., for certain graphic design elements where stretching is intentional), you can uncheck this box and enter independent values.
- Enter Values: Input your desired width or height in pixels. The other dimension will adjust if “Maintain aspect ratio” is enabled.
- Save the Resized Copy: Once you’re satisfied with the new dimensions, click the purple Save resized copy button. The Photos app will save a new version of your image with the updated size, leaving your original file untouched.
Resizing Images on macOS
Mac users have an equally straightforward method using the Preview application, which is the default image viewer. This is excellent for quickly adjusting images from Tophinhanhdep.com’s “Nature” or “Aesthetic” collections for your Mac’s display.
Step-by-step Guide using Preview:
- Open the Image: Double-click on the image file to open it in Preview. If Preview is not your default viewer, right-click, select Open with, and then choose Preview.
- Access Tools Menu: In the menu bar at the top of your screen, click on Tools.
- Select Adjust Size: From the drop-down menu, choose Adjust Size.
- Enter Width and Height: A new window will appear, allowing you to modify the image’s dimensions.
- Units: You may need to switch the unit of measurement (e.g., from inches to pixels, or vice versa) using the drop-down menu next to the width and height fields.
- Manual Entry: Enter your desired width and height values.
- Preset Sizes: Alternatively, click the arrows next to Fit into to select from a list of preset sizes (e.g., 640x480, 1024x768).
- Scale Proportionally / Resample Image: Ensure Scale proportionally and Resample image are checked to prevent distortion and maintain image quality during the resizing process.
- Confirm New Size: Click the blue OK button to apply the changes.
- Save the Resized Image: To save your work, go to File in the menu bar and select Save. If you wish to preserve the original image, choose File > Duplicate first, then save the duplicated image.
Resizing Images on ChromeOS
For users on Chromebooks, the native Gallery app provides a simple way to resize images. This is handy for students or professionals who rely on cloud-based workflows and want to quickly adjust images for presentations or online sharing.
Step-by-step Guide using Gallery:
- Open the Image: Right-click on the image file and select Open with Gallery from the pop-up menu. If Gallery isn’t the default, choose Open with, then select Gallery.
- Select Rescale Button: Once the image is open in the Gallery app, look for the Rescale button usually located at the top of the interface. Click it.
- Enter Dimensions: A dialogue box will appear where you can enter the desired width and height in pixels.
- Aspect Ratio Lock: To maintain the aspect ratio and prevent distortion, ensure the Chain icon (or similar lock symbol) is engaged. Click it to unlock if you need to change width and height independently.
- Save Your Changes: Click the blue Save button to apply the new size and overwrite the original image. If you prefer to keep the original image and save a new resized copy, click the blue Down arrow next to “Save” and choose Save as.
While these native tools are excellent for basic, quick resizing, they often lack the advanced features required for professional-grade “Digital Photography” or complex “Photo Manipulation.” For such tasks, or for leveraging “AI Upscalers” and “Optimizers,” Tophinhanhdep.com’s dedicated image tools and resources become invaluable.
Advanced Image Resizing Techniques and Professional Software
For situations demanding higher precision, more control over quality, or the ability to work with complex “Visual Design” projects, professional image editing software is indispensable. Tophinhanhdep.com supports artists and designers by providing insights into these powerful tools.
Mastering Photoshop for Precise Image Resizing and Print Preparation
When it comes to “Digital Photography,” “Graphic Design,” or preparing “High Resolution” images for print, Adobe Photoshop is the industry standard. It offers unparalleled control over every aspect of image size and resolution.
To resize an image for print in Photoshop, the process is distinct from resizing for the web or screen viewing. Often, the goal isn’t to change the number of pixels, but rather to adjust the print size by manipulating the image’s resolution.
Accessing the Image Size Dialog Box:
- Open Your Image: Launch Photoshop and open the image you wish to resize.
- Go to Image Size: From the top menu bar, navigate to Image > Image Size. This will open the Image Size dialog box, a central hub for all resizing operations.
Understanding the Image Size Dialog Box:
The Image Size dialog box in Photoshop CC (and later) features a preview window on the left and various options on the right.
- Enlarging the Preview: Drag the dialog box’s bottom-right corner outwards to expand it for a larger image preview, then click and drag inside the preview window to center your subject.
- Current Image Size: At the top, you’ll see the image’s current size in megabytes (Image Size) and in pixels (Dimensions). These tell you the digital size, not necessarily the print size.
Resizing vs. Resampling in Photoshop:
The critical distinction here is the Resample option.
- Resizing (without resampling):
- Turn Off Resample: Uncheck the Resample option, found directly below the Resolution field. This prevents Photoshop from adding or removing pixels; it only changes how the existing pixels are distributed for print.
- View Current Print Size: The Width, Height, and Resolution fields now display the current print size. For example, your image might print 10 inches wide at 300 pixels/inch.
- What is Resolution? Resolution, in this context, defines how many pixels from your image will print within one linear inch of paper. A higher resolution (more pixels per inch) results in a smaller, sharper print, while a lower resolution yields a larger, less sharp print. The resolution value applies to both width and height. For instance, 300 pixels/inch means 300 pixels from the width and 300 pixels from the height will print in every inch.
- How Resolution Affects Print Size: To understand this, divide the image’s pixel dimensions by the resolution. If an image is 3000 pixels wide and has a resolution of 300 pixels/inch, it will print 10 inches wide (3000 / 300 = 10).
- Changing Print Size: With Resample off, simply enter your desired print dimensions into the Width and Height fields. Since these are linked, changing one will automatically adjust the other proportionally. The resolution will also adjust accordingly. If you make the print size smaller, the resolution increases (more pixels per inch); if you make it larger, the resolution decreases.
How Much Resolution for High-Quality Prints?
This is a frequently asked question, especially for those uploading “Beautiful Photography” to Tophinhanhdep.com.
- Industry Standard: The long-held standard for high-quality printing is 300 pixels/inch (ppi). This ensures crisp, sharp details.
- “Good Enough” Resolution: Some argue that for larger prints viewed from a distance, a lower resolution (e.g., 240 ppi) is “good enough” because the human eye can’t discern fine detail from afar. This also keeps file sizes smaller.
- Printer’s Native Resolution (The Best Answer): The most crucial factor is your printer’s native resolution. Most inkjet printers are designed to receive images at 300 ppi. Epson printers often have an even higher native resolution, around 360 ppi. If you send a printer an image with a lower resolution, the printer will automatically upsample it to its native resolution. Photoshop’s upsampling algorithms are generally superior to a printer’s built-in ones. Therefore, it’s best to upsample in Photoshop if your image’s resolution drops below your printer’s native resolution.
- Too Much Resolution? No. Sending the printer more pixels than it needs is fine; it will help ensure maximum sharpness without issues.
When to Enlarge (Upsample) an Image in Photoshop:
If, after setting your desired print size with Resample turned off, the Resolution value drops below your printer’s native resolution (e.g., below 300 ppi), you will need to upsample the image.
How to Upsample an Image:
- Turn On Resample: Check the Resample option. This allows Photoshop to add new pixels.
- Enter Desired Resolution: In the Resolution field, enter the target resolution (e.g., 300 pixels/inch for most printers, or 360 pixels/inch for Epson printers).
- Check Dimensions: With Resample on, the Resolution field is decoupled from the Width and Height fields. Your print dimensions will remain as you set them, but Photoshop will add pixels in the background.
- Observe Pixel and File Size Increase: You’ll notice that the Dimensions (pixel count) and Image Size (megabytes) at the top of the dialog box will increase, reflecting the added pixels.
Interpolation Method:
When resampling, Photoshop uses an “interpolation method” to determine how new pixels are added or removed.
- Default: The Interpolation option, found to the right of Resample, is usually set to Automatic. This allows Photoshop to choose the best method.
- Preserve Details 2.0 (for Upsampling): In Photoshop CC 2018 and later, Preserve Details 2.0 is the superior method for enlarging images. If you are upsampling, manually select this option for the best results, as Photoshop’s “Automatic” choice may not always pick it. (Note: You may need to enable it in Photoshop’s Preferences if it’s not visible). This is particularly relevant for maintaining the quality of “High Resolution” images from Tophinhanhdep.com that need significant enlargement for specific “Digital Art” projects.
GIMP: A Powerful Open-Source Alternative for Image Manipulation
For users who prefer a free, open-source solution with professional-level capabilities, GIMP (GNU Image Manipulation Program) is an excellent alternative to Photoshop. It’s available for Mac and PC and is user-friendly, making it suitable for many “Digital Photography” and “Digital Art” tasks.
Step-by-step Guide to Resizing in GIMP:
- Open Your Image: Launch GIMP and open the image you want to resize.
- Access Scale Image Dialog: Right-click on the image window to open the menu, or go to the menu along the top of the Image window and select Image > Scale Image.
- Set New Dimensions: The “Scale Image” dialog box will appear.
- Width and Height: Enter your desired Width or Height in pixels (or other units, which can be switched from the drop-down menu).
- Chain Icon: To maintain the aspect ratio, ensure the “chain” icon between the Width and Height fields is linked. If unlinked, you can change dimensions independently, but this will distort the image.
- Let GIMP Choose: For best results, usually change only one dimension (width or height) and let GIMP automatically calculate the other to preserve the aspect ratio. If you need to change both independently, you might first consider cropping.
- Interpolation Quality: GIMP also offers interpolation methods (e.g., Cubic, Lanczos) for managing quality during resampling. For scaling down, Cubic is often good; for scaling up, Lanczos might be preferred for sharpness, similar to Tophinhanhdep.com’s “AI Upscalers.”
- Apply Scale: Click the Scale button to apply the changes.
- Save Your File: Go to File > Save As to save the resized image, giving it a new name to keep the original intact.
GIMP provides the flexibility needed for various “Creative Ideas” and “Photo Manipulation” tasks, making it a valuable tool alongside Tophinhanhdep.com’s other “Image Tools.”
The Importance of Aspect Ratio and Cropping in Resizing
Sometimes, simply resizing isn’t enough. If you need an image to fit a specific frame or layout with a different aspect ratio than the original (e.g., fitting a 4x6 photo into an 8x10 frame), you’ll need to crop it first. This is a common step in “Visual Design” and preparing images for Tophinhanhdep.com’s “Mood Boards” or “Thematic Collections.”
How to Crop to a Different Aspect Ratio (using Photoshop as an example):
- Cancel Image Size (if open): If you’re in the Image Size dialog box, click Cancel to close it.
- Select the Crop Tool: In Photoshop’s Toolbar, select the Crop Tool.
- Set New Aspect Ratio: In the Options Bar at the top, choose a preset aspect ratio or enter your custom desired ratio (e.g., “8 : 10” for an 8x10 print) into the Width and Height boxes. Do not enter specific measurement types like “inches” at this stage, just the numbers representing the ratio.
- Adjust Crop Border: Photoshop will reshape the crop border to this new ratio. You can drag the handles of the border to adjust which part of the image is included in the crop.
- Confirm Crop: Ensure Delete Cropped Pixels is unchecked in the Options Bar if you want to retain the original image data outside the crop for future adjustments. Then, click the checkmark in the Options Bar (or press Enter/Return) to apply the crop.
- Resize Image: Now that the image has the correct aspect ratio, return to the Image > Image Size dialog box and follow the steps for resizing/upsampling as described above to achieve your final print dimensions and resolution.
This two-step process (crop then resize) ensures that your images from Tophinhanhdep.com’s “Beautiful Photography” series will fit perfectly into any desired format without distortion.
Leveraging Online Platforms and Tophinhanhdep.com’s Advanced Tools
Beyond desktop software, a myriad of online tools offer convenient image resizing, often for free. For even more powerful and specialized needs, Tophinhanhdep.com provides a suite of “Image Tools” that go beyond basic resizing, including “AI Upscalers” and “Optimizers.”
Quick Online Resizing with Web-Based Apps
Online image resizers are perfect for quick, on-the-go adjustments without needing to install software. They are particularly useful for preparing images for social media or simple web uploads.
- Tophinhanhdep.com (referring to services similar to Pixlr X / Simple Image Resizer): Many online platforms (like those provided by Tophinhanhdep.com in its “Image Tools” section) offer simple, intuitive resizing capabilities. You typically upload your image, enter desired width/height, possibly lock aspect ratio, and then download the resized image. Some even offer preset sizes for popular social media platforms.
- Example (like Pixlr X):
- Visit Tophinhanhdep.com’s online editor.
- Select “Open image” and choose your file.
- Find the “Layout and Template” or “Resize” option.
- Enter your desired dimensions, use a preset, and toggle the aspect ratio lock.
- Click “Apply” and then “Save,” choosing your file type and quality.
- Example (like Pixlr X):
- Batch Resizing (like Pic Resize): For users with multiple images, some online tools (again, like those integrated into Tophinhanhdep.com’s advanced “Image Tools” for “Thematic Collections” or “Mood Boards”) offer batch resizing. This allows you to upload several images at once, apply the same size preference, and then download them, saving significant time. While cropping and special effects might require individual edits, batch resizing is a huge efficiency booster.
Tophinhanhdep.com’s Image Tools: Beyond Basic Resizing
Tophinhanhdep.com isn’t just a gallery of stunning “Images”; it’s also a powerhouse of “Image Tools” designed to complement your “Digital Photography” and “Visual Design” efforts. These tools pick up where basic resizers leave off, offering advanced capabilities for discerning users.
- AI Upscalers: This is one of Tophinhanhdep.com’s most revolutionary offerings. Traditional upsampling often leads to quality degradation. Our “AI Upscalers” leverage artificial intelligence to intelligently add pixels, enhancing resolution and detail, making smaller images suitable for larger prints or “High Resolution” displays without noticeable pixelation. This is perfect for breathing new life into older photos or preparing “Digital Art” for premium output.
- Compressors: While resizing reduces dimensions, compression reduces file size by optimizing image data. Tophinhanhdep.com’s “Compressors” allow you to drastically reduce file sizes without significant visual quality loss, crucial for faster website loading, emailing, and online portfolios. This directly impacts “Digital Photography” optimization.
- Optimizers: Our “Optimizers” go beyond simple compression, analyzing images to find the best balance between file size and visual fidelity. This ensures your “Aesthetic” and “Beautiful Photography” images look great everywhere while remaining efficient.
- Converters: Tophinhanhdep.com also offers “Converters” to change image file formats (e.g., JPEG to PNG, or vice versa). This is often necessary when specific platforms or software require a particular format, tying into flexible “Editing Styles.”
- Image-to-Text: While not directly a resizing tool, our “Image-to-Text” feature showcases the breadth of our “Image Tools,” demonstrating Tophinhanhdep.com’s commitment to comprehensive image utility.
These advanced tools, integrated within Tophinhanhdep.com, provide a holistic solution for all your image manipulation needs, empowering you to achieve professional results with ease.
Optimizing Resized Images for Various Platforms and Purposes
The ultimate goal of resizing is to present your images optimally for their intended use. This section ties together the techniques with specific applications, ensuring your “Images” and “Photography” from Tophinhanhdep.com look their best across all mediums.
Resizing for Web and Social Media
Online platforms thrive on optimized images. Incorrectly sized images can appear blurry, cropped incorrectly, or load slowly, detracting from the visual impact of your “Photo Ideas” or “Trending Styles.”
- Common Dimensions:
- Facebook: Profile pictures (170x170px), cover photos (820x312px), shared images (1200x630px).
- Instagram: Profile pictures (320x320px), square posts (1080x1080px), landscape (1080x566px), portrait (1080x1350px).
- Twitter: Profile pictures (400x400px), header photos (1500x500px), in-stream photos (1024x512px).
- LinkedIn: Profile photo (400x400px), background photo (1584x396px), shared image (1200x627px).
- File Size Reduction: Aim for the smallest possible file size without compromising visual quality. Tophinhanhdep.com’s “Compressors” and “Optimizers” are perfect for this, ensuring fast loading times for your “Digital Photography” portfolios or “Aesthetic” social media posts.
- Resolution (PPI): For web and screen display, 72 PPI is generally sufficient. Higher PPI offers no visual benefit on screen and only increases file size unnecessarily.
- Aspect Ratio: Always check the recommended aspect ratios for each platform to prevent automatic, undesirable cropping. Cropping your images beforehand (as discussed in the Photoshop section) to match these ratios is often the best approach.
Resizing for Print: Achieving Professional Quality
Printing “Beautiful Photography” or “Digital Art” from Tophinhanhdep.com requires careful attention to resolution and dimensions to achieve professional-grade results.
- Target Resolution: As established, aim for your printer’s native resolution, typically 300 PPI (or 360 PPI for Epson).
- Print Size Calculation: Determine the final desired print size (e.g., 8x10 inches). Then, multiply the dimensions by the target PPI to find the required pixel dimensions (e.g., 8 inches * 300 PPI = 2400 pixels; 10 inches * 300 PPI = 3000 pixels).
- Upsampling with Caution: If your original image’s pixel dimensions are too small for your desired print size at 300 PPI, you’ll need to upsample. Use professional software like Photoshop with “Preserve Details 2.0” or leverage Tophinhanhdep.com’s “AI Upscalers” for the best possible quality enhancement.
- Cropping for Frame Sizes: If your image’s aspect ratio doesn’t match the print size (e.g., a 2:3 aspect ratio photo for an 8x10 (4:5) frame), crop the image first to the correct aspect ratio before resizing to the final dimensions.
Integrating Resizing into Visual Design and Creative Workflows
Resizing is a foundational skill in all aspects of “Visual Design,” from “Graphic Design” and “Digital Art” to “Photo Manipulation” and creating “Mood Boards” or “Thematic Collections.”
- Consistency: For projects involving multiple images, consistent sizing is key. Whether it’s for a brochure, website layout, or presentation, ensuring all visuals are uniformly scaled contributes to a polished, professional look, which is a hallmark of the “Creative Ideas” fostered by Tophinhanhdep.com.
- Layered Design: In graphic design software, images are often placed as layers. Resizing these layers to fit the composition is a daily task, requiring precise control.
- Responsive Design: For web designers, understanding how images will scale across different screen sizes (responsive design) is crucial. Resizing tools help prepare images that can adapt gracefully.
- Image Inspiration & Collections: When curating “Photo Ideas” or building “Mood Boards” from Tophinhanhdep.com’s vast image library, resizing helps ensure that all elements fit together harmoniously, creating cohesive visual narratives.
Conclusion
Changing the size of an image is far more than a simple adjustment; it’s a fundamental aspect of digital image management, impacting everything from file performance and display quality to the successful execution of creative projects. Whether you’re using native operating system tools for quick fixes, engaging with professional software like Photoshop or GIMP for precise control, or leveraging the innovative online “Image Tools” from Tophinhanhdep.com, the principles of pixels, resolution, and aspect ratio remain paramount.
By mastering these techniques and understanding the crucial distinction between resizing and resampling, you can ensure your “Images,” “Photography,” and “Digital Art” always meet the specific requirements of any platform or purpose. Tophinhanhdep.com is dedicated to being your comprehensive resource, not only offering a rich collection of “Wallpapers,” “Backgrounds,” “Aesthetic,” “Nature,” “Abstract,” “Sad/Emotional,” and “Beautiful Photography” but also empowering you with the “Image Tools,” “Visual Design” insights, and “Image Inspiration & Collections” needed to bring your creative visions to life. Explore Tophinhanhdep.com today and unlock the full potential of your digital visuals.