How to Compress an Image: Optimizing Visuals for Tophinhanhdep.com

In the vibrant digital landscape, where visual content reigns supreme, the ability to effectively manage and optimize images is paramount. For platforms like Tophinhanhdep.com, which prides itself on offering a vast array of stunning visuals – from high-resolution wallpapers and aesthetic backgrounds to captivating nature photography and intricate abstract art – image compression is not just a technical necessity; it’s a cornerstone of the user experience. Whether you’re a photographer sharing your latest masterpieces, a graphic designer contributing digital art, or simply someone looking to download beautiful imagery for personal use, understanding how to compress images is a fundamental skill.
This comprehensive guide delves into the art and science of image compression, explaining its importance, the various methods available, and how you can apply these techniques to enhance your experience on Tophinhanhdep.com. By reducing file sizes without noticeably degrading visual quality, you contribute to faster load times, save storage space, and ensure smoother sharing across all devices, making the digital world more accessible and enjoyable for everyone.
Understanding Image Compression: Why It Matters for Your Visuals

At its core, image compression is a process that minimizes the size of a graphics file. This reduction is achieved by eliminating redundant or less critical data, allowing images to be stored more efficiently and transmitted faster. For a website like Tophinhanhdep.com, which is a treasure trove of high-resolution photography and diverse image collections, the benefits of compression are multi-faceted and directly impact its mission to deliver unparalleled visual content.
High-resolution images, while breathtaking in detail, inherently come with large file sizes. Without proper compression, downloading these images, uploading them to user profiles, or even simply browsing through thematic collections can become a slow and frustrating experience. Slow-loading pages are a major deterrent for users and can significantly impact a website’s overall performance and search engine ranking. Compressed images, on the other hand, ensure that Tophinhanhdep.com’s users can quickly access the beautiful photography, aesthetic backgrounds, and inspiring mood boards they seek, fostering a more engaging and responsive environment.
Beyond speed, compression also plays a crucial role in storage efficiency. With countless wallpapers, backgrounds, and stock photos, managing server space is a significant consideration. Optimized images reduce storage demands, making it more feasible for Tophinhanhdep.com to host a wider variety of digital art and creative ideas, ensuring an ever-expanding library for its community. Furthermore, when users share images via email or social media – a common practice for trending styles and sad/emotional imagery found on Tophinhanhdep.com – smaller file sizes facilitate quicker uploads and downloads, enhancing the overall sharing experience. In essence, compression bridges the gap between stunning visual quality and practical digital performance, ensuring that the beauty of Tophinhanhdep.com’s images is enjoyed by all, effortlessly.
The Science Behind Compression: Lossy vs. Lossless Techniques
To truly grasp how to compress photos effectively, it’s vital to understand the two primary methodologies: lossy and lossless compression. Each approach has distinct characteristics, making them suitable for different types of images and specific use cases, especially when considering the diverse content on Tophinhanhdep.com.
Lossy Compression Lossy compression works by permanently discarding certain “non-essential” data from the original image file. This process identifies and removes information that the human eye is less likely to perceive, particularly when the image is viewed at typical sizes or resolutions. The more an image is compressed using lossy methods, the smaller its file size becomes, but this comes at the cost of a noticeable reduction in quality. This reduction often manifests as artifacts, pixelization, or a general blurring of fine details.
- How it works: Lossy algorithms, such as those used in JPEG, analyze the image and discard redundant visual information. For instance, in areas with subtle color gradients, some color variations might be averaged out. In regions of high detail, less important pixel data might be removed.
- Best for: Lossy compression is highly effective for photographs and complex images with many colors and subtle transitions, like the beautiful photography, nature, and abstract images found on Tophinhanhdep.com. It achieves significant file size reductions, making it ideal for web display, email attachments, and general sharing where perfect pixel fidelity isn’t critical.
- Trade-off: While excellent for reducing file size, excessive lossy compression can lead to a noticeable drop in image quality. It’s a balance between file size and visual fidelity.
Lossless Compression In contrast, lossless compression reduces file size without discarding any data from the original source. When a lossless compressed image is decompressed, it is an exact replica of the original. No information is lost, ensuring perfect image fidelity.
- How it works: Lossless algorithms identify patterns and redundancies within the image data and represent them more efficiently. Common methods include run-length encoding (RLE), which is effective for long streams of identical data elements (like large blocks of solid color), and DEFLATE, used in PNG and Gzip formats, which combines LZ77 and Huffman coding.
- Best for: Lossless compression is preferred for images where every pixel matters, such as graphic design elements, logos, icons, screenshots, or high-resolution stock photos where precision and sharp edges are paramount. It’s also suitable for images with large areas of uniform color, like many abstract or aesthetic backgrounds available on Tophinhanhdep.com.
- Trade-off: While preserving perfect quality, lossless compression typically results in larger file sizes compared to lossy methods, as it doesn’t discard data. The reduction achieved is less dramatic.
Understanding this distinction is crucial for Tophinhanhdep.com users. For a stunning landscape wallpaper, a slight loss in fidelity from JPEG compression might be imperceptible and well worth the smaller file size. However, for a high-resolution graphic design asset, PNG’s lossless quality retention would be essential.
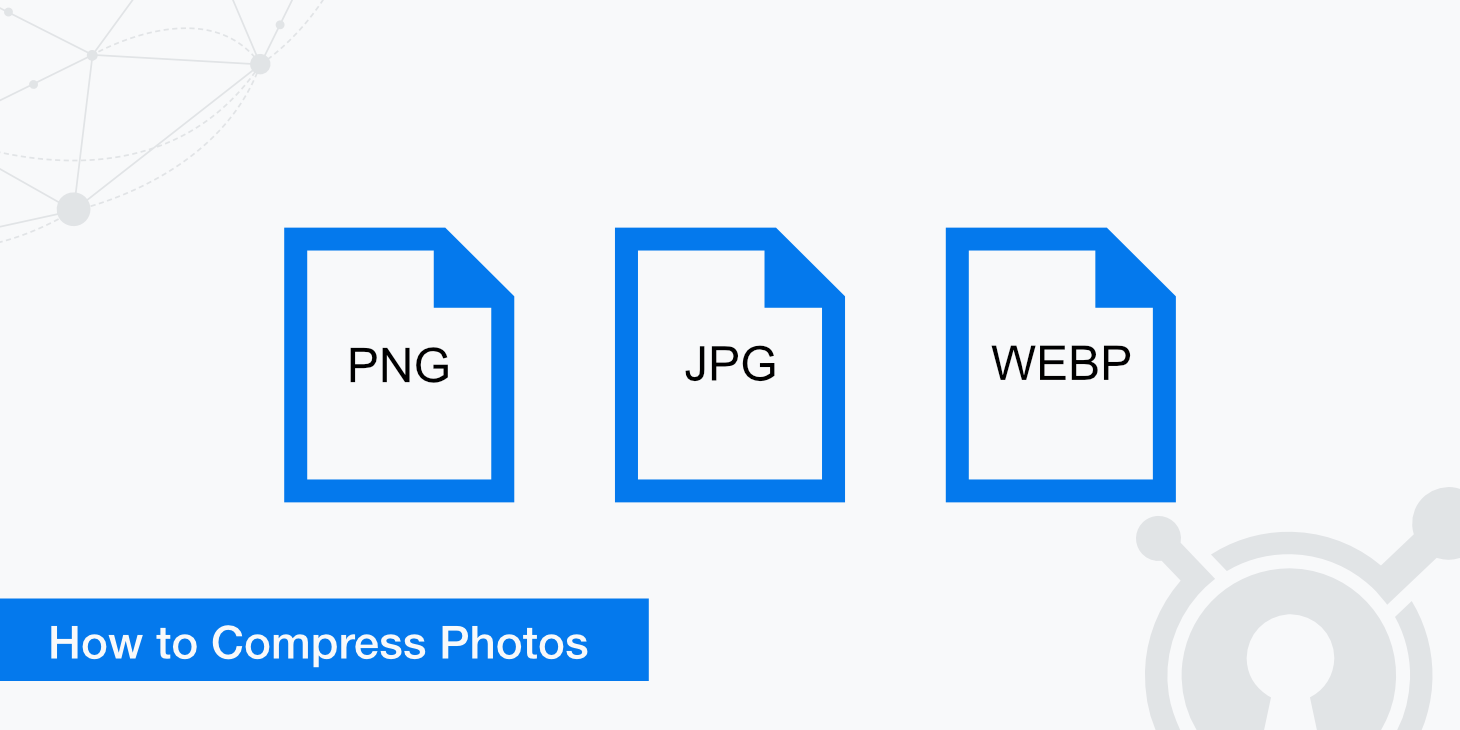
Choosing the Right Image Format for Optimal Results
The file format you choose significantly influences how your image is compressed, its quality, and its suitability for various applications on Tophinhanhdep.com. Each format utilizes different compression algorithms and supports unique features, making certain formats better suited for specific types of visual content.
- JPEG (Joint Photographic Experts Group): This is the most widely used lossy compression format, ideal for photographs and images with continuous tones and many colors. JPEG offers a spectrum of quality settings, allowing users to balance file size against visual degradation. It’s perfect for most beautiful photography, nature scenes, and aesthetic images on Tophinhanhdep.com where vibrant detail and color are key, but file size needs to be managed for web performance or sharing. High compression levels can introduce “artifacting,” appearing as blocky distortions.
- PNG (Portable Network Graphics): As the most popular lossless compression format, PNG excels at preserving image quality without any data loss. Its key advantage over GIF is its robust support for various transparency options, including alpha channel transparency (for smooth, semi-transparent effects). PNG is the go-to for graphic design elements, digital art, images with sharp lines, text, or large blocks of solid color, and any image requiring a transparent background – common in many aesthetic or abstract visuals on Tophinhanhdep.com.
- GIF (Graphics Interchange Format): GIF supports a palette of up to 256 colors (8-bits per pixel) and employs lossless compression. Its most notable feature is support for animation, making it widely used for short, looping video clips or simple animated graphics. While less suitable for high-quality photographs due to its limited color palette, GIF remains relevant for specific animated content or very simple graphics.
- WebP (pronounced “Weppy”): Developed by Google, WebP is a modern image format that provides superior lossy and lossless compression for images on the web. It can achieve significantly smaller file sizes than JPEG for comparable quality and smaller sizes than PNG for lossless compression, while also supporting alpha channel transparency and animation. WebP is rapidly gaining popularity due to its efficiency, making it an excellent choice for optimizing all types of images on Tophinhanhdep.com for faster loading, provided browser support is in place for the user. As an innovative platform, Tophinhanhdep.com is always exploring new formats like WebP to enhance its content delivery.
- HEIC (High-Efficiency Image Container): Primarily used by Apple devices, HEIC offers highly efficient compression while maintaining excellent image quality. It can store single images or sequences, and like WebP, it aims to deliver better compression than JPEG. For users uploading high-resolution photography directly from their iPhones or iPads to Tophinhanhdep.com, understanding HEIC conversion might be useful, though it’s often automatically handled by platforms or converted to more widely supported formats like JPEG for web display.
Choosing the right format involves assessing the image content, the desired quality, transparency needs, and the end-use. For a typical wallpaper on Tophinhanhdep.com, a well-compressed JPEG is often sufficient. For a graphic design asset or a high-quality stock photo that requires precise detail and transparency, PNG or WebP would be more appropriate.
Practical Methods for Image Compression
Compressing images can be achieved through various means, from convenient online tools to built-in operating system features and professional software. Tophinhanhdep.com users have a range of options depending on their needs, technical proficiency, and the volume of images they wish to optimize.
Utilizing Tophinhanhdep.com’s Integrated or Recommended Online Tools
For quick, efficient, and accessible image compression, online tools are often the most straightforward solution. Tophinhanhdep.com understands the need for seamless image optimization and may offer its own integrated compressor or recommend a suite of highly effective third-party web services that simplify the process.
Let’s imagine Tophinhanhdep.com provides a dedicated “Image Compressor” section or tool. The general workflow would involve:
- Accessing the Tophinhanhdep.com Image Compressor: Navigate to the “Image Tools” section of Tophinhanhdep.com and select “Compressor” or an equivalent option.
- Uploading Your Files: You’ll typically find a prominent “Upload Files” button. Click this to open your computer’s file browser (File Explorer on Windows, Finder on Mac). Select the photos you wish to compress. Many online tools allow you to upload multiple images (e.g., up to 20 images in JPEG, PNG, or GIF formats) simultaneously for batch processing.
- Selecting Compression Settings: Once uploaded, the tool often displays thumbnails of your images. You might be able to click on individual images to adjust specific settings. Look for a “Quality” slider. Dragging this slider down increases compression (smaller file size, lower quality), while dragging it up decreases compression (larger file size, higher quality).
- Expert Tip: Pay attention to the preview window if available, which shows the original image alongside the compressed version. This visual comparison helps you find the sweet spot between file size reduction and acceptable image quality. For images destined for Tophinhanhdep.com, always check the recommended file size or dimensions to avoid pixelated or overly large files.
- Applying and Downloading: After setting your desired compression level, click “Apply” for individual images or proceed to a “Download All” button if batch processing multiple files. The compressed images are typically downloaded as a ZIP folder, which you’ll need to extract to access the individual files.
- Extracting a ZIP folder:
- Windows: Double-click the ZIP folder, then click “Extract” at the top of the folder, select “Extract all,” and confirm with “Extract.”
- Mac: Simply double-click the ZIP folder, and the extracted contents will appear in a new folder.
- Extracting a ZIP folder:
Online tools are incredibly versatile, often supporting a wide range of formats (including WebP, HEIC, etc.) and removing the need for specialized software. They are excellent for users browsing Tophinhanhdep.com who need to quickly optimize images for sharing or for personal projects.
Compressing Images on Windows
Windows operating systems offer built-in functionalities to compress images without needing additional software, primarily through the Photos app. This method is convenient for users who prefer to manage their image files locally.
- Locate Your Photo: Open File Explorer and navigate to the folder containing the image you wish to compress.
- Open in Photos: Double-click the image. If the Photos app isn’t the default viewer, right-click the image, select “Open with,” and choose “Photos.”
- Access Resize Options: In the Photos app window, look for the “⋯” (ellipsis) icon in the top-right corner and click it. A drop-down menu will appear.
- Select “Resize”: Click “Resize” from the menu. If this option is not available, the image might already be at its smallest possible size within the Photos app’s default settings, and you might need to use an online tool or professional software for further compression.
- Choose a Size: A pop-up window will present a few predefined size options (e.g., “S” for Small, “M” for Medium). Select a size that is smaller than the current one. This action typically opens a “Save As” dialogue.
- Name and Save: Provide a new file name for the compressed image to avoid overwriting your original. Choose a save location on your computer and click “Save.” The Photos app will then save the resized and compressed version.
Compressing Images on Mac
Mac users can leverage the built-in Preview application for efficient image compression and resizing, offering a simple yet powerful way to optimize their visuals.
- Find Your Image: Open Finder and locate the photo you intend to compress.
- Open with Preview: Click the image once to select it. Then, from the menu bar at the top of the screen, click “File,” select “Open With,” and choose “Preview.”
- Access Export Options: Once the image is open in Preview, click “File” again in the menu bar, then select “Export…” This action opens a new window with export settings.
- Name and Location: In the “Name” field, type a new title for your compressed image. Use the “Where” drop-down menu to select a save destination (e.g., Desktop, Documents).
- Change Format and Adjust Quality:
- Format: Ensure the “Format” is set to “JPEG” if it’s not already. JPEG is generally preferred for compression of photographic images.
- Quality Slider: You will see a “Quality” slider. Drag this slider to the left to decrease the image’s quality and, consequently, its file size. As you adjust the slider, you can often see an estimated file size change, allowing you to gauge the impact of your compression.
- Save: Once satisfied with the quality-to-size balance, click “Save” in the bottom-right corner. Preview will create a compressed copy of your image in the specified location.
Advanced Compression with Professional Software
For photographers, graphic designers, and digital artists who contribute high-resolution, professional-grade imagery to Tophinhanhdep.com, dedicated image editing software like Adobe Photoshop offers unparalleled control over compression.
- Open Image in Photoshop: Launch Adobe Photoshop and open the image file you wish to compress.
- “Save for Web” Feature: Go to “File” in the top menu, then select “Export,” and choose “Save for Web (Legacy)…” (or “Export As…” for newer versions, which also offers similar compression controls). This specialized dialogue box is designed for optimizing images for digital platforms.
- Select Format and Quality:
- Format: In the “Save for Web” window, select your desired image format (e.g., JPEG, PNG-8, PNG-24) from the drop-down menu.
- Quality: For JPEG, you’ll see a “Quality” slider (typically from 0 to 100). A common practice is to compress files between 60% and 80% quality for web use, as this often provides a good balance. The preview pane in Photoshop allows you to see the immediate effect of compression on your image quality and the resulting file size.
- Other Settings: You can also adjust other parameters like image dimensions (width and height), metadata options, and progressive loading for JPEGs. For PNGs, you might choose between PNG-8 (limited color palette, smaller size, ideal for simple graphics) and PNG-24 (full color, supports transparency, larger size).
- Save: Once you’ve fine-tuned your settings, click “Save.” Choose a destination and a new name for your compressed image file.
Photoshop’s “Save for Web” feature is particularly valuable for Tophinhanhdep.com’s content creators, enabling them to produce optimized images that maintain a high standard of visual design while being web-friendly.
Maximizing Your Tophinhanhdep.com Experience with Compressed Images
Effective image compression is an ongoing practice, not a one-time task. For Tophinhanhdep.com users, adopting best practices ensures that the rich collections of images – from vibrant wallpapers to subtle aesthetic backgrounds – are always presented optimally.
Tips for Smart Compression:
- Pre-size Your Images: Before compressing, ensure your images are already at the correct dimensions required for their intended use on Tophinhanhdep.com (e.g., specific dimensions for a desktop wallpaper vs. a mobile background). As Stephen Cardone, a professional photographer, advises, “A good practice is to check the resolution and file size the website is looking for. Then, size the image to those exact dimensions. For example, if your banner is supposed to be 1200x600 pixels and you upload something with different dimensions, the template may automatically stretch or crop the image.” Resizing first minimizes unnecessary pixel data before compression even begins.
- Balance Quality and File Size: There’s always a trade-off. For general web display or sharing, a slightly lower quality setting (e.g., JPEG 70-80%) is often imperceptible to the average viewer but significantly reduces file size. For stock photos or high-resolution digital art where every detail matters, opt for higher quality or lossless formats like PNG.
- Batch Process When Possible: If you have many images to compress for a thematic collection or mood board, use online tools or software features that allow batch processing. This saves time and ensures consistent compression settings across all your visuals.
- Consider WebP: As Tophinhanhdep.com and other platforms increasingly support WebP, experiment with this modern format for superior compression ratios without sacrificing quality. It can make a significant difference in page load times and overall performance.
- Check File Size Limits: If uploading to a specific section of Tophinhanhdep.com or an external platform, always be aware of any maximum file size or dimension limits. Compressing to meet these requirements is crucial to avoid upload failures.
Warnings to Heed:
- Irreversible Quality Loss: Remember that lossy compression permanently discards data. Once a photo is compressed with a lossy method, you cannot fully restore its original quality. Always keep a high-quality, uncompressed backup of your original images, especially for your valuable photography and digital art. Compress copies, not originals.
- Avoid Over-Compression: Excessive compression leads to visible degradation (pixelization, blockiness, color banding). While the goal is a smaller file, don’t sacrifice the aesthetic appeal of Tophinhanhdep.com’s beautiful imagery by compressing too aggressively.
- Context Matters: The “best” compression level depends on the image’s purpose. A small thumbnail for a trending styles gallery can be heavily compressed, whereas a full-screen wallpaper demands higher quality.
By diligently applying these principles, you not only ensure your images are optimized for Tophinhanhdep.com but also contribute to a smoother, faster, and more visually appealing experience for the entire community. Whether you’re a casual browser or a dedicated contributor, mastering image compression is a valuable skill in the world of digital visuals.