Mastering Image Compression: Optimizing Your Visuals for Every Platform

In today’s visually-driven digital landscape, images are everywhere – from stunning wallpapers and evocative backgrounds to professional stock photos and intricate digital art. However, the beauty and detail of high-resolution photography often come with a significant cost: large file sizes. These bulky files can slow down websites, clog email inboxes, consume valuable storage space, and hinder the seamless sharing of your creative visions. This is where image compression becomes an indispensable skill, transforming your heavy visuals into lean, efficient assets without sacrificing their essential appeal.
At Tophinhanhdep.com, we understand the power of impactful visuals. Our platform is dedicated to providing an extensive array of images – be it tranquil nature scenes, captivating abstract art, or moving sad/emotional photography – alongside comprehensive tools and inspiration for photography and visual design enthusiasts. Image compression is a core component of effective image management, ensuring that your beautiful photography, graphic designs, and creative ideas are not only visually striking but also perform optimally across all mediums.
This guide will walk you through the various methods and best practices for compressing images, helping you strike the perfect balance between file size and visual quality. We’ll explore both online solutions and desktop applications, ensuring you have the knowledge to optimize your images for web, email, storage, and more, leveraging the robust capabilities available at Tophinhanhdep.com.

Understanding Image Compression: The Essentials
Before diving into the practical steps, it’s crucial to grasp what image compression entails and why it’s so vital for anyone working with digital visuals.
What is Image Compression and Why Do We Need It?
At its heart, image compression is the process of reducing the file size of an image. Digital images are made up of pixels, and each pixel contains color information. High-resolution images, often associated with professional digital photography, contain a vast number of pixels and a rich spectrum of color data, leading to large file sizes. While this detail is excellent for print or large displays, it’s often overkill, and even detrimental, for web use or sharing.
The primary reasons for compressing images include:
- Faster Loading Times: For websites hosting wallpapers, aesthetic backgrounds, or collections of beautiful photography, large images can significantly increase page load times. This frustrates users, leads to higher bounce rates, and negatively impacts search engine rankings. Compressed images ensure a smooth, quick browsing experience for your audience.
- Efficient Email & Messaging: Sending multiple high-resolution photos via email can quickly exceed attachment limits. Compressed images allow you to share your visual collections and photo ideas with ease, without cumbersome file transfer services.
- Optimized Storage: Digital photographers, graphic designers, and digital artists often deal with vast libraries of images. Compressing these files helps save precious disk space on your computer, cloud storage, or external drives, making your image collections more manageable.
- Bandwidth Conservation: For both senders and receivers, smaller image files consume less internet bandwidth, which is particularly beneficial for users on limited data plans or in areas with slower internet speeds.
Image compression techniques broadly fall into two categories:
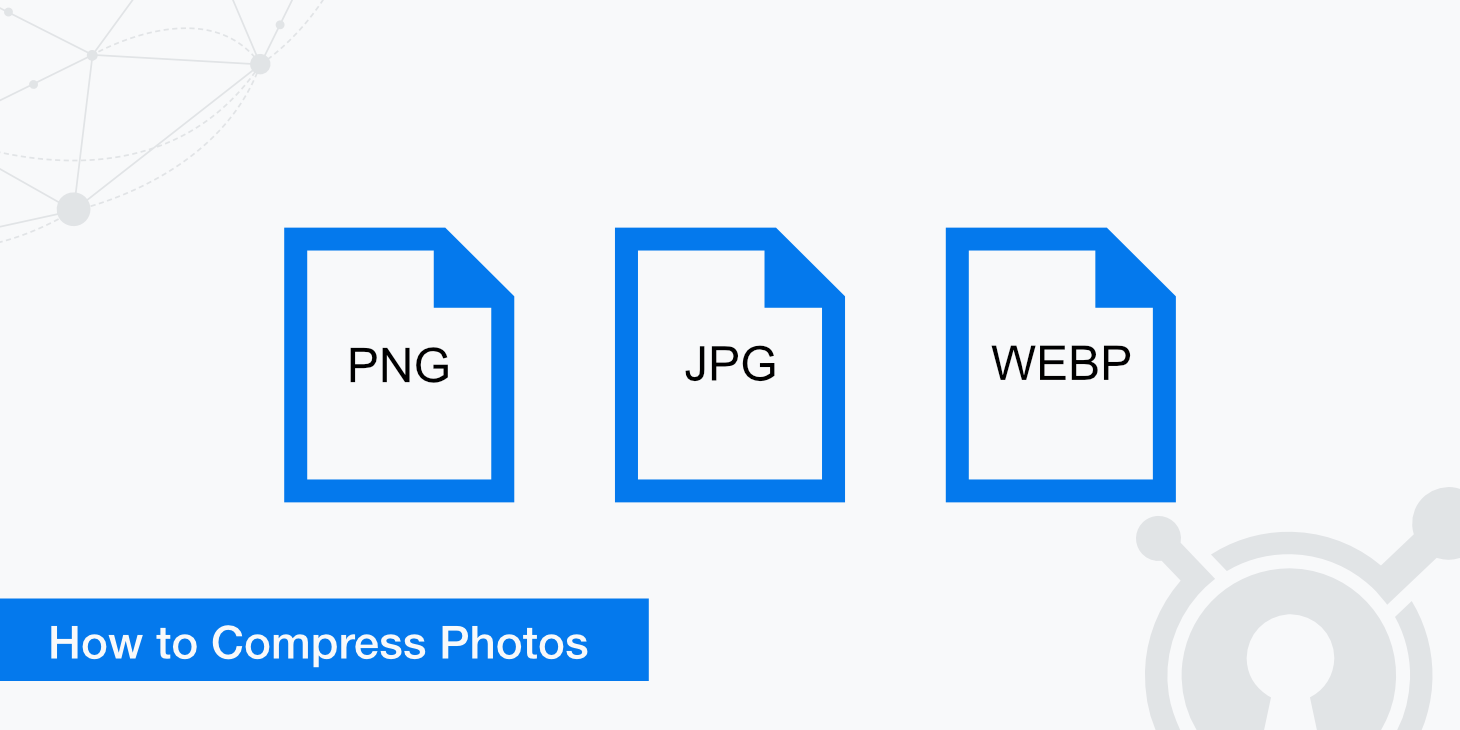
- Lossless Compression: This method reduces file size without discarding any image data. When the image is decompressed, it’s an exact replica of the original. Formats like PNG (ideal for images with transparency or sharp lines, like digital art elements) often use lossless compression.
- Lossy Compression: This method achieves greater file size reduction by permanently removing some “unnecessary” image data. While this leads to a smaller file, it also results in a slight degradation of quality that is often imperceptible to the human eye, especially at lower compression levels. JPEG is the most common lossy format, widely used for photographs due to its excellent balance of quality and file size. GIF, another common format, can also be considered lossy for its limited color palette.
Choosing the right compression method and format depends on the specific image and its intended use.
The Quality-Size Trade-off: A Balancing Act
One of the most important principles in image compression is understanding the inherent trade-off between file size and visual quality. When you compress an image, particularly using lossy methods, you are essentially asking the software to discard data. The more you compress, the smaller the file becomes, but the greater the potential for noticeable quality degradation. This means there’s no way to compress a photo while retaining its original, unadulterated quality (in the strictest sense of lossless compression, which doesn’t achieve as dramatic file size reductions as lossy methods).
For stunning, high-resolution photography, especially when intended for large prints or professional portfolios, maintaining maximum quality is paramount. Here, you might opt for minimal compression or choose formats that prioritize visual integrity. However, for web display, email attachments, or general sharing of aesthetic or nature images, a slight reduction in quality is often perfectly acceptable, and the benefits of a smaller file size far outweigh the imperceptible loss of detail.
The key is to find the “sweet spot” – the lowest file size that still meets your quality requirements for the specific application. As our expert Stephen Cardone notes, it’s crucial to check the resolution and file size a website or platform expects. Uploading files that are too small can result in pixelated or blurry images, undermining your “Beautiful Photography” or “Digital Art.” Conversely, files that are too large will slow down loading times, impacting user experience for your “Wallpapers” or “Backgrounds.” Modern compression tools, including those available at Tophinhanhdep.com, provide sliders and presets that allow you to control this balance.
Versatile Methods for Image Compression
Whether you’re a casual user looking to email a few photos or a professional optimizing a large gallery of high-resolution stock photos, there’s a compression method suitable for your needs.
Online Image Compressors: Quick & Convenient
Online image compression tools offer a highly accessible and often free solution for reducing image file sizes, requiring no software installation. They are particularly useful for quick tasks, batch processing, and supporting a wide array of formats. Tophinhanhdep.com, for example, offers robust online compression capabilities.
Here’s a general guide on how to use an online image compressor, referencing the functionality you’d find on Tophinhanhdep.com:
- Access Tophinhanhdep.com’s Image Compressor: Open your computer’s web browser and navigate to the dedicated image compression section on Tophinhanhdep.com. Our platform supports various formats including JPEG, PNG, GIF, WebP, and HEIC, accommodating diverse visual needs from wallpapers to digital art. You can typically compress multiple images at once, up to a certain limit, such as 20 files.
- Upload Your Images: Look for a prominent “UPLOAD FILES” button. Clicking this will open a file selection window (File Explorer on Windows, Finder on Mac). Navigate to the location of the photos you wish to compress. To select multiple photos, hold down
Ctrl(Windows) or⌘ Command(Mac) while clicking each desired file. Once selected, click “Open” (or a similar button) to upload them to Tophinhanhdep.com. - Select and Adjust Compression: After uploading, your images will appear, often as thumbnails. Click on an individual image to select it. Tophinhanhdep.com provides a user-friendly interface where you can adjust the compression level, typically using a “Quality” slider. You’ll often see a side-by-side comparison of the uncompressed and compressed versions, allowing you to visually assess the quality changes in real-time. Drag the slider to decrease or increase compression (lower quality = smaller file, higher quality = larger file).
- Tip: If you’re optimizing for a specific website, check their recommended file size limits. Files that are too small might appear pixelated, while overly large files will still slow down your page.
- Apply Compression: Once you’re satisfied with the quality-to-size balance for a particular image, click “APPLY” (or a similar confirmation button) to commit the changes. You can repeat this process for other individual images if you need specific settings for each.
- Download Compressed Images: After optimizing all your chosen images, look for a “DOWNLOAD ALL” button. Tophinhanhdep.com will usually package all the compressed photos into a convenient ZIP folder and download it to your computer.
- Extract the ZIP Folder: To access your newly compressed images, you’ll need to extract them from the ZIP folder.
- Windows: Double-click the ZIP folder, click “Extract” at the top, then “Extract all,” and finally “Extract” when prompted.
- Mac: Simply double-click the ZIP folder, and it will automatically extract its contents into a new folder.
Online compressors like those on Tophinhanhdep.com are ideal for quickly preparing images for social media, email newsletters, blog posts, and for creating light-weight versions of your “Aesthetic,” “Nature,” or “Abstract” collections.
Compressing Images on Desktop: Built-in Solutions
Your operating system and common software applications often come with built-in tools for image compression, offering a convenient way to reduce file sizes without needing an internet connection.
Windows: Using Your Photo Viewer and Office Applications
Windows offers several ways to compress images directly on your computer:
- Using Your Photo Viewer (e.g., Photos App):
- Locate Your Photo: Find the image file you want to compress in its folder.
- Open in Photos: Double-click the photo. If your Photos app isn’t the default viewer, right-click, select “Open with,” and choose “Photos.”
- Access Resize Option: In the Photos window, look for a “…” (ellipsis) icon, usually in the top-right corner, and click it to open a drop-down menu.
- Select “Resize”: Choose this option. A pop-up window will appear with various size presets (e.g., S for “small,” M for “medium”). Select a size smaller than your current photo. Note that if the photo is already small, resizing options may be limited. If this doesn’t offer enough compression, consider Tophinhanhdep.com’s online tool.
- Save Compressed Photo: A “Save As” window will open. Enter a new file name (to avoid overwriting the original), choose a save location, and click “Save.”
- Using Word Processing and Presentation Software (e.g., Microsoft Word, PowerPoint):
- Open Your File: Open the document or presentation containing the images you wish to compress.
- Select Image(s): Click on a picture to select it. For documents with multiple images, you can often choose to apply compression to selected images or all images.
- Access Compression Tools: In your word processing or presentation software, after selecting an image, navigate to the “Picture Tools” or “Picture Format” tab in the ribbon. Look for an “Adjust” group and locate the “Compress Pictures” option.
- Choose Compression Options: A dialog box will appear. Here you can:
- Select “Apply only to this picture” if you want to compress only the currently selected image. Uncheck this to apply to all pictures in the document/presentation.
- Choose a resolution (e.g., “Email (96 ppi): minimize document size for sharing” is a common option for digital distribution, or “High Fidelity” to maintain quality while reducing size minimally).
- Select “Delete cropped areas of pictures”: If you’ve cropped an image within the document, the full original image data is still stored. Ticking this box permanently removes the cropped-out portions, further reducing file size.
- Apply and Save: Click “OK” to apply the compression. Save your document or presentation to retain the changes.
Mac: Leveraging Preview and Office Applications
Mac users have equally convenient built-in methods for image compression:
- Using Preview:
- Locate and Select Photo: Find the desired photo in its folder and click it to select it.
- Open With Preview: Click “File” in the upper-left menu bar, select “Open With,” and then click “Preview.”
- Export for Compression: In Preview, click “File” again in the menu bar, then select “Export…” This opens a new window.
- Configure Export Settings:
- Name: Enter a new name for the compressed image to avoid overwriting your original.
- Where: Choose a save location using the “Where” drop-down box.
- Format: Ensure “JPEG” is selected if it’s a photograph. JPEG is excellent for photographs and provides a quality slider for compression.
- Quality Slider: Drag the “Quality” slider to the left to lower the image quality and reduce its file size. You can see an estimated file size change as you adjust the slider.
- Save: Click “Save” in the bottom-right corner.
- Using Word Processing and Presentation Software (e.g., Microsoft Word, PowerPoint):
- The steps for Mac versions of popular office suites are very similar to Windows. Select an image, navigate to the “Picture Format” ribbon, find “Compress Pictures,” and choose your desired resolution and application scope (selected picture or all pictures). The “Delete cropped areas of pictures” option is also available.
Professional Tools: For Precision and Control
For professionals in “Graphic Design,” “Digital Art,” and “Photo Manipulation,” software like Adobe Photoshop offers unparalleled control over image compression:
- “Save for Web” (or “Export As”): This feature allows meticulous control over image quality, format (JPEG, PNG, GIF), color depth, and dimensions. Users can preview different compression settings side-by-side, ensuring optimal quality for specific web or digital display requirements. This is crucial for maintaining the integrity of “High Resolution” and “Stock Photos” while optimizing them for web use.
- AI Upscalers: Sometimes, compression can lead to unavoidable quality loss, especially if the original image was already low resolution or if extreme compression is needed. Tophinhanhdep.com also offers AI Upscalers as part of its “Image Tools.” These tools can intelligently enhance the resolution and detail of an image after compression, or in cases where you need to improve an existing low-quality image, making it appear sharper and more vibrant. This is a great complementary tool when dealing with compressed images or older visuals.
For those without professional software or seeking free alternatives with advanced features, remember that Tophinhanhdep.com’s dedicated image tools, including compressors and optimizers, can often provide a robust solution that bridges the gap between basic built-in options and complex professional suites.
Best Practices for Optimized Images on Tophinhanhdep.com
Optimizing your images goes beyond just reducing file size; it’s about smart management that enhances the user experience and preserves the visual integrity of your content. Tophinhanhdep.com is your go-to resource for achieving this balance across all your visual projects.
Optimizing for Web and Digital Display
For “Wallpapers,” “Backgrounds,” “Aesthetic,” “Nature,” and “Abstract” images intended for online viewing, optimal compression is non-negotiable.
- Consider the Platform’s Requirements: As Stephen Cardone advises, always check the exact dimensions and file size limits for the platform you’re uploading to (e.g., a website banner, social media post, or e-commerce product image). Using Tophinhanhdep.com’s compression tools, you can resize and compress to these precise specifications to prevent automatic stretching, cropping, or pixelation.
- Choose the Right Format:
- JPEG: Best for photographs (“Beautiful Photography,” “Stock Photos”) with continuous tones and many colors. It offers excellent compression with minimal noticeable quality loss for web use.
- PNG: Ideal for images with transparency (e.g., logos, graphic design elements, digital art with transparent backgrounds) or sharp lines and fewer colors. While PNG files are generally larger than JPEGs for photos, they preserve detail and transparency perfectly.
- WebP/HEIC: These newer formats often offer superior compression to JPEG and PNG, resulting in smaller files for similar quality. Tophinhanhdep.com supports these formats, allowing you to convert and compress for cutting-edge web optimization.
- Balance Quality and Speed: For web images, faster loading times are crucial. Aim for the lowest file size where the quality loss is imperceptible to the average viewer on a standard screen. A quality setting of 60-80% for JPEGs is often a good starting point for web. Tophinhanhdep.com’s visual quality sliders make this experimentation easy.
Maintaining Visual Integrity for Photography & Design
“High Resolution” photography, “Digital Art,” and “Graphic Design” demand a careful approach to compression to maintain their artistic and professional value.
- Prioritize Original Archives: Always keep a copy of your uncompressed, high-resolution original files. Compression is for derivative works or specific distribution, not for your master archives. Tophinhanhdep.com encourages robust image management for all your valuable “Image Collections.”
- Strategic Compression for Display: When preparing “Beautiful Photography” for an online portfolio or a gallery of “Sad/Emotional” images, use Tophinhanhdep.com’s compressor to find a balance that retains the subtle details and emotional impact without hindering load times. Use the preview feature to scrutinize the output.
- Leverage AI Upscalers When Necessary: If you have an image that has already undergone heavy compression, or a historical photograph you want to enhance, Tophinhanhdep.com’s “AI Upscalers” (found in our “Image Tools” section) can intelligently add detail and resolution. This can be particularly useful for old or lower-quality “Backgrounds” or images in “Thematic Collections” that need a boost.
- Consider “Editing Styles” Pre-Compression: The initial “Editing Styles” and “Photo Manipulation” applied to an image can affect its compressibility. Images with smooth gradients and fewer sharp contrasts often compress better. Keep this in mind during your creative process.
Image Tools & Workflow Enhancement with Tophinhanhdep.com
Tophinhanhdep.com is more than just an image compressor; it’s a comprehensive hub for all your image-related needs, designed to streamline your visual design workflow and ignite “Creative Ideas.”
- Integrated Solutions: Beyond compression, explore Tophinhanhdep.com’s other “Image Tools” such as Converters (to change formats like JPG to PNG), Optimizers (for general file size reduction without explicit quality settings), and AI Upscalers. These tools work in tandem to give you complete control over your images.
- Seamless Workflow: Integrate compression into your larger workflow. For example, when curating “Mood Boards” or “Trending Styles” for a project, use Tophinhanhdep.com to quickly standardize image sizes and file types, ensuring consistency and efficiency.
- Resource for Inspiration: Utilize Tophinhanhdep.com not just for tools, but also for “Image Inspiration & Collections,” “Photo Ideas,” and discovering “Thematic Collections.” Understanding what makes successful visuals can inform your compression choices, ensuring your images always look their best, regardless of their file size.
Conclusion
Image compression is a fundamental skill in the digital age, essential for anyone who creates, shares, or stores digital visuals. From ensuring your “Wallpapers” load instantly to meticulously preparing “High Resolution” “Stock Photos” for a client, the ability to effectively reduce file size while preserving quality is invaluable.
By utilizing the powerful “Image Tools” available on Tophinhanhdep.com – including our versatile online compressors, alongside desktop capabilities in your operating system or popular applications – you can confidently manage your visual assets. Remember the crucial balance between size and quality, always striving for the smallest file that maintains acceptable visual fidelity for its intended purpose. Whether you’re a budding photographer, a seasoned graphic designer, or simply someone who appreciates beautiful imagery, mastering image compression will enhance your digital experience, optimize your storage, and ensure your visual content always shines on every screen.
Explore Tophinhanhdep.com today to discover an array of images, from “Nature” and “Abstract” beauty to resources that fuel your “Creative Ideas” and perfect your “Editing Styles.” Our comprehensive suite of “Image Tools” is here to empower you, making image optimization an effortless part of your visual journey.