How to Convert Image to JPEG Format: A Comprehensive Guide for Digital Creators

In the dynamic world of digital imagery, the JPEG (or JPG) format stands as an undisputed champion. Its widespread compatibility, efficient compression, and balanced quality retention make it the go-to choice for everything from casual social media posts to professional photography portfolios. Yet, encountering an image in an incompatible format like GIF, TIFF, PNG, or even newer formats like WebP can often lead to frustration, especially when websites and applications impose strict upload requirements. This comprehensive guide will demystify the process, offering you simple, effective ways to convert any image to JPEG format, ensuring your visuals are always ready for their intended use. Whether you’re a seasoned photographer managing high-resolution stock photos, a graphic designer crafting digital art, or simply someone looking to optimize their personal collection of aesthetic wallpapers and backgrounds, understanding JPEG conversion is an invaluable skill.
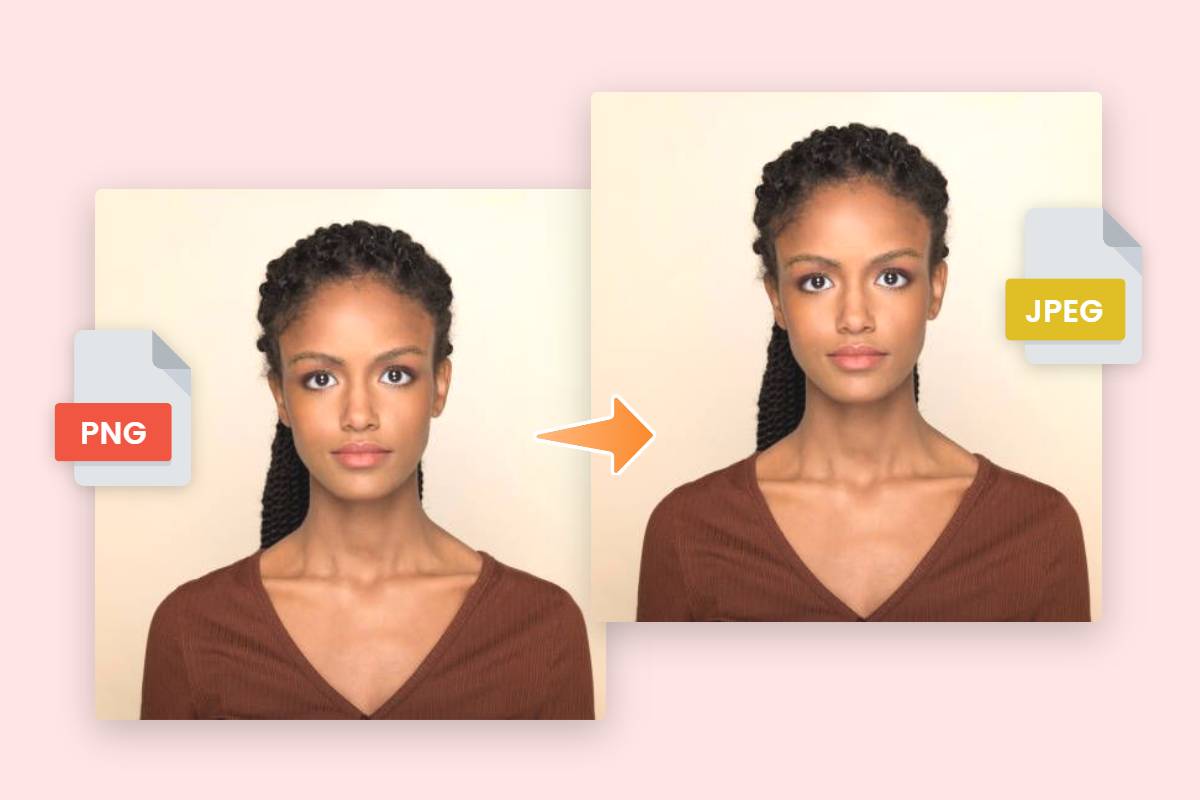
Tophinhanhdep.com, as a leading platform dedicated to all things visual—from stunning wallpapers and beautiful photography to powerful image tools and visual design inspiration—recognizes the pivotal role of accessible image conversion. Our platform not only provides the means to achieve this but also educates users on the “why” and “how” behind effective image management, enhancing your journey through digital photography, creative ideas, and thematic image collections.
Understanding the JPEG Format: The Internet’s Preferred Image Standard

Before diving into conversion methods, it’s essential to understand what makes JPEG such a ubiquitous and advantageous file format. JPEG, an acronym for Joint Photographic Experts Group, refers to both the committee that created the standard and the file format itself. Introduced in the early 1990s, JPEG quickly became the most common image format on the internet, largely due to its efficient compression capabilities.

JPEG employs a “lossy” compression algorithm, meaning that some data is discarded during the compression process. While this might sound detrimental, the genius of JPEG lies in its ability to achieve significant file size reductions—often up to a 10:1 ratio—with minimal, often unnoticeable, degradation to image quality. This is particularly true for photographs and complex images with smooth color gradients, where the human eye is less sensitive to the discarded data. This characteristic allows JPEG files to load quickly on websites, transmit efficiently across networks, and occupy less storage space, making them ideal for the vast quantities of digital images shared daily.
The format excels at retaining rich color information, which is crucial for photography and intricate visual designs. This balance of quality, compression, and universal readability has solidified JPEG’s position as the de facto image standard across web browsers, operating systems (Windows, macOS), mobile devices (Android, iPhone, iPad), and social media platforms. The distinction between JPG and JPEG is purely historical; early versions of Windows operating systems required file extensions to be three characters long, hence “.jpg” was adopted as a truncated version of “.jpeg.” Functionally, they are identical.
For creators leveraging Tophinhanhdep.com’s resources—be it for high-resolution stock photos, crafting abstract digital art, or curating thematic image collections—JPEG conversion is a critical step in optimizing images for online display, sharing, and storage.
Desktop-Based Solutions for JPEG Conversion
For users who prefer to work directly on their computers without relying on internet connectivity, both Windows and macOS offer built-in tools capable of converting image files to JPEG format. These methods are straightforward and require no additional software installation, making them accessible to almost anyone.
Converting Pictures to JPEG in Windows
If you’re operating on a Windows 10 or 11 system, Microsoft’s venerable Paint application provides a quick and easy way to convert image files. Paint, often underestimated, is a capable basic image editor that can handle various file formats.
Here’s how to convert your pictures to JPEG using Paint:
- Locate Your Image: Open File Explorer and navigate to the image file you wish to convert. This could be a PNG, TIFF, GIF, or any other supported image format.
- Open with Paint: Right-click on the image file. From the context menu, select “Open with” and then choose “Paint.” Your image will now open within the Paint application window.
- Initiate “Save As”: In the Paint application, click on the “File” menu located in the top-left corner. From the dropdown options, select “Save as.” A sub-menu will appear displaying various image formats.
- Select JPEG Format: Choose “JPEG picture” from the format options. This action will open a new dialog box.
- Configure and Save: In this new window, you can:
- Choose a Folder: Select the destination folder where you want to save your converted JPEG file.
- Rename the File (Optional): If you wish to give your new JPEG file a different name, type it in the “File name” field.
- Verify Save Type: Ensure that “JPEG” is selected in the “Save as type” dropdown menu.
- Finalize Conversion: Click the “Save” button. Your image file has now been successfully converted and saved as a JPEG in your chosen location.
This method is perfect for converting individual images quickly, making them ready for upload to websites that require JPEG, or for reducing the file size of an image intended for a digital art project or an aesthetic background.
Transforming Images to JPEG on macOS
Mac users also have a powerful, pre-installed tool for image conversion: Preview. More than just an image viewer, Preview is a versatile application capable of basic image editing, including cropping, resizing, and—crucially—converting file formats.
Follow these steps to convert your images to JPEG using Preview on a Mac:
- Navigate to Your Image: Locate the image file you intend to convert using Finder.
- Open with Preview: Right-click (or Ctrl + click) on the file. From the context menu, point to “Open With” and then select “Preview.” The image will open in the Preview application.
- Access Export Function: In the Preview window, click on the “File” menu in the menu bar at the top of your screen. From the dropdown menu, select the “Export…” command. A pop-up window will appear with export options.
- Select JPEG Format and Adjust Quality: In the export window:
- Find the “Format” dropdown menu and choose “JPEG.”
- You will also see a “Quality” slider. This allows you to control the compression level. Sliding it towards “Best” will result in higher quality and a larger file size, while sliding it towards “Least” will yield a smaller file size but with more compression artifacts. For most uses, a setting between good and best is sufficient to retain quality while gaining file size benefits.
- Optionally, you can also adjust the “Resolution” if needed.
- Rename and Save:
- You can rename the file in the “Export As” field. Make sure the extension remains
.jpegor.jpg. - Choose your desired save location from the “Where” dropdown menu.
- You can rename the file in the “Export As” field. Make sure the extension remains
- Complete Conversion: Click the “Save” button. Preview will save the new JPEG file in the specified location, alongside your original image.
This method provides a balance of simplicity and control, allowing macOS users to efficiently prepare images for various digital applications, from creating inspiring mood boards to optimizing images for online portfolios, all while maintaining a visual design consistency.
Harnessing Online Tools for Effortless JPEG Conversion with Tophinhanhdep.com
For those who prefer a web-based solution, or need to convert images on a mobile device without desktop software, online image converters are incredibly convenient. They eliminate the need for software installation and often offer advanced features. Tophinhanhdep.com provides a robust and user-friendly online image converter that streamlines this process.
Online converters are particularly useful for:
- Cross-device compatibility: Convert images on any device with an internet connection, including smartphones, tablets, or public computers.
- Batch processing: Many online tools allow you to convert multiple images simultaneously, saving significant time.
- Specialized formats: Some desktop tools might struggle with newer or less common formats (like WebP), which online converters are often updated to handle.
Step-by-Step Guide to Online JPEG Conversion
Using Tophinhanhdep.com’s online converter is designed to be intuitive and fast, perfect for busy photographers, graphic designers, or anyone looking to quickly prepare images for web use or digital projects.
- Access Tophinhanhdep.com’s Converter: Open your web browser and navigate to the image converter section on Tophinhanhdep.com.
- Upload Your Images: You will see an area designated for uploading files, often labeled “Select or Drag & Drop Images Here” or “Upload Your Own Image.” You can either:
- Drag and drop your image files (PNG, TIFF, GIF, WebP, SVG, etc.) directly into this area.
- Click the “Select Images” or “Upload” button and browse your device’s photo library to choose the images you want to convert. Tophinhanhdep.com supports converting single or multiple images, enhancing your workflow for thematic collections or trending styles.
- Select JPEG as Output Format: Once your image(s) are uploaded, the converter will typically automatically detect the best output or provide a dropdown menu. Choose “JPEG” or ".JPG" as your desired output format.
- Customize Settings (Optional): Tophinhanhdep.com stands out by offering options to customize the image. You can:
- Adjust Quality: Use a “Quality” slider to balance file size and visual fidelity. Tophinhanhdep.com aims for lossless conversion where possible, retaining the best quality even with significant compression.
- Modify Size: For specific needs like web optimization or social media uploads, you can customize the image size in pixels or dimensions.
- Batch Conversion: For multiple images, simply click the “Convert” or “Start to convert” button. Tophinhanhdep.com’s batch converter can process numerous images (e.g., up to 50 at once), making it incredibly efficient for managing large photo ideas or collections.
- Start Conversion: Click the “Convert” or “Start to convert” button. The online tool will process your images, turning them into JPEG format. This typically happens in seconds, even for multiple files.
- Download Your JPEG Images: Once the conversion is complete, a download link or button will appear. Click to “Download” your newly converted JPEG file(s) to your device. If you converted multiple images, Tophinhanhdep.com might offer a compressed ZIP file containing all the JPEGs.
This seamless online process is ideal for high-resolution photography, aesthetic wallpapers, and any scenario where quick, efficient, and high-quality image conversion is paramount, directly supporting Tophinhanhdep.com’s mission to enhance your visual experiences.
Beyond Simple Conversion: Tophinhanhdep.com’s Comprehensive Image Tools
Tophinhanhdep.com is more than just a basic JPEG converter; it’s a comprehensive suite of image tools designed to cater to a wide array of visual design and photography needs. After converting your images to JPEG, you might find other tools on Tophinhanhdep.com equally valuable for further optimization and creative enhancements:
- Image Compressors: While JPEG itself is a compressed format, Tophinhanhdep.com’s dedicated image compressor can further reduce JPEG file sizes (e.g., from 2700 KB to 300 KB) without compromising visual quality. This is crucial for web performance, ensuring fast loading times for your beautiful photography or high-resolution stock photos.
- Image Resizers: Easily adjust image dimensions to fit specific requirements for social media, website layouts, or print, all without losing quality. This tool is invaluable for graphic designers and photographers adapting images for various platforms.
- Background Removers: Need to isolate a subject for a graphic design project or product photography? Tophinhanhdep.com’s AI-driven background remover makes this task effortless.
- Image Croppers: Precisely crop your images to focus on key elements, perfect for photo manipulation or refining compositions for aesthetic impact.
- AI Upscalers: For older or lower-resolution images, Tophinhanhdep.com’s AI Upscaler can intelligently enlarge and enhance details, transforming them into high-resolution visuals suitable for modern displays or printing.
- AI Image Generators: Push the boundaries of creative ideas by generating stunning images from simple text prompts, opening new avenues for digital art and visual inspiration.
- Image-to-Text: Extract text from images, a useful tool for various applications from content creation to data entry.
These tools, combined with the robust JPEG converter, ensure that Tophinhanhdep.com serves as a one-stop-shop for all your image manipulation and optimization needs, embodying the platform’s commitment to supporting every aspect of digital imagery, from captivating wallpapers to advanced photo editing styles.
Advanced Desktop Alternatives and File Extension Renaming
While built-in operating system tools and online converters offer immense convenience, there are situations where more powerful desktop software is preferred, or a simple file renaming trick can solve a specific problem.
Professional Conversion with GIMP
For users seeking a more robust, feature-rich, and free desktop application for image editing and conversion, GIMP (GNU Image Manipulation Program) is an excellent choice. Available for Windows, macOS, and Linux, GIMP provides professional-grade tools that can handle complex image formats and offer fine-grained control over the conversion process.
Here’s how to convert an image to JPEG using GIMP:
- Install GIMP: If you don’t have it already, download and install GIMP from its official website.
- Open Your Image: Launch GIMP. Click on the “File” menu, then select “Open…” Navigate to your image file, select it, and click “Open” again.
- Initiate Export: Once the image is open in GIMP, click on the “File” menu again, then choose “Export As…” This will open a dialog box for saving your image in various formats.
- Select JPEG Format: In the “Export Image” dialog, locate the “Select File Type (By Extension)” or “Select File Type (By Name)” section. Scroll through the list and select “JPEG image.”
- Modify JPEG Options: A new “Export Image as JPEG” dialog will appear. This is where GIMP offers extensive control:
- Quality Slider: Adjust the “Quality” slider to determine the compression level. You can also tick “Show preview in image window” to see the real-time effect of your quality settings on the image before exporting.
- Advanced Options: GIMP provides advanced options like “Progressive” (for faster web loading), “Optimize” (for further file size reduction), and chroma subsampling settings. For most users, adjusting the quality slider and ensuring “Optimize” is checked is sufficient.
- Export and Save: Click the “Export” button. Another box will prompt you to choose a new file name and destination folder. The file should already have a
.jpgextension appended. Select your desired location and click “Save” to complete the conversion.
GIMP is an ideal tool for advanced digital photography editing, photo manipulation, and graphic design, where precise control over image parameters, including compression during conversion, is often necessary for high-resolution outputs or specific editing styles.
The Nuance of Changing a File Extension
Sometimes, an image that is inherently a JPEG file might have the wrong file extension due to a typo or an incorrect save. In such specific cases, manually changing the file extension can solve the problem without a full conversion process. However, it’s crucial to understand that this method does not technically “convert” an image. It merely renames the file.
Important Caveats:
- Only for Misnamed JPEGs: This method should only be used if you are certain the underlying image data is already in JPEG format. If you rename a PNG or TIFF file to .jpg, you will likely corrupt the file, making it unreadable.
- Backup: Always make a copy of your original file before attempting this.
- Case Sensitivity: File extensions (.JPG, .jpg, .JPEG, .jpeg) are not case-sensitive; they all refer to the same format.
Here’s how to change a file extension:
- Note Original Extension: Before you begin, jot down the original file extension so you can revert if necessary.
- Locate Your File: Find the image file in File Explorer (Windows) or Finder (macOS).
- Make Filename Editable:
- Windows: Simply right-click the image and select “Rename.”
- macOS: Click once on the image, then click “File” in the menu bar and select “Get Info.” Expand the “Name & Extension” section and uncheck “Hide Extension.” Close the Get Info window.
- Delete Current Extension:
- Windows: Click at the very end of the file name (after the period), then use the Backspace key to erase the existing extension (e.g.,
.jgp). - macOS: Click once on the image, then press Return (⏎). Click at the end of the file extension, and use the Delete key to erase everything after the period.
- Windows: Click at the very end of the file name (after the period), then use the Backspace key to erase the existing extension (e.g.,
- Type New Extension: Type
.jpg(or.jpeg) after the period. Your filename should now look something likeimage.jpg. - Confirm Change: Press Enter (↵) or Return (⏎). Both Windows and macOS will display a warning message stating that changing the file extension might make the file unusable. Click “Use .jpg” (macOS) or “Yes” (Windows) to confirm.
Your file’s extension will now be .JPG, and if the original file was indeed a JPEG, it should now open correctly as such. This niche trick is useful for specific troubleshooting scenarios, ensuring that your image inspiration and collections remain accessible.
Conclusion
The ability to convert images to JPEG format is a fundamental skill in today’s visually driven digital landscape. Whether you’re grappling with website upload restrictions, striving for optimal file sizes for faster loading, or simply organizing your vast collection of digital images, mastering these conversion techniques is essential. From the convenience of built-in desktop tools like Paint and Preview to the robust capabilities of online converters and advanced software like GIMP, there’s a method to suit every need and technical proficiency.
Tophinhanhdep.com proudly offers a comprehensive ecosystem for all your visual content requirements. Our online converter simplifies the process, enabling effortless transformations between various formats to JPEG, with additional features like batch processing, quality control, and direct access to a suite of image optimization tools—including compressors, resizers, background removers, and AI upscalers. These functionalities are designed to empower everyone, from photographers perfecting high-resolution stock photos and graphic designers crafting digital art to enthusiasts compiling aesthetic wallpapers and mood boards, ensuring every image adheres to trending styles and creative ideas.
Understanding JPEG’s role as the internet’s preferred standard for images, combined with the practical skills to convert to it, ensures your digital photography and visual designs are always universally compatible, optimized for performance, and ready for global sharing. Explore Tophinhanhdep.com’s extensive range of tools today and unlock the full potential of your images, making every visual creation effortlessly stunning and perfectly prepared.