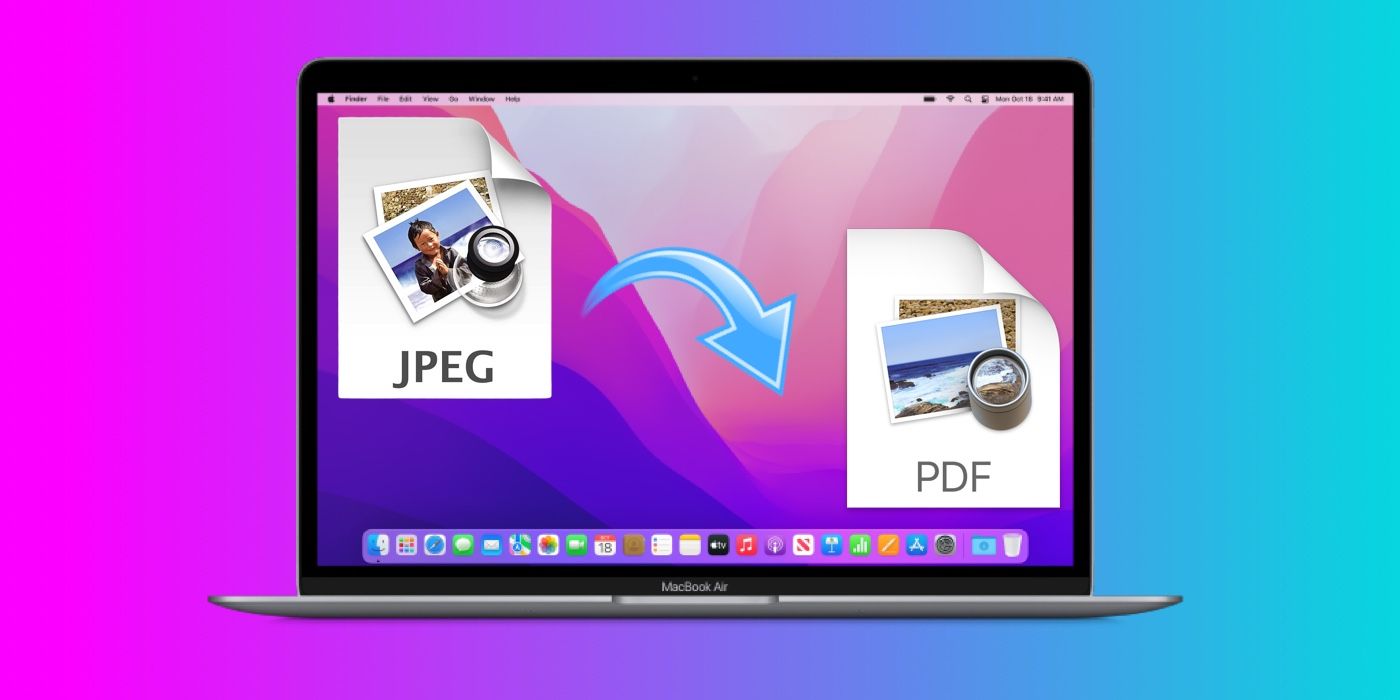
How to Convert Image to PDF on Mac: Your Comprehensive Guide to Digital Document Creation and Visual Management

In the vibrant world of digital content, images reign supreme. From breathtaking wallpapers and backgrounds that adorn our screens to professional high-resolution photography and intricate digital art, images form the backbone of our visual experience. However, when it comes to sharing, archiving, or presenting these visuals in a structured, universally accessible format, the Portable Document Format (PDF) often emerges as the superior choice. For Mac users, the process of converting an image to a PDF is streamlined and offers multiple pathways, whether you’re consolidating a collection of nature photography, preparing a visual design mood board, or simply digitizing important documents.
At Tophinhanhdep.com, we understand the multifaceted needs of individuals working with visual content. Our platform is dedicated to exploring everything from aesthetic images and creative photography to advanced image tools and visual design principles. This guide leverages that expertise to provide a comprehensive look at how Mac users can seamlessly transform their images into PDFs, ensuring optimal quality, organization, and shareability for all your visual projects.
Why Convert Images to PDF on Your Mac?
Converting images, such as JPG files, to PDF format on your Mac offers a host of benefits that cater to a wide range of needs, from casual sharing to professional visual presentations. Understanding these advantages helps illustrate why this conversion is a vital skill for anyone managing digital visuals.
- Universal Compatibility and Accessibility: PDF is a globally recognized standard. Regardless of the operating system (macOS, Windows, Linux) or device (desktop, tablet, smartphone), a PDF document will render consistently. This makes it ideal for sharing your beautiful photography or aesthetic wallpapers without worrying about compatibility issues or software requirements on the recipient’s end.
- Preservation of Formatting and Quality: Unlike some image formats that might be compressed or scaled differently across various viewers, PDFs maintain the exact layout, fonts, and image quality. This is especially crucial for high-resolution photography or digital art where every detail matters. When presenting visual design concepts, ensuring your creative ideas appear precisely as intended is paramount.
- Enhanced Security: PDFs offer built-in security features, allowing you to password-protect documents, restrict printing, or prevent unauthorized editing or copying. This is invaluable when sharing sensitive documents or proprietary visual design work, providing peace of mind that your content is protected.
- Multi-Page Document Creation: One of the most significant advantages of PDF is the ability to combine multiple images into a single file. Imagine compiling a portfolio of your abstract art, a series of nature photography, or a thematic collection of images into one cohesive document. This simplifies organization and sharing, making it easier for clients or collaborators to review your image inspiration & collections.
- Professional Presentation: For graphic designers, digital artists, or photographers, presenting work in a PDF often conveys a higher level of professionalism. It allows for a curated, structured viewing experience, whether it’s a client proposal, a portfolio showcase, or an academic paper incorporating image manipulation examples.
- Efficient Archiving and Organization: Consolidating numerous individual image files into fewer, multi-page PDFs can significantly streamline your digital archiving. This makes it easier to manage large sets of stock photos, personal image collections, or historical documents saved as sad/emotional or historical imagery, helping to keep your digital workspace organized.
- Print Optimization: PDFs are inherently designed for printing, offering better control over print size and resolution. This ensures that your high-resolution photography or graphic design layouts translate accurately from screen to paper, avoiding distortion or quality loss.
Whether you’re looking to share a mood board of trending styles with a team, digitize a stack of physical documents, or create an impressive portfolio of your digital photography, converting images to PDF on your Mac is a versatile and essential skill.
Native Mac Solutions: Harnessing Preview for Image to PDF Conversion
macOS comes equipped with a powerful, yet often underestimated, application called Preview. This native tool is not just for viewing images and PDFs; it offers robust functionalities for basic editing and, crucially, for converting images to PDF format. Preview is an ideal solution for Mac users who prefer not to download additional software and need quick, efficient conversions. Its seamless integration with the macOS environment makes it a go-to for managing your images and light visual design tasks.
Converting a Single Image to PDF with Preview
If you have a single image – be it a striking wallpaper, a digitized document, or a piece of beautiful photography – and you want to convert it to a PDF, Preview makes it incredibly straightforward. This method is perfect for individual files that need to be shared in a more formal or secure format.
- Locate Your Image: Find the JPG (or PNG, TIFF, etc.) file you wish to convert in your Mac’s Finder.
- Open with Preview: Double-click the image. By default, it should open in Preview. If not, right-click (or Control-click) the image, select “Open With,” and then choose “Preview.”
- Initiate Export: Once the image is open in Preview, go to the menu bar at the top of your screen. Click on “File,” and then select “Export as PDF…” This option is specifically designed for converting the current image view into a PDF.
- Configure and Save: A new dialog box will appear. Here, you can:
- Rename the file: Give your new PDF a descriptive name.
- Choose a location: Select where on your Mac you want to save the converted PDF.
- Add Metadata (Optional): You can fill in fields like Title, Author, Subject, and Keywords. These details can improve discoverability through Spotlight searches, which is useful for organizing thematic collections or specific photography projects.
- Apply Security (Optional): Click the “Security Options…” button to add a password, restrict printing, or limit copying. This is a crucial feature for protecting sensitive visual design drafts or personal images.
- Complete Conversion: Click the “Save” button. Your image is now a PDF, ready for sharing or archiving.
This method is incredibly efficient for quick, single-file conversions, ensuring your aesthetic and nature images are preserved in a versatile document format.
How to Combine JPGs into One PDF on Mac using Preview
One of Preview’s most powerful features, especially for those working with image inspiration & collections, mood boards, or compiling multiple digital photography shots, is the ability to merge several images into a single, multi-page PDF document. This is particularly useful for creating cohesive presentations or digitizing multi-page documents like scanned notes or receipts.
- Select Your Images: In Finder, select all the images you want to include in your PDF. You can do this by dragging a selection box over them or by holding down the Command key and clicking on each image individually.
- Open in Preview: Right-click (or Control-click) one of the highlighted images. Select “Open With” -> “Preview” from the contextual menu. All selected images will open within a single Preview window, with their thumbnails displayed in the sidebar.
- Arrange and Orient Pages:
- Reorder: In Preview’s sidebar, drag the thumbnail images up or down to arrange them in the desired order for your PDF.
- Rotate: If any images are incorrectly oriented (e.g., a scanned document that’s sideways), select the thumbnail(s) and use the Rotate button in Preview’s toolbar (the square with an arrow) to adjust their orientation. You can select multiple thumbnails to rotate them simultaneously. This is especially useful when creating image collections from various sources.
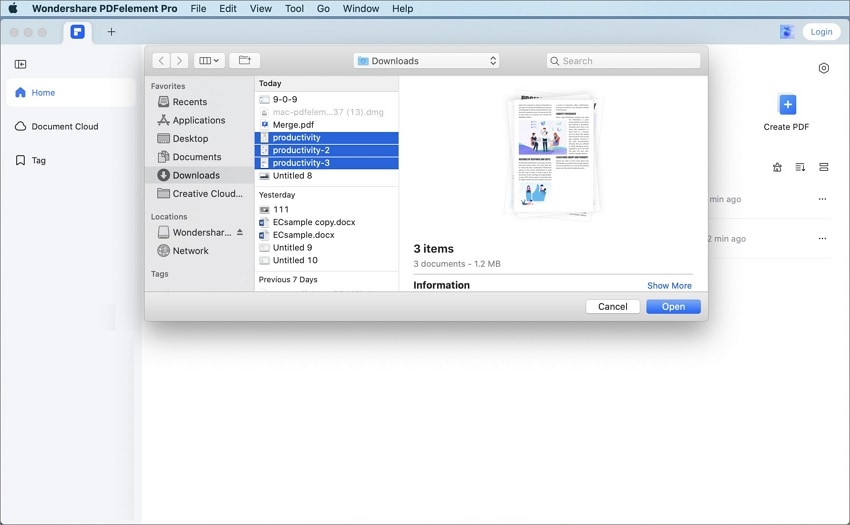
- Access Print Dialog: Once your images are arranged and oriented as desired, go to the menu bar, click “File,” and then select “Print…” (or use the Command+P keyboard shortcut).
- Configure Print Options (for PDF Creation):
- Expand Details: In the Print dialog, click “Show Details” to reveal all available options.
- Page Range: Ensure “All” is selected under the “Pages” section if you want all images included.
- Orientation Check: You can preview each page and confirm its orientation using the arrows and orientation buttons below the print preview.
- Save as PDF: This is the crucial step. In the lower-left corner of the Print dialog, look for a “PDF” dropdown menu. Click it and select “Save as PDF.”
- Finalize Save Settings: A “Save” dialog will appear, similar to the single image conversion.
- Name Your File: Provide a suitable name for your combined PDF.
- Choose Location: Select the folder where you want to save the document.
- Add Metadata (Optional): As before, you can add Title, Author, Subject, and Keywords to enhance searchability, especially for extensive thematic collections or digital photography archives.
- Apply Security (Optional): Use the “Security Options…” button to add password protection if needed, vital for safeguarding visual design concepts or confidential sad/emotional documents.
- Click Save: Your multi-page PDF is now created, combining all your selected images into one organized document.
This method is incredibly versatile for various applications, from compiling a series of abstract photography pieces for a gallery submission to assembling a comprehensive report featuring image manipulation examples.
How to Change JPG to PDF Online on Mac
While Preview offers excellent native capabilities, sometimes the convenience of an online tool is preferable, especially for quick conversions without installing software, or when you’re on a public machine. Tophinhanhdep.com advocates for leveraging the best image tools available, and online converters are a valuable part of that ecosystem. These platforms generally work across any browser and device, including your Mac, MacBook Air, or MacBook Pro.
Converting with Online Tools (e.g., Tophinhanhdep.com’s Online Converter)
Online image to PDF converters are designed for ease of use and immediate results. They are particularly suitable for converting individual images or small batches quickly, without requiring advanced features. Tophinhanhdep.com offers a curated selection of such tools, ensuring secure and efficient conversions.
- Access the Online Converter: Open your preferred web browser on your Mac (Safari, Chrome, Firefox, etc.) and navigate to Tophinhanhdep.com’s dedicated online image to PDF converter page.
- Upload Your Images: You’ll typically find a prominent “Select Image File” button or a drag-and-drop zone. Click the button to browse your Mac’s files or simply drag your JPG, PNG, HEIC, WEBP, or other image files directly into the specified area. Most online tools support multiple file uploads for batch processing.
- Adjust Settings (Optional): Depending on the tool, you might have options to:
- Rearrange Images: If you’ve uploaded multiple files, you can often drag and drop thumbnails to change their order within the resulting PDF, which is helpful for creating structured image collections.
- Page Size and Orientation: Some tools allow you to specify the output page size (e.g., A4, US Letter, Original Size) and orientation (Portrait or Landscape). This is crucial for maintaining the intended appearance of your photography or visual design elements.
- Margins: You might be able to set margins (No Margin, Small, Big) to control how your images fit on the PDF page, preventing cropping or distortion, particularly important for beautiful photography.
- Combine or Separate: An important feature is the choice to “Combine images into a single PDF” or “Convert images into separate PDFs.” This gives you flexibility based on whether you’re creating a mood board or just individual document files.
- Initiate Conversion: Once satisfied with the settings, click the “Convert” button. The online service will process your files.
- Download Your PDF: After a short processing time, a download link will appear. Click it to save your newly created PDF document to your Mac. You may also be given options to save directly to cloud storage like Google Drive or Dropbox, or even generate a shareable link with a QR code, enhancing the ease of sharing your image inspiration or trending styles with others.
Pros of Online Converters:
- No Installation Required: Ideal for users who don’t want to clutter their Mac with additional software.
- Accessibility: Works from any device with an internet connection, including older Mac models.
- Speed: Often very fast for simple conversions.
- Free Options: Many reliable online tools are free to use for basic tasks.
Cons of Online Converters:
- Internet Dependency: Requires an active internet connection, limiting offline use.
- Security Concerns: For highly sensitive documents or proprietary visual design work, uploading to third-party servers might raise privacy concerns. Always choose reputable services like those recommended by Tophinhanhdep.com.
- Feature Limitations: Typically lack advanced features like OCR (Optical Character Recognition) for editable text from scanned images, complex editing tools, or comprehensive batch processing for massive image collections.
- File Size Limits: Free versions often impose restrictions on the number or size of files you can upload.
For occasional conversions of wallpapers, backgrounds, or smaller photography sets, online tools provide a convenient and immediate solution for Mac users.
The Best Image to PDF Converter on Mac: Desktop Software for Advanced Needs
While Preview and online tools are excellent for basic and quick conversions, professional users, digital artists, photographers, and graphic designers often require more robust features. This is where dedicated desktop PDF software, like Tophinhanhdep.com’s recommended professional desktop PDF tool, comes into play. These applications offer comprehensive control over the conversion process, alongside advanced editing and management capabilities essential for intricate visual design projects, high-resolution photography workflows, and managing extensive image collections.
Utilizing Professional Desktop PDF Tools (e.g., Tophinhanhdep.com’s Recommended Application)
Professional PDF software goes beyond simple conversion, providing a full suite of image tools for manipulation, optimization, and security. Such tools are particularly beneficial when dealing with batch conversions, creating editable PDFs, or integrating complex graphic design elements.
- Download and Install: Begin by downloading and installing Tophinhanhdep.com’s professional desktop PDF tool on your Mac. These applications are designed to work flawlessly with macOS versions, including the latest updates.
- Open the Application and Access Conversion Tool: Launch the software. Most professional tools will have a clear interface with options like “Create PDF,” “Image to PDF,” or similar. Navigate to the “Image to PDF” or “PDF from File” option.
- Add Your Images: Click “Add Files” or drag and drop your JPG, PNG, TIFF, BMP, or other image files into the application window. A key advantage of desktop software is the ability to easily add multiple images for batch conversion, saving significant time when processing large thematic collections or multiple shots from a digital photography session.
- Configure Conversion Settings: This is where professional software shines, offering granular control:
- Order and Arrangement: Reorder images easily using drag-and-drop in a thumbnail view, crucial for precise sequencing in a visual design presentation or mood board.
- Output in One File/Separate Files: Clearly choose whether to combine all images into a single multi-page PDF or convert each image into its own separate PDF document.
- Page Layout & Margins: Extensive options to control page size, orientation, and margins, ensuring your beautiful photography or abstract art is presented perfectly without distortion.
- Image Quality & Compression: Advanced settings to maintain or optimize image quality while managing file size. This is vital for high-resolution photography where preserving detail is paramount, but also for compressing files for easier sharing of aesthetic backgrounds.
- Editable PDF (OCR): If your images are scanned documents (e.g., from sad/emotional historical archives or important paperwork), professional software often includes an Optical Character Recognition (OCR) plugin. This allows the software to detect text within the image and make it selectable, searchable, and editable within the PDF. This is a game-changer for image-to-text conversion and digitizing physical records.
- Choose Output Location: Specify where you want the converted PDF(s) to be saved on your Mac.
- Execute Conversion: Click the “Convert” or “Create” button. The software will process your images efficiently.
- Post-Conversion Editing and Management: After conversion, the PDF tool offers further functionalities:
- PDF Editing: Modify text, change fonts, add or delete images, rearrange pages, and more. This is invaluable for refining visual design proofs or documents incorporating photo manipulation.
- Annotation and Markup: Add comments, highlights, underlines, watermarks, or digital signatures. Perfect for collaborative graphic design projects or legal documents.
- Form Filling and Creation: Easily fill out existing PDF forms or create new ones, expanding the utility beyond simple image display.
- Conversion to Other Formats: Convert your PDFs back to Word, Excel, PowerPoint, HTML, or even other image formats if needed.
Why Choose Desktop Software?
- Comprehensive Features: Offers a full suite of PDF creation, editing, and management tools.
- Batch Processing Power: Efficiently handles large volumes of images and photography for conversion.
- Offline Functionality: Works without an internet connection, ideal for sensitive documents or when working remotely.
- Enhanced Security: Processes files locally on your Mac, reducing privacy concerns associated with online tools.
- OCR Capability: Transforms scanned images into editable, searchable PDFs, an essential image-to-text feature.
For anyone serious about managing their digital photography, executing complex visual design projects, or maintaining extensive image collections, Tophinhanhdep.com highly recommends investing in a professional desktop PDF converter for Mac.
Tips for Optimal Image to PDF Conversion and Visual Content Management
Converting images to PDF on your Mac is just one step in effective visual content management. To ensure the best results and harness the full potential of your images, photography, and visual design projects, consider these tips from Tophinhanhdep.com:
- Prioritize Image Quality (But Manage File Size):
- High Resolution Matters: Start with high-resolution photography or abstract images whenever possible. A PDF can preserve quality, but it can’t magically improve a low-resolution source. For printing, aim for at least 300 DPI (dots per inch).
- Compression Settings: While converting, some tools offer compression options. Balance quality preservation with file size. For online sharing of wallpapers or backgrounds, a slightly higher compression might be acceptable to reduce load times, but for professional digital art or print-ready graphic design, minimal compression is usually preferred. Many image tools also offer dedicated compressors.
- Organize Your Files for Multi-Page PDFs:
- Logical Order: Before combining multiple images into a single PDF, ensure they are in the correct sequence. Renaming files numerically (e.g., “photo-01.jpg”, “photo-02.jpg”) can help maintain order during selection and import, especially for thematic collections or mood boards.
- Clear Naming Conventions: Give your output PDF a descriptive filename that reflects its content (e.g., “Nature_Photography_Portfolio_Spring2025.pdf” or “Abstract_Art_Series_Vol1.pdf”). This aids in future retrieval and image inspiration & collections management.
- Leverage Metadata for Enhanced Searchability:
- When saving PDFs (especially with Preview or professional software), utilize the Title, Author, Subject, and Keywords fields. This metadata makes your PDFs searchable via Spotlight on your Mac, helping you quickly find specific photography projects, visual design concepts, or aesthetic groupings within your larger image collections.
- Consider Security Options for Confidential Content:
- Password Protection: If you’re sharing sensitive visual design proofs, personal images, or confidential documents, always use the password protection feature. This prevents unauthorized access.
- Permissions: Beyond opening, some tools allow you to restrict printing, copying, or modifying the PDF. This is vital for protecting intellectual property or official records.
- Harness OCR for Scanned Documents:
- If your images are scanned pages of text, use a PDF converter with OCR (Optical Character Recognition) capability. This transforms the image-based text into selectable, searchable, and editable text within the PDF, converting it from a mere picture to a truly functional document. This is a powerful image-to-text feature, making digitized archives of sad/emotional letters or academic papers fully interactive.
- Always Preview and Review the Output:
- Before sending or finalizing any converted PDF, open it and carefully review every page. Check for correct image order, orientation, cropping, and overall quality. Ensure that your beautiful photography or graphic design elements are perfectly rendered. A quick review can prevent errors and ensure your final document meets your expectations.
- Integrate with Cloud Storage:
- For easy access and sharing across devices, save your converted PDFs directly to cloud storage services like iCloud Drive, Google Drive, or Dropbox. This ensures your image collections and visual design documents are always at your fingertips.
- Explore Advanced Editing Features:
- Once an image is a PDF, professional PDF software allows for further enhancements. You can add watermarks to your stock photos, insert hyperlinks to related image inspiration, or annotate trending styles in a collaborative review process. These capabilities transform a simple document into a dynamic visual communication tool.
By following these tips, Mac users can elevate their image-to-PDF conversion process from a mere technical task to a strategic component of their overall visual content management strategy, aligned with the diverse offerings of Tophinhanhdep.com.
Conclusion
The ability to convert images to PDF on your Mac is an indispensable skill in today’s visually-driven digital landscape. Whether you are a casual user looking to share a favorite wallpaper, a budding photographer building a portfolio of high-resolution photography, or a professional engaged in intricate visual design and photo manipulation, the versatile PDF format offers unmatched benefits in terms of compatibility, security, and presentation quality.
Tophinhanhdep.com is your ultimate resource for navigating this visual world. We delve into every facet of images, photography, image tools, visual design, and image inspiration & collections. From the simplicity of macOS’s built-in Preview app for quick, native conversions of single or multiple images, to the convenience of Tophinhanhdep.com’s recommended online converters for on-the-go tasks, and the advanced capabilities of professional desktop software for complex graphic design workflows and image-to-text functionalities, there’s a solution tailored for every Mac user.
By understanding these diverse methods and applying the tips for optimal conversion, you can ensure that your aesthetic backgrounds, nature photography, abstract art, and all forms of beautiful photography are presented, shared, and archived with clarity, precision, and professionalism. Embrace these tools and techniques to master your visual content on Mac, transforming your digital creations into seamlessly shareable and enduring documents.