How to Convert Images to JPEG: The Essential Guide for Tophinhanhdep.com Users

In the vibrant world of digital imagery, where every pixel tells a story and every photograph seeks to captivate, the file format of your images plays a crucial role. For users of Tophinhanhdep.com, a platform dedicated to showcasing stunning images—from breathtaking wallpapers and aesthetic backgrounds to high-resolution photography and abstract digital art—understanding image formats is paramount. Among these, JPEG (or JPG) stands out as the most ubiquitous and widely accepted format, a cornerstone for sharing, storing, and displaying visual content online.

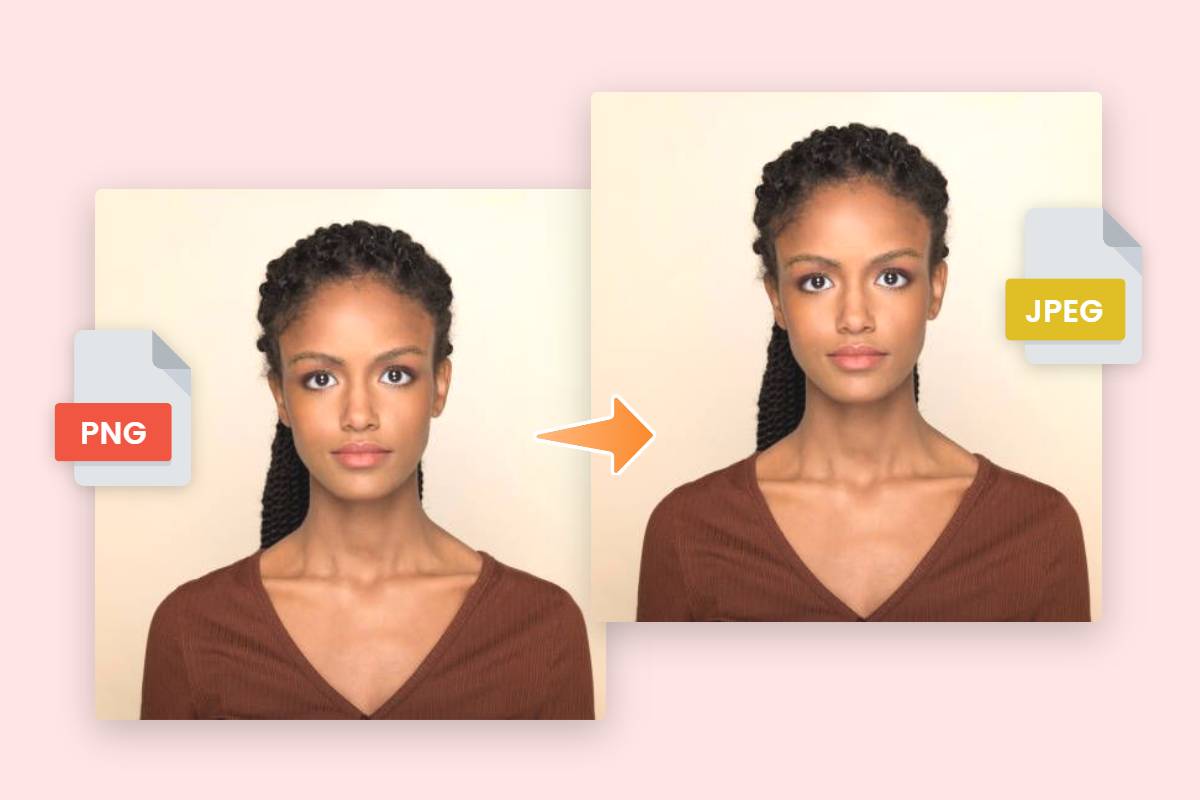
While you might encounter a variety of image types like PNG, GIF, TIFF, or even newer formats like HEIC and WEBP, many websites and applications still strictly require or highly recommend JPEG for uploads. This can be a source of frustration when you have a perfectly beautiful nature shot or a piece of sad/emotional digital art that just won’t fit the specified format. The good news is that converting your images to JPEG is a straightforward process, accessible to everyone, regardless of technical expertise.
This comprehensive guide will walk Tophinhanhdep.com users through various methods of converting pictures to JPEG files, ensuring your visual masterpieces are always ready for display, sharing, or further creative manipulation. We’ll explore online converters for quick, on-the-go solutions, delve into built-in tools on Windows and macOS, and touch upon more advanced software options. We’ll also highlight why JPEG is often the optimal choice for the diverse image collections and photographic inspirations found on Tophinhanhdep.com, tying into themes of high resolution, image optimization, and visual design.
The Indispensable Role of JPEG in Digital Imaging
JPEG, an acronym for Joint Photographic Experts Group, represents a fundamental standard in digital imaging. It’s a lossy compression format, meaning it reduces file size by selectively discarding some image data. While this might sound detrimental, the compression algorithm is designed to remove data that is least perceptible to the human eye, resulting in a significant reduction in file size with minimal, often unnoticeable, degradation in visual quality for photographic images.
Why JPEG Matters for Your Tophinhanhdep.com Collections

For a platform like Tophinhanhdep.com, which hosts vast collections of “Images (Wallpapers, Backgrounds, Aesthetic, Nature, Abstract, Sad/Emotional, Beautiful Photography),” the advantages of JPEG are clear:
- Optimized File Size: JPEGs offer an excellent balance between image quality and file size. Smaller file sizes mean faster loading times for web pages, smoother browsing experiences for users exploring “Thematic Collections” and “Trending Styles,” and reduced storage requirements. This is particularly crucial for “Wallpapers” and “Backgrounds,” which need to load quickly without consuming excessive bandwidth.
- Broad Compatibility: JPEG is virtually universally supported across all devices, operating systems, and web browsers. This ensures that your “Beautiful Photography” and “Digital Art” are viewable by the widest possible audience without any compatibility issues.
- Ideal for Photographic Content: The lossy compression of JPEG is specifically optimized for photographs with continuous tones and varying colors, such as those found in “Nature” and “High Resolution” photography sections. While formats like PNG excel with sharp lines and transparency (ideal for logos or “Graphic Design” elements), JPEG shines when rendering the intricate details and smooth gradients of a real-world photograph.
- Facilitates Sharing: The smaller file sizes of JPEGs make them much easier to share across social media, via email, or within “Mood Boards” and collaborative “Photo Ideas” projects, which are essential for spreading inspiration and engaging with the Tophinhanhdep.com community.
Optimizing High-Resolution Photography for JPEG
For photographers—whether professionals contributing “Stock Photos” or enthusiasts sharing their “Digital Photography” projects—the journey often begins with high-resolution captures, typically in RAW format. While RAW files preserve maximum detail and dynamic range for extensive “Editing Styles” and “Photo Manipulation,” they are impractical for direct web use due to their enormous size. This is where JPEG conversion becomes a critical step in the post-processing workflow.
Converting your “High Resolution” photography to JPEG involves a thoughtful trade-off between file size and perceived quality. Modern conversion tools allow you to control the compression level, enabling you to reduce the file size significantly while retaining enough detail to showcase your “Beautiful Photography” effectively on Tophinhanhdep.com. This process is about preparing your images for their final destination, ensuring they look stunning online without causing slow load times or consuming excessive data. Many “Image Tools (Compressors, Optimizers)” available today are designed to help you achieve this balance, ensuring your images are both visually striking and web-friendly.
Streamlined Conversion with Online Image Tools
In an increasingly connected world, online converters offer the most convenient and accessible way to transform your images into JPEG format. These web-based “Image Tools” require no software installation, making them perfect for quick conversions on any device with internet access—be it a desktop, laptop, tablet, or smartphone. For Tophinhanhdep.com users who are constantly on the go or prefer not to download additional software, online tools are an invaluable resource.
The Power of Web-Based Converters
Online image converters are versatile and support a wide array of input formats, allowing you to convert almost any image type (PNG, GIF, TIFF, BMP, HEIC, WEBP, and even some RAW formats) directly into JPEG. This flexibility is particularly beneficial when curating “Thematic Collections” or assembling “Mood Boards” on Tophinhanhdep.com, where images might originate from various sources and in different formats.
The process typically involves a few simple steps, often incorporating features that align with “Image Tools (Compressors, Optimizers)” by allowing you to adjust image quality and dimensions before conversion. This capability is essential for optimizing images for specific uses, whether it’s for “Wallpapers” that need to fit certain screen resolutions or “Stock Photos” that require a balance of quality and manageability.
Step-by-Step Guide: Using an Online Converter
To convert an image using a typical online tool, follow these general steps. While specific button names or layouts may vary, the core functionality remains consistent across most platforms:
- Choose a Web Converter: Start by searching online for a reputable image converter. A simple search like “convert PNG to JPG online” or “image to JPEG converter” will yield many options. Some popular choices include Fotor, Convertio, Online-Convert, and Pi7 Image Tool. When selecting a site, ensure it supports your original file type and offers options for quality adjustment if needed.
- Tip for Mobile Users: If you’re using a smartphone or tablet, connect to Wi-Fi if possible. Image files, especially those you might find in “High Resolution” collections on Tophinhanhdep.com, can be large, and converting them over a cellular data plan might incur charges or be slower.
- Upload Your Image: On the converter website, look for a button labeled “Choose File,” “Upload Image,” “Select Images,” or a drag-and-drop area. Click this and navigate to the image file you wish to convert on your device. Some advanced converters might also allow you to paste a URL if your image is already hosted online.
- Review Terms: Before uploading, quickly scan the site’s terms or privacy policy, especially if you’re dealing with sensitive or copyrighted material.
- Verify Output Format and Adjust Settings: Most converters will automatically default to JPEG as the output, or you’ll see a dropdown menu where you can select “JPEG” or “.JPG” (they are interchangeable). Many tools, serving as effective “Compressors” and “Optimizers,” will also provide options to adjust the output quality, compression level, or even resize the image.
- Quality vs. File Size: Higher quality settings result in larger file sizes, while lower quality leads to smaller files but potentially more noticeable compression artifacts. For Tophinhanhdep.com images, especially “Beautiful Photography,” aim for a balance that preserves visual integrity without excessive file size.
- Convert the Image: Once your settings are confirmed, click the “Convert,” “Start,” or “Save” button. The conversion process may take a few seconds to a few minutes, depending on the image size, your internet speed, and the server load of the converter.
- Download Your JPEG Image: After conversion, the website will typically provide a download link. Click it, and your newly converted JPEG file will be saved to your device’s default download location, ready to be uploaded to Tophinhanhdep.com or incorporated into your “Visual Design” projects.
Leveraging Built-in Operating System Tools
For users who prefer local solutions or need to convert images frequently, both Windows and macOS offer excellent built-in “Image Tools” that can efficiently handle JPEG conversions without the need for third-party software downloads. These methods are particularly useful for quickly processing individual images or small batches, making them ideal for managing personal “Photo Ideas” or preparing images for immediate use.
Windows: Effortless Conversion with Paint
Microsoft Paint, a staple of the Windows operating system for decades, is more than just a basic drawing program; it’s a simple yet effective tool for basic image editing and format conversion. For Windows users curating images for Tophinhanhdep.com, Paint provides a quick way to convert various image types into JPEG.
- Open Paint:
- On Windows 10/11, press the
Windows key + Sto open the search bar, type “Paint,” and click on the “Paint” application when it appears.
- On Windows 10/11, press the
- Open Your Image in Paint:
- Once Paint is open, click the “File” menu in the top-left corner, then select “Open.”
- Navigate to the location of your image file (e.g., a PNG, GIF, or BMP) on your computer, select it, and click “Open.”
- Ensure the image is stored on your computer, not just linked from an online source.
- Save As JPEG:
- With your image displayed in Paint, click “File” again.
- Hover your mouse over “Save as,” and a list of common image formats will appear.
- Select “JPEG picture.”
- Choose Save Location and Name:
- A “Save As” dialog box will open. Here, you can choose a folder on your computer where you want to save the converted JPEG file.
- You can also rename the file if you wish. Ensure that “JPEG (*.jpg, *.jpeg, *.jpe, *.jfif)” is selected in the “Save as type” dropdown menu.
- Click “Save”: Your image will now be converted and saved as a JPEG file in your chosen location. The original file remains untouched, and a new JPEG version is created. This method is perfect for quick conversions of “Wallpapers” or “Backgrounds” before uploading them to Tophinhanhdep.com.
macOS: Quick Conversions via Preview
Mac users have a powerful, versatile tool at their fingertips: Preview. This pre-installed application is not just an “Image Viewer”; it’s a capable “Image Tool” that allows for various edits, including format conversion. Preview is an excellent choice for Mac users working with “Beautiful Photography” or “Digital Art” that needs to be converted to JPEG for sharing on Tophinhanhdep.com.
- Open Your Image with Preview:
- Locate the image file on your Mac (e.g., a PNG, TIFF, or HEIC file).
Control-click(or right-click) the image, select “Open With,” and then choose “Preview.”- If Preview is your default image viewer, simply double-clicking the image will open it.
- Export to JPEG:
- Once the image is open in Preview, go to the “File” menu in the top menu bar.
- Select “Export…” (Note: “Save As…” also works for single images, but “Export…” offers more format options).
- Configure Export Settings:
- In the export dialog box, click the “Format” dropdown menu and choose “JPEG.”
- You’ll also see a “Quality” slider. Drag this slider to adjust the compression level. A higher quality means a larger file size but better visual fidelity, important for “High Resolution” photography. Lower quality means a smaller file, ideal for quick previews or if file size is a major concern.
- You can also adjust the “Resolution” if you need to downscale the image for web use or specific display requirements, effectively using Preview as an “Optimizer.”
- Rename and Save:
- Enter a new name for your file in the “Export As:” field. Ensure the name ends with “.jpg” or “.jpeg” (case-insensitive).
- Choose a destination folder for your converted image.
- Click “Save.” Your JPEG image is now ready. Preview allows you to convert individual images or, with a slight variation, multiple images by selecting them in the sidebar and choosing “Export Selected Images” from the File menu, though batch conversion might limit quality customization.
Cross-Platform Versatility with GIMP
For Tophinhanhdep.com users involved in more intricate “Photo Manipulation,” “Digital Art,” or advanced “Editing Styles,” the GNU Image Manipulation Program (GIMP) offers a free, open-source, and highly capable alternative to commercial software. GIMP is available for Windows, macOS, and Linux, providing a robust solution for diverse image conversion needs, especially for file types not easily handled by simpler tools.
- Acquire GIMP:
- If you don’t already have it, download and install GIMP from its official website (gimp.org).
- Open the Image:
- Launch GIMP. Click “File” > “Open…” and navigate to the image you wish to convert. Select it and click “Open.”
- Export As JPEG:
- Once the image is open in GIMP, click “File” > “Export As…”
- In the “Export Image” dialog, locate the “Select File Type (By Extension)” section (usually a dropdown menu at the bottom). Scroll through the list and choose “JPEG image.”
- Modify JPEG Options:
- After selecting JPEG, a “Export Image as JPEG” dialog box will appear. This is where GIMP excels, offering granular control over the JPEG compression.
- Check the “Show preview in image window” box to see how your changes affect the image quality in real-time.
- Adjust the “Quality” slider. Moving it to the left increases compression (smaller file, lower quality), while moving it to the right decreases compression (larger file, higher quality). This is a crucial step for achieving the perfect balance for “High Resolution” images or “Stock Photos.”
- Other advanced options like “Smoothing,” “Subsampling,” and “DCT method” can be fine-tuned for specific needs.
- Final Export:
- Click “Export.” A final dialog box will prompt you to choose a new file name and saving location. The file will automatically have the “.jpg” extension.
- Click “Save” to complete the conversion. GIMP’s advanced features make it an ideal “Image Tool” for discerning users who need precise control over their image output for “Visual Design” or detailed “Digital Photography” work.
Understanding File Extensions and Beyond
While the primary goal is often to convert an image’s underlying data to the JPEG format, sometimes the issue might simply be a mislabeled file. It’s crucial to understand the difference between truly converting an image and merely changing its file extension.
The Nuance of Changing File Extensions
Simply renaming a file from image.png to image.jpg does not convert the image data itself. It merely changes the label. If the original file was not already a JPEG, this action will likely corrupt the file, making it unusable. This method is only useful in very specific cases where a JPEG file has been incorrectly given a different extension (e.g., image.jgp instead of image.jpg).
However, for Tophinhanhdep.com users, knowing how to correctly change a file extension can be a minor “Tech Help” trick for genuinely mislabeled JPEGs:
- Note the Original Extension: Always remember the original extension in case you need to revert the change.
- Locate Your File: Find the file on your computer.
- Make Filename Editable:
- Windows: Right-click the file and select “Rename.”
- Mac: Click the image once, press
Return, orControl-clickand select “Get Info.” In the “Name & Extension” section, uncheck “Hide extension.”
- Delete Current Extension and Type JPG/JPEG:
- Carefully delete everything after the period in the file name (e.g., delete
.giffromphoto.gif). - Type
.jpgor.jpegafter the period (e.g.,photo.jpg). Remember,JPGandJPEGare the same, and case does not matter.
- Carefully delete everything after the period in the file name (e.g., delete
- Confirm Change: Your operating system will likely issue a warning about making the file unusable. Click “Yes” (Windows) or “Use .jpg” (Mac) only if you are certain the original file was indeed a JPEG.
This is a minor workaround for specific cases and should not be confused with actual image conversion performed by dedicated “Image Tools.”
Beyond Basic Conversion: The Tophinhanhdep.com Advantage
Converting images to JPEG is a foundational step in managing your digital assets, but the world of image tools offers much more. For Tophinhanhdep.com, a hub for “Image Inspiration & Collections,” this means leveraging other functionalities to enhance your visual content:
- Image Compressors & Optimizers: After converting to JPEG, you might still want to reduce the file size further without significantly impacting quality. Dedicated “Image Tools (Compressors, Optimizers)” can fine-tune your JPEGs, ensuring they load even faster on Tophinhanhdep.com and are more efficient for “Stock Photos” or “Wallpapers.”
- AI Upscalers: Sometimes, a beautiful image might be of lower resolution. “AI Upscalers” can intelligently enlarge images, adding detail to create “High Resolution” versions of “Aesthetic” or “Abstract” images, making them suitable for larger displays or print.
- Image-to-Text: While not directly related to JPEG conversion, “Image-to-Text” tools (OCR) can extract metadata or captions from images, helping to categorize and search through vast “Thematic Collections” or “Mood Boards” more efficiently.
- Visual Design & Digital Art: For creators focusing on “Graphic Design” and “Digital Art,” understanding when to use JPEG versus other formats (like PNG for transparent backgrounds or TIFF for professional printing) is crucial. JPEG conversion fits into a broader workflow that might include “Photo Manipulation” and incorporating “Creative Ideas” into final outputs.
By understanding how to effectively convert your images to JPEG and recognizing the broader ecosystem of “Image Tools,” Tophinhanhdep.com users can ensure their “Images,” “Photography,” and “Visual Design” contributions are always presented in the best possible light, ready to inspire and engage a global audience.
Conclusion
Converting images to JPEG is an essential skill for anyone navigating the digital landscape, especially for members of the Tophinhanhdep.com community. This ubiquitous format offers the ideal balance of quality, compatibility, and file size for a vast array of visual content, from “Beautiful Photography” to “Abstract” wallpapers. Whether you opt for the convenience of online “Image Tools,” the familiarity of built-in operating system applications like Paint and Preview, or the advanced capabilities of software like GIMP, the process is straightforward and empowering.
By mastering these conversion techniques, you ensure that your “High Resolution” photos, “Aesthetic” backgrounds, and curated “Image Collections” are perfectly optimized for sharing, viewing, and inspiring others on Tophinhanhdep.com. Embrace these tools to elevate your digital imaging workflow, making every image you share a testament to clarity and accessibility, and opening new avenues for “Visual Design” and “Image Inspiration.”