Master the Art of Image Cropping on Mac with Preview: A Comprehensive Guide from Tophinhanhdep.com

In the dynamic world of digital imagery, where every pixel tells a story and every photograph strives for perfection, cropping stands as a fundamental skill. It’s more than just cutting away excess; it’s about refining composition, emphasizing subject matter, eliminating distractions, and tailoring visuals to specific needs. For Mac users, the powerful, yet often underestimated, Preview application offers a seamless and efficient pathway to achieving precisely cropped images without the need for complex, resource-heavy software. At Tophinhanhdep.com, we understand the importance of clear, impactful visuals, whether you’re curating stunning wallpapers, preparing high-resolution stock photos, or crafting intricate digital art. This comprehensive guide will walk you through the nuances of cropping images using Preview, along with other native Mac tools, and demonstrate how these techniques integrate perfectly with the vast array of resources available on Tophinhanhdep.com.

Cropping can transform a good photograph into a great one. Imagine a breathtaking nature shot: a slightly skewed horizon or an intrusive element at the edge can detract from its beauty. A precise crop can correct these imperfections, bringing balance and focus. Similarly, in photography, the rule of thirds or leading lines can be enhanced through thoughtful cropping, guiding the viewer’s eye exactly where you intend. For aesthetic backgrounds or abstract art, cropping might mean extracting a captivating texture or pattern from a larger image. This simple act of refinement is indispensable for anyone working with visual content, from casual users to aspiring graphic designers and professional photographers.
Mastering Image Cropping with macOS Preview: Your Built-in Image Tool
macOS is renowned for its intuitive design and powerful, integrated applications. Among these, Preview shines as a versatile utility capable of far more than just viewing documents and images. It’s a quick, free, and efficient image editing tool that often negates the need for specialized applications for common tasks like cropping. Its deep integration with the operating system means you can usually open and crop an image faster in Preview than in almost any other app.

Why Crop Images? Enhancing Visual Storytelling and Composition
Before diving into the “how-to,” it’s crucial to understand the “why.” Cropping is a deliberate artistic and practical decision driven by several key objectives:
- Improving Composition: The arrangement of visual elements within an image directly impacts its aesthetic appeal. Cropping allows you to reframe your subject, apply compositional rules like the rule of thirds, golden ratio, or leading lines, and create a more balanced and harmonious visual. It can eliminate negative space that doesn’t serve a purpose or, conversely, create deliberate negative space to highlight a subject. This is fundamental to creating beautiful photography and compelling visual design.
- Emphasizing the Subject: Often, a photograph contains extraneous details that distract from the main subject. By cropping, you can zoom in on what truly matters, drawing the viewer’s attention to the intended focal point. This is particularly useful for portraits or close-up shots where unwanted background elements can dilute the impact.
- Removing Unwanted Elements: Sometimes, a photo contains photobombers, messy backgrounds, or accidental objects that spoil the scene. Cropping provides a clean solution to excise these undesirable parts, leaving only the desired content. Whether it’s for high-resolution stock photos or personal aesthetic collections, clean visuals are paramount.
- Adapting to Specific Dimensions: Images are used across countless platforms, each with its own size and aspect ratio requirements. Social media profiles, website banners, desktop wallpapers, and print layouts all demand specific dimensions. Cropping allows you to resize and reshape your images to fit these constraints perfectly, ensuring your visuals always look professional and optimized. This aligns directly with the “Image Tools” category on Tophinhanhdep.com, where optimizing images for various uses is a core offering.
The Basic Steps to Crop an Image in Preview
The process of cropping an image in Preview is straightforward and intuitive, even for those new to macOS. We’ll outline the classic method, which has remained largely consistent across many macOS versions, with a note on potential UI variations.
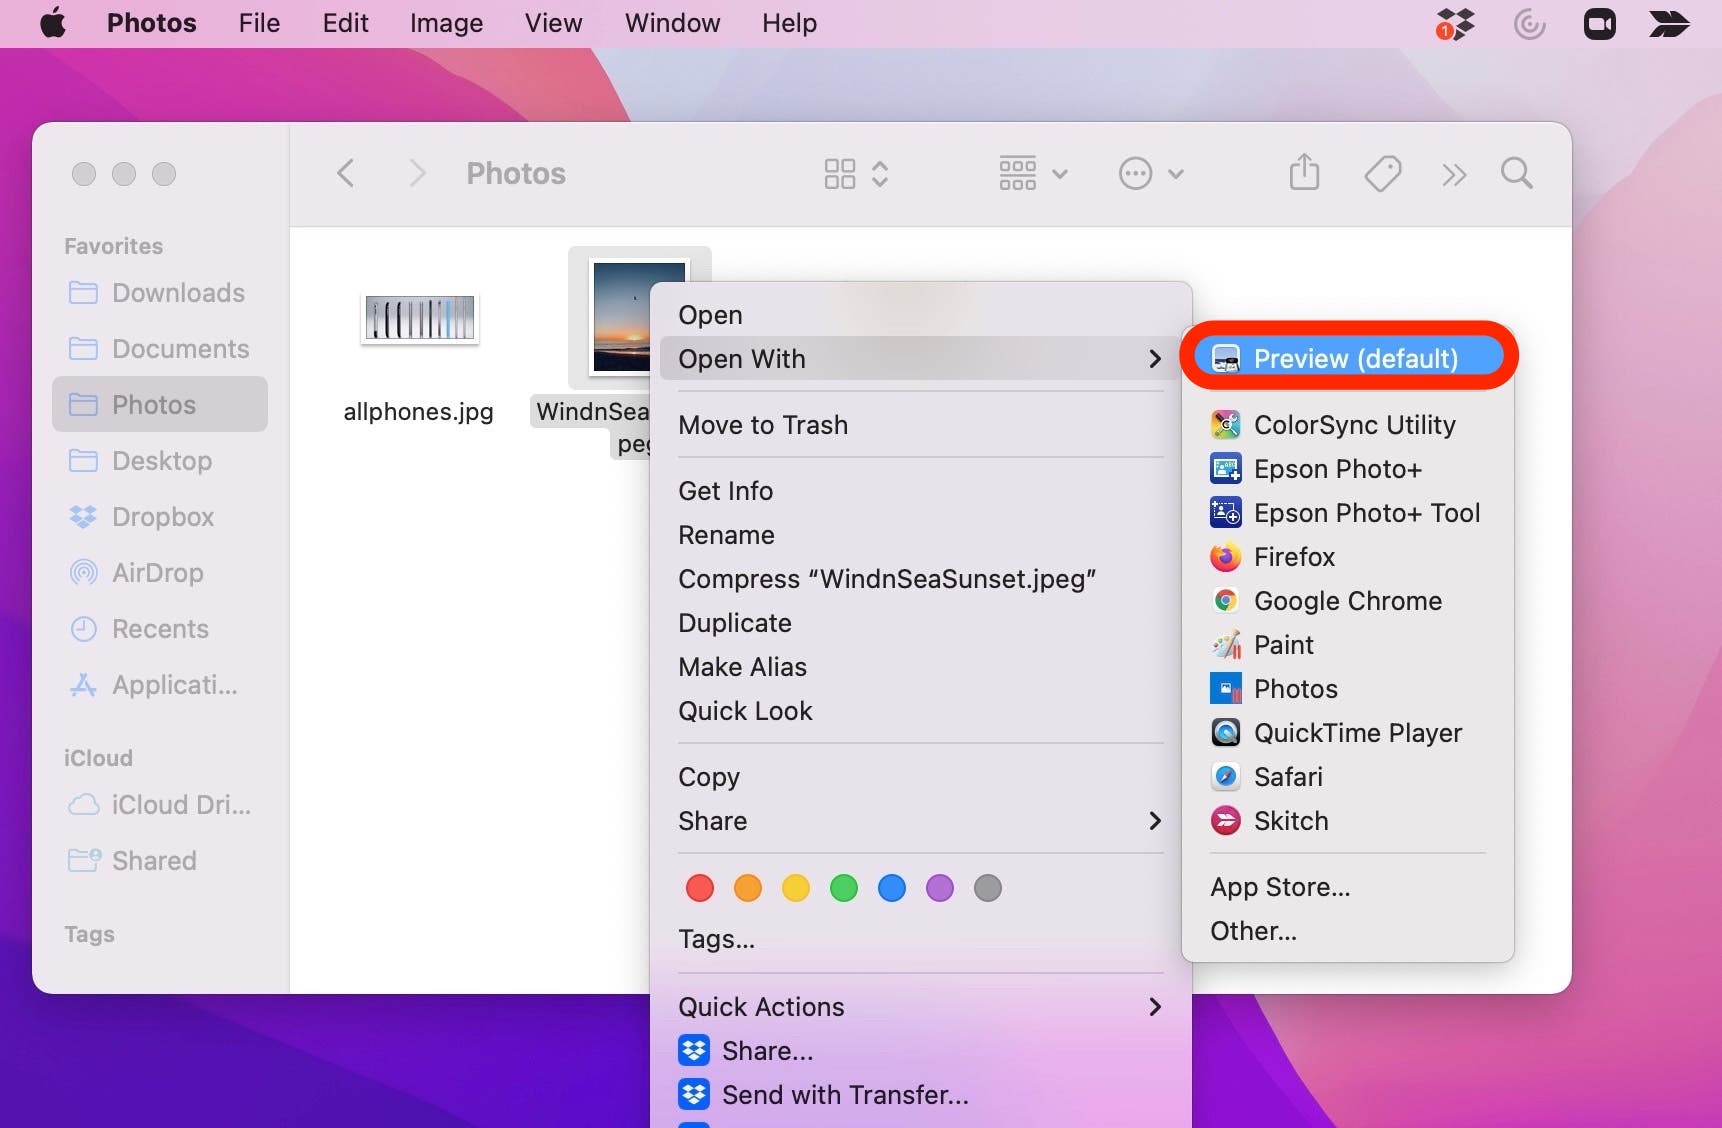
- Open Your Image: Locate the image file you wish to crop in Finder. Double-clicking it will typically open it in Preview, as it’s the default image viewer for most Mac installations. Alternatively, you can right-click the image, select “Open With,” and choose “Preview.app.”
- Access the Markup Toolbar: In older macOS versions, an “Editor Toolbar” button (often looking like a toolbox or a small pencil) was prominent. In more recent macOS iterations, this has evolved into the “Markup Toolbar” button, which resembles a pen or a pen-nib icon, usually found in the top-right corner of the Preview window. Click this button to reveal Preview’s editing tools. Users upgrading their macOS might find the UI slightly different, as noted by comments on Tophinhanhdep.com’s reference articles, but the core functionality remains.
- Select the Rectangular Selection Tool: Once the Markup Toolbar is visible, you’ll see a series of tools. The leftmost tool is typically the “Selection Tool” dropdown. Ensure “Rectangular Selection” is chosen. This is often the default, but it’s good to confirm.
- Draw Your Crop Region: Click and drag your mouse cursor across the image to define the rectangular area you wish to keep. As you drag, a selection box with dashed lines will appear. You can adjust the size and position of this box by dragging its edges or corners. Take your time to frame your desired content perfectly, considering composition and what you want to emphasize.
- Perform the Crop: With your selection made, you have two primary ways to apply the crop:
- Keyboard Shortcut: The fastest method is to press
Command + Kon your keyboard. - Menu Bar: Alternatively, go to the “Tools” menu in the macOS menu bar at the top of your screen, and select “Crop.” The image will instantly trim down to the area you’ve selected.
- Keyboard Shortcut: The fastest method is to press
- Save Your Cropped Image: Crucially, after cropping, you must save your changes. Go to the “File” menu in the menu bar and choose “Save” to overwrite the original image, or “Save As” (if available in your macOS version, or by holding
Optionwhile clickingFile>Save As) to save a new copy and preserve the original. It’s often recommended to duplicate your image (Command + Din Finder) before cropping if you want to ensure the original remains untouched. This preventative measure avoids the frustration of losing your uncropped version, a common concern discussed on Tophinhanhdep.com.
Advanced Cropping Techniques and Efficiency Tips
While the basic rectangular crop is powerful, Preview offers additional functionalities and workflows to make your image editing even more efficient and versatile.
Leveraging the Markup Toolbar for Enhanced Control
Beyond the simple rectangular selection, the Markup toolbar provides greater precision and flexibility. While Preview’s primary cropping function relies on a rectangular selection, some users, as referenced in articles on Tophinhanhdep.com, might seek more diverse “shape cropping.” For the most part, Preview focuses on traditional rectangular cropping, but the selection tool can offer various methods for defining that rectangle or other selections that can then be cropped. For example, some versions of Preview might allow for elliptical or lasso selections, which, while not directly “cropping to a circle,” enable you to select a non-rectangular area that you might then use for other purposes or to define a more complex crop path with additional tools. For straightforward cropping, the rectangular selection remains paramount.
After selecting an area, you can easily drag the selection box around to reposition it. You can also fine-tune its size by grabbing any of the small handles (dots or squares) that appear on the edges and corners of the selection. This interactive control allows for precise adjustments, ensuring your final crop is exactly as intended.
Speeding Up Your Workflow with Keyboard Shortcuts
For those who frequently crop images, memorizing a few keyboard shortcuts can drastically improve efficiency. As discussed extensively in the tech community, including on Tophinhanhdep.com, keyboard shortcuts are the hallmarks of a power user.
Here’s an even faster workflow incorporating shortcuts:
- Open from Finder: Select the image in Finder, then press
Command + Oto open it quickly in Preview. - Immediate Selection: The rectangular selection tool is often active by default when an image opens in Preview. If not, activate the Markup Toolbar and select it.
- Draw and Crop: Draw your desired rectangular selection, then immediately press
Command + Kto crop. - Save: Press
Command + Sto save your cropped image.
This streamlined process, combined with Preview’s inherent speed, makes it a superior choice for quick edits over opening larger, more complex image editors like Photoshop or Pixelmator, especially when all you need is a simple crop.
Cropping Multiple Pages in PDF Documents with Preview
Preview isn’t just for image files; it’s also a robust PDF viewer and editor. If you’re dealing with multi-page PDFs that have excessive margins, Preview allows you to crop all pages simultaneously or selectively, a feature detailed on Tophinhanhdep.com and other resources for Mac OS X Tips. This is incredibly useful for improving readability or reducing file size for documents with huge borders.
Here’s how to crop multiple PDF pages:
- Open the PDF in Preview: Double-click the PDF document to open it in Preview.
- Display Thumbnails: Ensure the sidebar is visible. If not, go to the “View” menu and select “Thumbnails” or click the “Sidebar” button (often at the top-left of the window, resembling a stack of pages). This will display small previews of each page.
- Select the Crop Region: Use the rectangular selection tool (as described above) to draw a box around the area you want to keep on one of the pages. This selection will serve as the guide for all other pages.
- Select All Pages (or Specific Pages):
- All Pages: Click anywhere in the sidebar containing the thumbnails, then press
Command + Ato select all pages. - Specific Pages: Hold down the
Commandkey and click on individual page thumbnails to select only those you wish to crop. This is useful if some pages have different orientations (e.g., landscape vs. portrait) or require different cropping.
- All Pages: Click anywhere in the sidebar containing the thumbnails, then press
- Apply the Crop: With your selection active on the main page and the desired thumbnails highlighted in the sidebar, press
Command + Kor go to “Tools” > “Crop” in the menu bar. All selected pages will be cropped according to the region you defined. - Save: Remember to save your PDF to apply the changes. You might want to use “File” > “Save As” (or duplicate first) to retain an uncropped version of the original PDF.
This feature highlights Preview’s versatility, offering powerful document manipulation capabilities alongside its image editing functions, making it an indispensable tool for students, professionals, and anyone dealing with digital documents.
Exploring Other Native Mac Cropping Tools
While Preview is a stellar choice, macOS provides other built-in applications that also offer image cropping functionalities, catering to different workflows and user preferences. These tools further exemplify Apple’s commitment to providing robust, free options for everyday tasks.
Cropping Images in the Photos App
The Photos app on Mac is designed as a comprehensive photo management and editing suite, especially powerful for users who leverage iCloud Photos. It offers a more visually guided cropping experience and features non-destructive editing, meaning your original image is always preserved. This is a significant advantage over Preview’s default behavior, making it ideal for experimental edits.
Here’s how to crop an image in the Photos app:
- Launch Photos: Open the Photos app on your Mac.
- Select and Edit: Double-click the image you want to crop to open it. Then, click the “Edit” button in the top-right corner of the window.
- Access the Crop Tool: In the editing interface, click the “Crop” button (often represented by a square with two intersecting arrows) in the toolbar.
- Define Your Crop: A grid will appear over your image, along with adjustable handles on the edges and corners. Drag these handles to select the desired area.
- Aspect Ratios and Straighten: On the right-hand sidebar, you’ll find “Aspect” settings, allowing you to choose predefined aspect ratios (e.g., 1:1 square, 16:9 widescreen, 4:3) or define a custom ratio. This is incredibly useful for preparing images for specific platforms or devices. You’ll also find a “Straighten” slider, which can correct tilted horizons or perspectives, further enhancing your composition.
- Apply and Save: Once satisfied, click “Done” in the top-right corner to save your changes. Because Photos supports non-destructive editing, you can always revert to the original image later by clicking “Revert to Original” in the “Edit” mode.
The Photos app is an excellent choice for those who want a more integrated experience with their photo library, iCloud synchronization, and the flexibility of non-destructive editing, offering another layer of creative freedom for your images, whether they are nature shots or aesthetic photography.
Quick Cropping with Quick Look
For the fastest, most impromptu cropping needs, Quick Look is an often-overlooked hero. Quick Look, activated by pressing the Space bar when an image is selected in Finder, provides an instant preview of files without fully launching an application. What many users don’t realize is that it also bundles essential Markup tools, including cropping.
To crop an image using Quick Look:
- Select in Finder: In Finder, select the image file you wish to crop.
- Activate Quick Look: Press the
Space bar. The image will open in a floating Quick Look window. - Access Markup: Click the “Markup” button (usually a pen icon) in the Quick Look toolbar.
- Crop: Locate and click the “Crop” button (often a square with intersecting lines) within the Markup toolbar.
- Define and Apply: Drag the handles to define your desired crop area, just like in Preview. Once set, click “Done” in the top-right corner of the Quick Look window to apply and save your changes.
Quick Look is perfect for rapid adjustments when you need to crop an image on the fly for sharing or temporary use. Its immediacy makes it a standout option for quick fixes, reinforcing the idea that powerful image tools are always at your fingertips on a Mac.
Beyond Basic Cropping: Integrating with Tophinhanhdep.com’s Ecosystem
Cropping is often just the first step in a larger creative process. Once you’ve perfected the composition and focus of your image using native Mac tools, Tophinhanhdep.com offers a wealth of resources and tools to further enhance, manage, and inspire your visual journey. Our platform is designed to support every aspect of your imaging needs, from practical adjustments to artistic exploration.
Image Optimization and Transformation for Your Cropped Masterpieces
A perfectly cropped image can still be too large for web use, too low-resolution for certain prints, or in the wrong file format. This is where Tophinhanhdep.com’s “Image Tools” come into play, extending the utility of your freshly cropped visuals:
- Converters: Easily convert your cropped images to different formats (JPEG, PNG, WebP, etc.) to suit various platforms and quality requirements. For instance, convert a high-quality TIFF to a compressed JPEG for faster web loading.
- Compressors: After cropping, you might find the file size still too large, especially for high-resolution photography. Our compressors can intelligently reduce file size without significant loss of visual quality, making your images web-ready and efficient.
- Optimizers: Fine-tune your images for maximum performance across devices and platforms. Optimization ensures faster loading times for websites, which is crucial for user experience.
- AI Upscalers: Sometimes, a small, perfectly cropped section of an image might lack the necessary resolution for a larger display or print. Tophinhanhdep.com’s AI Upscalers can intelligently enhance the resolution of your cropped images, bringing them up to high-resolution standards without pixelation, making them suitable for stunning wallpapers or large digital art displays.
- Image-to-Text: For those working with visuals containing text, our Image-to-Text tools can extract captions, quotes, or data from your cropped sections, integrating your visuals with textual information seamlessly for various visual design projects.
These tools transform your cropped photographs into versatile assets, ready for any application imaginable, from abstract art collections to professional stock photos.
Finding Inspiration and Perfecting Your Visuals
Beyond practical tools, Tophinhanhdep.com is a hub for “Image Inspiration & Collections,” helping you push the boundaries of your creative vision. Your cropped images can become the foundation for new artistic endeavors:
- Photo Ideas & Mood Boards: A perfectly cropped image can serve as a central piece for a mood board, setting the tone for a new graphic design project or illustrating a creative idea. Explore thematic collections on Tophinhanhdep.com to see how different cropping styles contribute to various moods and themes.
- Thematic Collections & Trending Styles: Discover how specific cropping techniques are used in trending styles, from minimalist aesthetic backgrounds to dramatic emotional photography. Your precise crops can find a home within curated thematic collections, inspiring others and showcasing the power of focused imagery.
- Curating Visual Narratives: Cropping is a powerful tool in visual storytelling. By carefully selecting what to include and exclude, you can guide the narrative of your images, making them more impactful for categories like sad/emotional or beautiful photography.
Tophinhanhdep.com offers an endless gallery of images—wallpapers, backgrounds, aesthetic visuals, nature scenes, abstract designs, and beautiful photography—all of which demonstrate the profound effect of good cropping. By mastering this fundamental skill on your Mac, you gain the ability to contribute to these collections and create stunning visuals that resonate deeply.
In conclusion, cropping an image on your Mac, whether with the intuitive Preview app, the comprehensive Photos application, or the lightning-fast Quick Look, is a simple yet incredibly powerful skill. These built-in tools offer accessible and efficient ways to refine your visuals, improve composition, and ensure your images are perfectly suited for any purpose. As you hone your cropping abilities, remember that this is just one piece of the larger puzzle of digital imaging. Tophinhanhdep.com stands as your ultimate resource, providing not only the knowledge to master your Mac’s native image tools but also a complete ecosystem of additional tools for optimization and a vast library of inspiration to fuel your creative journey. So, go forth, crop with confidence, and let your images truly shine!