How to Decrease an Image Size: A Comprehensive Guide for Visual Excellence and Web Performance

In today’s visually-driven digital landscape, images are paramount. Whether you’re a professional photographer showcasing high-resolution masterpieces, a graphic designer crafting intricate digital art, or simply an individual sharing beautiful photography with friends and family, the size of your image files plays a crucial role. At Tophinhanhdep.com, we understand the delicate balance between stunning visual quality and practical file management. Large image files, while often synonymous with “high resolution” and “beautiful photography,” can be cumbersome. They consume valuable storage space, slow down websites, and can be frustrating to share via email or messaging apps.

Fortunately, it’s entirely possible to reduce an image’s file size without significantly compromising its visual integrity. This guide from Tophinhanhdep.com will delve into the essential techniques and tools available, empowering you to optimize your images for every purpose. From understanding the nuances of image compression to selecting the right file format and utilizing powerful image tools, we’ll cover everything you need to master the art of making your photos smaller, ensuring they load faster, share easier, and maintain their aesthetic appeal across all platforms. Embrace efficiency without sacrificing the breathtaking quality that defines Tophinhanhdep.com’s core mission.
The Indispensable Role of Image Optimization: Why Smaller Files Matter
For creators and enthusiasts alike, understanding why reducing image file size is important goes beyond mere technicality; it’s about enhancing the overall digital experience. As a platform dedicated to showcasing a diverse range of images—from nature’s tranquility to abstract wonders and poignant emotional scenes—Tophinhanhdep.com emphasizes that optimized images contribute significantly to both user satisfaction and operational efficiency.
Enhancing Web Performance and User Experience
In the fast-paced digital world, speed is paramount. Websites with large, unoptimized images often suffer from slow loading times, which can lead to higher bounce rates and a diminished user experience. Imagine browsing Tophinhanhdep.com, eager to explore collections of aesthetic wallpapers or inspirational photo ideas, only to be met with frustrating delays. This directly impacts how effectively your visual design and creative ideas are communicated. Search engines, such as Google, also prioritize fast-loading pages, meaning optimized images contribute positively to your website’s SEO rankings. For mobile users, who often have limited data and bandwidth, smaller image files ensure quicker load times and reduce data consumption, making Tophinhanhdep.com’s beautiful photography accessible to everyone, everywhere.
Streamlining Storage and Sharing
Beyond web performance, the practicalities of storage and sharing are a significant concern. High-resolution images, characteristic of digital photography and stock photos, can quickly consume vast amounts of storage space on your devices, cloud services, and website servers. Reducing file sizes helps maximize available space, making it easier to manage your extensive collections of backgrounds and thematic collections. Moreover, sending large image files via email or messaging applications can be a frustrating experience due to file size limits. Whether you’re sharing a vibrant nature shot or a contemplative sad/emotional image, a reduced file size ensures your visual content can be uploaded and transmitted easily and quickly, without compromising the core message or aesthetic.
Meeting Specific Requirements for Digital Submissions
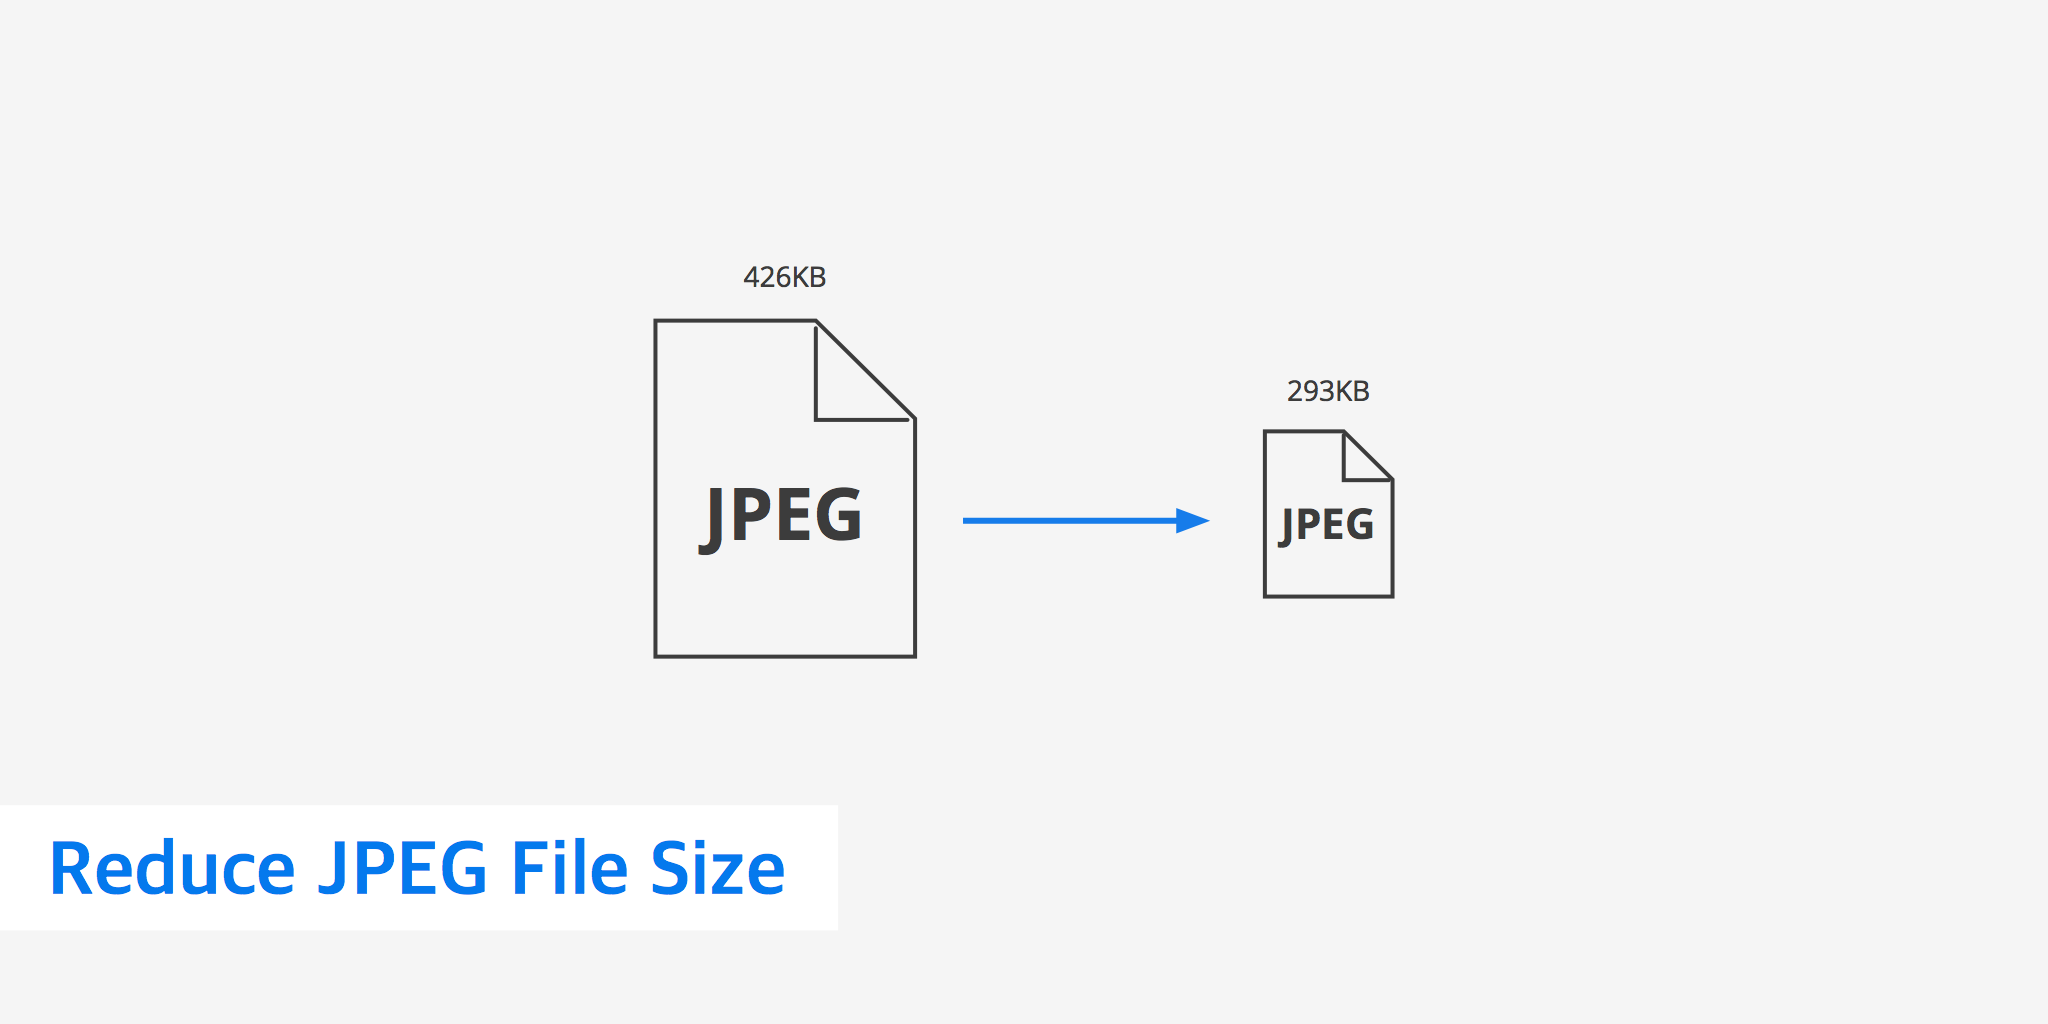
Another critical aspect of image optimization, particularly for professional and administrative contexts, is the need to meet specific file size requirements. Many government portals, job application systems, and college admission platforms impose strict limits on image file sizes, often requiring images to be compressed to exact KB targets (e.g., 20KB, 50KB, 100KB, 200KB). For photographers submitting portfolios or individuals needing passport-sized photos, these precise limitations make dedicated image file size reduction essential. Tophinhanhdep.com understands that navigating these requirements without sacrificing image clarity is vital for successful submissions, emphasizing the role of specialized image tools designed for controlled compression.
Fundamental Techniques for Reducing Image File Size
Reducing the file size of your images doesn’t have to mean a visible loss in quality. At Tophinhanhdep.com, we advocate for a strategic approach, leveraging various fundamental techniques that, when applied correctly, can significantly optimize your visuals. These methods are central to managing high-resolution photography, ensuring beautiful photography remains accessible and efficient across all platforms.
Mastering Image Compression
Image compression is the cornerstone of file size reduction. It involves optimizing the way data is stored within an image file, and it can be achieved through different techniques, each with its own trade-offs regarding file size and quality.
- Lossy Compression: This method reduces file size by permanently discarding some image data. JPEG is a common format that uses lossy compression. While it achieves significant file size reduction, particularly for photographs with many colors and subtle gradients, over-compression can lead to noticeable artifacts, pixelation, or a “blocky” appearance. The key is finding a “happy medium” where the visual quality is preserved to an acceptable degree.
- Lossless Compression: Unlike lossy compression, this technique reduces file size without discarding any data. The original image can be perfectly reconstructed from the compressed data. PNG and GIF formats often use lossless compression, making them ideal for images requiring transparency, sharp lines, or fewer colors, such as logos or graphic design elements. While lossless compression yields larger files than lossy methods, it guarantees no quality degradation.
Many of Tophinhanhdep.com’s recommended online image tools and software offer various compression levels, allowing you to choose between aggressive (higher compression, lower quality) and conservative (lower compression, higher quality) settings. AI-powered compression tools are increasingly sophisticated, capable of intelligently identifying and removing redundant data without noticeable visual impact, making them invaluable for maintaining the aesthetic integrity of your abstract art or nature photography.
Adjusting Image Dimensions and Resolution
One of the most effective ways to reduce an image’s file size is to lower its physical dimensions (width and height) or its resolution. High-resolution images, common in stock photos and professional photography, are often much larger than needed for most digital displays.
- Resizing Dimensions: The dimensions of a photo refer to its width and height in pixels. If an image is destined for a website banner that’s 1200 pixels wide, there’s no need to upload a 4000-pixel-wide original. Resizing the image to its exact display dimensions can dramatically cut file size. Most image editing software and Tophinhanhdep.com’s featured online tools allow you to easily adjust these values, often with the option to “maintain aspect ratio” to prevent distortion.
- Changing Resolution (DPI): Image resolution is typically defined by DPI (Dots Per Inch) for print or PPI (Pixels Per Inch) for screens. While DPI is primarily relevant for printing, the concept of pixel density directly impacts file size. For web use, a resolution of 72 PPI is generally sufficient, as screens cannot display more pixels per inch. High-resolution images, often intended for print (e.g., 300 DPI), can have their effective “resolution” lowered for digital distribution. By reducing the DPI (or PPI equivalent in digital tools) to match the output medium, you effectively decrease the total number of pixels, thereby reducing the file size. This is a powerful technique for adapting your high-resolution photography for online galleries or social media without losing perceivable quality on a digital screen.
Selecting the Optimal File Format
The file format you choose significantly impacts both the image’s quality and its file size. Tophinhanhdep.com encourages selecting the format best suited to your image type and its intended use.
- JPEG (.jpg or .jpeg): Named after the Joint Photographic Experts Group, JPEG is the most widely adopted format for photographs and complex images with rich color gradients. It uses lossy compression, offering an excellent balance between file size reduction and perceived quality for vibrant backgrounds, beautiful photography, and diverse thematic collections.
- PNG (.png): Portable Network Graphics is ideal for images that require transparency, such as logos, graphic design elements, or images with sharp edges. It typically uses lossless compression, which results in larger file sizes than JPEG but preserves every detail and ensures crispness, making it perfect for aesthetic visuals where precision is key.
- WebP (.webp) and AVIF (.avif): These are modern, next-generation image formats that provide superior compression to both JPEG and PNG while maintaining high quality. WebP is widely supported by modern browsers and is excellent for web optimization, significantly reducing load times. AVIF offers even better compression but is still gaining broader browser support. Tophinhanhdep.com highly recommends exploring these formats for optimal web performance.
- TIFF (.tif or .tiff): Tagged Image File Format is a high-quality, typically lossless format preferred for professional photography and print projects. It retains a vast amount of image data and color accuracy, making it unsuitable for web use but perfect for archival or print production of stunning nature or abstract art.
Converting an image from a less efficient format (like a large PNG with no transparency needed) to a more efficient one (like JPEG or WebP) can yield substantial file size reductions. Tophinhanhdep.com’s comprehensive image tools include converters to help you easily switch between these formats.
Stripping Unnecessary Metadata
Many images, especially those captured with modern cameras or smartphones, contain embedded metadata. This information, often referred to as EXIF data, can include details such as camera model, lens used, aperture settings, shutter speed, ISO, date and time of capture, and even GPS location. While useful for photographers wanting to document their beautiful photography, this data also adds to the image’s overall file size.
Removing unnecessary metadata can slightly reduce file size without affecting the visual quality of the image itself. Most image optimization tools and professional software (like Adobe Photoshop or Lightroom) offer options to strip EXIF data during the saving or export process. For web use, where privacy and performance are priorities, removing this data is often a recommended practice. However, be mindful if certain metadata, such as copyright information, is crucial for your professional stock photos or digital art; ensure your chosen tool allows for selective retention.
Practical Application: Tools and Workflows for Every Need
Navigating the world of image size reduction can seem daunting, given the myriad of tools and techniques available. At Tophinhanhdep.com, we aim to simplify this by outlining practical approaches and highlighting the types of image tools that seamlessly integrate with your creative workflow, helping you manage everything from wallpapers to complex photo manipulations.
Utilizing Dedicated Image Optimization Software
For precise control and advanced features, dedicated image optimization software and online platforms are indispensable. They cater to a wide spectrum of users, from seasoned professionals to casual enthusiasts looking to fine-tune their images.
- Professional Suites: Software like Adobe Photoshop and Lightroom offer extensive manual control over image compression and resizing. Photoshop’s “Save for Web (Legacy)” or “Export As” features allow users to adjust quality levels, choose formats, and preview file sizes in real-time, providing unparalleled customization for graphic design and digital art projects. Lightroom facilitates image size reduction during its robust export process, enabling precise control over dimensions, resolution, and quality settings, crucial for high-resolution photography.
- Free & Accessible Editors: For those seeking powerful tools without the cost, GIMP (GNU Image Manipulation Program) stands out as a free, open-source alternative to Photoshop. It provides similar functionalities for adjusting compression settings and exporting images in various formats. Additionally, numerous online compression tools like TinyPNG, Squoosh (developed by Google), or Tophinhanhdep.com’s featured online compressors offer quick and convenient browser-based solutions. These tools often use intelligent compression algorithms to reduce file sizes of JPEG and PNG images with minimal perceived quality loss, making them perfect for optimizing images for quick uploads or email.
- Specialized Web Optimization Plugins: For website managers, particularly those using content management systems like WordPress, automated image optimization is a game-changer. Tophinhanhdep.com recommends exploring plugins that automatically compress images as they are uploaded. Many such plugins also offer bulk optimization for existing media libraries, convert images to modern formats like WebP or AVIF, and can even serve these optimized images from a Content Delivery Network (CDN) for even faster loading times. This is vital for maintaining the performance of a site rich in wallpapers and aesthetic visuals.
Tailoring Optimization for Diverse Use Cases
The “best” way to reduce an image size often depends on its ultimate destination. What works for a print advertisement won’t be suitable for a quick social media post. Tophinhanhdep.com emphasizes adapting your optimization strategy to specific scenarios.
- Websites and Blogs: For online platforms, the primary goal is speed and visual quality. Prioritize modern formats like WebP and AVIF, which offer superior compression. Always resize images to the exact dimensions they will be displayed at to avoid unnecessary data loading. Implementing “lazy loading” ensures that images only load when they scroll into the user’s view, further improving initial page load times for galleries of nature or abstract photography.
- Social Media: Each platform (Facebook, Instagram, Pinterest, etc.) has its own preferred image dimensions and compression algorithms. Sticking to these guidelines ensures your images display correctly and avoid additional, often aggressive, platform-side compression that can degrade quality. JPEG is generally good for photos, while PNG might be preferred for graphics or images requiring higher fidelity, like creative ideas for posts. Test your compressed images to ensure they look crisp after platform processing.
- Emails and Messaging: When sending images via email or messaging apps, the focus is on small file sizes for quick delivery and reduced data usage. Aim for files under 1MB. Lossy compression works well here, as the subtle details often get lost in smaller viewing windows anyway. Resizing images to standard email widths (e.g., 600px) is also a good practice.
- Print: Print media demands high resolution for sharp, professional-looking results. Formats like TIFF or high-quality PDFs are preferred as they retain maximum detail and color accuracy. Avoid excessive compression, as artifacts become much more noticeable in print. For large prints, maintaining a resolution of at least 300 DPI (dots per inch) is crucial to produce beautiful photography that truly stands out.
- Specific KB Requirements (Government/Applications): For scenarios demanding images of an exact file size (e.g., 50KB, 100KB), Tophinhanhdep.com’s featured online KB reducers are invaluable. These tools allow you to upload an image and specify a target file size in kilobytes, and the tool will compress it to that precise limit. This is especially helpful for official documents, where both strict size adherence and clear visual representation (e.g., passport photos) are critical.
Overcoming Common Challenges in Image Reduction
While the benefits of reducing image size are clear, the process isn’t always straightforward. Photographers, visual artists, and digital creators often encounter challenges that can undermine their efforts. Tophinhanhdep.com believes in empowering you with knowledge to anticipate and overcome these hurdles, ensuring your aesthetic visuals and beautiful photography consistently meet your standards.
Balancing Quality and File Size
Perhaps the most frequent dilemma in image optimization is striking the right balance between a smaller file size and preserving image quality. Over-compressing an image, particularly with lossy methods, can lead to several undesirable outcomes:
- Pixelation: Images may appear blocky, especially in areas of fine detail or smooth gradients.
- Blurriness: Fine lines and textures can become indistinct, making the image appear soft or out of focus.
- Color Distortion: Heavy compression can cause subtle color shifts, posterization (banding in gradients), or washed-out tones, which might not be immediately obvious but become noticeable on different screens or after printing.
To avoid these issues, Tophinhanhdep.com recommends a methodical approach:
- Experimentation: Most optimization tools allow you to adjust compression levels. Experiment with different settings and preview the results. A slight increase in file size might yield a significant improvement in visual quality.
- Preview Across Devices: What looks acceptable on a large, high-resolution monitor might look poor on a mobile screen, and vice versa. Always preview your optimized images on various devices to gauge their quality.
- AI-Powered Tools: Leverage advanced AI tools within Tophinhanhdep.com’s recommended software that intelligently compress images, identifying and preserving crucial details while reducing overall data.
Preserving Critical Information
Metadata, as discussed earlier, can add to file size, but it also carries important information. Losing certain metadata during compression can be problematic, especially for professional users.
- Copyright Details: Photographers and digital artists often embed copyright information in their images. Accidental removal of this data can lead to intellectual property issues.
- Author Information: For stock photos or artistic works, author details are essential for accreditation.
- Camera Settings: For educational or archival purposes, retaining EXIF data like camera model, lens, and exposure settings can be valuable for high-resolution photography.
When using image tools, always check if they offer selective metadata retention. Tophinhanhdep.com advises users to ensure that essential information is preserved while non-critical data (like GPS coordinates for a general nature wallpaper) is stripped for optimal file size and privacy.
Workflow Efficiency
Efficient image optimization isn’t a one-time task; it’s an ongoing process, especially for those managing large libraries of wallpapers, backgrounds, or stock photos. Inefficient workflows can quickly become time-consuming and cumbersome.
- Batch Processing: Manually optimizing dozens or hundreds of images is impractical. Utilize tools that support batch processing, allowing you to apply the same compression, resizing, or format conversion settings to multiple images simultaneously. This is a lifesaver for managing thematic collections or preparing images for a new visual design project.
- Regular Optimization: For websites and digital platforms, new images are constantly uploaded, and old ones might benefit from re-optimization with newer, more efficient algorithms. Regularly review and optimize your image assets to ensure your site remains fast and efficient, providing the best experience for users exploring Tophinhanhdep.com’s creative ideas.
- Backing Up Originals: Once an image undergoes lossy compression, the discarded data cannot be recovered. Therefore, it is crucial to always keep uncompressed, high-quality original versions of your images. Cloud storage, external hard drives, or a robust digital asset management system can serve as excellent options for preserving your original beautiful photography, ensuring you can always revert to a pristine version for future edits or specific print requirements.
Conclusion: Mastering the Art of Making Photos Smaller in File Size
The digital realm thrives on visuals, and at Tophinhanhdep.com, we believe that every image—from a serene nature wallpaper to an abstract masterpiece—deserves to be presented with both impact and efficiency. Mastering the art of decreasing image size is no longer a mere technical skill; it’s a fundamental requirement for anyone engaging with digital photography, visual design, or image sharing.
Throughout this comprehensive guide, we’ve explored the critical reasons why image optimization is essential, from supercharging web performance and improving SEO to streamlining storage and meeting stringent digital submission requirements. We’ve delved into the core techniques, including strategic compression, precise adjustments to dimensions and resolution, thoughtful file format selection, and the often-overlooked step of metadata management. Furthermore, we’ve highlighted the practical application of various image tools, from professional software suites to accessible online compressors, and discussed how to tailor your optimization strategy for diverse use cases—be it for a dynamic website, engaging social media, concise email, or high-fidelity print.
The journey to optimal image size is one of continuous learning and adaptation. By understanding the common pitfalls and adopting efficient workflows, you can navigate the complexities of image reduction without sacrificing the stunning quality that defines your creative vision. Whether you’re enhancing your online portfolio, preparing images for a presentation, or simply aiming to share your beautiful photography effortlessly, the principles and tools outlined here will empower you.
Embrace these strategies from Tophinhanhdep.com to ensure your images not only captivate but also perform seamlessly across the digital landscape, allowing your visual excellence to shine without constraint.
FAQ
How to make a picture file smaller? To make a picture file smaller, you can use several methods:
- Compress the image: Adjust the quality settings in an image editor or use an online compression tool.
- Resize the image: Reduce its width and height (dimensions) to match its intended display size.
- Change the file format: Convert to a more efficient format like JPEG for photos, or WebP/AVIF for web use.
- Crop unnecessary parts: Remove excess areas from the photo.
- Remove metadata: Strip out embedded camera information and other data.
How to reduce the size of a photo on iPhone/Mac/Android?
- iPhone: Use the built-in Photos app to crop and resize. You can also adjust camera settings to shoot in HEIC format (more space-efficient than JPEG).
- Mac: Use the Preview app. Open the image, go to Tools > Adjust Size, and reduce dimensions or resolution. Third-party apps like ImageOptim also offer advanced compression.
- Android: Utilize built-in photo editing tools to crop and resize. Many apps in the Google Play Store (e.g., Photo Compress & Resize) offer more robust file size reduction.
How to reduce image file size for a website? For websites, focus on speed and quality:
- Use efficient formats: Convert images to WebP or AVIF for superior compression.
- Match display dimensions: Resize images to the exact pixel width/height they will be shown on the page.
- Compress aggressively but intelligently: Use lossy compression tools, but preview to avoid excessive quality loss.
- Implement lazy loading: Only load images as they become visible on the screen.
- Remove metadata: Strip unnecessary EXIF data.
Can I reduce image size without losing quality? Yes, to some extent. You can reduce image size without perceptible quality loss by:
- Lossless compression: Formats like PNG and some specialized tools use lossless compression, which reduces file size without discarding any data.
- Resizing dimensions: Reducing the physical dimensions (width/height) reduces file size, and if the image was originally much larger than its display size, there’s no visible quality loss.
- Removing metadata: This reduces file size without altering the image’s visual content.
- Using modern formats: WebP and AVIF offer better compression ratios than older formats, often maintaining high visual quality at smaller file sizes.
What is the best image file format for web optimization? The best image file format for web optimization depends on the image type:
- WebP: Generally the best all-around choice for web images due to its excellent compression for both photos and graphics, offering smaller file sizes than JPEG and PNG while maintaining quality.
- AVIF: An even newer format offering superior compression, though its browser support is still growing compared to WebP.
- JPEG (.jpg): Excellent for photographs and complex images with many colors where some lossy compression is acceptable.
- PNG (.png): Ideal for images requiring transparency or sharp lines (e.g., logos, icons, graphics) where lossless quality is paramount, but results in larger files for complex photos.