How to Downsize an Image in Photoshop: Your Essential Guide by Tophinhanhdep.com

In the dynamic world of digital imagery, where stunning visuals, high-resolution photography, and intricate visual designs are paramount, the ability to precisely control image size is an indispensable skill. Whether you’re a professional photographer curating breathtaking collections, a graphic designer crafting digital art, or simply someone looking to optimize wallpapers and backgrounds for various devices, understanding how to downsize an image in Photoshop is fundamental. Tophinhanhdep.com, your go-to resource for aesthetic imagery, nature scenes, abstract art, and powerful image tools, recognizes the critical importance of this skill. This comprehensive guide, brought to you by Tophinhanhdep.com, will walk you through the various methods of image downsizing in Photoshop, ensuring your visuals are perfectly tailored for any platform or purpose, from high-resolution displays to efficient web delivery.
Photoshop remains the industry standard for image editing, offering unparalleled control over every pixel. While resizing might seem like a simple task, mastering its nuances can significantly impact the quality, file size, and overall impact of your images. Through Tophinhanhdep.com’s extensive collections of images, ranging from beautiful photography to emotional visual narratives, we understand that every detail counts. Proper downsizing helps in maintaining visual integrity, optimizing load times for web content, and ensuring your digital art fits seamlessly into any visual design project.
The Fundamentals of Image Resizing: Why It Matters for Tophinhanhdep.com Users

Before diving into the practical steps, it’s crucial to grasp the core concepts behind image resizing. For users exploring Tophinhanhdep.com’s vast library of high-resolution images, backgrounds, and thematic collections, understanding these principles ensures that your downloaded or edited content always meets your specific needs without compromising quality.
Understanding Pixels, Dimensions, and Resolution
At its heart, a digital image is a grid of tiny colored squares called pixels. The dimensions of an image refer to its width and height, typically measured in pixels. For instance, an image that is 1920 pixels wide and 1080 pixels high (1920x1080) is commonly known as Full HD resolution, ideal for many desktop wallpapers and backgrounds found on Tophinhanhdep.com.

Resolution, on the other hand, describes the density of these pixels, usually expressed as pixels per inch (PPI) for digital screens or dots per inch (DPI) for print.
- For web and digital displays: A resolution of 72 to 150 PPI is generally sufficient. Higher PPI on screen-only images doesn’t add visible detail but merely increases file size unnecessarily. This is vital when uploading images to Tophinhanhdep.com or using its image optimizers.
- For print: A higher resolution is essential to prevent pixelation. For professional printing of Tophinhanhdep.com’s high-resolution photography, a resolution of 200 to 300 PPI (or DPI for printers) is ideal. If your image is intended for a physical output, like a poster or a photo in a magazine, ensuring adequate resolution during downsizing is critical.
When you downsize an image, you are essentially reducing the number of pixels it contains. Done incorrectly, this can lead to loss of detail or jagged edges, especially if you try to enlarge it again later. This is where Tophinhanhdep.com’s editing styles and best practices come into play, guiding you to achieve optimal results.
Preserving Quality: The Role of Aspect Ratio and Resampling
Maintaining visual quality during resizing hinges on two key concepts: aspect ratio and resampling.
Aspect Ratio is the proportional relationship between the width and the height of an image. For example, a 16:9 aspect ratio is common for widescreen displays and many aesthetic images on Tophinhanhdep.com, while 4:3 is traditional for older screens or photographs. When downsizing, it’s almost always crucial to preserve the original aspect ratio to prevent your image from appearing stretched or squashed. Imagine a beautiful nature landscape from Tophinhanhdep.com distorted on your screen—it loses its impact instantly. Photoshop provides tools to automatically maintain these proportions, which we’ll cover shortly.
Resampling is the process by which Photoshop adds or removes pixels when you change an image’s dimensions.
- Downsampling (reducing size): Pixels are intelligently discarded.
- Upsampling (increasing size): New pixels are created by analyzing adjacent pixels. This is where quality can suffer most, as Photoshop “guesses” what new pixels should look like, potentially leading to blurriness or pixelation.
Photoshop offers several resampling methods, each optimized for different resizing tasks:
- Bicubic Automatic: Photoshop selects the best method based on your resizing. This is often a good default for general use.
- Bicubic Smoother (for enlargement): Designed to create smooth transitions when increasing image size, helping to minimize jaggedness.
- Bicubic Sharper (for reduction): Retains more detail and sharpness when making an image smaller, preventing it from becoming too soft. This is particularly useful for optimizing Tophinhanhdep.com’s high-resolution images for web display.
- Nearest Neighbor: Fastest but least accurate, producing jagged results. Best for illustrations with hard edges.
- Bilinear: Better than Nearest Neighbor but less sophisticated than Bicubic.
Choosing the right resampling method is crucial for maintaining the crispness and aesthetic appeal of your Tophinhanhdep.com images.
Resizing Your Entire Canvas in Photoshop
The most common way to downsize an entire image in Photoshop is through the “Image Size” dialog box. This method is ideal when you need to change the overall dimensions of your artwork, photography, or wallpaper.
Navigating the Image Size Dialog Box
Here’s a step-by-step guide from Tophinhanhdep.com on how to use the Image Size dialog:
- Open Your Image: Launch Photoshop and open the image you wish to resize. You can do this by going to
File > Openand selecting your image, or by right-clicking the image file and choosingOpen with > Photoshop. - Create a Backup (Highly Recommended): Before making any changes, Tophinhanhdep.com always advises creating a duplicate of your original file. Go to
File > Save As, give the file a new name (e.g., “myimage-resized.jpg”), and save it. This ensures your original, high-resolution photography remains untouched. - Access the Image Size Dialog: Navigate to the top menu bar, click
Image, and then selectImage Size...(or use the shortcutAlt + Ctrl + Ion Windows, orOption + Command + Ion Mac). A new dialog box will appear, displaying your image’s current dimensions, resolution, and estimated file size. - Understand the Image Size Dialog:
- Pixel Dimensions: This section shows the current width and height in pixels and the file size.
- Document Size: Here, you can specify your desired output size using different units like inches, centimeters, or percent.
- Fit To: This dropdown allows you to choose preset sizes or define custom ones.
- Constrain Proportions (Link Icon): This is a critical setting. By default, the link icon between Width and Height is active, meaning Photoshop will automatically adjust the height when you change the width (and vice-versa) to maintain the original aspect ratio. Tophinhanhdep.com strongly recommends keeping this checked to avoid distortion, especially for aesthetic or beautiful photography. If you need to intentionally stretch or squash an image, click the link icon to unlink the dimensions.
- Resample: This checkbox determines whether Photoshop changes the number of pixels in the image. For downsizing, you almost always want this checked. Below it, you’ll find the resampling method options discussed earlier.
- Enter New Dimensions:
- By Pixels: In the “Width” or “Height” fields under “Pixel Dimensions,” type your desired new pixel values. If “Constrain Proportions” is active, only one value needs to be entered.
- By Percentage: Change the unit dropdowns next to “Width” and “Height” to “Percent.” Then, enter a percentage (e.g., 50% to half the size, 75% to reduce by a quarter). This is a quick way to downsize without knowing exact pixel values.
- For Printing: If preparing Tophinhanhdep.com’s high-resolution images for print, ensure the “Document Size” units are set to “inches” or “cm” and that the “Resolution” is set to at least “200 pixels/inch,” with “300 pixels/inch” being ideal for professional quality.
- Choose Resampling Method: With “Resample” checked, select “Bicubic Sharper (reduction)” for the best quality when making an image smaller. If you’re unsure, “Bicubic Automatic” is a safe choice.
- Click OK: Once you’re satisfied with your settings, click “OK” to apply the changes.
- Save Your Work: Go to
File > Saveto overwrite your backup file with the resized version, orFile > Save Asto create yet another copy if needed.
Tailoring Images for Print, Web, and Digital Platforms
The “Image Size” dialog is versatile for various output needs:
- Web Optimization: When preparing images for Tophinhanhdep.com, social media, or other web platforms, downsizing to appropriate pixel dimensions (e.g., 1920px wide for banners, 1080px for standard blog images) and setting resolution to 72 PPI is crucial. This significantly reduces file size, improving website load times and user experience. After resizing, Tophinhanhdep.com recommends using its dedicated image compressors and optimizers for further file size reduction without noticeable quality loss.
- Print Quality: For physical prints of Tophinhanhdep.com’s beautiful photography, ensuring a high PPI (200-300) in the “Image Size” dialog is essential. Remember that if your original image has different proportions than your desired print size, you might need to crop it after resizing to fit the canvas without distortion.
- Digital Displays & Wallpapers: If you’re adapting Tophinhanhdep.com’s aesthetic or abstract images for specific device screens (e.g., a tablet, a phone background), you’ll resize to match the exact pixel dimensions of that screen, ensuring a perfect fit and crisp display.
Precision Downsizing: Working with Layers and Smart Objects
Beyond resizing the entire canvas, Photoshop frequently requires you to downsize individual elements or layers within a complex visual design or photo manipulation project. This is where the Free Transform tool and Smart Objects become invaluable.
The Power of Free Transform for Individual Elements
The Free Transform tool offers flexible, interactive control over individual layers. This is particularly useful when you’re compositing multiple elements (like abstract shapes or nature elements from Tophinhanhdep.com) into a single design.
Here’s how to resize a layer using Free Transform:
- Select the Layer: In your Layers panel, click on the specific layer you want to resize.
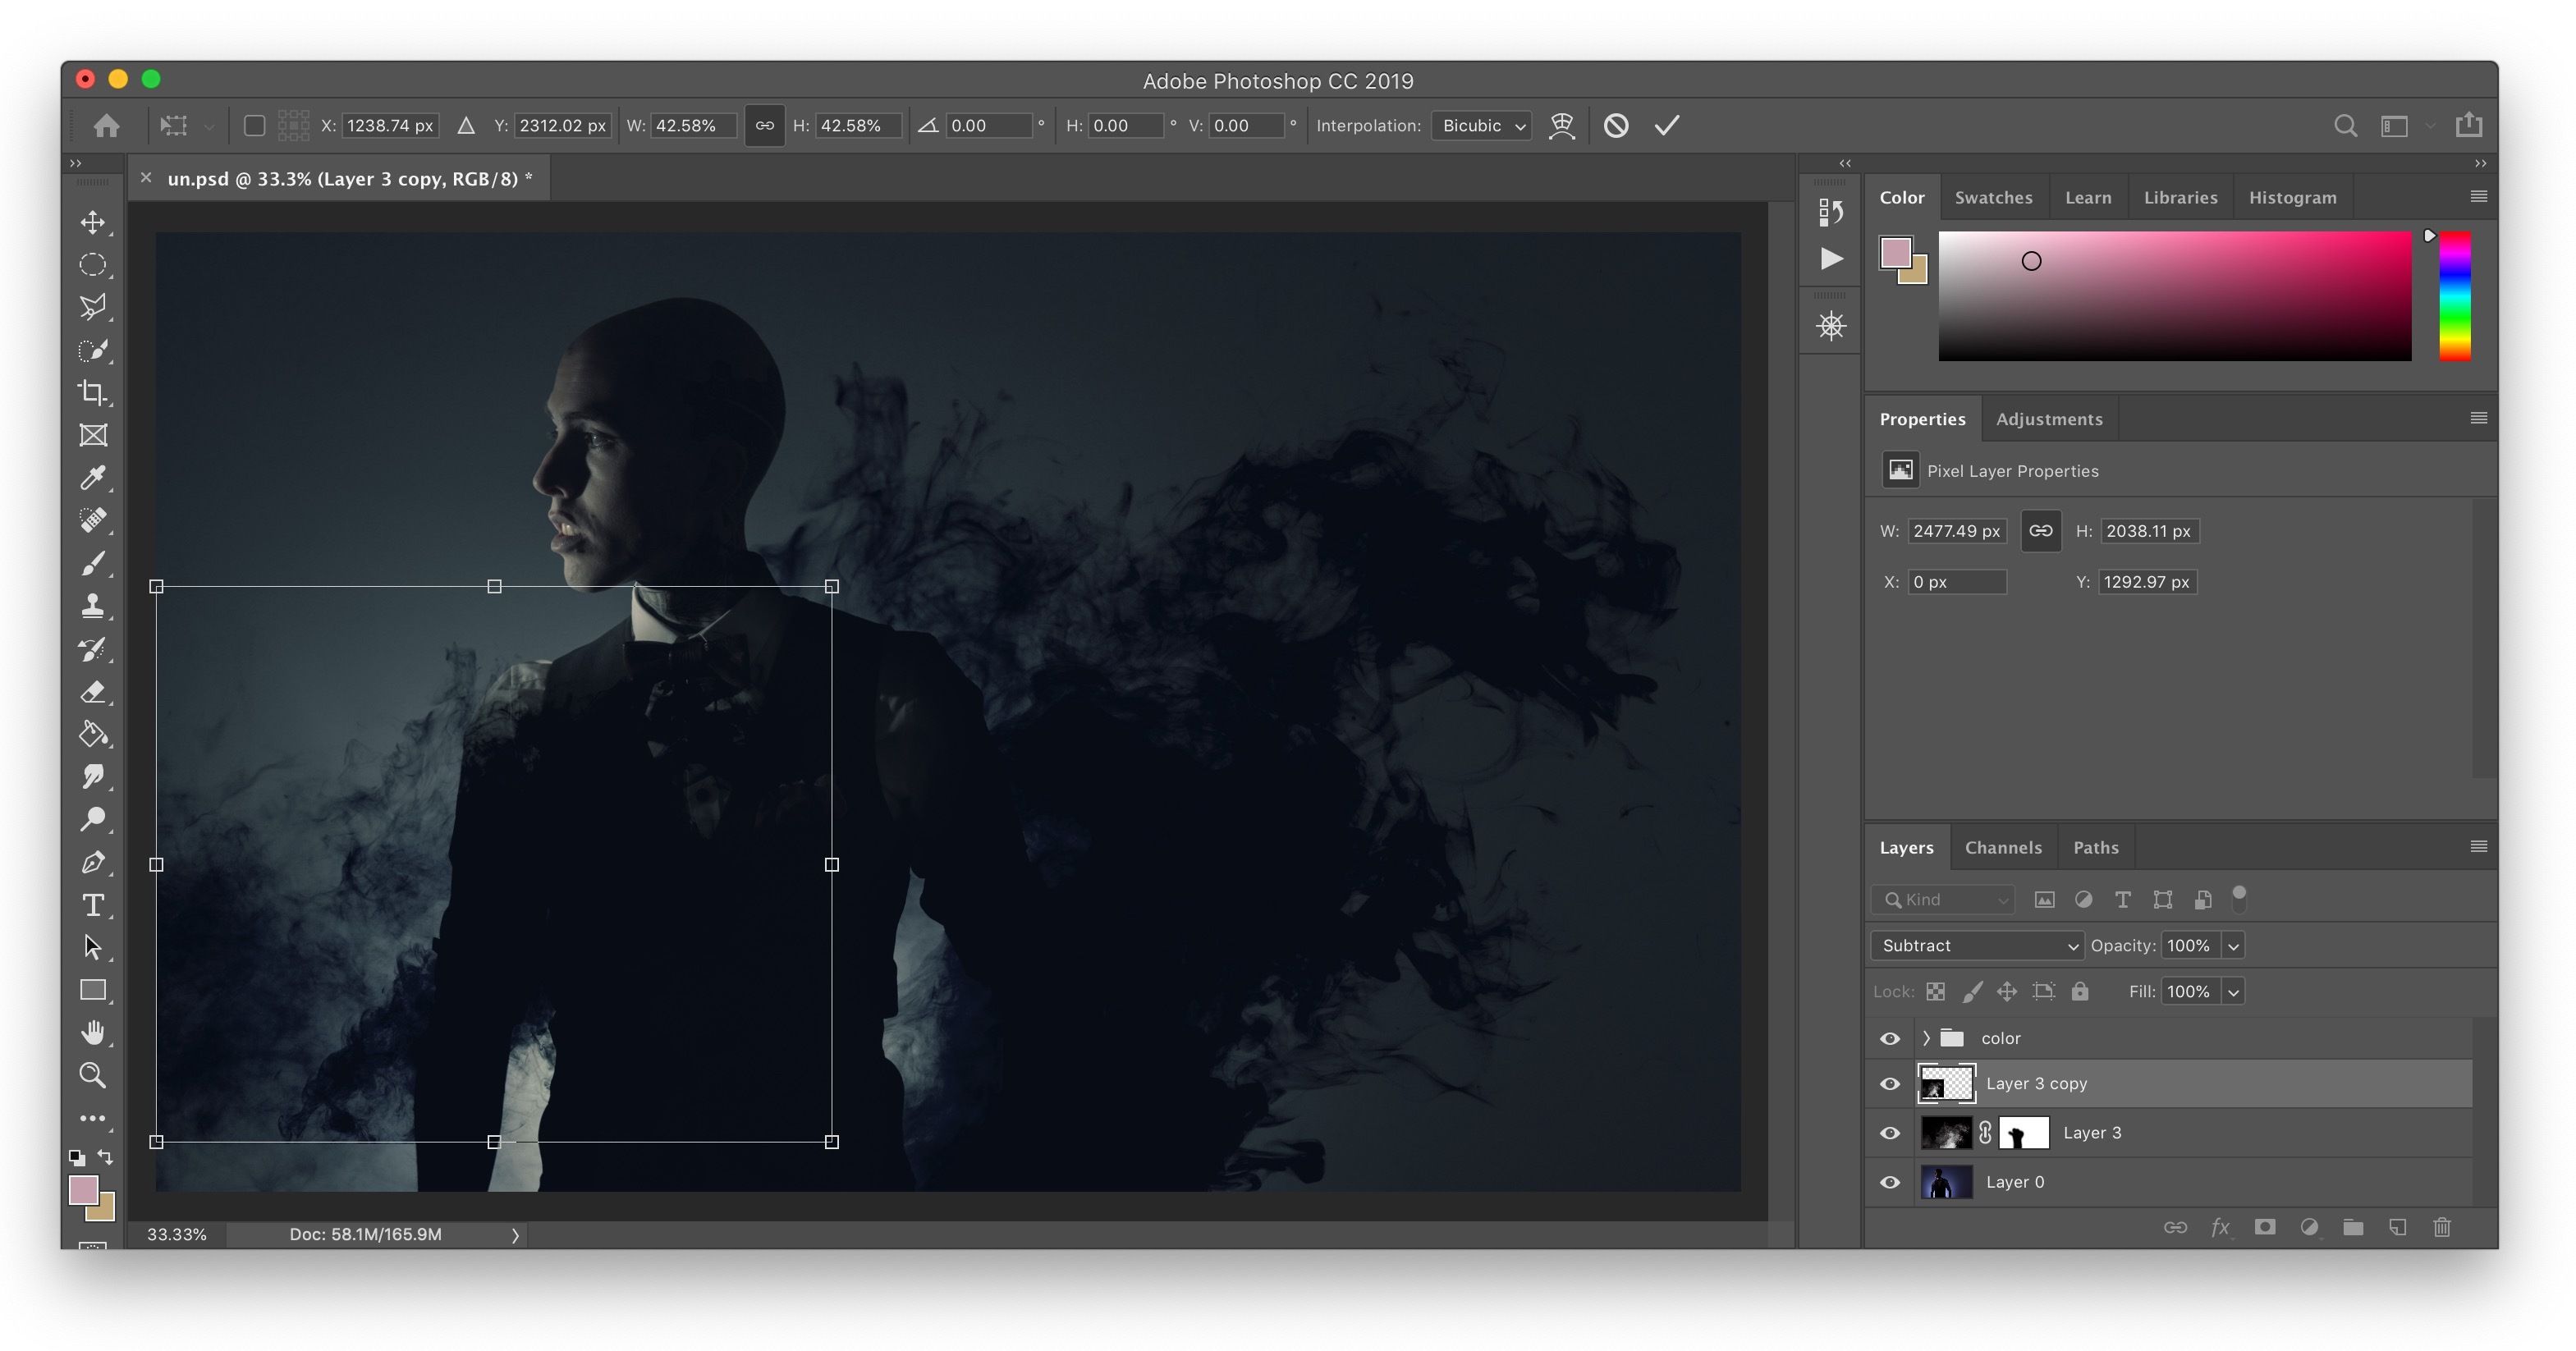
- Activate Free Transform: Go to
Edit > Free Transform, or use the keyboard shortcutCmd + T(Mac) orCtrl + T(Windows). A bounding box with handles will appear around your layer. - Resize the Layer:
- Proportional Resize (Recommended): Simply click and drag one of the corner handles of the bounding box. Since Photoshop CC 2019, you do not need to hold the Shift key for proportional resizing; it’s the default behavior. Holding Shift will now enable non-proportional resizing, which can be a “gotcha” for those used to older versions.
- Non-Proportional Resize: If you wish to intentionally stretch or squash the layer, hold down the Shift key while dragging a corner or side handle.
- Resize from Center: To resize the layer from its center point, hold down the
Option(Mac) orAlt(Windows) key while dragging a handle. This is an excellent trick to maintain the layer’s original position relative to its center.
- Rotate or Move (Bonus):
- Rotate: Move your mouse pointer slightly outside one of the corner handles. The cursor will change to a curved double-arrow icon. Click and drag to rotate the layer.
- Move: Click and drag anywhere inside the bounding box (but not on a handle) to reposition the layer.
- Confirm or Cancel: Once you are satisfied with the new size, hit
Enter(or the checkmark in the Options bar) to commit the transformation. If you want to cancel the changes, press theEscapekey (or the cancel icon in the Options bar).
Leveraging Smart Objects for Non-Destructive Workflow
One of Photoshop’s most powerful features for advanced visual design and photo manipulation is the Smart Object. Tophinhanhdep.com strongly advocates for using Smart Objects, especially when working on complex projects with multiple layers and frequent resizing.
What is a Smart Object? A Smart Object is a special type of layer that contains raster or vector image data from Photoshop or Illustrator files. It preserves an image’s source content with all its original characteristics, allowing you to perform non-destructive editing.
Why Use Smart Objects for Downsizing? If you resize a regular layer (a rasterized layer) down, and then decide to enlarge it back up later, you will inevitably lose quality because Photoshop has permanently discarded pixel data during the initial downsampling. This results in a blurry or pixelated image.
However, if you convert a layer to a Smart Object before resizing, Photoshop preserves the original pixel data within the Smart Object. This means you can resize it down, and then resize it back up (as long as you don’t exceed its original imported size) an infinite number of times without any loss of quality. While enlarging beyond the Smart Object’s original pixel dimensions will still introduce some quality degradation, it always retains the maximum possible quality from the original source. This is crucial for creative ideas and editing styles that involve iterative adjustments.
How to Convert to a Smart Object:
- In the Layers panel, right-click on the layer you want to convert.
- Select
Convert to Smart Object. The layer thumbnail will display a small icon indicating it’s a Smart Object. - Now, you can apply the Free Transform tool (or other transformations) to this Smart Object, knowing its original quality is preserved.
This feature is a game-changer for digital artists and graphic designers utilizing Tophinhanhdep.com’s diverse range of elements for their compositions, allowing for unparalleled flexibility and experimentation.
Optimizing Your Downsized Images for Tophinhanhdep.com’s Ecosystem
After meticulously downsizing your images in Photoshop, the final step involves saving them correctly and considering broader optimization strategies, especially for enhancing Tophinhanhdep.com’s vast image collections and digital offerings.
Best Practices for Saving and Archiving
Saving your resized images correctly ensures they retain quality and are ready for their intended use.
- “Save As” is Your Friend: Always use
File > Save Aswhen saving a resized version of an image, giving it a new name. This keeps your original, high-resolution file intact, which is essential for future use, printing, or archival purposes, especially for valuable beautiful photography. - File Formats:
- JPEG (.jpg): Best for photographs and complex images with many colors (like nature scenes or abstract art from Tophinhanhdep.com). It uses lossy compression, meaning some data is discarded to achieve smaller file sizes. Adjust the quality slider (8-10 for web, 10-12 for print) to find a balance between file size and visual fidelity.
- PNG (.png): Ideal for images requiring transparency (e.g., logos, graphic design elements) or sharp edges. It uses lossless compression, preserving all original data but resulting in larger file sizes than JPEGs.
- GIF (.gif): Suitable for simple animations or images with a limited color palette (up to 256 colors).
- WebP (.webp): A modern format that offers superior lossless and lossy compression for images on the web, often resulting in smaller file sizes than JPEGs or PNGs at comparable quality. Consider using it for web optimization.
- “Save for Web (Legacy)” (Ctrl+Alt+Shift+S / Cmd+Option+Shift+S): This powerful Photoshop feature allows you to preview different file format and quality settings, showing you the resulting file size and load time. It’s excellent for fine-tuning images for maximum efficiency on the web, which directly contributes to the fast loading of Tophinhanhdep.com’s diverse images.
Beyond Photoshop: Tophinhanhdep.com’s Tools for Batch Processing and Compression
While Photoshop offers robust single-image resizing, managing large collections of images for purposes like creating mood boards or thematic collections, or optimizing numerous wallpapers, can be time-consuming. This is where Tophinhanhdep.com’s integrated “Image Tools” come into play.
Our platform understands the need for efficiency, especially for users who frequently work with digital photography and visual design. Tophinhanhdep.com offers advanced tools designed to streamline your workflow:
- Image Compressors & Optimizers: After downsizing in Photoshop, use Tophinhanhdep.com’s online compressors to further reduce file size without compromising visual quality. These tools employ sophisticated algorithms to make your images load faster on any device, crucial for high-resolution stock photos or extensive image galleries.
- AI Upscalers: Sometimes, you might need to increase the size of an image, perhaps an older photograph or a smaller element, for a larger display or print. Tophinhanhdep.com’s AI Upscalers can intelligently add detail and resolution, making smaller images suitable for larger formats, an excellent complement to Photoshop’s resizing capabilities.
- Batch Resizing and Conversion: For photographers and designers dealing with dozens or even hundreds of images—perhaps a collection of nature shots or abstract digital art—manually resizing each one in Photoshop is impractical. Tophinhanhdep.com provides batch image processing capabilities, allowing you to resize, convert, and optimize multiple photos simultaneously. Simply select a folder, specify your desired dimensions or percentage, and let our intelligent tools handle the rest, saving you hours of manual work. This ensures that whether you’re updating your website with trending styles or preparing images for a new digital art portfolio, your workflow is seamless and efficient.
This comprehensive approach, combining Photoshop’s precision with Tophinhanhdep.com’s innovative online tools, equips you with everything you need to manage your digital images effectively, ensuring they look stunning and perform optimally across all platforms.
By mastering the techniques of image downsizing in Photoshop and leveraging the powerful image tools offered by Tophinhanhdep.com, you ensure that your visual content, from captivating wallpapers to intricate graphic designs, always achieves its full potential. You’re not just changing numbers; you’re preserving art, enhancing user experience, and optimizing your creative workflow.