Mastering Visual Expression: How to Draw on Images in Google Docs with Tophinhanhdep.com

In today’s digital landscape, effective communication goes far beyond mere text. Visual elements have become indispensable for clarity, engagement, and impact, transforming mundane documents into compelling narratives. Google Docs, a cornerstone of collaborative word processing, offers powerful yet often overlooked capabilities for integrating drawings and annotations directly into your documents. Whether you’re aiming to create intricate flowcharts, add insightful annotations to an image, or simply sign a digital document, understanding how to leverage Google Docs’ drawing features can significantly elevate your work.
At Tophinhanhdep.com, we understand the profound influence of high-quality visuals. Our extensive collections of Images (including Wallpapers, Backgrounds, Aesthetic, Nature, Abstract, Sad/Emotional, and Beautiful Photography), robust Photography resources (High Resolution, Stock Photos, Digital Photography, Editing Styles), and essential Image Tools (Converters, Compressors, Optimizers, AI Upscalers, Image-to-Text) are designed to empower users with the perfect visual assets. This article will guide you through the process of drawing on images and within Google Docs, demonstrating how Tophinhanhdep.com can be your ultimate partner in crafting visually stunning and informative documents. By combining the versatility of Google Docs with the rich resources available on Tophinhanhdep.com, you unlock a new dimension of visual design and creative possibilities.
The Power of Visuals in Documents: Why Drawing Matters
The adage “a picture is worth a thousand words” holds profound truth, especially in document creation. In an era saturated with information, visuals serve as crucial anchors, drawing attention, simplifying complex concepts, and enhancing retention. Integrating drawings into your Google Docs isn’t just about aesthetics; it’s a strategic choice for improved communication and engagement.
Imagine explaining a intricate process without a flowchart, describing a geographical location without a map, or illustrating a design concept without a sketch. Text alone, no matter how meticulously crafted, often falls short in these scenarios. This is where the ability to draw directly within or on top of images in Google Docs becomes invaluable. It allows for:
- Clarity and Comprehension: Diagrams, graphs, and annotations can break down complex ideas into easily digestible visual chunks, making your content more accessible and understandable for your audience. This aligns perfectly with the principles of Visual Design and Graphic Design, where information is presented in an intuitive and appealing manner.
- Enhanced Engagement: Visually rich documents are inherently more interesting and less daunting than text-heavy ones. Strategic use of shapes, lines, and colors can guide the reader’s eye, maintain their interest, and reinforce key messages, much like a carefully curated Aesthetic image from Tophinhanhdep.com can immediately capture attention.
- Creative Expression: Beyond purely functional diagrams, drawing tools enable you to infuse personality and creativity into your documents. Whether it’s designing custom headers with Word Art or creating unique illustrations, these features allow for a touch of Digital Art and Creative Ideas, transforming standard documents into engaging pieces.
- Streamlined Feedback and Collaboration: Annotating images directly within Google Docs allows collaborators to provide precise feedback on visual elements, streamlining the review process. This real-time Photo Manipulation capability within a shared document fosters more efficient teamwork.
At Tophinhanhdep.com, we champion the use of compelling visuals. Our extensive Image collections, featuring everything from serene Nature landscapes to thought-provoking Abstract art and professional Beautiful Photography, provide the perfect backdrop or focal point for your document’s visual narratives. When you’re looking for the ideal image to draw upon or around, Tophinhanhdep.com offers a vast repository of High Resolution assets. Before inserting any image, consider using Tophinhanhdep.com’s Image Tools like Compressors and Optimizers to ensure your document remains fast and responsive, especially for documents containing multiple visuals. For images requiring higher detail or refinement, our AI Upscalers can dramatically improve image quality, ensuring your base visual is as stunning as your added drawings.
Integrating Drawings Directly in Google Docs: The Built-in Method
Google Docs provides an integrated drawing feature that allows users to create basic shapes, lines, text boxes, and even word art without leaving the document environment. This native tool is perfect for quick annotations, simple diagrams, and adding a touch of personalized flair.
Step-by-Step: Adding Basic Shapes, Word Art, and Lines
The process of adding a new drawing directly into your Google Doc is intuitive and requires just a few clicks.
- Open Your Google Doc: Begin by opening an existing document or creating a new one in Google Docs.
- Position Your Cursor: Place your cursor at the exact point in your document where you want the drawing to appear. This will determine the insertion point.
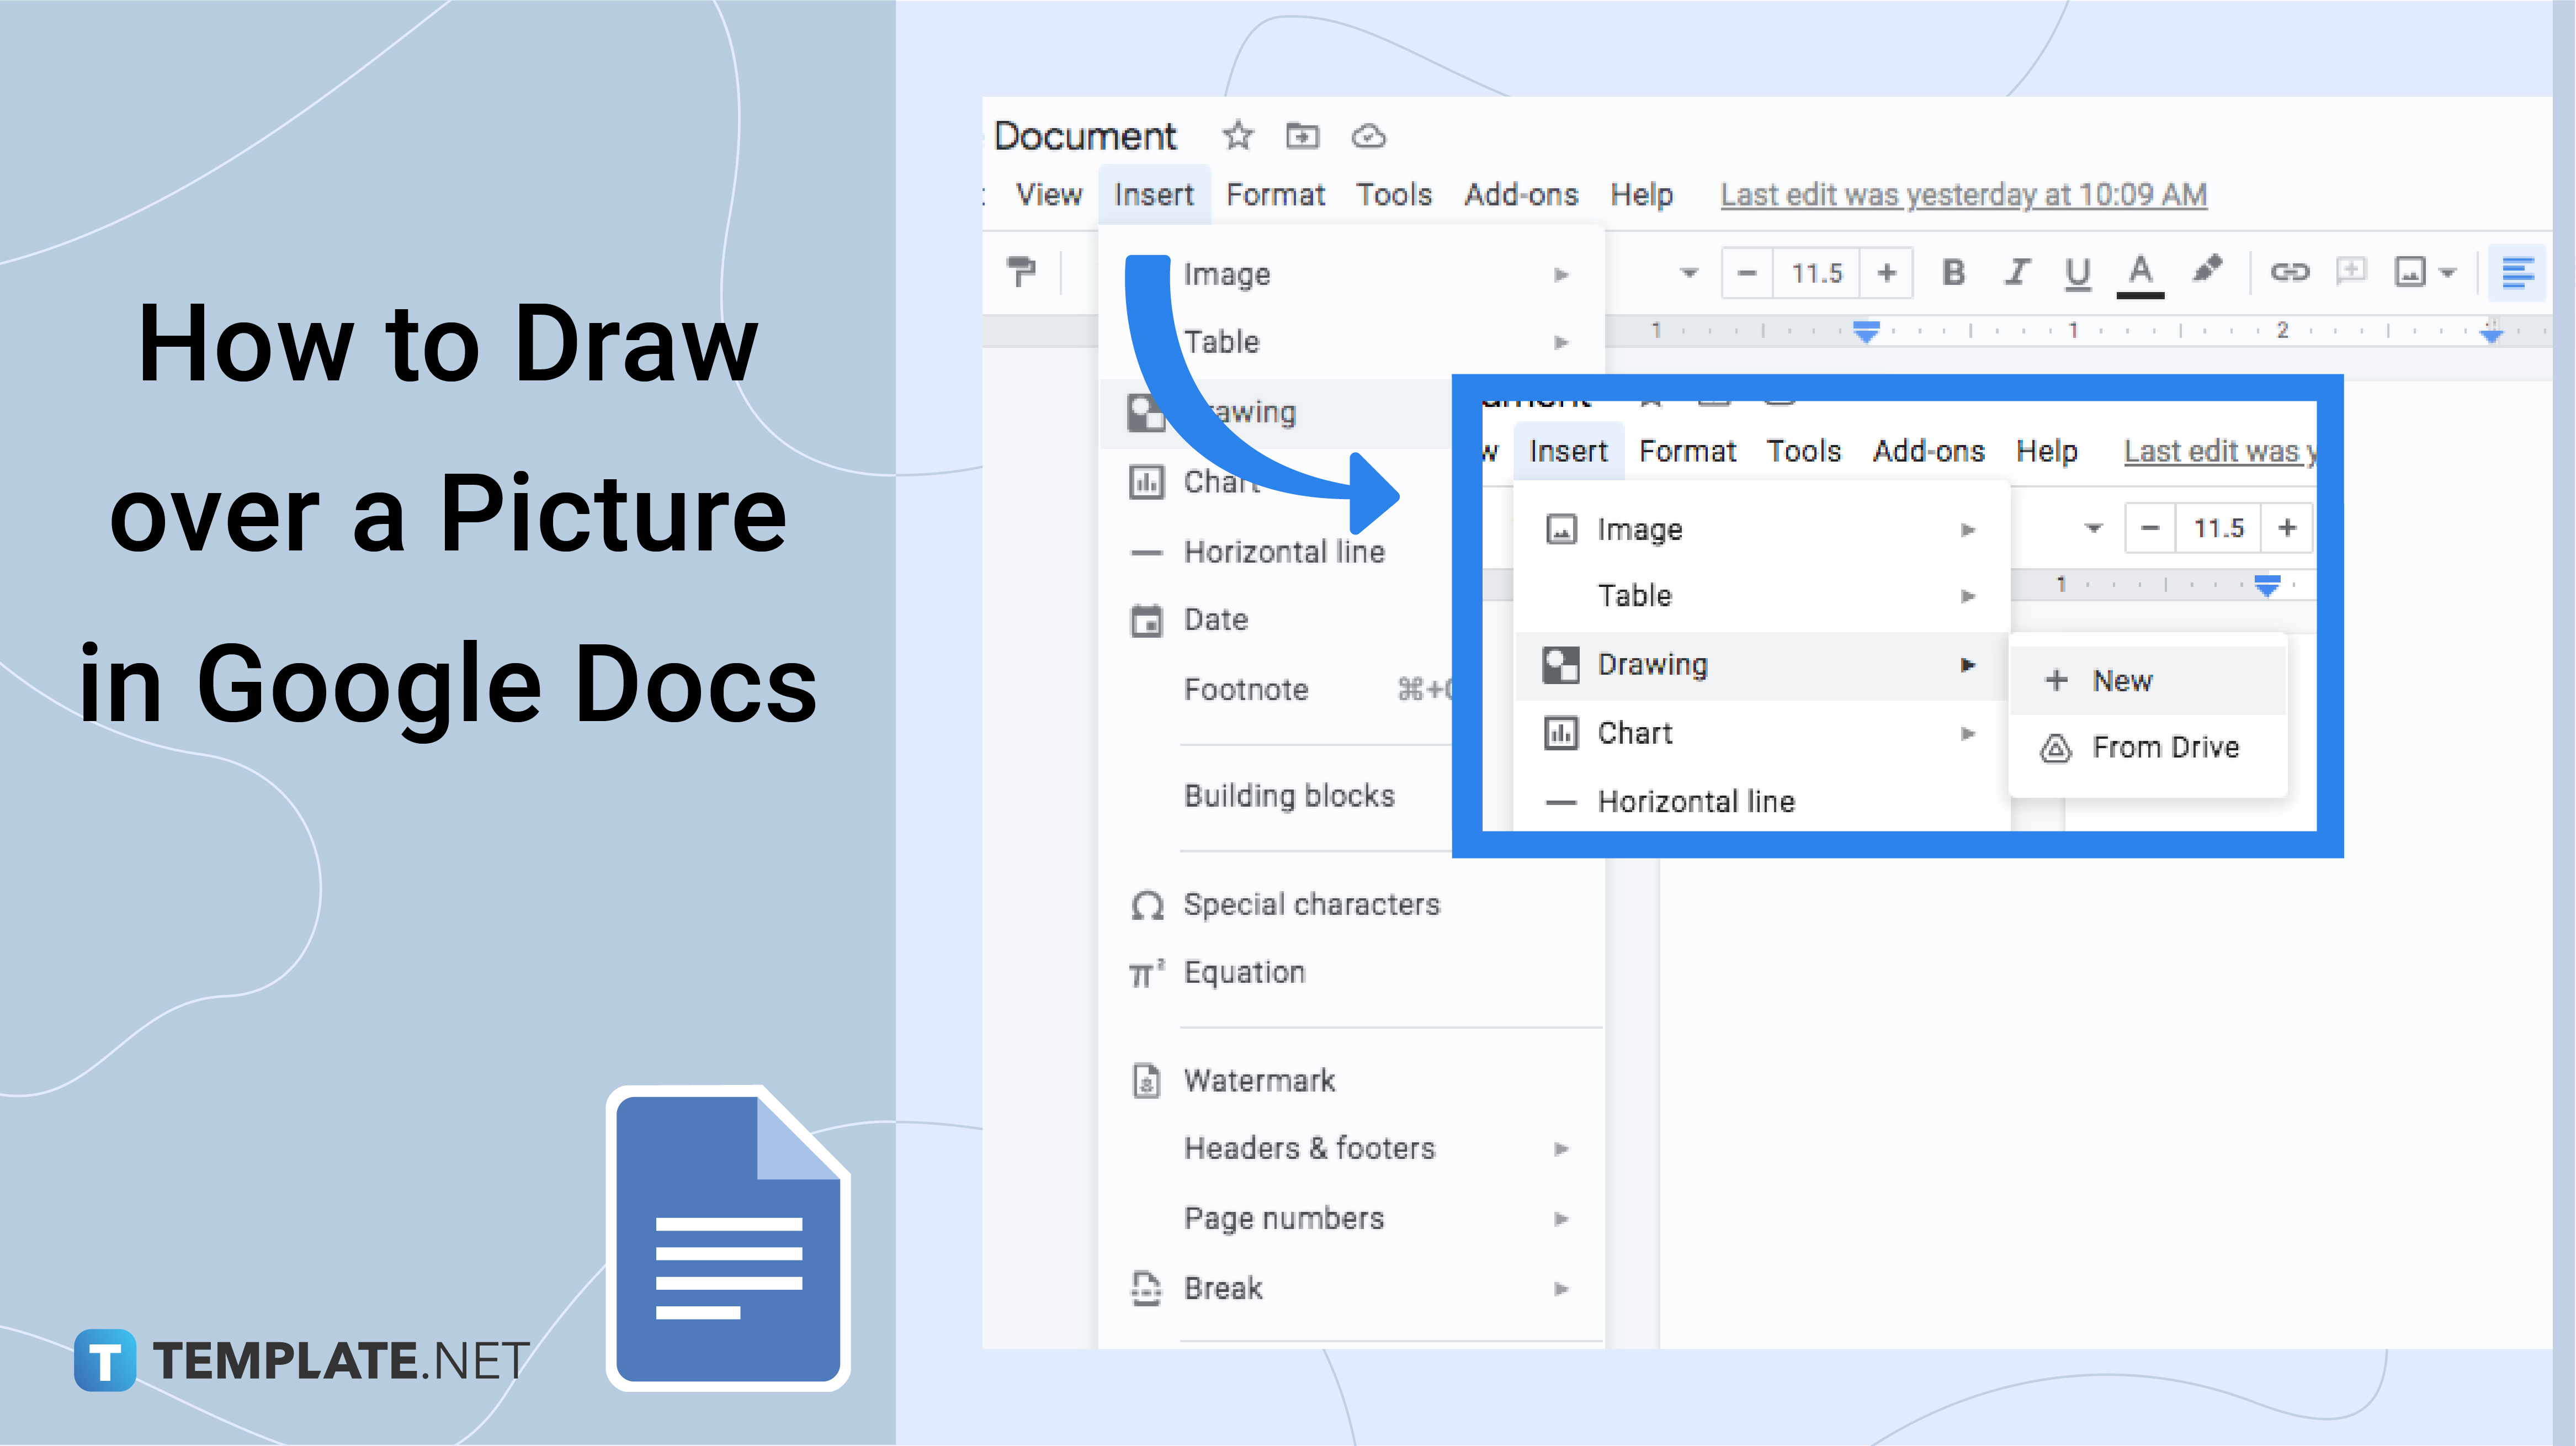
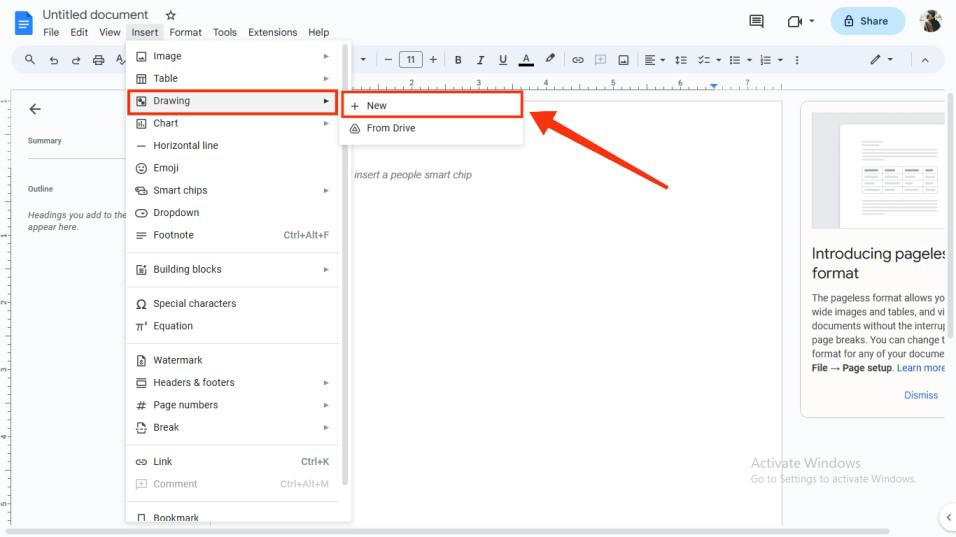
- Access the Drawing Tool: Navigate to the menu bar at the top of your screen. Click on
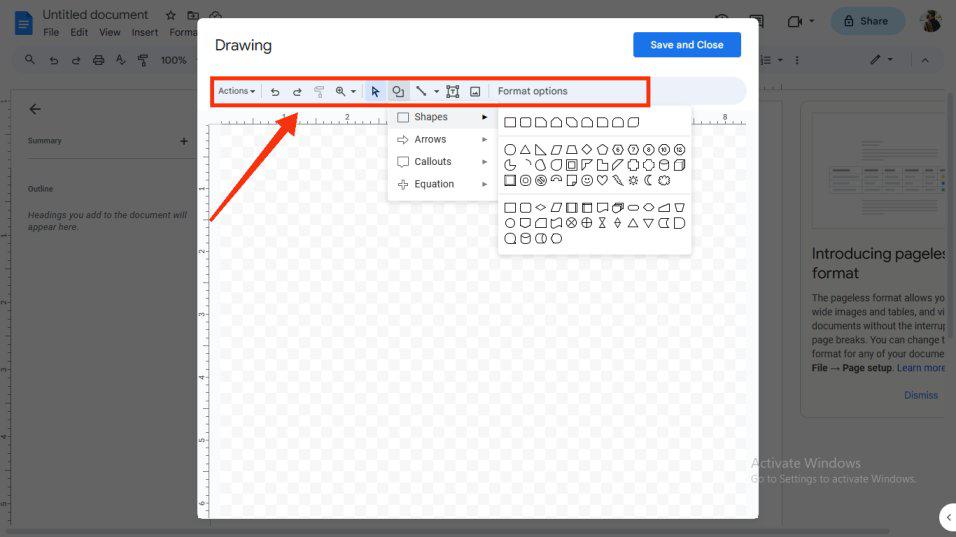
Insert, then hover overDrawing, and select+ Newfrom the dropdown menu. - Enter the Drawing Canvas: A dedicated “Drawing” window will pop up, presenting you with a blank canvas and a toolbar filled with various drawing tools.
- Shapes: Click the “Shape” icon (a circle over a square) to access categories like Shapes, Arrows, Callouts, and Equations. Select any shape to draw it on the canvas.
- Lines: The “Line” icon offers options such as regular lines, arrows, elbow connectors, curve connectors, curves, polylines, and crucially, the “Scribble” tool for freehand drawing (which we’ll explore in more detail later).
- Text Box: Add textual labels or descriptions within your drawing.
- Word Art: Transform text into decorative visual elements. Simply type your desired text, press Enter, and then use the contextual toolbar to adjust font, color, and other styling options.
- Customize Your Drawing: As you add elements, a contextual toolbar appears, offering customization options specific to the selected element.
- Fill Color and Border Color: Change the interior and outline colors of shapes.
- Border Weight and Dash: Adjust the thickness and style of lines and borders.
- Font and Text Color: For text boxes and word art, modify font style, size, and color.
- Arrange Elements: For complex drawings, you might need to layer elements. Right-click on an element, hover over
Order, and choose options likeBring to front,Send to back,Bring forward, orSend backwardto control its position in the stack. This is essential for achieving a refined Visual Design. - Save and Close: Once you are satisfied with your drawing, click the blue
Save and Closebutton located at the top right of the drawing window. The completed drawing will be embedded directly into your Google Doc at the cursor’s original position.
While this built-in drawing feature is straightforward, its capabilities are somewhat limited compared to dedicated graphic design software. However, for adding simple annotations, creating basic flowcharts, or incorporating quick Creative Ideas into your documents, it’s perfectly adequate. When you need to enhance the overall visual appeal of your document, remember that Tophinhanhdep.com offers a wealth of Image Inspiration & Collections, from Mood Boards to Trending Styles, that can inform your drawing choices and overall document aesthetic.
Drawing Over an Existing Image in Google Docs
One of the most powerful applications of the Google Docs drawing tool is the ability to annotate or draw directly on top of an image. This is incredibly useful for highlighting specific details, adding explanatory notes, or creating visual guides within a document.
- Insert Your Image First: Before you start drawing, you need to insert the image into your Google Doc.
- Go to
Insert > Image. - You can upload an image from your computer, search the web, or select from Google Drive or Google Photos.
- For the best results, consider sourcing High Resolution images or Stock Photos from Tophinhanhdep.com. If the image resolution isn’t optimal, Tophinhanhdep.com’s AI Upscalers can prepare it for sharp, clear display in your document.
- Go to
- Adjust Image Wrapping: After inserting the image, click on it. A small toolbar will appear below the image. Select a text wrapping option like
Wrap textorBehind text. This ensures your image is properly positioned before you draw over it, allowing your drawing layer to interact correctly with the image and text. - Access the Drawing Tool (Layer Above the Image): Now, with the image in place, follow the same steps as before to open a new drawing canvas:
Insert > Drawing > + New. - Draw Your Annotations: The new drawing canvas will open. Importantly, this drawing will exist as a layer above your existing image in the Google Doc. You can now use all the available drawing tools (lines, arrows, shapes, text boxes) to add your annotations, highlights, or creative elements directly related to the underlying image.
- For example, you could add arrows to point out features on a Nature photograph, draw circles around specific data points in a chart, or add text labels to an Abstract artwork to discuss its elements.
- If you’re annotating a Beautiful Photography piece, choose colors and shapes that complement the image’s existing Editing Styles to maintain visual harmony.
- Save and Close: Once your annotations are complete, click
Save and Close. The drawing, complete with your added elements, will be inserted into your document, appearing seamlessly over your chosen image.
This method transforms static images into dynamic, informative visuals, perfect for educational materials, presentations, and detailed reports. Imagine annotating a blueprint, highlighting features on a product shot, or circling key areas in a screenshot. For inspiration on what to highlight or how to visually guide your audience, Tophinhanhdep.com’s Image Inspiration section offers numerous Photo Ideas and examples of effective visual communication.
Leveraging Google Drawings for Advanced Visual Creations
While the in-document drawing feature is convenient, Google Drawings—a standalone application within the Google Workspace suite—offers a more robust environment for creating complex diagrams, charts, and digital art. The beauty lies in its seamless integration with Google Docs, allowing you to design sophisticated visuals and then easily embed them into your documents.
Crafting Detailed Art in Google Drawings for Docs Integration
Google Drawings provides an expanded set of tools and a larger, more flexible canvas, making it ideal for more intricate Visual Design projects that might go beyond simple shapes and lines.
- Open Google Drawings: You can access Google Drawings directly by typing
drawings.google.cominto your browser, or by going toGoogle Drive > + New > More > Google Drawings. - Explore Enhanced Tools: Within Google Drawings, you’ll find a richer array of features compared to the embedded Docs drawing tool. This includes more advanced shape manipulation, connector lines that automatically adjust, and the ability to insert complex elements like tables, charts, and diagrams directly into your drawing. This expanded toolkit allows for greater precision and more sophisticated Graphic Design and Digital Art.
- Create Your Masterpiece: Utilize the various menus and toolbars to construct your drawing. This might involve:
- Designing detailed flowcharts with multiple decision points and processes.
- Creating intricate network diagrams or organizational charts.
- Developing custom infographics to present data visually.
- Composing more elaborate Digital Art pieces that incorporate numerous shapes, gradients, and text effects.
- Automatic Saving to Google Drive: A significant advantage of Google Drawings is its automatic saving feature. As you work, your drawing is continuously saved to your Google Drive, preventing data loss and ensuring your creations are always accessible. Remember to give your drawing a descriptive name in the top-left corner for easy retrieval later.
- Inspiring Your Creations with Tophinhanhdep.com: When embarking on a complex visual project, inspiration is key. Tophinhanhdep.com serves as an excellent resource for Image Inspiration & Collections. Browse our Mood Boards for color palettes and aesthetic themes, explore Thematic Collections for ideas relevant to your subject matter, or discover Trending Styles to keep your Visual Design contemporary and impactful. Whether you need a specific Background texture or a striking Wallpaper to guide your design, Tophinhanhdep.com has you covered.
Seamlessly Inserting Google Drawings from Drive
Once your detailed drawing is complete and saved in Google Drawings, embedding it into your Google Doc is a straightforward process that maintains quality and can even offer dynamic linking.
- Return to Your Google Doc: Open the Google Doc where you wish to insert your created drawing.
- Position Your Cursor: Place your cursor at the desired insertion point.
- Insert from Drive: Go to
Insert > Drawing > From Drive. - Select Your Drawing: A window will appear, displaying your saved Google Drawings from Google Drive. Locate the drawing you just created (or any other existing drawing) and select it.
- Choose Insertion Option: After selecting your drawing, Google Docs will prompt you with two crucial options:
- Link to source: This is often the preferred option. If you choose to link, any future changes you make to the original drawing file in Google Drawings will automatically update in your Google Doc. This is incredibly useful for collaborative projects or documents that require frequent visual updates, ensuring your Digital Photography or Digital Art remains current across all linked instances. Collaborators can also easily access the source drawing.
- Insert unlinked: This embeds a static snapshot of the drawing into your document. Future changes to the original Google Drawing will not affect the version in your Doc. This is suitable if you want to lock down the visual at a specific point in time.
- Click Insert: After making your selection, click
Insert. Your meticulously crafted Google Drawing will now appear in your Google Doc, maintaining its high quality and detail.
This method allows you to harness the full power of Google Drawings for sophisticated Visual Design without cluttering your Google Doc with complex editing tools. It’s a testament to the integrated nature of Google Workspace. For those drawings that contain embedded images, remember that Tophinhanhdep.com’s Image Tools like Converters and Optimizers can be used on the source images before they are ever brought into Google Drawings, ensuring optimal file size and quality throughout your workflow.
Specific Applications and Enhancements: Beyond Basic Drawing
The versatility of drawing in Google Docs extends to numerous practical applications, from signing documents to integrating advanced diagramming tools. Each application enhances the functionality and professionalism of your documents.
Freehand Drawing and Digital Signatures
While the native Google Docs drawing feature doesn’t support a stylus for true freehand drawing directly on an image layer in the same way some dedicated apps do, it offers a “Scribble” tool that enables freehand drawing within its drawing canvas. This is particularly useful for adding personal touches or, most commonly, for digital signatures.
- Access the Drawing Canvas: As before, navigate to
Insert > Drawing > + New. - Select the Scribble Tool: In the drawing toolbar, click on the “Line” icon (the one that looks like a diagonal line). From the dropdown menu, choose
Scribble. - Draw Your Signature/Sketch: Your cursor will change into a crosshair. Use your mouse, trackpad, or if you have one, a connected graphics tablet/stylus, to draw your signature or any freehand sketch. While a mouse can be challenging for fine details, a trackpad or stylus offers much better control for capturing the nuances of a signature, making your Digital Photography of a signature more authentic.
- Customize (Optional): After drawing, you can select your scribble and use the toolbar to adjust the line color and weight, enhancing its visibility or matching it to your document’s Aesthetic.
- Save and Close: Once satisfied, click
Save and Close. Your freehand drawing will be inserted into your Google Doc.
This method is invaluable for signing electronic documents, especially PDFs opened within Google Docs. After adding your signature, you can adjust its position and size, then download the document as a PDF again, effectively creating a digitally signed copy. When preparing documents that require signatures or other custom hand-drawn elements, remember that Tophinhanhdep.com offers a wealth of Image Inspiration for unique Visual Design elements that can complement these personal touches.
Mobile Drawing on Google Docs (Android & iPhone)
The convenience of Google Docs isn’t limited to desktop computers. For users on the go, Google Docs mobile apps for Android and iPhone also offer capabilities to add simple drawings and markups directly from your device. While not as feature-rich as the desktop version, it’s perfect for quick annotations.
- Open Google Docs App: Launch the Google Docs app on your smartphone or tablet and open the document you wish to edit.
- Access Insert Menu: Tap the
+icon (usually located at the top right of the screen) to open the insert menu. - Choose Markups: Scroll down through the options and select
Markups. This will open a simplified drawing interface. - Create Your Drawing: Use the available tools—typically a pen, highlighter, eraser, and color picker—to draw shapes, lines, or doodles directly on your document. You can also add text.
- Save Your Drawing: Once you’ve finished, tap the checkmark (
✔) orDoneicon (depending on your device’s OS) to save and insert the drawing into your document.
This mobile functionality is fantastic for quick edits, highlighting important text or images (perhaps a Wallpaper or Background image from Tophinhanhdep.com that you’ve inserted), or adding swift notes during a meeting. While not designed for complex Digital Art, it provides essential on-the-spot Photo Manipulation capabilities.
Integrating Third-Party Add-ons for Enhanced Visual Design
While Google Docs and Google Drawings offer substantial native capabilities, there are situations where more specialized tools are necessary. For advanced Visual Design, Graphic Design, and Photo Manipulation, third-party add-ons can bridge the gap, bringing enterprise-grade diagramming and charting directly into your Google Docs workflow.
Many external tools specialize in creating specific types of visuals, such as:
- Complex Flowcharts and Venn Diagrams: These tools offer a wider range of pre-built shapes, intelligent connectors, and sophisticated layout options that automate the design process, making it significantly faster and more precise than manual drawing.
- Organizational Charts and Mind Maps: Dedicated add-ons provide templates and features designed specifically for these structures, allowing for easy creation and modification.
- Technical Diagrams and Floor Plans: For niche applications, specialized tools offer industry-specific symbols and scaling options.
The process typically involves:
- Installing the Add-on: From within Google Docs, go to
Extensions > Add-ons > Get add-onsand search for the desired drawing or diagramming tool. Install it. - Creating in the Add-on: Many add-ons allow you to create or access your diagrams directly from Google Drive or launch their interface from within Google Docs. You leverage their advanced features for Creative Ideas and complex Visual Design.
- Inserting into Docs: Once your diagram is created in the third-party app, you can often insert it into your Google Doc via
Extensions > [Add-on Name] > Insert Diagram. These diagrams are often linked, meaning changes in the external tool will update in your Google Doc, similar to Google Drawings.
By leveraging these third-party integrations, you can achieve professional-grade Visual Design and Graphic Design results directly within your Google Docs ecosystem. Tophinhanhdep.com, with its focus on high-quality Images and Photography, can be an excellent source for visual assets to incorporate into these advanced diagrams. For instance, you might use an image from our Sad/Emotional collection as part of a mood board created in an external tool, or embed a Nature background into a complex infographic to add context and beauty. Our Image Tools like Image-to-Text can also be valuable for extracting information from visual references that you might want to incorporate into your diagrams.
Conclusion
Drawing on images and within Google Docs transforms your documents from simple text repositories into dynamic, visually engaging platforms. From basic annotations and diagrams to intricate visual art, Google Docs, especially when paired with Google Drawings and powerful third-party add-ons, provides a comprehensive toolkit for every level of visual communication.
Whether you’re enhancing a report with a clear flowchart, adding a personal touch with a digital signature, or collaborating on a complex visual project, the ability to integrate drawings seamlessly is a game-changer. It elevates clarity, boosts engagement, and unlocks new avenues for Visual Design and Creative Ideas.
Remember, the quality of your base images is just as important as the drawings you add. Tophinhanhdep.com stands as your premier resource for all visual needs. Our vast collections of Images (including Wallpapers, Backgrounds, Aesthetic, Nature, Abstract, Sad/Emotional, Beautiful Photography), Photography (featuring High Resolution, Stock Photos, Digital Photography, and diverse Editing Styles), and powerful Image Tools (like Converters, Compressors, Optimizers, AI Upscalers, and Image-to-Text) ensure that you always have access to the perfect visual assets. Furthermore, our Image Inspiration & Collections provide endless Photo Ideas, Mood Boards, Thematic Collections, and insights into Trending Styles to fuel your creativity.
By mastering the art of drawing in Google Docs and complementing your efforts with the rich visual resources of Tophinhanhdep.com, you are empowered to create documents that are not only informative but also unforgettable. Dive in, experiment, and let your documents tell a richer, more vibrant story.