Mastering Image Placement in InDesign: Linking, Embedding, and Best Practices for Visual Design

In the dynamic world of visual communication, images are the cornerstone of impactful design. Whether you’re crafting a sleek brochure, an engaging magazine layout, or a vibrant digital publication, the quality and integration of your visuals dictate the success of your project. At Tophinhanhdep.com, we understand the profound power of compelling imagery – from breathtaking nature photography and evocative aesthetic backgrounds to thought-provoking abstract art and high-resolution stock photos. Bringing these stunning visuals into professional layout software like Adobe InDesign requires a nuanced understanding of placement techniques, particularly the critical decision between linking and embedding images.
InDesign, a pillar of graphic design and digital art, offers robust features for handling various image types. But the way an image is incorporated into your document can significantly impact file size, editability, and collaborative workflows. This comprehensive guide will delve into the intricacies of linking and embedding images in InDesign, providing practical steps, strategic insights, and advanced tips to ensure your visual designs are not only beautiful but also efficient and perfectly optimized. We’ll explore how these methods align with the diverse image resources and tools available at Tophinhanhdep.com, helping you create stunning visual narratives with confidence.

Understanding the Fundamentals: Linked vs. Embedded Images
When you introduce an image into an InDesign document, the software provides two primary methods for managing that image data: linking and embedding. Each approach carries distinct advantages and disadvantages that can influence your workflow, file size, and the ease of future modifications.
The Linked Image Workflow: Flexibility and Efficiency

The default and generally recommended method for placing images in InDesign is linking. When you “place” an image using the File > Place command, InDesign doesn’t actually insert the full image data into your document. Instead, it creates a low-resolution preview (or “proxy”) of the image within the InDesign file and establishes a connection, or “link,” to the original high-resolution image file on your computer or network.
This linked workflow offers significant benefits, especially when dealing with the kind of high-resolution photography, intricate wallpapers, or detailed backgrounds that Tophinhanhdep.com specializes in.
- Smaller File Sizes: By only storing a preview and a link, your InDesign document remains relatively small. This is crucial for performance, especially when working with many images or large, graphically intensive files. Imagine integrating a gallery of beautiful photography or an extensive collection of aesthetic backgrounds; linking prevents your InDesign file from becoming unwieldy.
- Dynamic Updates: One of the most powerful features of linked images is their dynamic nature. If the original image file (the source file) is modified in an external editing application like Adobe Photoshop or Illustrator—perhaps you’ve applied new editing styles, performed photo manipulation, or adjusted colors—InDesign will detect these changes. A small warning icon will appear in the Links panel and often directly on the image frame in your layout. With a simple click, you can update the image in InDesign to reflect the latest version of the source file. This seamless integration is invaluable for iterative design processes and ensures consistency across your projects.
- Collaboration and Version Control: In team environments, linking allows multiple designers to work on different aspects of a project simultaneously, with changes to source images updating across all linked InDesign documents. It also facilitates easier version control of your image assets.
How to Place Linked Images: There are several straightforward ways to bring linked images into your InDesign document:
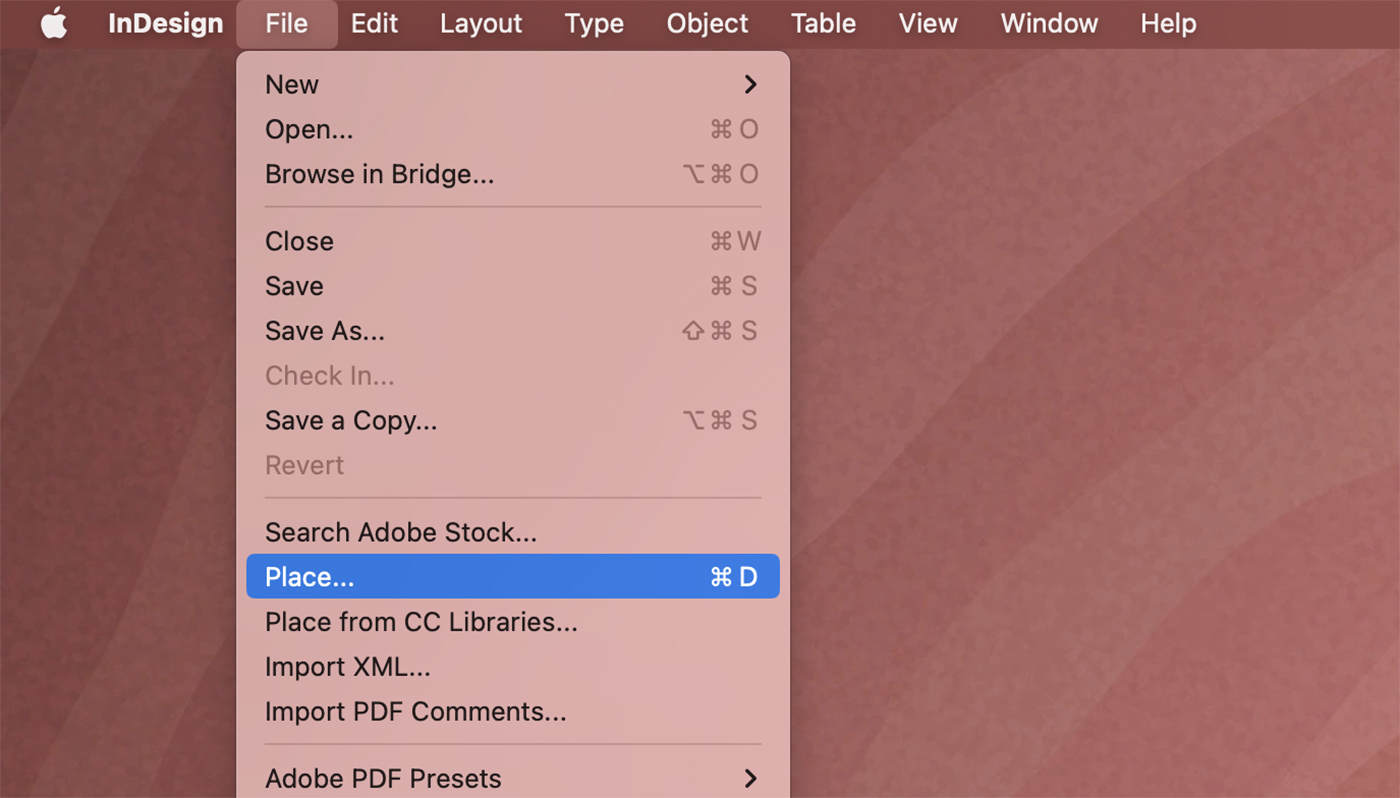
- File > Place (Cmd/Ctrl + D): This is the most common method. After selecting
File > Place, navigate to your desired image file (e.g., a stunning nature image, an abstract digital art piece, or a high-resolution stock photo from Tophinhanhdep.com).- Click to Place: Click once on your page, and InDesign will place the image at its original size.
- Click and Drag: Click and hold, then drag to define a frame for the image. The image will scale to fit this frame while maintaining its proportions.
- Shift-Drag for Proportions: Hold
Shiftwhile dragging to constrain the proportions, allowing you to quickly size your image within the layout. - Placing into Existing Frames: If you have an empty frame already drawn, you can select it before choosing
File > Placeand check the “Replace Selected Item” option in the dialog box, or simply roll your loaded cursor over the empty frame to place the image within it.
- Drag and Drop: For quick placement, you can drag an image file directly from your desktop or a folder into your InDesign document. This acts similarly to the “Click and Drag” method of
File > Place.
The Links panel (Window > Links or Cmd/Ctrl + Shift + D) is your command center for managing all linked graphics. It displays a list of all placed images, their status (e.g., up-to-date, modified, missing), file type, and location. This panel is indispensable for maintaining a clean and efficient workflow, especially when working with extensive image collections or mood boards sourced from Tophinhanhdep.com.
Embracing Embedded Images: Self-Contained Convenience
In contrast to linking, embedding an image means that the actual image data is fully incorporated and stored within the InDesign document itself. Once embedded, the image no longer relies on an external source file on your disk.
While linking is typically preferred, embedding serves specific purposes, particularly for certain types of visual design elements or project delivery scenarios.
- Self-Contained Files: The primary advantage of embedding is that your InDesign document becomes entirely self-sufficient. There’s no risk of “missing links” if you move the original source image file, share the InDesign document with someone else who doesn’t have access to your local files, or archive a project. This can be particularly useful for small, critical graphics that are part of your core visual identity.
- Stability for Small Graphics: For small vector logos (like a 200KB graphic) or icons, embedding can be a perfectly viable and convenient option. These graphics are unlikely to undergo frequent changes, and their small file size won’t dramatically inflate your InDesign document.
However, embedding comes with notable drawbacks that warrant caution:
- Increased File Size: The InDesign document’s file size will increase directly proportional to the size of the embedded images. Embedding several large, high-resolution images (such as beautiful photography or detailed nature wallpapers from Tophinhanhdep.com, which can easily be several megabytes) can quickly bloat your document, leading to slower performance and larger file transfers. This is where Tophinhanhdep.com’s image tools like Compressors and Optimizers become incredibly relevant if embedding is truly necessary, as they can reduce image file sizes before placement.
- Editing Challenges: Embedded images lose their dynamic link to an external source. If you need to edit an embedded image, you must first “unembed” it, save it as a new external file, make your changes, and then re-place or re-embed it. This adds extra steps to your workflow and can be cumbersome for iterative editing styles or photo manipulation.
- No Automatic Updates: Since the embedded image is no longer linked to an external source, any changes made to what was once its original file will not be reflected in your InDesign document.
How to Embed an Image:
- Place the image first (as a linked graphic): Start by placing the image using the
File > Placecommand as you normally would. - Select the image: Select the image frame on your page or select its entry in the Links panel.
- Embed from Links Panel: Open the Links panel (
Window > Links). Click on the panel menu (the small icon with horizontal lines in the top right corner) and chooseEmbed Link.- An embedded image will display a distinctive square icon next to its name in the Links panel, signifying its self-contained status.
Unembedding an Image: Should you need to revert an embedded image to a linked one for editing or workflow flexibility:
- Select the embedded image: Select the image on the page or in the Links panel.
- Choose Unembed Link: From the Links panel menu, select
Unembed Link. - Relink or Save: InDesign will prompt you to relink to the original file (if it’s still in its original location) or save the embedded image out to a new file on disk, effectively creating a new linked source. This allows you to resume a traditional linked workflow and integrate it into broader visual design or graphic design processes.
Practical Steps for Inserting and Managing Images in InDesign
Efficiently integrating images into your InDesign projects is a fundamental skill for any visual designer. Beyond merely placing files, effective management ensures consistency, high quality, and a streamlined workflow, especially when dealing with the diverse image collections available on platforms like Tophinhanhdep.com.
Placing Images: Multiple Approaches for Seamless Integration
Regardless of whether you intend to link or embed, the initial step involves getting your images into the InDesign document. As discussed, InDesign offers flexible methods to accommodate various design scenarios.
- The “File > Place” Command (Cmd/Ctrl + D): This remains the most robust method for inserting images.
- Preparation: Before using this command, consider creating empty image frames (
Rectangle Frame Tool) on your page. These serve as placeholders and allow you to pre-determine the layout’s structure. - Selection: After invoking
File > Place, a dialog box will appear. Navigate to your desired image files. You can select single or multiple images. - Placement Options:
- Clicking an Empty Frame: If you pre-selected an empty frame, or roll your loaded cursor over one, the image will be placed directly into it, often scaling to fit.
- Clicking on the Page: A single click on an empty area of the page will place the image at its 100% original size, with its top-left corner at your click point. This is ideal for bringing in high-resolution digital photography where precise original sizing might be important initially.
- Click-and-Drag: Click, hold, and drag your cursor to define a custom frame size. The image will be placed and scaled to fit this drawn frame, maintaining its aspect ratio.
- Shift-Click-and-Drag: While dragging, holding
Shiftwill allow you to place the image into a frame with different proportions than the image itself. You may need to adjust the image’sFitting Options(underObject > Fitting) afterwards to ensure it displays correctly within this new frame. Common fitting options includeFill Frame ProportionallyorFit Content Proportionally.
- Preparation: Before using this command, consider creating empty image frames (
- Drag and Drop from Desktop/Finder/Explorer: For a quick and intuitive approach, simply drag image files directly from your operating system’s file browser (Finder on macOS, File Explorer on Windows) onto your InDesign page. This functions much like the click-and-drag method of
File > Place, giving you immediate visual feedback on placement. - Leveraging Object Styles for Consistency: For repetitive tasks or to maintain a consistent visual design across a document (e.g., all portrait images should fit a certain frame style, or all product photos should have a specific border), consider creating
Object Styles. An object style can automatically apply fitting options, strokes, effects, and even basic text wrap settings to a frame upon image placement, significantly speeding up your workflow. This is particularly useful when working with thematic collections or large sets of images for a digital art project.
Display Performance for High-Quality Previews:
InDesign uses proxy images to improve performance. By default, these proxies might appear pixelated, especially for high-resolution images. To ensure you’re seeing your images in their full glory without slowing down your computer too much, right-click on an image or go to View > Display Performance and choose High Quality Display. Remember to revert to Typical Display or Fast Display for heavy documents to maintain smooth operation.
The Links Panel: Your Command Center for Image Assets
The Links panel (Window > Links) is an indispensable tool that every InDesign user should master. It acts as a dashboard for all your placed (linked or embedded) image and graphic files.
-
Identifying Status and Type:
- Linked Images: These are indicated by a standard link icon (often resembling a chain link) and show the file path to their external source.
- Embedded Images: These are easily identified by a unique square icon within the Links panel, signifying that their data resides entirely within the InDesign document.
- Status Icons: The panel uses various icons to communicate the status of your links:
- Up-to-date: The image is current with its source file.
- Modified: The external source file has been changed since it was placed in InDesign. You’ll see a small yellow triangle with an exclamation mark. Clicking this icon or selecting
Update Linkfrom the panel menu will refresh the image in your document. - Missing: The external source file cannot be found (it may have been moved, renamed, or deleted). This appears as a red circle with a question mark. You’ll need to
Relinkto the correct file location.
-
Managing Links:
- Relinking: If a file goes missing, you can select its entry in the Links panel and click the
Relinkbutton (a chain link icon) or chooseRelinkfrom the panel menu to point InDesign to its new location. - Updating: For modified linked files, the
Update Linkbutton (a circular arrow) quickly brings the latest version into your document. - Editing Original: You can select an image in the Links panel and click
Edit Original(a pencil icon) to open the image directly in its native editing application (e.g., Photoshop for JPEGs, Illustrator for AI files). After editing and saving, InDesign will detect the change and prompt you to update the link. - Embedding/Unembedding: The
Embed LinkandUnembed Linkcommands are also accessible from the Links panel menu, allowing you to switch between these two states as needed.
- Relinking: If a file goes missing, you can select its entry in the Links panel and click the
Mastering the Links panel ensures that your image assets are always current, correctly located, and efficiently managed, supporting the integrity of your visual design projects from initial concept to final output.
Strategic Image Management: When to Link, When to Embed
The choice between linking and embedding images is not a trivial one; it’s a strategic decision that profoundly impacts your InDesign workflow, file integrity, and the overall efficiency of your visual design projects. The optimal approach depends heavily on the project’s requirements, the nature of the images, and the collaboration environment.
When to Prioritize Linking
For the vast majority of professional InDesign projects, especially those leveraging the rich visual content from Tophinhanhdep.com, linking images is the superior choice.
- Large and High-Resolution Images: If you’re working with high-resolution photography, detailed nature wallpapers, aesthetic backgrounds, or other large image files (e.g., several megabytes each), linking is essential. Embedding such files would quickly inflate your InDesign document, leading to slow performance, frequent crashes, and extremely large files that are difficult to share or archive.
- Images Undergoing Frequent Edits: In creative processes involving digital photography, photo manipulation, or applying various editing styles, images often require multiple rounds of revisions in external applications. Linking ensures that any updates made in Photoshop, Illustrator, or other tools are seamlessly reflected in InDesign by simply updating the link. This dynamic workflow is critical for agile design.
- Collaborative Projects: When multiple designers are working on a project or when a single image is used across several InDesign documents, linking simplifies collaboration. All team members can access and update the shared source files, ensuring consistency and reducing redundancy.
- Maintaining Optimal InDesign File Performance: A lean InDesign file loads faster, saves quicker, and performs more smoothly. Linking is key to maintaining this efficiency, preventing your software from becoming bogged down by excessive embedded data.
When to Consider Embedding
While generally less common, there are specific scenarios where embedding an image can be advantageous.
- Small, Static Graphics: Embedding is suitable for small, stable graphics such as vector logos (especially if they are unlikely to change), icons, or other minor design elements that are not expected to be updated frequently. The minimal impact on file size is negligible for these assets.
- Delivering Standalone Files to Clients: If you need to send an InDesign document to a client or a printer who may not have access to your linked image files, embedding critical, small elements can ensure they appear correctly. However, for larger projects, packaging the InDesign file (which gathers all linked assets) is a more robust solution.
- Archiving and Portability for Specific Elements: When the original source file for a particular graphic might be moved, deleted, or become inaccessible in the future, embedding it ensures that the image remains intact within the InDesign document. This provides a level of future-proofing for specific, non-editable assets.
Using Image Tools for Smart Embedding: If you decide to embed certain images, particularly from your curated collections of aesthetic or abstract images on Tophinhanhdep.com, consider pre-processing them. Utilizing Tophinhanhdep.com’s recommended Image Tools like Compressors and Optimizers can significantly reduce the file size of your images before embedding, mitigating some of the drawbacks associated with larger InDesign documents. For slightly lower resolution images that need to appear crisp, an AI Upscaler might be useful before placement.
Advanced Considerations for Visual Design and Multilingual Projects
Beyond the technicalities of linking and embedding, truly mastering image integration in InDesign involves a broader strategic perspective, especially when dealing with complex visual designs or documents intended for global audiences. The types of images you use—from sad/emotional compositions to thematic collections—and how you prepare them, are crucial.
Handling Images with Text: A Key Decision for Global Reach
One of the most critical decisions in visual design, particularly for documents that will be translated into multiple languages, concerns images that contain textual elements.
Why Placing Text Within the Image is Problematic (Generally Not Recommended): It might seem convenient to create images with text already “burned in” (e.g., a JPEG with a caption or label as part of the pixel data). However, this approach presents significant challenges for professional graphic design and localization:
- Translation Nightmares: For multilingual projects, every image containing text would need to be recreated and re-exported for each language. This leads to numerous image duplicates, increasing file management complexity and the risk of using an untranslated or incorrect image.
- Loss of Editability and Control: Text embedded within an image cannot be spell-checked by InDesign, nor can it utilize InDesign’s robust typographic features (paragraph styles, character styles, OpenType features). Editing a typo requires opening the image in an external editor, making the change, saving, and then updating the link in InDesign. This is incredibly inefficient for creative ideas and iterative changes.
- Quality Degradation: Text rendered as part of an image (especially raster images) can appear pixelated or less crisp compared to vector text rendered directly by InDesign, particularly at different zoom levels or print resolutions.
- Accessibility Issues: Text within images is not machine-readable, posing challenges for accessibility tools and search engine optimization.
While Tophinhanhdep.com offers Image-to-Text tools, these are typically for extracting text from existing images, not for creating new images that inherently include text. For new design, it’s generally best to avoid this practice.
Best Practice: Placing Text Labels in InDesign: The recommended and most professional approach is to keep images purely visual and add any accompanying text as separate text frames directly within InDesign.
- Complete Control: This gives you full typographic control over the text, allowing you to apply character and paragraph styles, ensure proper kerning and leading, and leverage InDesign’s powerful spell-check and find/replace features.
- Streamlined Translation: For multilingual documents, only the text frames need to be sent for translation. The base image remains a single asset, drastically simplifying the localization workflow and reducing costs.
- Better Layout and Consistency: Text placed in InDesign integrates more seamlessly with the document’s grid and typography, contributing to a more refined and consistent visual design. You can easily adjust the text box size to accommodate longer translated phrases.
- Grouping and Anchoring for Stability: To ensure text labels stay associated with their respective images:
- Group: Select both the image frame and its associated text frames, then go to
Object > Group(Cmd/Ctrl + G). This treats them as a single movable unit. - Anchor Object: For even greater stability, especially if the layout is dynamic, you can anchor the grouped object to a specific line of text. This makes the image and its labels move with the associated text, maintaining their relative position. Select the grouped object, then go to
Object > Anchored Object > Insertor drag the small blue square on the top right of the image frame to the text flow.
- Group: Select both the image frame and its associated text frames, then go to
Optimizing Your Workflow for Diverse Image Content
The variety of image types available on Tophinhanhdep.com—from inspiring mood boards and trending styles to sad/emotional images and abstract graphics—means your InDesign workflow needs to be adaptable.
- Image Preparation is Key: Before importing any image into InDesign, consider its purpose and final output.
- Resolution: Ensure images have adequate resolution for print (typically 300 ppi) or screen (72 ppi). Using high resolution digital photography from Tophinhanhdep.com will prevent pixelation.
- Color Mode: Convert images to the appropriate color mode (CMYK for print, RGB for digital output) in an image editor.
- Cropping and Sizing: Perform basic cropping and sizing in an image editor before placing them in InDesign. While InDesign can scale and crop, pre-processing reduces file size and ensures optimal performance. Tophinhanhdep.com’s Image Tools like Compressors and Optimizers can be invaluable here.
- Leveraging Tophinhanhdep.com’s Resources:
- Inspiration: Explore the vast collections for photo ideas, thematic collections, or trending styles to elevate your creative ideas.
- Quality Assets: Utilize high-resolution backgrounds, wallpapers, and stock photos to ensure crisp, professional output.
- Image Tools: Don’t forget the power of AI Upscalers for enhancing smaller images that might otherwise look pixelated, or Digital Photography tips for improving your own captures before bringing them into your graphic design projects.
In conclusion, mastering image placement in InDesign is a blend of technical proficiency and strategic decision-making. By understanding when to link and when to embed, diligently managing your assets through the Links panel, and adopting best practices for text integration and image preparation, you can streamline your visual design workflow. Tophinhanhdep.com serves as your comprehensive partner, offering not only a rich repository of diverse images but also the essential image tools and inspiration needed to bring your creative vision to life with precision and impact.