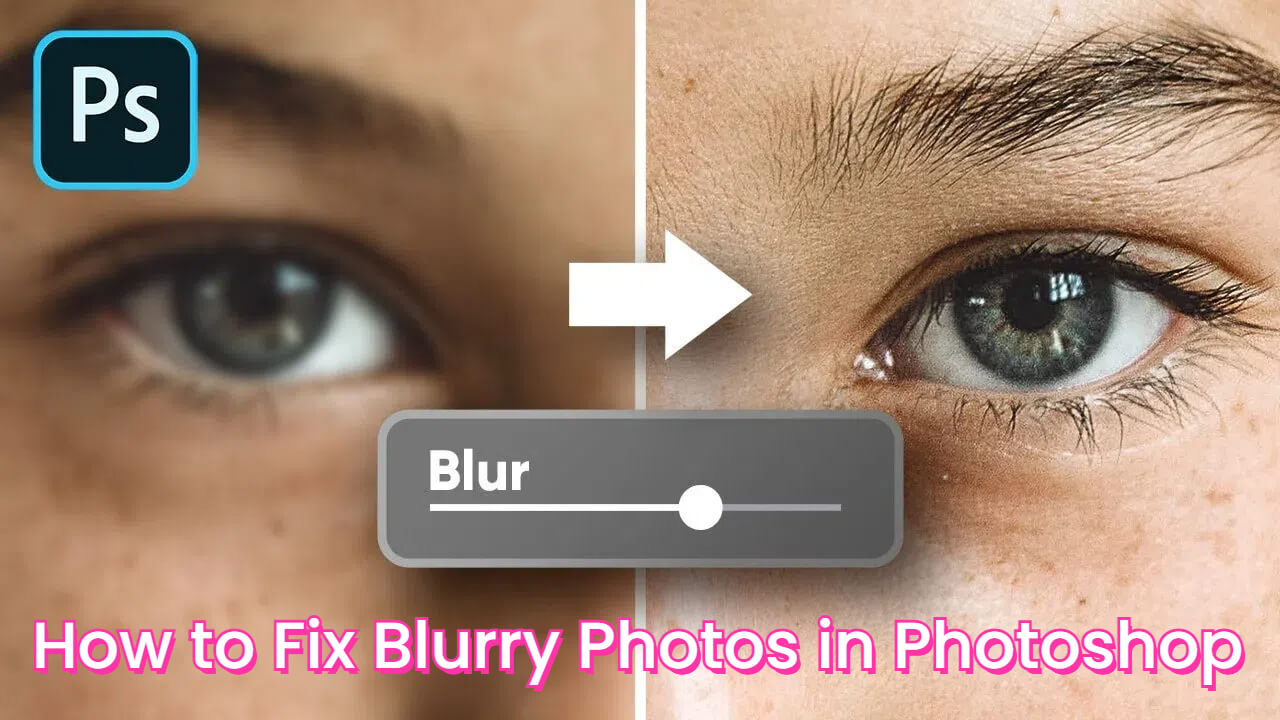
How to Fix Blurry Images: A Comprehensive Guide to Achieving Crystal-Clear Photography

There are few things more frustrating for a photographer, designer, or enthusiast than discovering a cherished memory or a meticulously composed shot has been ruined by blur. Whether it’s a once-in-a-lifetime landscape, a crucial product shot for a stock photo collection, or a personal aesthetic image, blur can severely diminish its quality and impact. But what if those seemingly lost images could be salvaged? What if low-resolution photos could be transformed into high-resolution masterpieces, perfect for wallpapers, backgrounds, or professional portfolios?
The good news is that advancements in image editing software and artificial intelligence have made fixing blurry images more accessible and effective than ever before. On Tophinhanhdep.com, we understand the critical role high-quality visuals play, from stunning nature photography to intricate graphic design. This guide will delve into the common causes of blurry images, offer practical prevention tips, and provide a comprehensive walkthrough of both traditional Photoshop techniques and the revolutionary AI-powered tools available on Tophinhanhdep.com to bring your images back into sharp focus.
Understanding Blurry Images: Causes and Proactive Prevention
Before we dive into the solutions, it’s crucial to understand why images become blurry in the first place. Knowing the root causes not only helps in fixing existing issues but also equips you with the knowledge to prevent blur in your future photography, ensuring consistently crisp and high-resolution results for all your visual design projects and image collections.
Common Reasons Your Photos Lose Sharpness
Blur in photography isn’t a single phenomenon; it can stem from several distinct issues, each requiring a slightly different approach to prevention and correction.
- Camera Shake: This is perhaps the most common culprit. Even the slightest movement of your camera during exposure, especially in low-light conditions or with slower shutter speeds, can result in a blurred image. This manifests as a general softness across the entire frame.
- Improper Focusing: A picture might be blurry if the camera fails to focus accurately on the intended subject. This can be due to user error, insufficient light causing the autofocus system to struggle, or the subject moving outside the depth of field. The blur often appears selectively, with some parts of the image sharp and others soft.
- Motion Blur: Distinct from camera shake, motion blur occurs when a moving subject is captured with a shutter speed too slow to “freeze” its movement. This often creates artistic streaks, but unintentionally, it can ruin the clarity of a dynamic scene, affecting everything from sports photography to capturing playful pets.
- Lens Quality and Aberrations: Sometimes, the issue isn’t with the photographer but with the equipment itself. Lower-quality lenses can introduce chromatic aberrations or optical imperfections that lead to a general lack of sharpness or specific types of blur, especially towards the edges of the frame.
- Atmospheric Conditions: Environmental factors are often overlooked. Haze, fog, mist, or even heat shimmering over long distances can scatter light, reducing contrast and introducing a softening effect on your photographs. This is particularly relevant for landscape or nature photography.
- Aperture Settings (Unintentional Lens Blur): While a wide aperture (smaller f-number like f/2.8) is intentionally used to create beautiful background blur (bokeh) and emphasize a subject in portraits, an unintentional “lens blur” can occur if the narrow depth of field doesn’t encompass the entire subject you intended to be sharp. For instance, in a portrait, the eyes might be sharp, but the nose or ears could fall out of focus if the aperture is too wide and the subject is too close.
Essential Techniques to Prevent Blurry Shots
The best way to deal with blurry images is to avoid them entirely. By adopting good photographic practices, you can significantly reduce the occurrence of blur and capture high-resolution images suitable for any purpose, from digital art to stock photos.
- Use a Tripod or Stabilizer: For situations demanding longer shutter speeds or maximum sharpness, such as low-light photography, astrophotography, or intricate still life, a sturdy tripod or camera stabilizer is invaluable. It eliminates camera shake entirely, ensuring crisp results.
- Increase Shutter Speed: When shooting handheld, use a shutter speed fast enough to freeze both camera shake and subject motion. A general rule of thumb for handheld shooting is to use a shutter speed at least equal to the reciprocal of your lens’s focal length (e.g., 1/200th of a second for a 200mm lens).
- Utilize Image Stabilization (IS/VR/OS): Many modern camera bodies and lenses come equipped with image stabilization technology. Enable this feature when shooting handheld, especially in challenging lighting conditions or with telephoto lenses, to counteract minor movements.
- Employ Continuous Autofocus (AF-C/AI Servo): For moving subjects, switch your camera’s autofocus mode to continuous autofocus. This allows the camera to track and maintain focus on your subject as it moves, ensuring sharpness in dynamic action shots.
- Master Proper Focusing Techniques: Understand your camera’s autofocus points and modes. Techniques like back-button focusing can separate focusing from shutter release, giving you more control. For critical sharpness in still subjects, manual focus or focus-recomposing can be beneficial.
- Shoot in RAW Format: RAW files retain significantly more image data than JPEGs. This provides greater flexibility during post-processing to recover details, reduce noise, and apply sharpening without introducing artifacts, making it a cornerstone for professional digital photography and image editing.
- Keep Your Lens Clean: Dust, smudges, or water droplets on your lens can interfere with autofocus and reduce overall image clarity, potentially leading to soft or blurry spots. Regularly clean your lenses with appropriate cleaning tools.
- Mind Your Aperture: Be intentional with your aperture choice. While wide apertures create beautiful depth of field, ensure that the shallow focus point still covers your critical subject areas. If you need more of your scene in focus, use a narrower aperture (higher f-number).
Mastering Photoshop: Traditional Techniques for Sharpening Images
Adobe Photoshop has long been the industry standard for photo manipulation and digital art, offering a robust suite of tools to address nearly any image imperfection, including blur. For photographers and visual designers seeking granular control and professional-grade results, Photoshop remains an indispensable asset. Tophinhanhdep.com advocates for leveraging these powerful tools to ensure your images meet the highest standards of high-resolution quality.
Unsharp Mask and Smart Sharpen: Your Go-To Filters
These two filters are among Photoshop’s most frequently used sharpening tools, each offering distinct advantages.
The Unsharp Mask Filter
Despite its counter-intuitive name, the Unsharp Mask is a powerful tool for enhancing apparent sharpness by increasing contrast along edges. It works by finding areas of contrast, making them lighter on one side and darker on the other, creating the illusion of a sharper edge.
Step-by-Step Guide:
- Open Your Image: Launch Photoshop and open the blurry image you wish to sharpen.
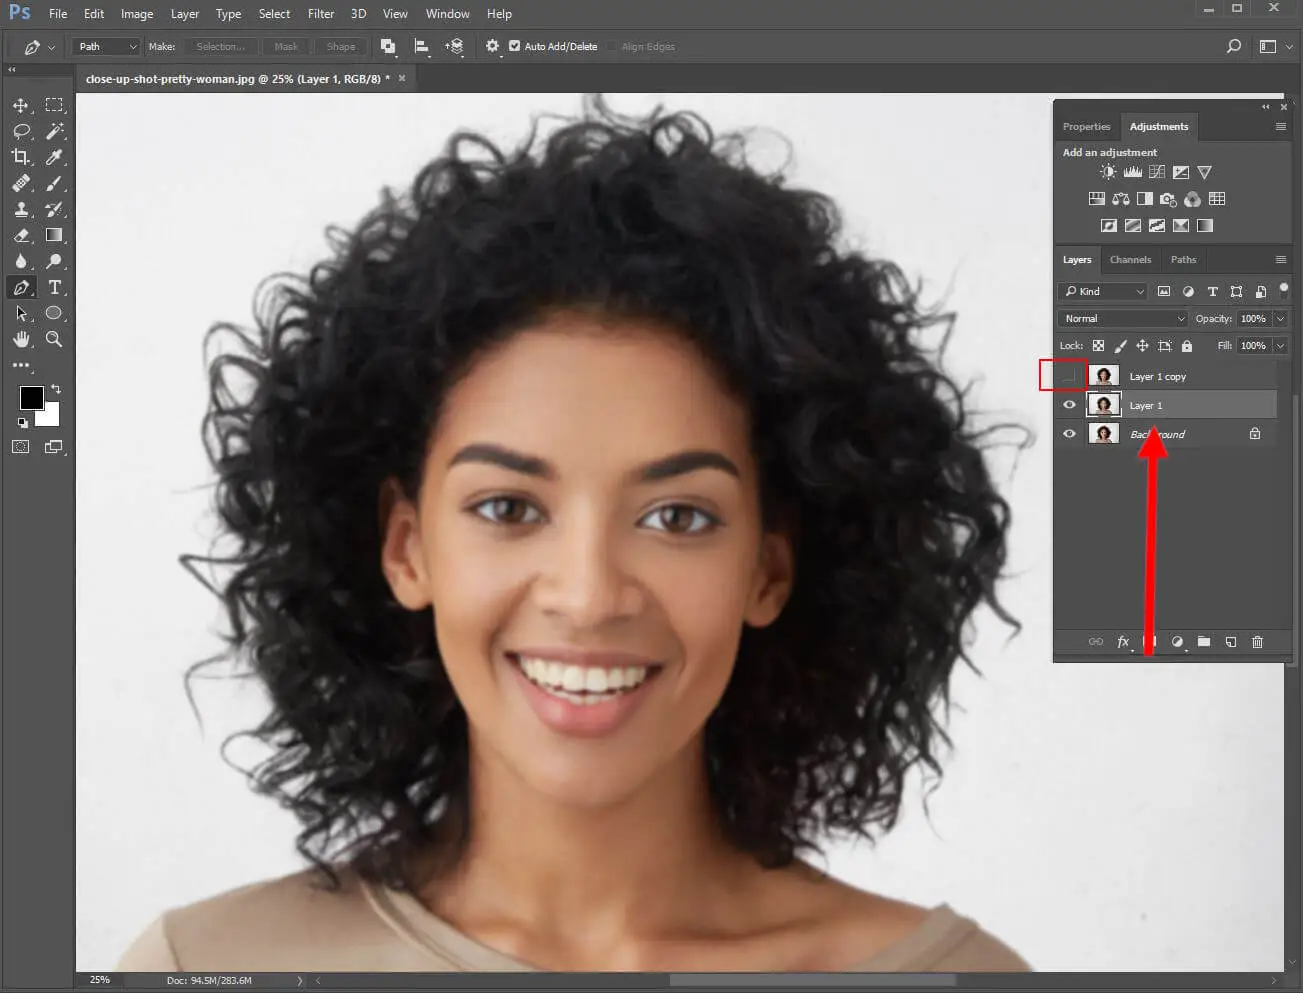
- Duplicate the Layer: Right-click on your image layer in the Layers panel and select “Duplicate Layer” (or press
Ctrl+J/Command+J). This non-destructive approach preserves your original image data. - Apply the Filter: With the duplicated layer selected, navigate to
Filter > Sharpen > Unsharp Mask. - Adjust Settings: A dialog box will appear with three key sliders:
- Amount: Controls the intensity of the sharpening effect. Start with a moderate value (e.g., 75-150%). Higher values increase sharpness but can introduce unwanted artifacts or halos.
- Radius: Determines the size of the “edge” area where sharpening is applied. A smaller radius (e.g., 0.5-1.5 pixels) sharpens fine details, while a larger radius can enhance broader edges. Be cautious, as too high a radius can lead to harsh, unnatural results.
- Threshold: Helps protect smoother areas and subtle details from being sharpened, preventing noise enhancement. Start with a low value (e.g., 0-5 levels). This setting tells Photoshop to only sharpen pixels that differ in contrast by at least the specified threshold.
- Preview and Refine: Use the preview checkbox within the dialog box to see the effect in real-time. Adjust the sliders until you achieve your desired sharpness without introducing excessive noise or halos.
- Finalize: Click “OK” to apply the filter. You can further refine the effect by adjusting the layer’s opacity or using a layer mask to selectively apply sharpening to specific areas.
The Smart Sharpen Filter
Smart Sharpen is an evolution of Unsharp Mask, offering more intelligent control over sharpening, particularly useful for images with noise or specific blur types.
Step-by-Step Guide:
- Duplicate Layer & Convert to Smart Object: Start by duplicating your image layer. Then, right-click on the duplicated layer and select “Convert to Smart Object.” This allows for non-destructive editing, meaning you can re-edit the Smart Sharpen filter’s settings at any time.
- Apply the Filter: With the Smart Object layer selected, go to
Filter > Sharpen > Smart Sharpen. - Adjust Settings:
- Amount and Radius: Similar to Unsharp Mask, these control intensity and edge area.
- Remove: This crucial setting allows you to specify the type of blur you want to remove: Gaussian Blur, Lens Blur (often caused by lens optical imperfections), or Motion Blur. Selecting the correct type helps Photoshop intelligently target the blur.
- Advanced Options: Click the “Advanced” button to reveal settings for Noise Reduction (essential for high-ISO images or if sharpening enhances noise) and controls for Shadow and Highlight Adjustments (to protect details in very dark or very bright areas from over-sharpening).
- Preview and Refine: Use the preview to fine-tune the settings, focusing on critical details while minimizing artifacts.
- Finalize: Click “OK.” As a Smart Object, you can double-click the “Smart Sharpen” entry under the layer in the Layers panel to reopen and adjust its settings later.
High Pass Filter for Edge Definition
The High Pass filter is a unique method for sharpening that works by isolating and enhancing only the edge details in your image. It’s often preferred for a more subtle and controllable sharpening effect.
Step-by-Step Guide:
- Duplicate the Layer: Duplicate your image layer (
Ctrl+J/Command+J). - Apply the High Pass Filter: Select the duplicated layer and go to
Filter > Other > High Pass. - Adjust the Radius: In the High Pass dialog box, adjust the Radius until only the edges and details of your image are visible, appearing as a grey image with fine lines. A common starting point is between 1 and 5 pixels, depending on the image resolution and desired effect. The goal is to see detail, not the full image.
- Change Blending Mode: After applying High Pass, change the blending mode of this layer from “Normal” to one that enhances sharpness, such as Overlay, Soft Light, or Hard Light. “Overlay” and “Soft Light” offer more subtle effects, while “Hard Light” is more aggressive.
- Adjust Opacity: Fine-tune the intensity of the sharpening by adjusting the layer’s Opacity in the Layers panel. This provides excellent control over how much of the effect is applied.
- Finalize: You can optionally group this layer with the original or flatten the image if satisfied.
Advanced Layer-Based Sharpening: Gaussian Blur and Blending Modes
This method, often referred to as “Frequency Separation” for sharpening, uses a combination of Gaussian Blur and blending modes for a highly controlled sharpening effect, particularly useful for recovering details in moderately blurry images or enhancing existing sharpness without over-processing.
Step-by-Step Guide:
- Open and Duplicate Layers: Open your image. Create two duplicate layers of your background image: one for the “detail” layer and one for the “blur” layer. Name them accordingly (e.g., “Sharpness Detail” and “Softness Base”).
- Apply Gaussian Blur to “Softness Base”: Select the “Softness Base” layer (the lower of the two duplicates). Go to
Filter > Blur > Gaussian Blur. Adjust the Radius until the fine details disappear, and the image looks smoothly blurred, but overall shapes are still recognizable. Click “OK.” - Apply Image to “Sharpness Detail”: Select the “Sharpness Detail” layer (the upper duplicate). Go to
Image > Apply Image. In the dialog box:- Set Layer: “Softness Base” (the layer you just blurred).
- Set Blending: “Subtract” or “Add” (depending on Photoshop version and desired effect). For sharpening, often “Subtract” is followed by a scale adjustment. If “Subtract” is not available or doesn’t yield results, sometimes “Add” with “Invert” and adjusted scale can work as seen in some tutorials. A common setting is “Subtract” with Scale: 2 and Offset: 128. Alternatively, “Add,” with “Invert” checked, Scale: 2, Offset: 0 can be used. Experiment to find what works best. The goal is to create a gray layer with edge details.
- Click “OK.”
- Change Blending Mode of “Sharpness Detail”: Change the blending mode of the “Sharpness Detail” layer from “Normal” to Linear Light (or sometimes “Overlay” or “Soft Light” for a milder effect). This will make the gray layer blend back into the image, applying the sharpening.
- Adjust Opacity: Control the strength of the sharpening by adjusting the Opacity of the “Sharpness Detail” layer.
- Optional: Duplicate for Stronger Effect: If the sharpening isn’t strong enough, you can duplicate the “Sharpness Detail” layer (
Ctrl+J/Command+J) to increase the effect. - Finalize: Merge the layers if satisfied, or group them for non-destructive workflow.
Selective Sharpening with the Sharpen Tool: Pinpoint Clarity
Sometimes, you only need to sharpen very specific areas of an image, like a subject’s eyes or intricate texture, without affecting the rest of the photograph. Photoshop’s Sharpen tool offers this precise control.
Step-by-Step Guide:
- Select the Sharpen Tool: In the Photoshop toolbar, locate and select the Sharpen tool (it may be nested under the Blur or Smudge tools).
- Set Tool Options: In the Options bar at the top, adjust the following:
- Brush Size: Choose a brush size appropriate for the area you want to sharpen.
- Strength: This controls the intensity of the sharpening effect applied with each stroke. Start with a lower strength (e.g., 20-30%) to build up the effect gradually.
- Sample All Layers: Enable this if you want to sharpen based on data from all visible layers.
- Protect Detail: This option helps minimize the introduction of unwanted artifacts or halos during sharpening.
- Selectively Sharpen: Carefully paint over the specific areas of your image that require sharpening. Use short, controlled strokes.
- Adjust and Refine: If the effect is too strong, reduce the strength or use
Ctrl+Z/Command+Zto undo and try again. You can also switch brush sizes for different areas. - Finalize: Save your image or continue with other adjustments. This method is excellent for enhancing expressive elements in beautiful photography.
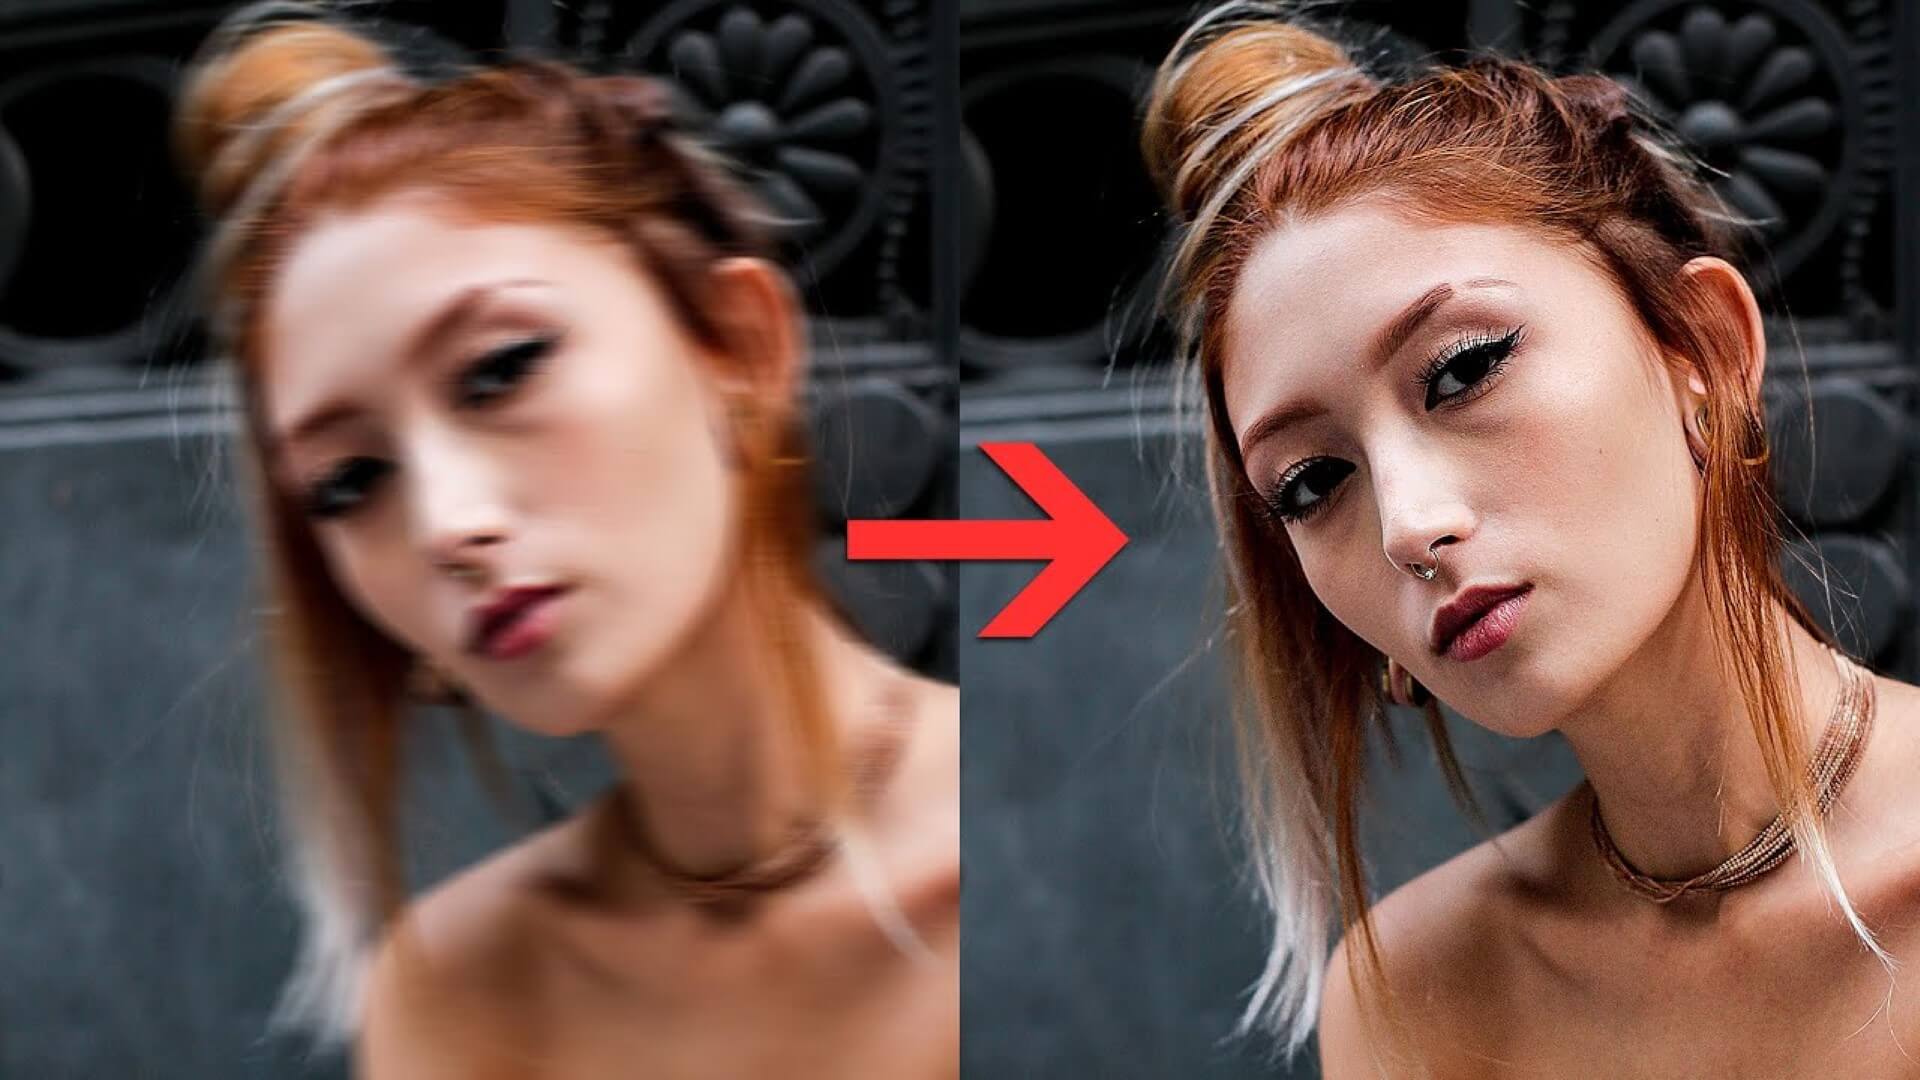
The Power of AI: Fixing Blurry Images with Tophinhanhdep.com’s Innovative Tools
While traditional Photoshop methods offer unparalleled control, they can be time-consuming and require a steep learning curve. For users who need quick, effective, and high-quality solutions without extensive manual editing, AI-powered tools are a game-changer. Tophinhanhdep.com integrates cutting-edge artificial intelligence to revolutionize how you fix blurry images, convert low-resolution images to high-res, and enhance your photography for all your visual needs. These tools are perfect for anyone looking to optimize their images, whether for aesthetic collections, stock photos, or personal memories.
Instant Clarity with AI Photo Enhancers
Tophinhanhdep.com’s AI Photo Enhancer is designed to automatically detect and correct various image imperfections, bringing blurry photos into sharp focus with minimal effort. This is particularly beneficial for recovering details from old, pixelated, or heavily blurred images.
Key Capabilities:
- Automatic Denoising and Blur Removal: The AI intelligently analyzes your photo, identifies areas of blur and noise, and applies corrections to restore clarity.
- Facial Enhancement: For images containing people, the AI can specifically sharpen and enhance facial features, bringing expressions and details back to life, crucial for any portrait or emotive photography.
- Upscaling (2x/4x): Beyond just sharpening, Tophinhanhdep.com’s AI can convert low-resolution images to high-resolution versions, effectively increasing their size and detail without pixelation. This is invaluable for preparing images for print, large displays, or high-quality wallpapers.
- Colorization: For old black-and-white photos, the AI can even colorize them, adding another dimension of restoration.
Step-by-Step Guide to Using Tophinhanhdep.com’s AI Photo Enhancer:
- Upload Blurry Photo: Visit Tophinhanhdep.com and locate the AI Photo Enhancer tool. Click “Upload Image” to select the blurry photo you wish to repair. You can often drop, paste the image, or provide a URL directly.
- Automatic Sharpening: Once uploaded, the AI will immediately begin processing. In seconds, your blurry photo will transform. A before-and-after slider will typically appear, allowing you to instantly compare the original with the AI-enhanced version.
- Apply Additional AI Repair Tools (Optional): Tophinhanhdep.com offers various AI functionalities. You might find options to:
- Face Enhance: If faces are detected, this feature will be applied, or you can activate it for optimal facial clarity.
- Colorize Photos: If you have an old black-and-white image, this option can add vibrant color.
- Upscale (2x/4x): Choose to increase the image resolution for larger applications.
- Save the Enhanced Photo: Once satisfied with the results, click the “Save” or “Download” button to get your newly sharpened, high-resolution image.
This powerful tool is perfect for users without extensive Photoshop experience, enabling them to quickly achieve professional-looking results for their image collections, creative ideas, and digital photography.
Targeting Specific Blurs with AI Deblur Features
Beyond general enhancement, Tophinhanhdep.com offers specialized AI deblur tools that specifically tackle different types of blur, such as lens blur or motion blur. This targeted approach yields more accurate and natural-looking corrections.
Understanding Lens Blur (and how AI fixes it):
Lens blur is often related to the depth of field, where a wide aperture causes parts of an image (usually the background or foreground) to be intentionally out of focus. However, unintentional lens blur can occur if the focus point misses the intended subject. AI deblur tools can differentiate between artistic blur and unintentional blur, working to clarify the subject while potentially preserving desirable background effects. Motion blur, on the other hand, is about freezing movement. Tophinhanhdep.com’s AI can recognize the patterns of motion blur and reconstruct the original sharp image data.
Step-by-Step Guide to Using Tophinhanhdep.com’s AI Deblur Tool:
- Open Tophinhanhdep.com’s Photo Editor: Navigate to the specific Deblur tool or the general photo editor on Tophinhanhdep.com and upload your blurry image.
- Activate the Deblur Tool: Select the Deblur option. The AI will immediately analyze your photo.
- Select Blur Type: The tool may offer different blur types, such as “Focus Blur” (for general out-of-focus issues) and “Motion Blur” (for subjects that moved during capture). Selecting the correct type helps the AI apply the most effective algorithm.
- Recover Faces (if applicable): If your image contains faces, ensure the “Recover Faces” option is selected. The AI will prioritize sharpening and enhancing facial features for realistic results.
- Review and Apply: Observe the real-time preview or use a before-and-after slider to assess the deblurring effect. Adjust any available intensity sliders if offered, then click “Apply” when satisfied.
- Save Your Image: Download your now crystal-clear image, ready for use as a beautiful background, a high-resolution stock photo, or an element in your graphic design project.
This intelligent approach means even severely blurred images, once considered beyond repair, can be revitalized, making Tophinhanhdep.com an essential resource for photographers and designers alike.
Transforming Your Visuals: How Clear Images Elevate Your Creative Projects
The impact of fixing blurry images extends far beyond simple correction; it fundamentally elevates the quality and potential of all your visual content and creative endeavors on Tophinhanhdep.com.
- Images (Wallpapers, Backgrounds, Aesthetic, Nature, Abstract, Sad/Emotional, Beautiful Photography): Blurry images diminish aesthetic appeal and emotional resonance. By fixing blur, you transform them into stunning visuals perfect for wallpapers, engaging backgrounds, and truly beautiful photography. A crisp nature shot allows every detail of flora and fauna to shine, while a sharp emotional portrait conveys depth and feeling.
- Photography (High Resolution, Stock Photos, Digital Photography, Editing Styles): Professional-grade photography demands impeccable sharpness. Fixing blur is critical for maintaining high-resolution output, making images suitable for demanding uses like stock photo libraries where quality is paramount. It broadens your repertoire of editing styles, allowing you to focus on creative enhancements rather than corrective fixes.
- Image Tools (Converters, Compressors, Optimizers, AI Upscalers, Image-to-Text): The entire ecosystem of image tools on Tophinhanhdep.com benefits from starting with clear, sharp images. A high-quality base image means better results when converting formats, compressing for web use, optimizing for performance, or even using advanced features like image-to-text. AI upscalers are most effective when they start with the maximum recoverable detail.
- Visual Design (Graphic Design, Digital Art, Photo Manipulation, Creative Ideas): Clear images are the fundamental building blocks for compelling graphic design and digital art. When images are sharp, they integrate seamlessly into complex layouts, allow for precise photo manipulation without visible artifacts, and serve as a stronger foundation for generating creative ideas. Blurred elements can detract from the professionalism of any design project.
- Image Inspiration & Collections (Photo Ideas, Mood Boards, Thematic Collections, Trending Styles): An inspiring collection of photos thrives on clarity and visual impact. Blurry images undermine the power of a mood board or thematic collection. Sharp, high-resolution images contribute to more impactful photo ideas, help define trending styles, and ensure that your curated content truly inspires.
Conclusion
The journey from a blurry, disheartening photograph to a crystal-clear, high-resolution masterpiece is now more achievable than ever. Whether you prefer the meticulous control offered by Adobe Photoshop’s traditional sharpening filters or the speed and revolutionary power of AI-powered tools on Tophinhanhdep.com, you have a wealth of options at your fingertips.
Understanding the causes of blur and implementing preventative measures are your first lines of defense. For existing images, Photoshop provides a sophisticated toolkit for detailed correction, while Tophinhanhdep.com’s advanced AI photo enhancers and deblur features offer an accessible and efficient pathway to instant clarity, making it simple to restore precious memories, elevate professional photography, and enhance any visual design project.
Don’t let blurry images compromise your creative vision or the aesthetic quality of your collections. Explore the powerful solutions on Tophinhanhdep.com today and transform your soft, out-of-focus shots into sharp, vibrant, and impactful visuals that truly shine.