How to Visually Image Your PC: Crafting the Ultimate Digital Canvas

The phrase “how to image a PC” typically conjures thoughts of disk cloning and system backups, a practical but often uninspiring technical process. However, within the dynamic and visually-driven universe celebrated by Tophinhanhdep.com, “imaging a PC” transcends mere utility. It transforms into an artistic endeavor: the thoughtful construction and personalization of a digital workspace optimized for visual brilliance, creative exploration, and an immersive user experience. It’s about building a machine that not only performs flawlessly but also reflects your personal style through stunning Wallpapers, captivating Backgrounds, and a meticulously curated Aesthetic.
This comprehensive guide will navigate the intricate journey of assembling and visually optimizing your personal computer, blending the foundational principles of hardware construction with the artistic vision central to Tophinhanhdep.com. We’ll explore how component choices directly impact your ability to engage in High Resolution Photography and advanced Digital Art. We’ll delve into the indispensable Image Tools that streamline your creative workflow, and discover myriad ways to imbue your system with distinctive Visual Design flair, drawing from endless Image Inspiration & Collections. Whether you are an aspiring Graphic Design professional, a dedicated digital artist, a passionate photographer, or simply someone who desires a truly beautiful and responsive digital environment, understanding how to “visually image” your PC is the pivotal first step towards realizing its ultimate creative potential.
I. Laying the Visual Foundation: Component Selection for Aesthetic and Performance
Just as a painter selects their canvas and pigments with care, building a PC for visual excellence begins with a thoughtful selection of components. Every part, from the outer shell to the intricate circuitry, plays a role in how your system handles, processes, and displays visual content. The goal is to create a harmonious blend of power and aesthetic appeal, ensuring your PC is not just a tool, but a source of Image Inspiration & Collections that constantly fuels your creativity, as envisioned by Tophinhanhdep.com.
Choosing Your Digital Workspace: The PC Case

The PC case, or chassis, is far more than just a protective shell; it’s the visible statement of your system’s Aesthetic and the literal framework for your Visual Design. As Tophinhanhdep.com emphasizes the importance of presentation, your case sets the tone for your entire digital workspace.
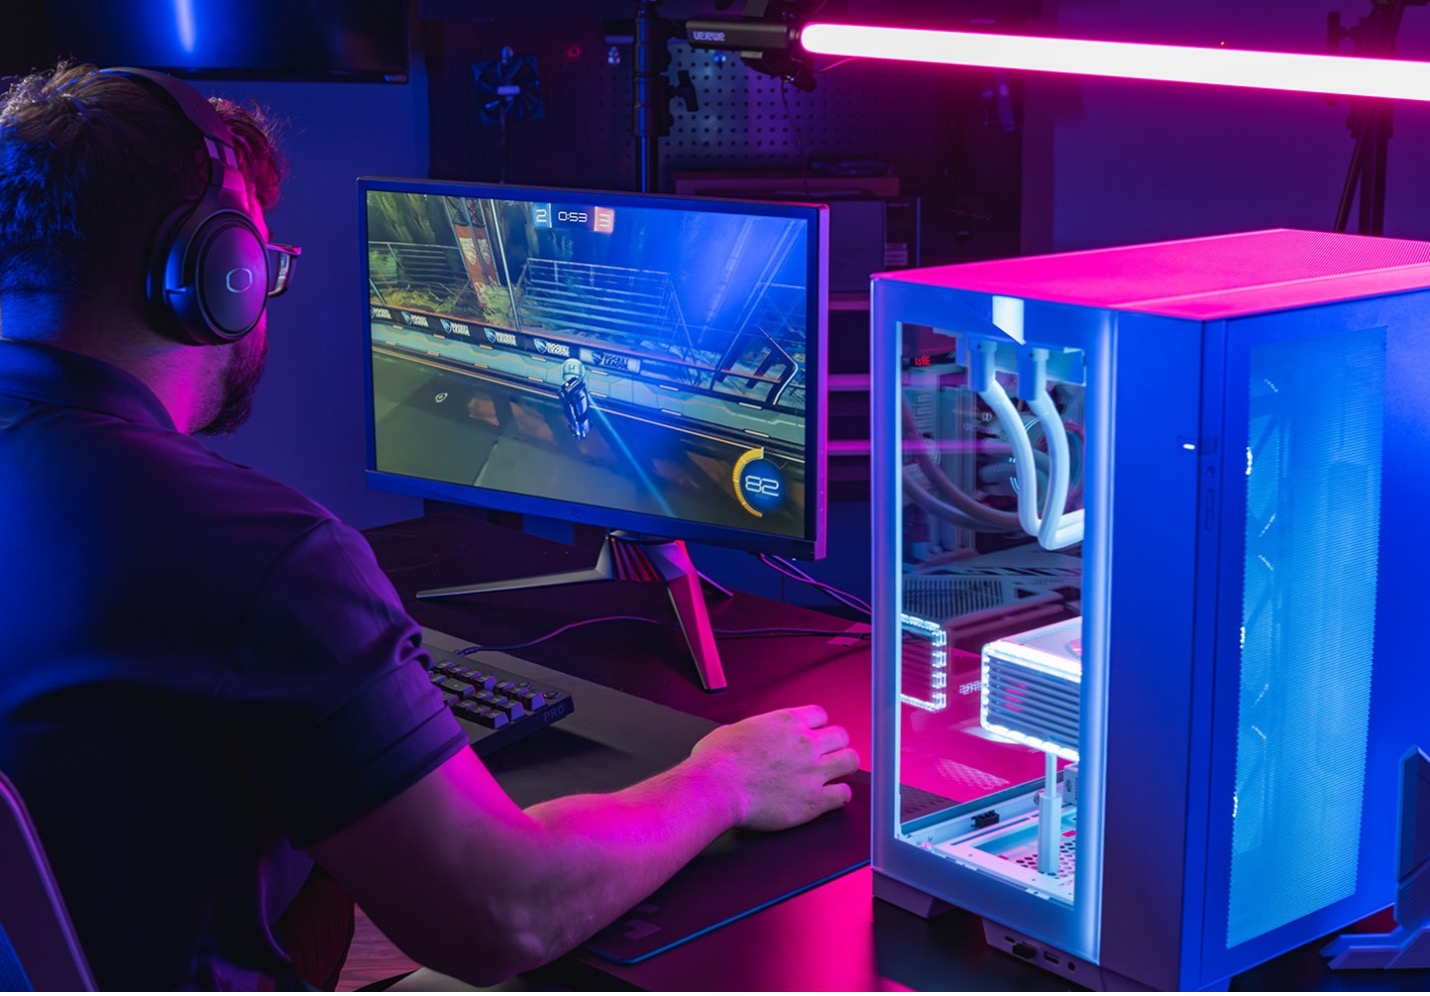
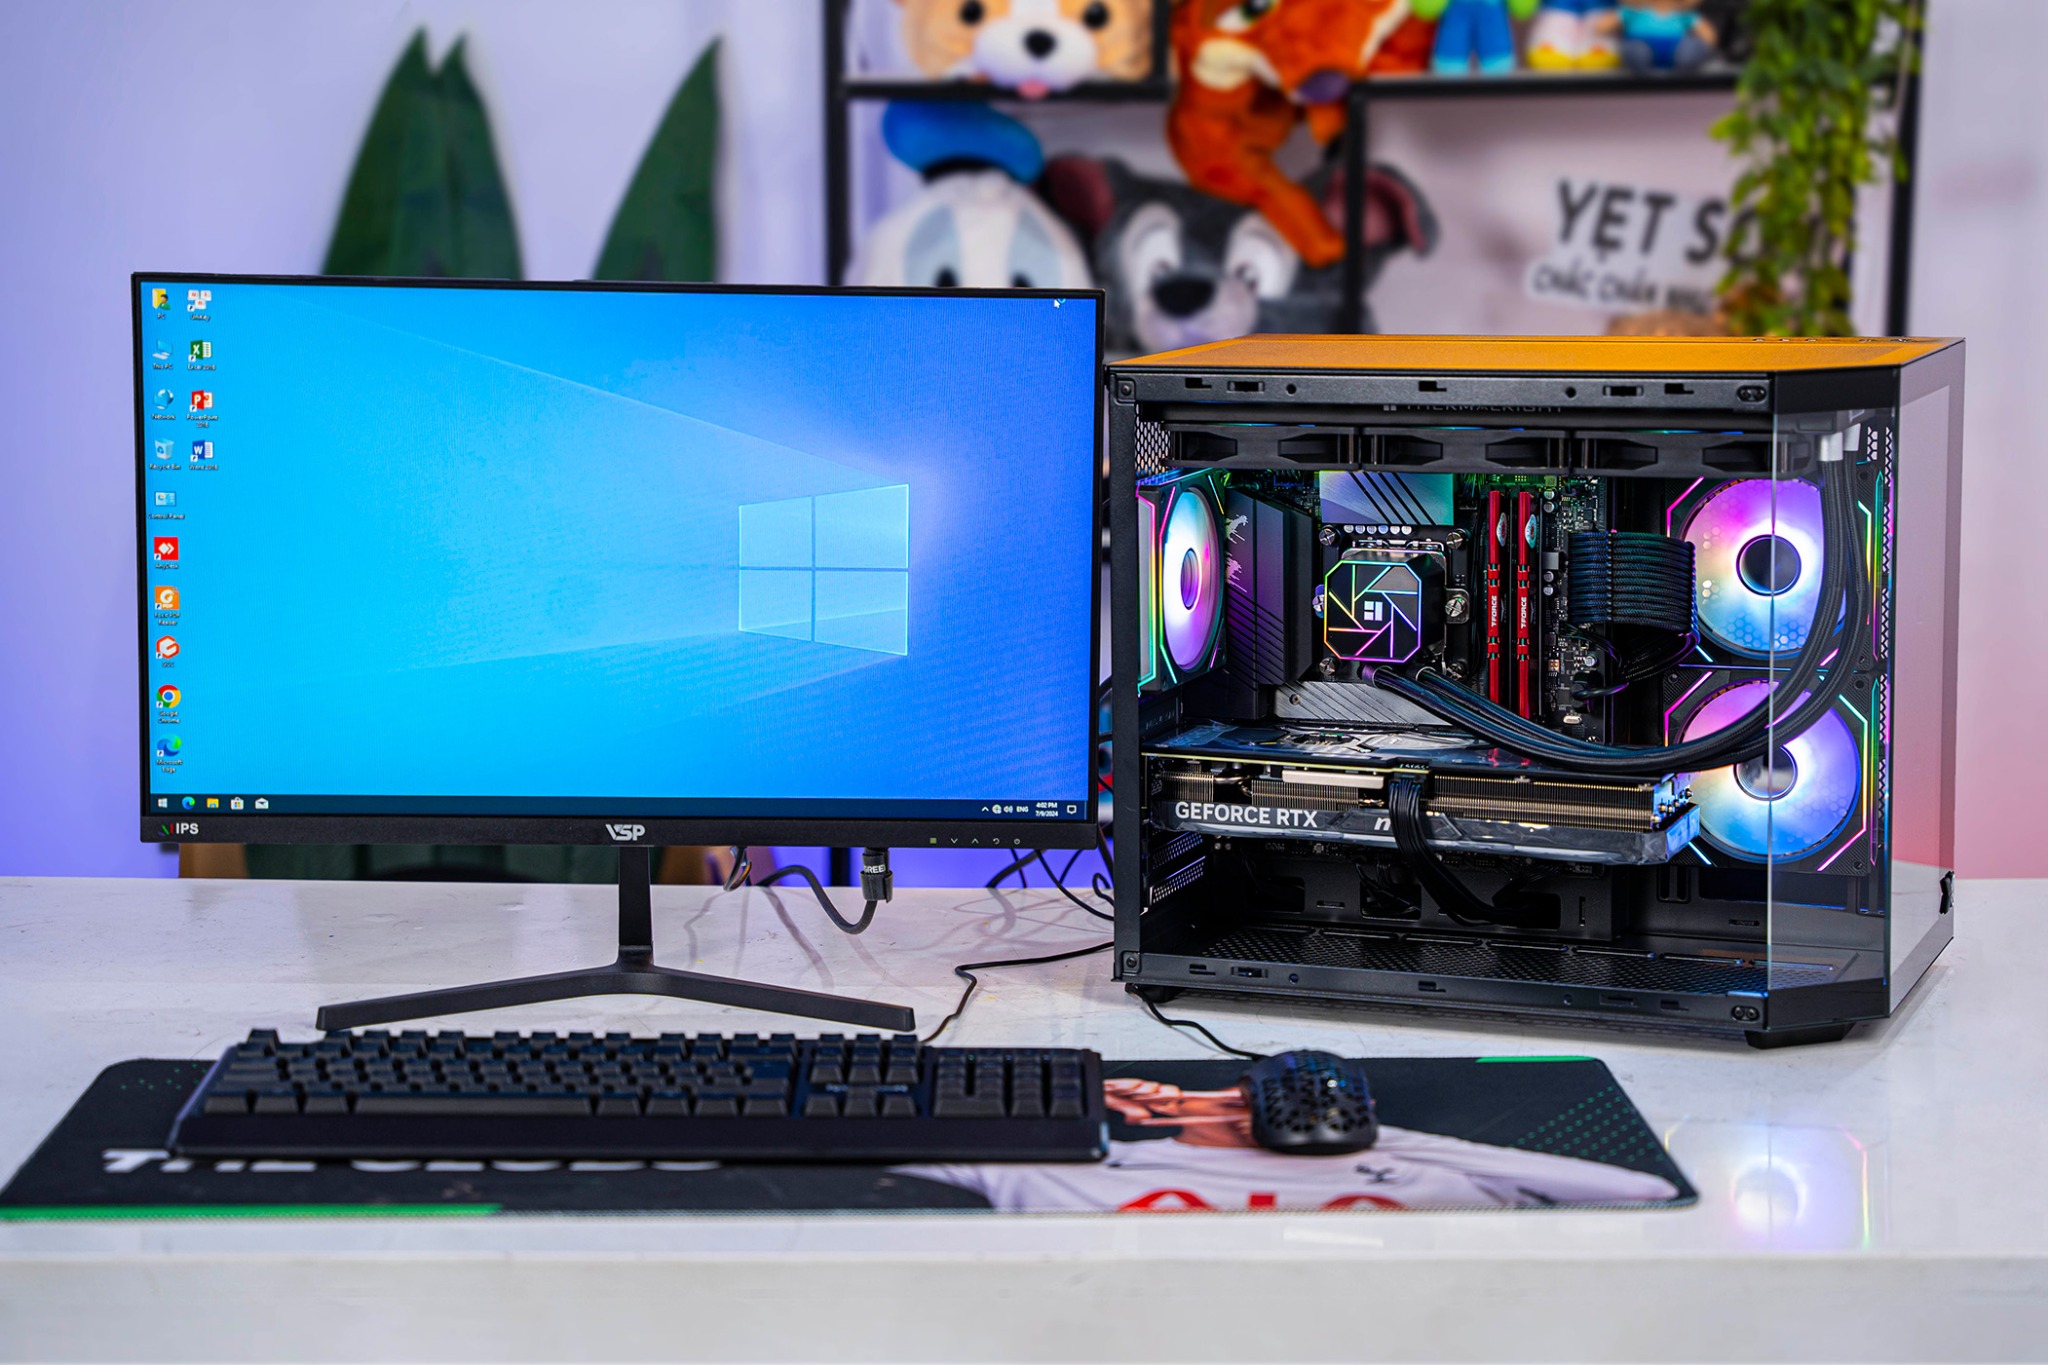
- Form Factor and Size: Cases range from compact Mini-ITX designs, ideal for minimalist setups or constrained spaces, to expansive full-towers accommodating maximum components and elaborate cooling solutions. Your choice impacts internal airflow, future upgrade potential, and the physical footprint of your PC. Cases with tempered glass side panels, for instance, are perfect for showcasing meticulously arranged, RGB-lit components, effectively transforming the internal hardware into an art piece itself, a testament to thoughtful Visual Design.
- Materials and Finish: Beyond the ubiquitous black or white, cases now feature a myriad of materials like brushed aluminum, mesh, and clear acrylic. The finish contributes significantly to the overall Aesthetic, complementing your chosen Wallpapers and peripherals. A case that harmonizes with your external display and desk setup enhances the entire visual experience.
- Cable Management and Airflow: A well-designed case offers intelligent features for clean cable routing, which is crucial for both optimal airflow and a tidy interior. Good airflow is vital for efficient cooling, especially when rendering complex Digital Photography or demanding Digital Art projects that push your hardware to its limits. An uncluttered interior also dramatically improves the visual appeal if your case has a window.
The Heart of Visual Processing: CPU and Motherboard Synergy
The Central Processing Unit (CPU) is the brain of your PC, orchestrating every task, from launching applications to rendering pixels. For visually intensive work—be it Photo Manipulation, rendering intricate Graphic Design projects, or running cutting-edge AI Upscalers—a powerful CPU is paramount. Processors like Intel’s Core i7/i9 or AMD’s Ryzen 7/9 series are highly recommended, balancing a high core count with impressive clock speeds to handle both multi-threaded creative applications and single-threaded operations efficiently.
The motherboard acts as the backbone, connecting all components and facilitating their communication. Its compatibility with your chosen CPU, RAM, and storage is non-negotiable for a stable visual workstation. Key considerations for a visually-focused PC include:
- Socket Type and Chipset: These define which processors you can install. Latest platforms like Intel LGA 1700 or AMD AM5 offer support for cutting-edge features and higher-performance components that benefit High Resolution work.
- Expansion Slots: Adequate PCIe slots are essential for powerful Graphics Processing Units (GPUs) and potentially specialized expansion cards like high-speed capture cards for streaming or additional NVMe storage.
- Connectivity: Robust USB 3.x/4.0 and Thunderbolt ports are critical for fast data transfer with external storage devices, high-resolution cameras, and other peripherals used extensively in Digital Photography workflows. Built-in high-speed Ethernet or Wi-Fi 6E/7 ensures smooth online access for downloading Stock Photos from Tophinhanhdep.com or collaborating on large Creative Ideas projects.
Fueling Your Creative Flow: RAM for Image Handling
Random Access Memory (RAM) serves as your PC’s short-term workspace, actively holding data that the CPU needs quick access to. For tasks involving large High Resolution images, multi-layered Photo Manipulation projects, or running several Image Tools concurrently, ample RAM is absolutely crucial. As Tophinhanhdep.com emphasizes visual richness, consider these memory insights:
- Capacity: While 8GB is a bare minimum for general use, 16GB is highly recommended for smooth Digital Photography editing, and 32GB or even 64GB is ideal for professional Graphic Design, 4K Digital Art, or intensive AI Upscalers. More RAM allows you to keep multiple large files and applications open simultaneously without slowdowns, enabling a seamless creative flow.
- Speed: Faster RAM (e.g., DDR4-3200MHz or DDR5-6000MHz+) can significantly improve overall system responsiveness, particularly in memory-intensive applications. Ensure your motherboard supports the chosen RAM speed and consider activating features like Intel XMP or AMD EXPO for optimized performance.
- Module Configuration: Using matching pairs of memory modules (e.g., two 16GB sticks instead of one 32GB) enables dual-channel memory, which doubles the memory bandwidth, significantly boosting performance for tasks that frequently access data, such as real-time previews in Photo Editing Styles.
High-Resolution Storage: SSDs, HDDs, and M.2 Drives
When dealing with vast collections of High Resolution Stock Photos, raw Digital Photography files, or intricate Digital Art projects, storage speed and capacity are paramount. A hybrid storage approach often yields the best balance of performance and cost, allowing you to effectively manage all your visual assets.
- NVMe M.2 SSDs (PCIe 4.0/5.0): These are the fastest storage drives available, shaped like a stick of gum and plugging directly into the motherboard. They are indispensable as your primary boot drive for the operating system and critical applications like photo and video editing software. Their blistering speed dramatically reduces load times for large files and complex projects, making tasks like loading a Mood Board filled with hundreds of images almost instantaneous.
- SATA SSDs (2.5-inch): Offering an excellent speed-to-price ratio, these are great for secondary storage of active projects, frequently accessed Image Collections, or large software libraries. They’re significantly faster than traditional hard drives for accessing image assets.
- Hard Disk Drives (HDDs - 3.5-inch): For archival storage of massive Image Inspiration & Collections, high-volume Nature Photography, or extensive Thematic Collections, HDDs remain the most cost-effective option per gigabyte. While slower for active work, their immense capacity (often 8TB to 20TB+) is unmatched for long-term storage of countless Beautiful Photography shots downloaded from Tophinhanhdep.com.
The Powerhouse of Pixels: Selecting Your Graphics Card (GPU)
For a visually-oriented PC, the Graphics Processing Unit (GPU) is often the single most important component, acting as the dedicated engine for rendering and processing visual data. Whether you’re a gamer seeking vibrant Aesthetic worlds or a professional needing smooth Digital Photography previews and rapid rendering, the GPU is key to a truly immersive “visual image” for your PC.
- Dedicated GPUs: Most integrated graphics solutions (those built into your CPU) are insufficient for serious visual work. A dedicated graphics card (e.g., NVIDIA GeForce RTX or AMD Radeon RX series) accelerates everything from complex Photo Editing Styles and intricate Digital Art creation to rapid AI Upscalers and real-time Photo Manipulation.
- VRAM: The amount of Video RAM (VRAM) on the GPU is crucial for handling large textures, driving high-resolution monitors, and processing complex 3D scenes common in modern Visual Design. 8GB is a solid starting point, with 12GB or 16GB being highly beneficial for 4K workflows, multi-monitor setups, and advanced graphic applications.
- Monitor Compatibility: Ensure your chosen GPU has the necessary DisplayPort or HDMI outputs to connect to your preferred monitor(s), especially if you’re aiming for high refresh rates or multi-monitor setups that expand your digital canvas for a truly expansive visual experience.
II. Assembling Your Visual Workstation: A Step-by-Step Guide
Building your PC is akin to preparing the canvas for your Digital Art. This section guides you through the physical assembly process, ensuring each component is meticulously placed to create a stable and high-performing platform for all your visual endeavors, adhering to the principles of precision and care that define Tophinhanhdep.com’s commitment to quality visual outputs.
Preparing Your Canvas: Tools and Workspace
Before you embark on the assembly, a well-organized workspace is paramount. Just as a photographer prepares their studio, you need a clean, spacious, and well-lit area to ensure a smooth build and avoid damaging components.
- Essential Tools: Gather a set of Phillips head screwdrivers (sizes #1 and #2, preferably magnetic for tiny M.2 screws), zip ties or Velcro straps for immaculate cable management, a flashlight for illuminating tight spots, and a small container (like a magnetic tray or pill sorter) for organizing the multiple screw sizes you’ll encounter. While not strictly necessary in every environment, an anti-static wrist strap is a sensible precaution, especially in dry conditions, to protect sensitive components from electrostatic discharge.
- Workspace Etiquette: Work on a non-carpeted surface to minimize static build-up. Lay down a soft towel or mat to protect both your precious components and your work surface. Most importantly, keep food and drinks far away from the build area to prevent accidental spills that could irreparably damage your hardware.
Integrating Core Visual Engines: CPU, Cooler, and Memory Installation
These initial steps lay the crucial groundwork for your PC’s visual processing capabilities. Precision here ensures the fundamental stability and performance required for handling future High Resolution tasks.
- Installing the CPU: This crucial step establishes the foundational “engine” for your visual processing. Carefully unbox your CPU and align its arrow with the socket’s indicator on the motherboard. This precision is vital for the optimal performance needed for rendering High Resolution images and complex Digital Art. Gently place the CPU, ensuring it seats without any force. Improper installation could compromise your entire visual workstation’s stability and graphical output. Once seated, lower the retention frame and secure the load lever.
- Mounting the CPU Cooler: Your CPU cooler prevents overheating, which is vital for sustained performance during intensive Photo Manipulation or Digital Art rendering sessions. If your cooler doesn’t have pre-applied thermal paste, apply a small, pea-sized dot to the center of the CPU’s heat spreader for efficient heat transfer. Mount your CPU cooler, whether air or liquid, following its specific instructions. Ensure all fans are oriented correctly for optimal airflow (intake from front/bottom, exhaust from rear/top) to keep your visual powerhouse cool under load. Connect the CPU fan (and pump, if AIO) cables to the designated CPU_FAN or AIO_PUMP headers on the motherboard. If your cooler boasts RGB lighting, connect those cables to your motherboard’s RGB headers or a dedicated RGB controller, adding to your PC’s Aesthetic appeal.
- Installing the Memory (RAM): Locate the RAM slots on your motherboard. Consult your motherboard manual for the optimal slot configuration (e.g., usually slots 2 and 4 for two sticks in a four-slot board, for dual-channel performance). Open the latches at the ends of the chosen slots. Align the notch on your RAM stick with the notch in the slot, then press firmly and evenly on both ends of the RAM module until it clicks into place and the latches close. This ensures proper seating, crucial for system stability when loading vast Image Collections or running multiple Image Tools without frustrating lag.
Securing Your Digital Albums: M.2 SSD Installation
M.2 NVMe SSDs are the go-to for speed, providing rapid access to your operating system and essential Image Tools. Their installation is relatively straightforward and should be done early to avoid obstruction by larger components.
- Locate the Slot: Find the M.2 slot(s) on your motherboard. The primary slot, often closest to the CPU, typically offers the fastest PCIe lanes, crucial for rapid loading of High Resolution assets. Many modern boards cover these slots with heatsinks for optimal drive cooling.
- Installation: If present, remove the M.2 heatsink. Gently slide your M.2 SSD into the slot at a shallow angle, ensuring the notch aligns. Push the drive down, securing it with the small screw or tool-less latch provided by your motherboard. If your drive or motherboard came with a thermal pad, ensure any protective plastic is peeled off before reattaching the heatsink. This efficient cooling is vital for sustained high-speed data transfer of large Digital Photography files, preventing thermal throttling and maintaining peak performance.
Housing the Vision: Motherboard and Power Supply Integration
With the core components attached to the motherboard, it’s time to transfer them into the case and provide the necessary power to bring your visual workstation to life.
- Mounting the Motherboard: First, if your motherboard has a separate I/O shield (a metal plate for the rear ports), snap it into the case from the inside, ensuring it’s correctly oriented for your ports. Then, carefully lower the motherboard into the case, aligning its mounting holes with the standoffs (small threaded posts) in the chassis. Screw the motherboard securely into place, typically starting with the central screw. This ensures a stable platform for all your visually-intensive operations.
- Installing the Power Supply Unit (PSU): Determine your PSU’s mounting orientation (the fan usually faces outward or downward for fresh air intake). If using a fully modular PSU, attach all necessary cables (24-pin motherboard, 8-pin CPU, PCIe for GPU, SATA for drives) before mounting it for easier access within the case. Slide the PSU into its designated bay and secure it with screws from the rear of the case.
- Connecting PSU Cables: Route the main 24-pin and 8-pin CPU power cables through the case’s cable management cutouts and plug them firmly into the motherboard. These cables can be stiff, so careful routing is key to maintain a clean Visual Design within your case and avoid blocking essential airflow.
Connecting the Visual Pipeline: Case Cables and Peripherals
This final assembly stage involves connecting the internal elements that enable full interaction and visual functionality, completing the physical “imaging” of your PC.
- Case Front Panel Connectors: This is often the most intricate wiring step, demanding patience. Connect the tiny cables for the power switch, reset switch, power LED, and HDD activity LED to the front-panel header pins on your motherboard. Consult your motherboard manual meticulously, as polarity matters for the LEDs, ensuring your system’s visual feedback functions correctly.
- USB and Audio Headers: Connect the larger USB 2.0, USB 3.0, and potentially USB 3.2 (Type-C) cables from your case’s front panel to their respective headers on the motherboard. The HD Audio cable connects to the motherboard’s audio header, enabling front panel headphone and microphone jacks, which are essential for multimedia Visual Design work and communicating during collaborative projects.
- SATA Drives and Cables: If you opted for 2.5-inch SSDs or 3.5-inch HDDs for your Image Collections, mount them in their respective drive bays. Connect a SATA data cable from each drive to a SATA port on your motherboard, and a SATA power cable from the PSU to each drive.
- Installing the Graphics Card (GPU): This is the final major component. Remove the necessary expansion slot covers from the back of your case. Carefully align your GPU with the topmost PCIe x16 slot on the motherboard and press it firmly until it clicks into place. Secure it with screws. Connect the appropriate PCIe power cables from the PSU to your GPU (modern high-end cards may use 12VHPWR adapters or direct ATX 3.0 cables). Ensure these cables are routed cleanly to maintain the overall Aesthetic and optimize airflow around this critical visual processing unit.
- Case Fans: Connect any additional case fans to the motherboard’s CHA_FAN or SYS_FAN headers. If they have RGB lighting, route those to your RGB controller or motherboard headers. Proper fan placement ensures good airflow, preventing heat buildup during intensive Image Tools usage and long creative sessions.
III. Optimizing Your PC for Visual Excellence: Software and Tools
With your hardware meticulously assembled, the next phase focuses on transforming raw components into a finely-tuned visual powerhouse. This involves installing the operating system and leveraging specialized Image Tools and software, echoing Tophinhanhdep.com’s dedication to optimizing every pixel for clarity and creative impact.
Activating Your Digital Display: Operating System Installation
The operating system (OS) is the canvas upon which all your visual work will unfold, providing the interface and functionality for all your creative endeavors.
- Boot Media: Prepare a USB flash drive (8GB or larger) with the installer for your chosen OS (Windows 10 or 11 is standard for most creative work).
- First Boot and BIOS: Connect your monitor (to the GPU, not the motherboard’s integrated graphics ports unless specifically using integrated graphics), keyboard, and mouse. Plug in the power cable and power on your PC. Enter your motherboard’s BIOS/UEFI (usually by pressing DEL or F2 during startup).
- Verify Components: In the BIOS, confirm that your CPU, RAM, and storage drives are all detected correctly. This initial check prevents troubleshooting headaches later.
- Memory Profile (XMP/EXPO): Enable the XMP (Intel) or EXPO (AMD) profile for your RAM to ensure it runs at its advertised, faster speeds, which significantly benefits visual application performance and smooth handling of High Resolution imagery.
- Boot Order: Set the boot order to prioritize your USB installation drive to initiate the OS installation.
- OS Installation: Follow the on-screen prompts to install the OS onto your primary M.2 SSD. Connect to the internet during the process if prompted, as this often helps with initial driver installations.
- Drivers and Updates: Once on the desktop, run Windows Update repeatedly until fully current. Crucially, download and install the latest graphics drivers directly from your GPU manufacturer’s website (NVIDIA, AMD, or Intel). Also, install any motherboard chipset drivers from your motherboard manufacturer’s website. These drivers unlock full performance and stability for demanding Digital Photography and Digital Art applications. For specific component RGB lighting, install relevant utility software (e.g., Corsair iCUE, ASUS Armoury Crate) to control your PC’s internal Aesthetic.
Enhancing Imagery: Essential Image Tools from Tophinhanhdep.com
A visually optimized PC thrives on the right software. Tophinhanhdep.com highlights a range of Image Tools that are indispensable for any digital creator, transforming raw data into stunning visual stories.
- Converters and Compressors: For managing vast Image Collections, tools for converting formats (e.g., RAW to JPEG, PNG to WEBP) and compressing images without significant quality loss are vital. These help optimize storage and website loading times, crucial for sharing your Beautiful Photography online and ensuring your work loads quickly for viewers.
- Optimizers: Image optimizers refine your files for various platforms, ensuring your High Resolution images look crisp and load efficiently everywhere. This is essential for maintaining the integrity of your Aesthetic vision across different digital media.
- AI Upscalers: Leverage artificial intelligence to dramatically increase the resolution of images, transforming standard photos into stunning High Resolution works suitable for large prints, detailed Digital Art, or simply improving the clarity of older files. This technology can breathe new life into lower-quality images, aligning with Tophinhanhdep.com’s focus on visual enhancement.
- Image-to-Text Tools: For content creators and researchers, these tools can extract text from images, streamlining workflows for documentation, web content, or extracting information from Stock Photos or Thematic Collections.
The Art of Digital Fidelity: High Resolution Photography and Editing Styles
Your newly built and optimized PC is a powerful platform for all things Photography, enabling you to capture, refine, and present visuals with unparalleled clarity and detail.
- Software Choices: Invest in professional-grade photo editing software like Adobe Photoshop, Lightroom, Capture One, or Affinity Photo. These applications benefit immensely from powerful CPUs, ample RAM, and dedicated GPUs for smooth operation and rapid processing of High Resolution RAW files, allowing you to focus on creativity, not lag.
- Editing Styles: Experiment with various Editing Styles to develop your unique visual signature, from vibrant and punchy to subtle and cinematic. Your PC’s performance will allow for real-time previews of complex filters, layers, and adjustments, significantly accelerating your creative process. Whether you’re enhancing Nature Photography or crafting a Sad/Emotional portrait, your hardware ensures a seamless and responsive editing experience.
- Digital Photography Workflow: Optimize your workflow by storing active projects on fast SSDs and archiving completed work on high-capacity HDDs. Utilize Image Tools for efficient batch processing, metadata management, and color correction to keep your extensive Image Collections organized, accessible, and ready for publication or display on Tophinhanhdep.com.
Visual Design and Digital Art: Software for Creative Expression
For those engaged in Graphic Design and Digital Art, the PC becomes a limitless canvas, empowering the creation of intricate and imaginative worlds.
- Design Suites: Software like Adobe Illustrator, InDesign, CorelDRAW, Blender, ZBrush, and Substance Painter demand significant system resources. Your robust CPU and GPU will render complex vectors, intricate 3D models, and high-fidelity textures with impressive speed and precision, allowing you to bring your Creative Ideas to life.
- Photo Manipulation: Explore advanced Photo Manipulation techniques that seamlessly blend photography with digital painting, creating fantastical Abstract scenes, surreal composites, or hyper-realistic renderings. The raw power of your PC allows for multi-layered projects without frustrating lag, ensuring your creative vision is unhindered.
- Creative Ideas: A high-performance system removes technical barriers, enabling you to freely explore new Creative Ideas and push the boundaries of your Visual Design. From concept art and character design to architectural visualizations and motion graphics, your PC facilitates a fluid, responsive, and ultimately more rewarding creative process.
IV. Personalizing Your Digital Realm: Aesthetic and Inspiration
The final, deeply personal layer of “visually imaging” your PC is customization. This is where your system truly becomes an extension of your artistic sensibilities, transforming a functional machine into a source of constant Image Inspiration & Collections, aligning perfectly with Tophinhanhdep.com’s ethos of celebrating visual beauty.
Curating Your Desktop: Wallpapers, Backgrounds, and Aesthetic Themes
Your desktop is your digital storefront, the first visual interaction with your PC. Its appeal significantly impacts your daily experience and productivity.
- Wallpapers and Backgrounds: Go beyond static images by utilizing dynamic Wallpapers that cycle through a curated collection of Beautiful Photography, serene Nature scenes, or vibrant Abstract art. Explore software that allows for animated backgrounds, adding a subtle touch of elegance or dynamism to your workspace. Tophinhanhdep.com offers an endless array of options for high-quality imagery, ensuring your desktop always reflects your current mood, projects, or desired Thematic Collections.
- Aesthetic Themes: Customize your operating system’s theme, color palette, icons, and fonts to create a cohesive Aesthetic that flows seamlessly across your entire digital realm. This extends to application skins and browser themes, creating a consistent Visual Design. Consider dark themes for reduced eye strain during long creative sessions or light themes for a bright, airy feel.
- Desktop Organization: A clean, organized desktop is an integral part of its Aesthetic. Arrange icons logically, utilize widgets for quick information, and keep only essential shortcuts visible. This minimalist approach enhances both beauty and productivity, reducing visual clutter.
Drawing from Inspiration: Mood Boards and Thematic Collections
Your PC isn’t just a tool for creation; it can be a vibrant hub for Image Inspiration & Collections, serving as a digital studio for new Creative Ideas.
- Mood Boards: Create dynamic digital Mood Boards using dedicated applications or online tools, gathering images, color palettes, textures, and typography that resonate with your current projects or desired Aesthetic. Your powerful PC can handle complex boards with many high-resolution elements, providing a rich and responsive source of visual input.
- Thematic Collections: Organize your personal Digital Photography and downloaded Stock Photos from Tophinhanhdep.com into Thematic Collections (e.g., “Minimalist Landscapes,” “Urban Abstracts,” “Sad/Emotional Portraits”). This not only makes assets easy to find but also serves as a personal gallery of ideas, sparking new Photo Ideas and projects. Such curated collections can be a powerful wellspring for future creative work.
- Trending Styles: Keep an eye on Trending Styles in Visual Design and Photography. Tophinhanhdep.com is an excellent resource for discovering fresh aesthetics and incorporating them into your desktop themes or current personal projects. Your powerful hardware allows you to quickly download, process, and implement these trends into your creative workflow.
Embracing New Horizons: AI Upscalers and Visual Trends
The future of visual computing is constantly evolving, and your high-performance PC is perfectly equipped to embrace it.
- Advanced Image Tools: Experiment with cutting-edge Image Tools that utilize AI for tasks like content-aware filling, object removal, or generating unique Abstract patterns and textures. These tools often require significant GPU power and robust processing capabilities, which your custom-built machine proudly provides, opening up new artistic avenues.
- Digital Art Evolution: Explore new forms of Digital Art, from generative art to immersive interactive installations. Your PC’s robust capabilities empower you to run complex simulations, render intricate digital worlds, and engage with virtual reality for unparalleled creative experiences.
- Visual Fidelity: Continually strive for the highest Visual Fidelity in all your work. Whether it’s showcasing Beautiful Photography on a meticulously calibrated monitor or ensuring your Graphic Design projects are pixel-perfect for print or digital display, your visually-imaged PC is your ultimate partner. Regular updates to drivers and software will keep your system at the forefront of visual technology, always ready for the next creative challenge from Tophinhanhdep.com.
In conclusion, “visually imaging a PC” is a holistic process that begins with careful hardware selection and culminates in a personalized, high-performance digital environment. By focusing on components that support intensive visual tasks, meticulously assembling your system, optimizing it with the right software and Image Tools, and infusing it with your unique Aesthetic and Image Inspiration & Collections, you transform your PC into more than just a computer. It becomes a dynamic canvas, a powerful studio, and a source of endless creative possibility, perfectly aligned with the visual passion championed by Tophinhanhdep.com. Build it well, optimize it smartly, and personalize it beautifully – and your PC will truly be a masterpiece of digital imaging.