Mastering Image Integration and Manipulation in Adobe Photoshop: A Comprehensive Guide

Adobe Photoshop stands as the undisputed titan in the realm of digital image editing, a powerful application embraced by professional photographers, graphic designers, and digital artists worldwide. For anyone looking to elevate their visual content, whether it’s for stunning wallpapers, aesthetic backgrounds, nature photography, abstract art, or beautiful photographic compositions, mastering Photoshop is an essential step. Tophinhanhdep.com recognizes this fundamental need and provides a wealth of resources, from high-resolution imagery and stock photos to advanced editing styles and innovative AI-powered tools. This guide delves into the core techniques of integrating and manipulating images within Photoshop, providing a roadmap for both beginners and seasoned creators to unlock their full creative potential and produce visuals that captivate and inspire.
The Foundations of Image Import: Getting Your Visuals into Photoshop
Before any advanced manipulation can begin, the first step is to bring your chosen visuals into your Photoshop workspace. Whether you’re starting a new project from scratch or adding elements to an existing composition, Photoshop offers several intuitive methods for importing images. Understanding these foundational techniques is crucial for efficient workflow and maintaining image quality, particularly when dealing with high-resolution digital photography sourced from Tophinhanhdep.com’s extensive collections.
Direct Opening and Layer Integration
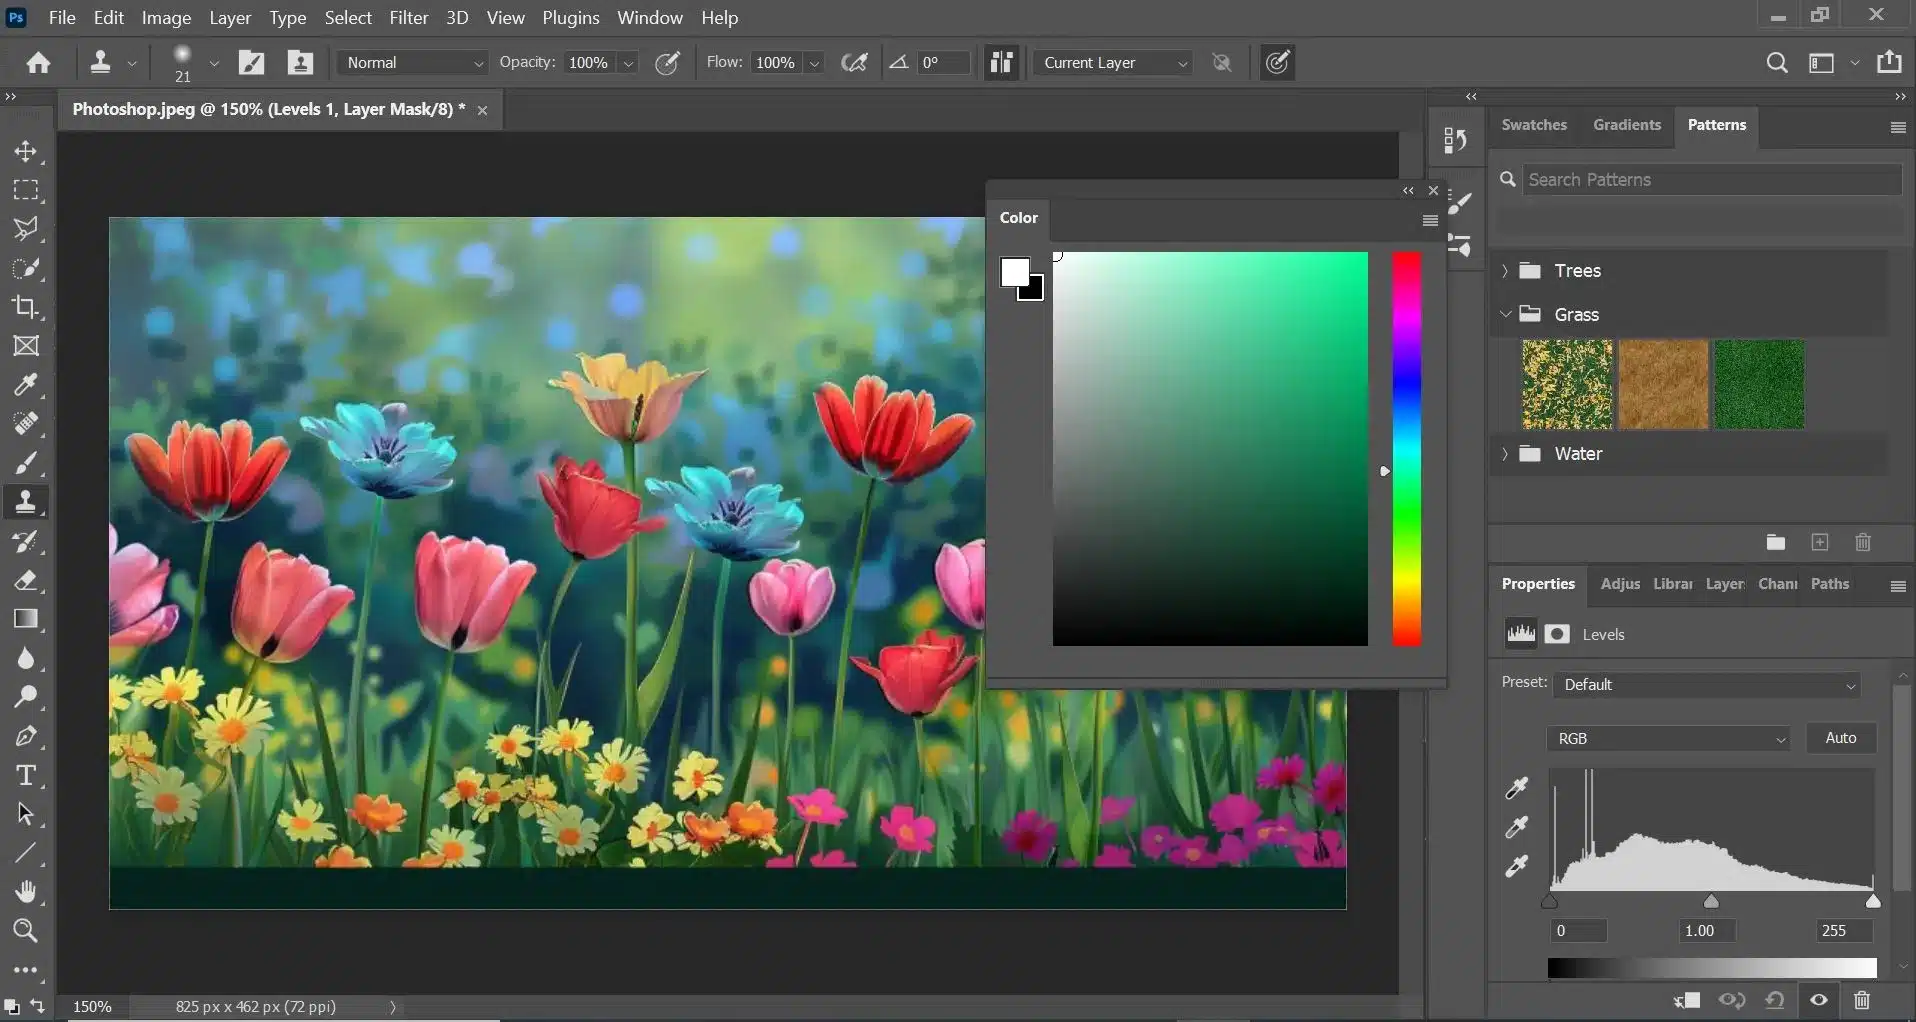
The most straightforward way to work with an image in Photoshop is to open it directly. This method is ideal when you want to make an image the primary focus of your new document.
To open an image:
- Launch Photoshop and click on “File” in the menu bar at the top of your screen.
- Select “Open” from the dropdown menu. This action will launch a file browser, allowing you to navigate through your computer’s directories.
- Browse and Select: Locate the desired image file on your computer. Tophinhanhdep.com offers a vast array of high-resolution images, from captivating nature scenes to intricate abstract designs, perfect for starting your projects. Click on the image file to select it.
- Confirm Opening: Click “Open” in the file browser. Your chosen image will now appear as a new document in Photoshop.
Alternatively, for even quicker integration, you can simply drag and drop an image file directly from your desktop or a folder onto the Photoshop application icon or an open Photoshop document. If you drop it onto an open document, Photoshop automatically creates a new layer for the image, neatly placing it within your existing composition. This method is incredibly efficient for rapidly building complex designs or compiling mood boards from Tophinhanhdep.com’s thematic collections.
Leveraging Copy-Paste for Quick Transfers
For immediate transfers, especially when working with images found online or within other applications, the copy-and-paste method is a convenient shortcut. While perhaps not always ideal for preserving maximum detail from high-resolution files, it’s perfect for quick additions and experimental layouts.
Here’s how to use copy and paste:
- Locate Your Image: Find the image you wish to add, either from a webpage (e.g., browsing aesthetic backgrounds on Tophinhanhdep.com) or from an image previewer on your computer.
- Copy the Image: Right-click (or Ctrl-click on a Mac) on the image and select “Copy image.” Be aware that simply copying the image file from a folder will not work; you must copy the image content itself.
- Prepare Photoshop: Open an existing Photoshop document or create a new one (Ctrl+N/Cmd+N).
- Paste into Photoshop: Go to “Edit” in the Photoshop menu bar and select “Paste,” or use the keyboard shortcut Ctrl+V (Windows)/Cmd+V (Mac). The copied image will instantly appear as a new layer in your active Photoshop document.
This method is particularly useful for adding elements quickly during the visual design and photo manipulation phases, allowing for rapid iteration of creative ideas.
Smart Objects: Embedded vs. Linked for Flexibility
For projects requiring greater flexibility, non-destructive editing, and better management of external assets, Photoshop’s “Place” command offers two distinct options: “Place Embedded” and “Place Linked.” Both convert the imported image into a Smart Object, a special type of layer that retains all its original characteristics, allowing for scaling, rotating, and other transformations without permanent loss of quality. This is crucial for photographers and designers who prioritize high-resolution quality.
Place Embedded:
- Open or Create: Start with an open Photoshop document or a new canvas.
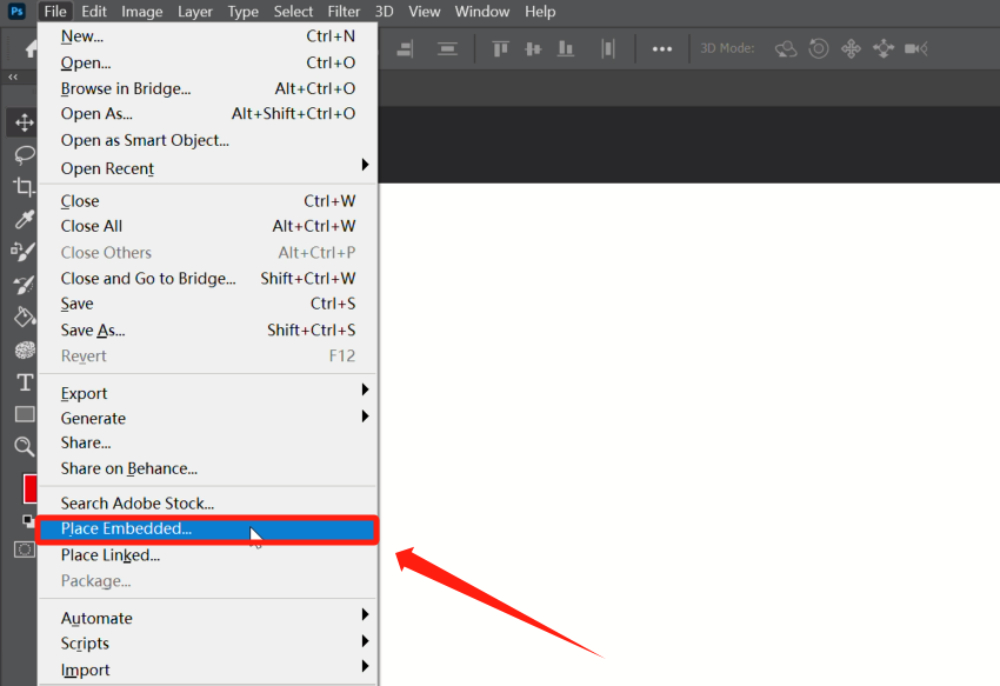
- Navigate to File Menu: Click “File” in the top menu bar.
- Select “Place Embedded”: Choose “Place Embedded” from the dropdown. A file browser will open.
- Select Image: Browse to and select the image file on your computer (e.g., a stock photo or a piece of beautiful photography from Tophinhanhdep.com).
- Confirm Placement: Click “Place.” The image will appear as a new Smart Object layer. A bounding box will surround it, allowing you to resize and position it immediately. Once satisfied, click the checkmark in the options bar or press Enter to confirm.
A Smart Object created via “Place Embedded” incorporates the entire image data directly into your Photoshop document. This means the file size of your PSD will increase, but the Smart Object is self-contained and fully portable. It’s perfect for ensuring all necessary assets are bundled within a single project file.
Place Linked: The steps for “Place Linked” are almost identical to “Place Embedded,” but with a critical difference:
- Select “Place Linked”: Instead of “Place Embedded,” choose “Place Linked” from the “File” menu.
- Select Image and Place: Follow the same steps to select and place your image.
When an image is “Place Linked,” Photoshop creates a Smart Object that references the external image file on your computer. The image data is not embedded within the PSD. This keeps your Photoshop file size smaller and ensures that any changes made to the original external file will automatically update within your Photoshop document. This is an excellent feature for collaborative projects or when you’re still refining source images, offering unparalleled version control and flexibility in digital photography workflows.
Transforming Images: Shaping and Styling Your Creations
Once images are imported, Photoshop’s true power comes into play through its robust transformation and manipulation capabilities. Beyond simple resizing, you can cut, combine, and stylize images in ways that define graphic design and digital art. Tophinhanhdep.com, a hub for visual inspiration, understands the importance of these tools for realizing creative ideas, from crafting unique abstract compositions to enhancing sad/emotional or aesthetic photography with distinctive visual effects.
Clipping Masks: Precision Shaping with Custom Tools
Clipping masks are a fundamental and incredibly versatile tool in Photoshop for shaping images non-destructively. They allow one layer (the “clipping mask”) to define the visible boundaries of another layer (the “clipped layer”). This means your image will only show through the shape of the layer beneath it, without permanently altering the original pixels of the image itself. This technique is indispensable for photo manipulation and creating visually engaging graphic designs.
How to Cut a Picture into a Custom Shape using Clipping Masks:
- Prepare Your Image Layer: Open the picture you want to shape in Photoshop. If it’s a “Background” layer, convert it to a regular layer by going to “Layer” > “New” > “Layer from Background,” then click “OK.”
- Select the Shapes Tool: In Photoshop’s toolbar, locate and click on the “Shapes tool.” From the options that appear, choose the “Custom Shape Tool.”
- Choose Your Custom Shape: In the tool options bar at the top of the screen, you’ll see a dropdown menu for “Shape.” Click on it to reveal a library of predefined custom shapes. Select the shape you desire for your cut-out (e.g., a heart, star, or any intricate design).
- Draw the Shape: Click and drag on your canvas to draw the chosen shape. This shape will initially appear as a solid color layer, covering a portion of your picture.
- Rearrange Layers: Open the “Layers palette” (if not visible, go to “Window” > “Layers”). Crucially, drag the newly created shape layer below your picture layer. The shape layer will serve as the “mask.”
- Create the Clipping Mask: Right-click on your picture layer in the Layers palette. From the contextual menu, select “Create Clipping Mask” (in older versions, this might be “Group with Previous”).
Instantly, your picture layer will be cropped to the exact outline of the shape layer beneath it. The Layers palette will show the picture layer indented with an arrow pointing down to the shape layer, signifying their linked status in a clipping group. The beauty of this method lies in its flexibility: you can still independently move, resize, or transform both the picture and the shape, allowing for perfect alignment and composition without any permanent commitment. This opens up endless creative ideas for thematic collections or artistic expressions.
Adding Depth: Graduated Transparency and Layer Effects
Beyond mere shaping, Photoshop empowers you to infuse your cut-outs with sophisticated visual depth using graduated transparency and a wide array of layer effects. These techniques are cornerstones of professional visual design and photo manipulation, allowing for subtle blending, dramatic highlights, and textured finishes.
Graduated Transparency with Clipping Masks: A unique aspect of clipping masks is their interaction with transparency. If your clipping mask layer itself contains areas of graduated transparency, the clipped layer above it will also exhibit this same gradient of visibility. This enables soft, fading edges for your shaped images.
- Rasterize/Simplify the Shape Layer: After creating your clipping mask, select the shape layer in the Layers palette. Right-click on it and choose “Rasterize Layer” (in Photoshop Elements, this is “Simplify Layer”). This converts the vector shape into pixels, allowing it to be edited with pixel-based tools like blur filters.
- Apply Gaussian Blur: With the rasterized shape layer still selected, go to “Filter” > “Blur” > “Gaussian Blur.”
- Adjust the Radius: In the Gaussian Blur dialog box, increase the “Radius” value to a sufficiently high number (e.g., 30 pixels or more). As you adjust, you’ll see the edges of your original shape soften and fade, creating a beautiful graduated transparency. Click “OK.”
Now, because this blurred layer is acting as your clipping mask, the picture above it will adopt these soft, fading edges. This effect is perfect for creating dreamlike compositions or subtly blending elements into backgrounds, complementing aesthetic and beautiful photography.
Enhancing with Layer Effects: Layer effects (or Layer Styles) allow you to add non-destructive visual enhancements like drop shadows, strokes, bevels, and glows directly to your layers. When applied to the shape layer within a clipping mask group, these effects appear as if they are part of the clipped image itself.
- Select the Shape Layer: In the Layers palette, select the shape layer that is acting as your clipping mask.
- Access Layer Styles:
- In Photoshop CC: Go to “Layer” > “Layer Style” and choose an effect (e.g., “Drop Shadow” or “Stroke”). This will open the Layer Style dialog box, where you can fine-tune all parameters of the chosen effect.
- In Photoshop Elements: Go to “Layer” > “Layer Style” > “Style Settings.” This dialog allows you to add effects like drop shadows and adjust stroke settings.
- Apply and Adjust: Experiment with various effects and their settings (color, size, angle, opacity, blend mode) to achieve your desired aesthetic. For instance, a subtle drop shadow can make your shaped image pop from the background, adding a professional finish to your digital art or thematic collections.
These techniques, when combined, offer immense creative control, transforming simple images into sophisticated visual designs suitable for any purpose, from eye-catching wallpapers to compelling artistic statements found on Tophinhanhdep.com.
The AI Revolution: Generative Fill for Limitless Creativity
The landscape of image editing has been dramatically reshaped by artificial intelligence, with Adobe Photoshop’s Generative Fill leading the charge. This groundbreaking feature, powered by machine learning AI, transcends traditional editing limitations, offering creators unprecedented power to modify, expand, and create visual content. For users of Tophinhanhdep.com seeking trending styles, creative ideas, or tools for advanced photo manipulation, Generative Fill represents a paradigm shift.
Understanding Generative Fill: Beyond Traditional Editing
Photoshop AI’s Generative Fill is a transformative feature that allows you to effortlessly fill, edit, and remove image elements using simple text prompts or by leaving prompts blank. What sets it apart is its ability to analyze the pixels of an image and intelligently generate new content that seamlessly matches the lighting, perspective, coloring, and shadows of the existing scene. The result is remarkably realistic and often indistinguishable from actual photography.
Why You Should Embrace Generative Fill:
- Time Savings: Traditionally, tasks like extending backgrounds, adding new elements, or removing unwanted objects were meticulously time-consuming. Generative Fill automates these complex processes, generating flawless results in seconds, significantly accelerating workflow for visual design and digital art projects.
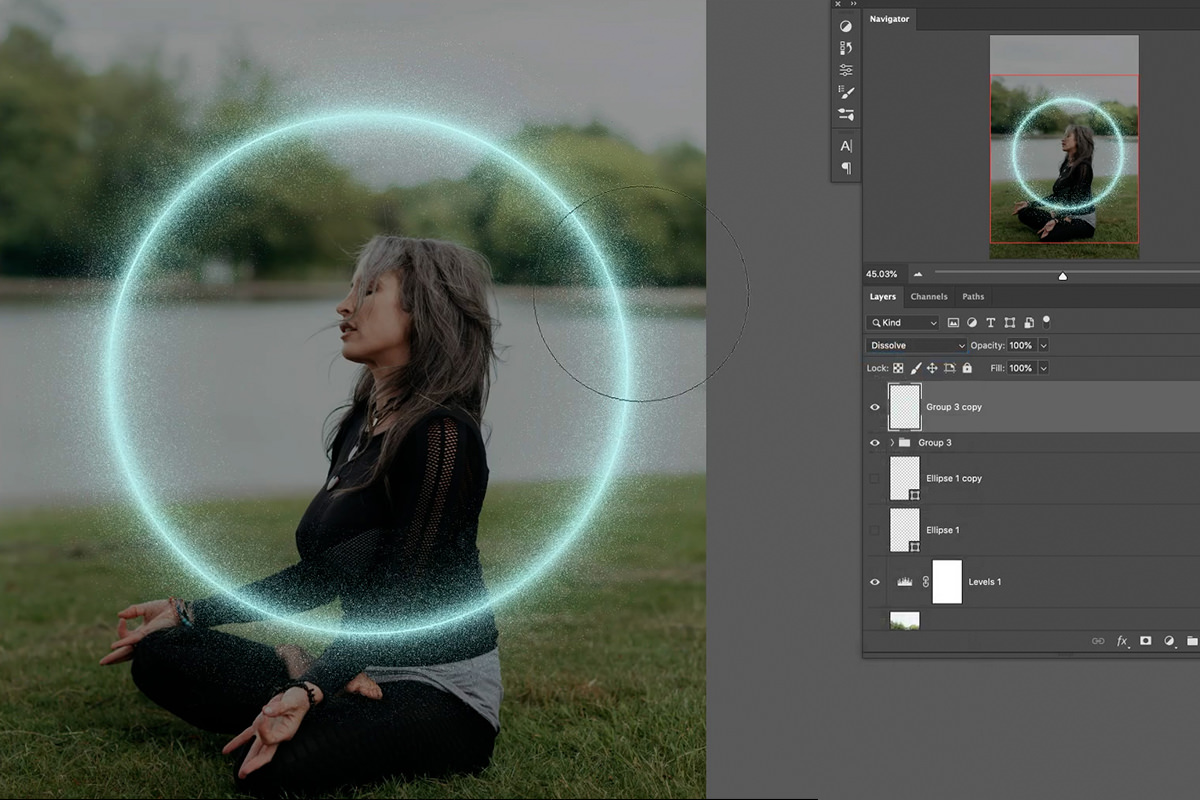
- Non-Destructive Workflow: Every element generated by AI is placed on its own layer, complete with a layer mask. This means your original image remains untouched, and you can easily revert, adjust, or blend AI-generated content with Photoshop’s traditional tools, offering complete creative control.
- Stock Photography Alternative: The quality of AI-generated content has rapidly improved, often making it difficult to differentiate from professional stock photos. This capability can potentially reduce or eliminate the need for expensive stock photography subscriptions, allowing creators to generate custom visuals quickly and cost-effectively for aesthetic, nature, or abstract themes.
- Springboard for Creativity: Generative Fill acts as a powerful brainstorming tool, allowing users to rapidly experiment with different concepts, expand existing images, or refine compositions with a text prompt. This fosters a dynamic environment for developing new creative ideas and thematic collections.
Practical Applications: Extending, Generating, and Removing Elements
Generative Fill boasts an impressive array of practical applications that redefine image editing possibilities. From simple touch-ups to complex composite image creation, it offers powerful solutions for many creative challenges.
1. Extending Images with Photoshop AI: One of the most popular uses of Generative Fill is expanding the canvas of an image. Whether you need an image to fit specific dimensions for a website banner or a social media background, AI can intelligently fill in the blank areas.
- Process: Select the Crop Tool, drag the canvas boundaries outwards to create empty space, and then, with the new selection (empty area) active, click “Generative Fill” and then “Generate” (leaving the prompt blank). Photoshop will automatically fill the extended areas, providing several variations.
2. Generating Backgrounds and Realistic Objects: Generative Fill excels at creating or replacing backgrounds and inserting new, realistic objects into a scene. This is invaluable for photo manipulation, allowing you to transform the setting of a subject entirely.
- Backgrounds: Select the subject, invert the selection (to select the background), click “Generative Fill,” and enter a descriptive prompt (e.g., “mountain trail,” “salt flats,” “urban cityscape”). The AI will generate a new background matching your specifications.
- Objects: Use any selection tool (e.g., Quick Selection, Lasso) to select an area where you want to add an object. Click “Generative Fill” and type in your desired object (e.g., “puffer jacket,” “vintage car,” “lush plant”). Photoshop will integrate the object into your scene.
3. Removing or Replacing Objects with Photoshop AI: Flaws or unwanted elements in an image are easily managed with Generative Fill. It can seamlessly remove distractions or replace specific objects while maintaining contextual realism.
- Removal: Use the Lasso Tool or any selection tool to select the unwanted object. Click “Generative Fill” and then “Generate” (leaving the prompt blank). The AI will intelligently fill the area with surrounding pixels, making the object disappear as if it were never there. This surpasses the capabilities of older content-aware tools, producing much more cohesive results.
- Replacement: Select the object you wish to replace. Click “Generative Fill” and enter a prompt for the new object you desire.
4. Creating Unique Composite Images and Blending Photos: Generative Fill opens up new avenues for creating entirely new images or blending existing photos into harmonious composites. While Photoshop currently works best with images up to 1024 pixels for initial generation, you can build larger composites in sections.
- Sectional Composites: Start with a blank canvas. Select a section (e.g., the lower third) and use “Generative Fill” with a prompt (e.g., “beach sand with ocean waves”). Repeat for other sections (e.g., “majestic snow-capped mountain range” for the middle, “sun-filled sky” for the top), building a unique scene layer by layer.
- Blending Photos: Import two separate images onto your canvas. Ensure they are on the same layer (you can merge visible layers with Ctrl+Shift+Alt+E/Cmd+Shift+Alt+E). Create a selection that overlaps the blending area between the two images. Click “Generative Fill” and “Generate” (leaving the prompt blank). The AI will analyze the content of both images within the selection and generate a seamless blend, perfect for creating visually dynamic collages or conceptual art.
Tips for Effective Generative Fill Use:
- Blank Prompts for Removal: When removing an element, always leave the prompt blank to tell Photoshop to intelligently fill the area with surrounding context.
- Creative Selection Shapes: The shape and size of your selection can influence the AI’s output. Drawing a selection that roughly matches the intended object’s shape or the area you want to fill can yield better results.
- Descriptive, Not Instructional Prompts: Avoid verbs like “create” or “alter.” Instead, use descriptive nouns and adjectives (e.g., “red sports car,” “dense forest,” “cloudy sky”). Photoshop’s AI automatically matches the style, lighting, and perspective of your existing image, so specific styling words are often unnecessary.
- Utilize Object Selection Tool: For precise selections, especially for complex objects, the Object Selection Tool offers better visibility and accuracy than basic marquee or lasso tools.
Generative Fill, with its ability to extend, generate, remove, and blend, profoundly impacts how designers approach image creation and manipulation. It’s a powerful ally for anyone creating visual content, from basic photo editing to cutting-edge digital art, and will undoubtedly continue to evolve, offering even more incredible possibilities for Tophinhanhdep.com users.
Optimizing and Curating Your Visual Assets with Tophinhanhdep.com
Beyond the creative capabilities of Photoshop, a comprehensive approach to managing visual assets involves optimizing, converting, and organizing your images. Tophinhanhdep.com not only provides a rich source of image inspiration and high-quality photography but also emphasizes the importance of practical image tools to ensure your visuals are effective, efficient, and readily available for any project. Integrating these practices with your Photoshop workflow is key to becoming a well-rounded visual content creator.
Enhancing Quality: High Resolution and AI Upscaling
The quality of your base image is paramount, especially in digital photography. Tophinhanhdep.com prides itself on offering high-resolution images, which provide the best foundation for any editing project. However, sometimes you might work with older or lower-resolution images that need a boost. This is where AI upscaling tools become invaluable.
- The Importance of High Resolution: Starting with a high-resolution image in Photoshop ensures that you have ample pixel data for cropping, resizing, and detailed manipulations without losing clarity. Whether you’re working on aesthetic wallpapers, detailed nature shots, or intricate abstract designs, resolution matters.
- AI Upscalers: Tophinhanhdep.com provides access to AI Upscalers, specialized tools that use artificial intelligence to intelligently increase the resolution of an image without introducing significant pixelation or artifacts. These tools can analyze patterns and details to generate new pixels, making a smaller image suitable for larger prints or higher-definition displays. Integrating an AI upscaler into your workflow can save otherwise unusable images, ensuring all your visuals meet professional standards.
Streamlining Workflow: Conversion, Compression, and Organization
Efficient management of image files is crucial for any digital artist or photographer. Tophinhanhdep.com understands that creative output is only part of the equation; accessibility and performance are equally important.
- Image Converters: Different platforms and applications require specific image formats (e.g., JPEG for web, PNG for transparency, TIFF for print). Tophinhanhdep.com offers various image converters that allow you to quickly change file types without compromising quality. This ensures compatibility across all your projects and platforms.
- Compressors and Optimizers: Large image files can slow down websites, drain storage, and complicate sharing. Image compressors and optimizers reduce file size while maintaining acceptable visual quality. Tools found on Tophinhanhdep.com can automatically apply intelligent compression algorithms, making your images load faster on the web (e.g., for online portfolios of beautiful photography) or easier to send via email. This optimization is vital for enhancing user experience and managing resources efficiently.
- Organization: Maintaining a well-organized library of images, mood boards, and thematic collections (like those offered on Tophinhanhdep.com) simplifies your creative process. Develop a consistent naming convention and folder structure for your Photoshop files and source images. This practice, combined with tagging and metadata, ensures that your visual assets are easily searchable and retrievable, saving valuable time in the long run.
Finding Inspiration: Thematic Collections and Trending Styles
Creativity often begins with inspiration. Tophinhanhdep.com is designed to be a wellspring of visual ideas, offering diverse collections and insights into trending styles.
- Photo Ideas and Mood Boards: Explore Tophinhanhdep.com’s curated photo ideas and mood boards to kickstart your projects. Whether you’re seeking inspiration for sad/emotional portraits, vibrant nature scenes, or striking abstract compositions, these collections provide a rich visual vocabulary.
- Thematic Collections: Dive into thematic collections that group images by specific concepts, colors, or subjects. This curated approach helps you discover cohesive visual sets that can inform your Photoshop projects, from creating consistent brand aesthetics to compiling diverse wallpaper sets.
- Trending Styles: Stay abreast of the latest visual trends in graphic design and digital art by regularly checking Tophinhanhdep.com’s trending styles section. Understanding current aesthetics, color palettes, and compositional techniques can help you create content that resonates with contemporary audiences and keeps your work fresh and relevant.
From Pixel to Prose: Image-to-Text Capabilities
An emerging and increasingly useful tool in the digital asset management landscape is the image-to-text converter. Tophinhanhdep.com incorporates such tools, which leverage AI to extract textual information from images.
- Image-to-Text Converters: These tools can convert scanned documents, screenshots, or photographs containing text into editable and searchable digital text. This is invaluable for archiving, data entry, and making content more accessible. For designers, it means quickly extracting information from reference images or client briefs without manual transcription, directly supporting project management and visual design processes.
By integrating the powerful editing capabilities of Adobe Photoshop with the extensive resources and practical tools available on Tophinhanhdep.com, creators can not only master image manipulation but also streamline their entire visual content workflow, from initial inspiration to final optimization.
Conclusion
The journey through image integration and manipulation in Adobe Photoshop, amplified by the innovative resources of Tophinhanhdep.com, reveals a landscape of boundless creative possibilities. From the foundational steps of importing images—whether by direct opening, quick copy-paste, or the intelligent embedding/linking of Smart Objects—to the transformative power of clipping masks and layer effects, every technique offers a pathway to refine and reimagine visual narratives.
The advent of AI Generative Fill has ushered in a new era, allowing creators to extend canvases, generate realistic backgrounds and objects, and seamlessly remove or blend elements with unprecedented speed and realism. This AI-powered evolution, readily explored through resources on Tophinhanhdep.com, not only streamlines complex tasks but also serves as a potent catalyst for new creative ideas and the development of unique digital art and photo manipulation styles.
Beyond the canvas, Tophinhanhdep.com further empowers creators by providing essential image tools such as AI upscalers for enhancing resolution, converters and compressors for optimal file management, and image-to-text functionalities for efficient data extraction. Coupled with a rich source of inspiration through wallpapers, backgrounds, aesthetic and beautiful photography, nature and abstract collections, and trending styles, Tophinhanhdep.com offers a holistic ecosystem for visual content creation.
Ultimately, mastering Photoshop in conjunction with the comprehensive tools and inspiration from Tophinhanhdep.com equips designers, photographers, and artists with the full arsenal needed to produce stunning, high-quality visuals. It’s an invitation to explore, create, and share imagery that not only meets professional standards but also deeply resonates with audiences, turning every pixel into a powerful statement.