How to Import Images into Photoshop: Your Gateway to Creative Editing on Tophinhanhdep.com

Adobe Photoshop stands as the industry standard for image manipulation, graphic design, and digital art. Whether you’re a seasoned professional or a budding enthusiast, the journey into any creative project within Photoshop invariably begins with a fundamental step: importing your images. This process, while seemingly straightforward, offers several nuanced methods, each optimized for different workflows and creative needs. Understanding these techniques is crucial for efficient and non-destructive editing, laying the groundwork for stunning visual outcomes.
On Tophinhanhdep.com, we pride ourselves on offering a vast repository of visual assets, from breathtaking wallpapers and aesthetic backgrounds to high-resolution stock photos and inspiring thematic collections. Integrating these resources seamlessly into your Photoshop projects is key to unlocking your creative potential. This comprehensive guide will walk you through the various ways to import images into Photoshop, ensuring you master this essential first step in your digital art journey.
Fundamental Methods for Importing Images into Photoshop
Photoshop provides several pathways to bring an image into your workspace. Each method serves a specific purpose, offering flexibility depending on whether you’re starting a new project, adding to an existing one, or simply looking for the quickest way to get an image onto your canvas.
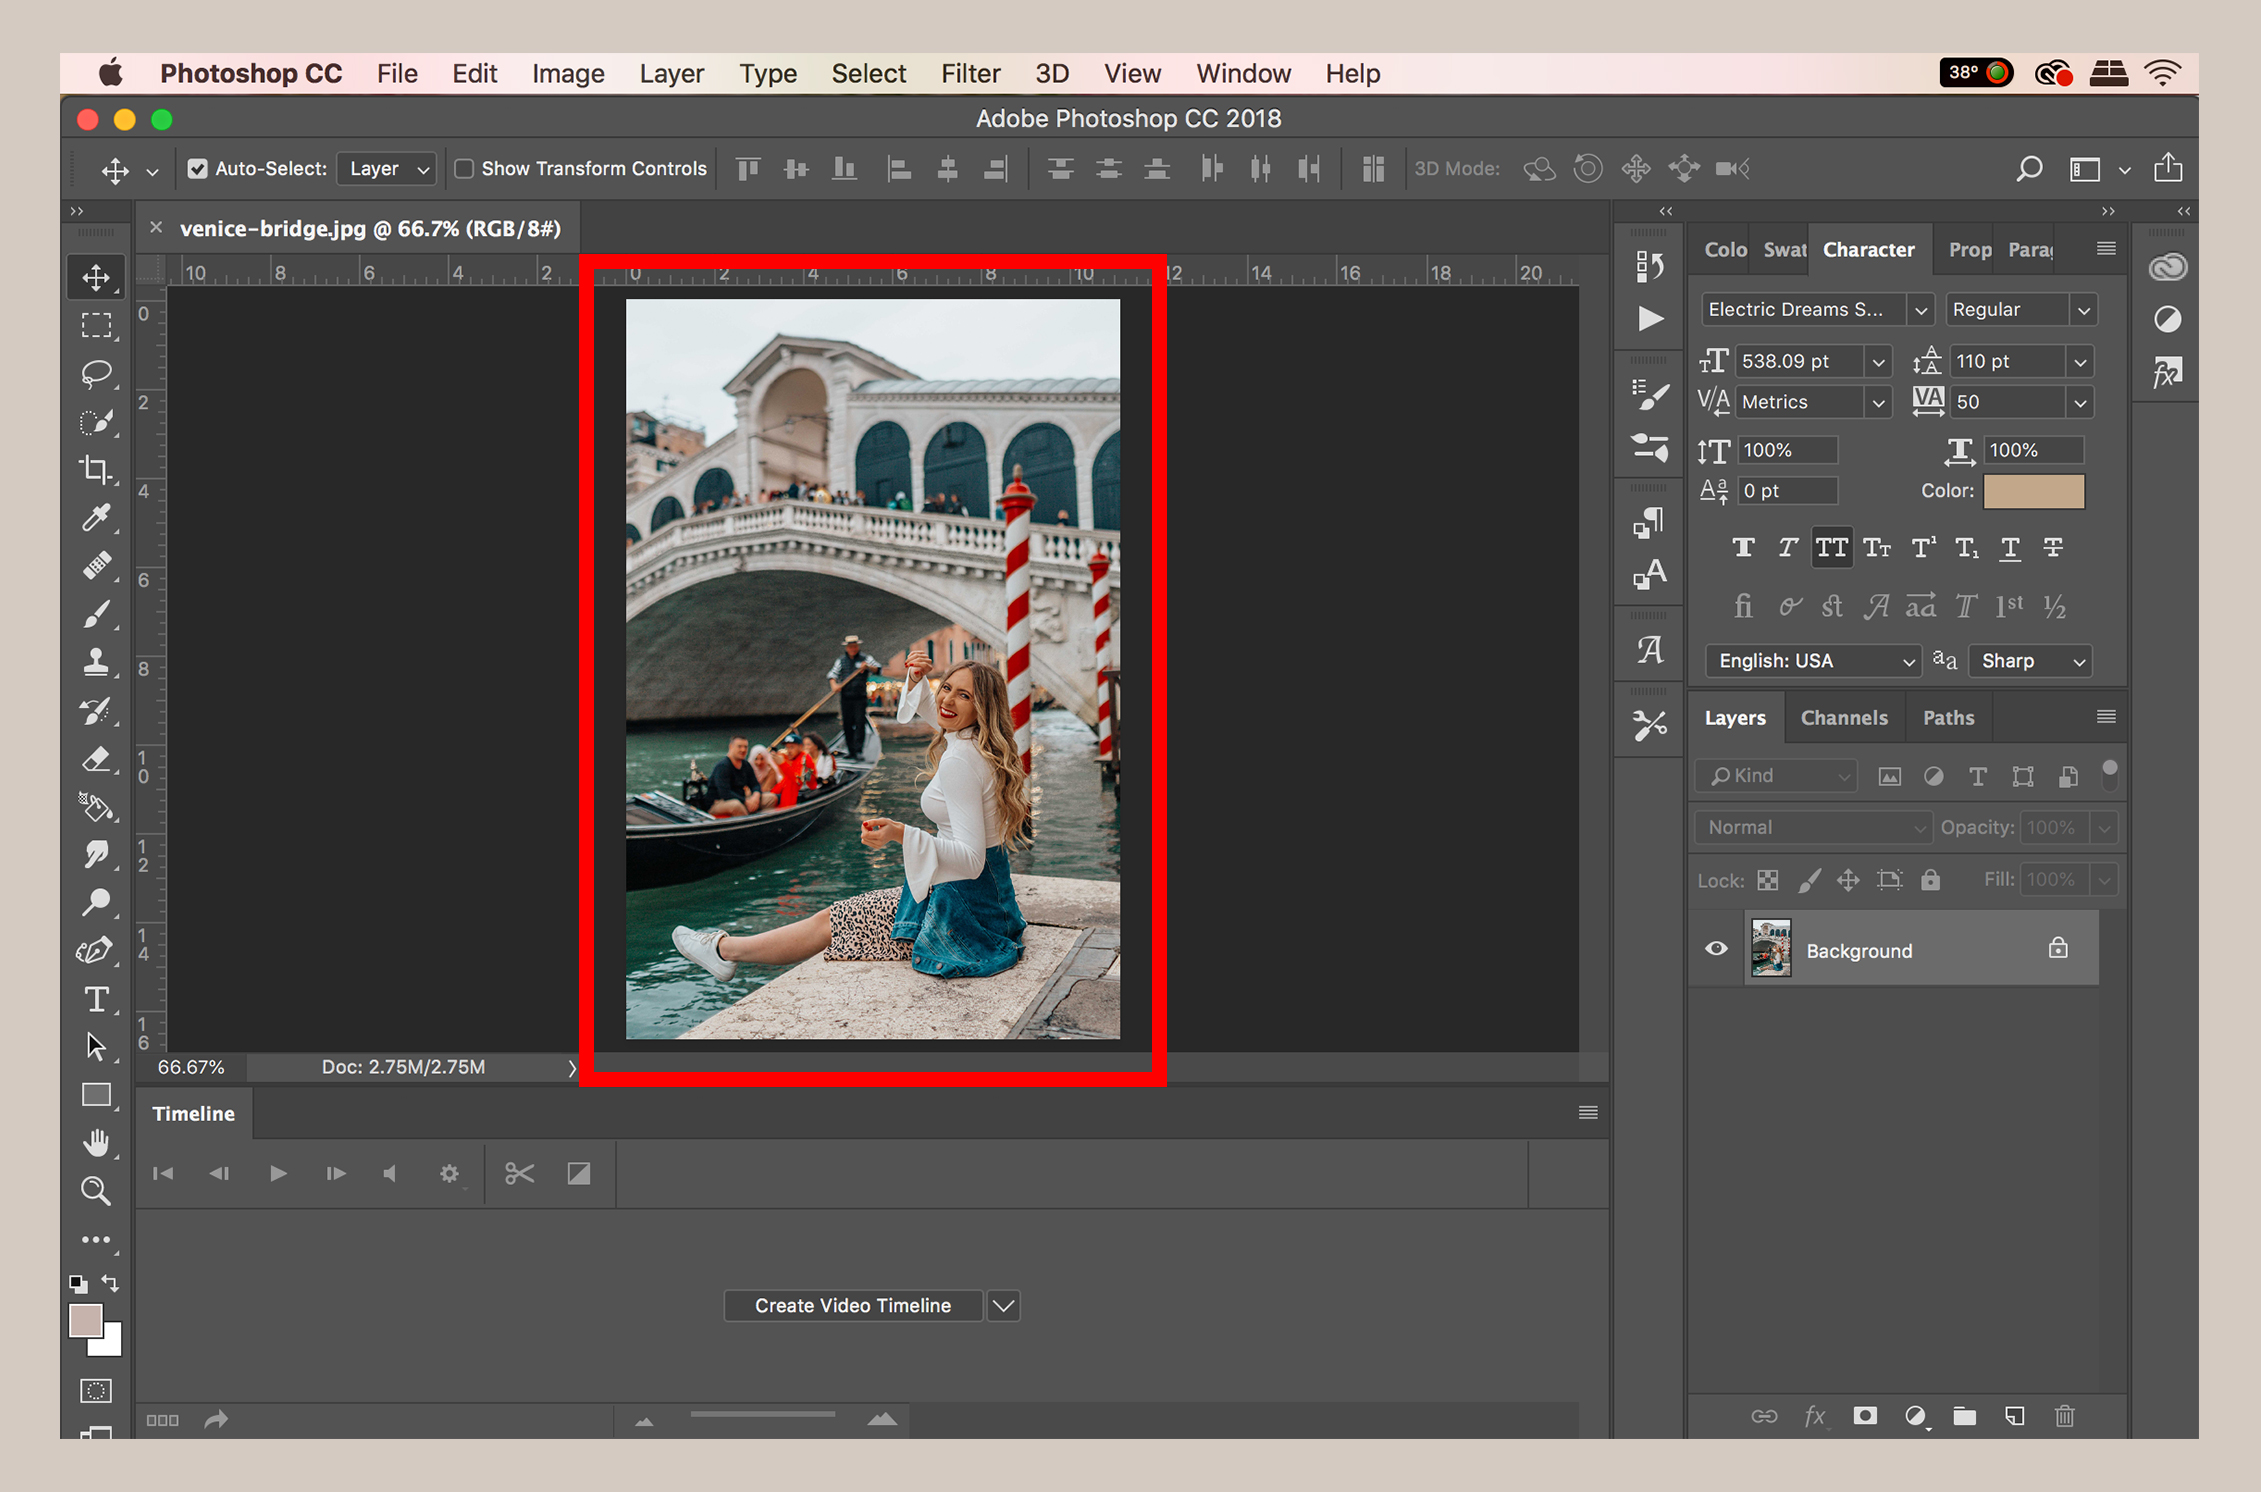
Opening Images Directly: Starting with a Blank Canvas
This is often the most intuitive method when you want to begin a new project with a single image as your primary focus. When you open an image directly, Photoshop creates a new document with the exact dimensions, resolution, and color profile of that image.

Step-by-Step Guide:
- Launch Photoshop: Open the Adobe Photoshop application on your PC or Mac.
- Access the ‘Open’ Command: Navigate to the
Filemenu at the top-left of your screen. From the dropdown, selectOpen.... Alternatively, you can use the keyboard shortcutCtrl+O(Windows) or⌘ Cmd+O(Mac). - Browse and Select Your Image: A file browser window will appear. Navigate through your computer’s folders to locate the image file you wish to import. This could be a high-resolution photograph downloaded from Tophinhanhdep.com’s “Beautiful Photography” section, a captivating nature wallpaper, or an abstract background ready for manipulation.
- Confirm Selection: Click on the image file to select it, then click the
Openbutton.
When to Use This Method: This approach is perfect when your intention is to edit a single image, perhaps to enhance its colors, apply specific editing styles, or prepare it as a standalone visual. For instance, if you’ve found a stunning high-resolution image on Tophinhanhdep.com that you want to transform into a personalized desktop wallpaper or a print-ready photograph, opening it directly is the ideal starting point.

Placing Images into Existing Documents: Layering Your Creative Vision
Most complex Photoshop projects involve combining multiple images, textures, and graphic elements. The “Place” command is designed specifically for this, allowing you to insert an image as a new layer into an already open Photoshop document (.PSD file). This method is fundamental for graphic design, digital art, and photo manipulation, enabling you to build intricate compositions layer by layer.
Step-by-Step Guide:
- Open or Create a Photoshop Document: Begin by opening an existing
.PSDfile or creating a new document (Ctrl+N/⌘ Cmd+N). This will be your canvas for combining images. - Access the ‘Place’ Command: Go to the
Filemenu at the top-left of your screen. From the dropdown, selectPlace Embedded...orPlace Linked....- Place Embedded: This option embeds the image data directly into your Photoshop document. The file size of your
.PSDwill increase, but the image will always be available within the document, even if the original source file is moved or deleted. This is excellent for ensuring project portability and independence from source files. - Place Linked: This option creates a link to the original image file on your computer. The image itself is not fully stored within the
.PSD; instead, Photoshop references the external file. This keeps your.PSDfile size smaller but requires the original linked file to remain in its location. If the source file is moved, renamed, or deleted, Photoshop will lose the link. Linked files are particularly useful in collaborative workflows or when working with very large files to maintain project efficiency. If you’re frequently updating stock photos or digital photography assets, linking can streamline your process.
- Place Embedded: This option embeds the image data directly into your Photoshop document. The file size of your
- Browse and Select Your Image: A file browser window will appear. Navigate to and select the image you wish to add. This could be an aesthetic background, an abstract element, or a piece of beautiful photography from Tophinhanhdep.com that you want to integrate into your visual design.
- Confirm Placement and Transform: Once selected and placed, the image will appear on your canvas with a transformation bounding box around it. You can resize, rotate, or reposition the image using these controls. Hold
Shiftwhile dragging a corner to maintain its aspect ratio. When satisfied, pressEnter(Windows) orReturn(Mac), or click the checkmark in the Options bar at the top of the screen to confirm the placement.
Understanding Smart Objects:
Crucially, when you use Place Embedded or Place Linked, Photoshop automatically imports the image as a Smart Object. This is a powerful feature for non-destructive editing, especially relevant for photo manipulation and graphic design projects.
- Non-Destructive Editing: Smart Objects preserve an image’s original content with all its source characteristics, enabling you to perform non-destructive transforms (scaling, rotating, skewing, distorting, perspective warps) without losing original image data or quality. This means you can resize a Smart Object smaller and then later enlarge it back to its original dimensions without pixelation.
- Applying Filters: Filters applied to Smart Objects are Smart Filters, which are also non-destructive and can be edited or removed at any time.
- Linked Content: For
Place Linkedfiles, the Smart Object automatically updates if the original source file is changed, ensuring consistency across projects.
Rasterizing Smart Objects:
While Smart Objects offer immense benefits, there are times you might need to “rasterize” them. Rasterizing converts the Smart Object layer into a standard pixel-based layer. Once rasterized, transformations are destructive, and you lose the ability to scale up without pixelation. You might rasterize if you need to apply pixel-based editing tools (like the Eraser Tool, Brush Tool, or specific filters that don’t support Smart Objects) directly to the layer. To rasterize, right-click the Smart Object layer in the Layers panel and select Rasterize Layer.
The Efficiency of Drag and Drop
For those who prioritize speed and convenience, the drag-and-drop method is incredibly efficient. It streamlines the import process, making it a go-to for quickly adding assets to your project.
Step-by-Step Guide:
- Locate Your Image: Find the image file on your computer (e.g., in Windows Explorer or macOS Finder, or even a web browser if supported). This could be any image from Tophinhanhdep.com, whether a sad/emotional picture for a mood board or a vibrant aesthetic image for a digital art piece.
- Open Photoshop: Ensure Photoshop is open.
- To open as a new document: Drag the image file directly onto the Photoshop application icon, or into an empty area of the Photoshop interface (where no document is currently open). Photoshop will create a new document with that image.
- To add as a new layer: If you have an existing Photoshop document open, drag the image file directly from your folder onto the canvas of that open document.
- Confirm Placement (if adding as a layer): If you dragged it into an existing document, the image will be placed as a new Smart Object layer with a transformation bounding box. Press
Enter(Windows) orReturn(Mac) or click the checkmark to confirm its placement.
When to Use This Method: This method is incredibly useful for a fast-paced workflow, such as assembling a mood board with various photo ideas from Tophinhanhdep.com, quickly adding backgrounds, or integrating multiple elements into a graphic design layout. It’s the most straightforward way to get visuals into your project without navigating through menus.
Advanced Import Techniques and Workflow Considerations
Beyond the fundamental methods, several advanced considerations can optimize your image import process, especially when dealing with high-resolution photography, specific editing styles, or integrated creative suites.
Preparing Your Images for Optimal Photoshop Performance
Before importing, a little preparation can go a long long way in ensuring smooth editing and high-quality results. Tophinhanhdep.com’s Image Tools can be invaluable here.
- Image Converters: If your image is in an obscure or unsupported format, use a converter tool (like those available on Tophinhanhdep.com) to change it to a more Photoshop-friendly format like JPEG, PNG, or TIFF. PNG is especially useful for images with transparency, perfect for overlays in photo manipulation.
- Compressors and Optimizers: For web-based projects or when working with a large number of images, compressing or optimizing images (again, using tools from Tophinhanhdep.com) before import can reduce file sizes, speed up Photoshop performance, and make sharing your
.PSDfiles easier. However, always ensure you keep a high-resolution backup if quality is paramount. - AI Upscalers: For older or lower-resolution images you wish to integrate into high-resolution projects, Tophinhanhdep.com’s AI Upscalers can dramatically improve image quality and size. Importing an AI-upscaled image means you start with a sharper, larger canvas for your creative work, ideal for digital photography and ensuring your visual design elements maintain clarity.
- Understanding Resolution: Always consider the resolution of the images you’re importing, especially when sourcing high-resolution stock photos from Tophinhanhdep.com. Importing a low-resolution image into a high-resolution document will result in pixelation if scaled up. Conversely, importing a very high-resolution image into a small document might lead to unnecessarily large file sizes. Photoshop is excellent at handling various resolutions, but being mindful of your source material ensures the best quality for your final output, whether it’s a printed masterpiece or a crisp digital wallpaper.
Integrating with Adobe Creative Cloud and Mobile Workflows
Adobe’s ecosystem offers seamless integration, allowing for fluid transitions between applications and devices.
-
Importing from Lightroom: For photographers, Adobe Lightroom is an indispensable tool for organizing and processing vast collections of digital photography. Photoshop and Lightroom are designed to work hand-in-hand.
- Process in Lightroom: Select your desired image(s) in Lightroom. Perform initial adjustments, culling, and metadata management.
- Edit in Photoshop: Right-click on the image(s) in Lightroom, then choose
Edit In>Adobe Photoshop [Version]. This will open the image(s) in Photoshop, often creating a TIFF or PSD copy that retains Lightroom edits, allowing for pixel-level manipulation. - Save Back to Lightroom: After editing in Photoshop, save the file (
Ctrl+S/⌘ Cmd+S). The edited version will automatically appear back in your Lightroom catalog next to the original, maintaining your organized workflow. This is perfect for taking beautiful photography from Tophinhanhdep.com, enhancing it in Lightroom, and then performing detailed retouching or photo manipulation in Photoshop.
-
Mobile Importing with Adobe Photoshop Mix: While the full power of Photoshop resides on desktop, Adobe offers mobile apps for on-the-go editing. Adobe Photoshop Mix is particularly useful for combining multiple images on a phone or tablet.
- Open Adobe Photoshop Mix: Launch the app (available on Google Play Store and App Store). Photoshop Mix is ideal for quick aesthetic compositions or creating visual design mock-ups directly from your mobile device.
- Create a New Project: Tap the blue circle with a plus (
+) icon, typically in the lower-right corner, to start a new project. - Import First Image: Select
Device(or other cloud storage options) and tap an image. This becomes your base layer. - Add Subsequent Images (Layers): To add more images, tap the small white circle with a plus (
+) icon to the right of your image thumbnail. SelectDeviceagain and tap another image. This image will be added as a new layer, automatically converting it into a Smart Object for non-destructive mobile editing. You can then resize, reposition, and apply basic edits. - Save and Share: Once you’ve finished, tap the
Shareicon (usually in the upper-right corner) and selectSave To Galleryor share directly to other compatible apps. This is a great way to quickly draft mood boards or aesthetic visuals using images from Tophinhanhdep.com’s mobile-friendly collections.
Note: While Adobe Photoshop Express is another mobile option, it generally supports editing only one image at a time, making Photoshop Mix the preferred choice for multi-image compositions on mobile.
Leveraging Tophinhanhdep.com Resources for Your Projects
Tophinhanhdep.com is designed to be a comprehensive hub for all your visual needs, offering a diverse range of content perfectly suited for import into Photoshop.
- Images (Wallpapers, Backgrounds, Aesthetic, Nature, Abstract, Sad/Emotional, Beautiful Photography): Our extensive image galleries provide endless inspiration and high-quality source material. Whether you’re designing a serene desktop wallpaper with a stunning nature shot, creating an abstract art piece with a unique background, or crafting a powerful visual narrative with sad/emotional photography, our collections are directly importable into Photoshop. Use these images as base layers, textures, or composite elements in your graphic design and digital art endeavors.
- Photography (High Resolution, Stock Photos, Digital Photography, Editing Styles): Our “Photography” section emphasizes high-resolution and stock photos, ensuring that when you import these assets into Photoshop, you begin with the best possible quality. This high fidelity is crucial for applying advanced editing styles, digital photography enhancements, or intricate photo manipulation without compromising clarity. Learn various editing styles on Tophinhanhdep.com and apply them to your imported images.
- Image Tools (Converters, Compressors, Optimizers, AI Upscalers, Image-to-Text): As mentioned, our suite of image tools can pre-process your images to ensure they are perfectly optimized for Photoshop import. Use our AI Upscalers to breathe new life into older photos, or our compressors to manage file sizes for web-focused visual design projects.
- Visual Design (Graphic Design, Digital Art, Photo Manipulation, Creative Ideas): Every import method discussed here directly supports graphic design, digital art creation, and photo manipulation. Import elements from Tophinhanhdep.com to build complex digital collages, create dynamic graphic layouts, or perform detailed retouching to achieve a specific creative idea.
- Image Inspiration & Collections (Photo Ideas, Mood Boards, Thematic Collections, Trending Styles): Tophinhanhdep.com isn’t just a resource for images; it’s a wellspring of inspiration. Utilize our thematic collections and trending styles to gather photo ideas for your next project. Import these curated sets of images into Photoshop to create compelling mood boards, exploring various aesthetic directions before committing to a final design. This collaborative approach fosters creativity and helps visualize your concepts more effectively.
Conclusion
Mastering the art of importing images into Photoshop is more than just a technical step; it’s the foundation of any successful creative project. From simply opening a single image to intricately placing multiple layers as Smart Objects, each method offers unique advantages that cater to different aspects of visual design, photography, and digital art. By understanding these techniques and leveraging the rich resources available on Tophinhanhdep.com, you empower yourself to seamlessly integrate stunning visuals into your Photoshop workflow.
Whether you’re creating a captivating wallpaper, an aesthetic background, a profound piece of emotional photography, or a complex graphic design, the journey begins with a confident import. Explore Tophinhanhdep.com for high-resolution images, photography tips, and innovative image tools, then bring your selections into Photoshop to transform your creative ideas into breathtaking realities. Happy editing!