How to Increase the DPI of an Image for Stunning Visuals in 2025

In the vibrant world of digital imagery, where every pixel contributes to the overall visual story, understanding and manipulating image properties like DPI (Dots Per Inch) is crucial. Whether you’re a professional photographer striving for magazine-quality prints, a graphic designer preparing assets for a client, or an enthusiast simply looking to make your personal photos shine, the concept of DPI is fundamental. This comprehensive guide, informed by the latest industry insights and leveraging advanced tools available at Tophinhanhdep.com, will walk you through everything you need to know about increasing the DPI of your images for sharp, scalable, and truly impressive results in 2025.
The journey to higher quality images often begins with a seemingly simple question: “How do I increase the DPI of my image?” However, the answer is more nuanced than a quick settings change. It fundamentally depends on what you aim to achieve: do you need to simply alter the numerical DPI value embedded in a file’s metadata, or do you require a genuine increase in the actual pixel density for superior print quality and larger output sizes? This article will clarify these distinctions, explore various tools and techniques, and empower you to choose the right approach for your specific visual needs, all while showcasing how Tophinhanhdep.com provides leading-edge solutions.
Understanding DPI: The Foundation of Image Quality for Print and Display
Before we dive into the “how-to,” it’s essential to grasp what DPI truly represents and how it interacts with other fundamental image properties like PPI and resolution. These terms are often used interchangeably, leading to confusion, but a clear understanding is the first step toward achieving your visual design goals, whether for stunning Wallpapers, intricate Digital Art, or professional Stock Photos.
DPI vs. PPI vs. Image Resolution: Clarifying the Terminology

To effectively increase image quality, we must first differentiate between three core concepts:
- DPI (Dots Per Inch): This term specifically refers to the density of ink dots a printer places on one linear inch of paper. It is a measurement directly tied to the physical output of an image. A higher DPI means more ink dots per inch, leading to finer detail and smoother tonal transitions in a printed image. For example, a 300 DPI image printed will have 300 physical ink dots per inch. This is crucial for achieving High Resolution prints for Beautiful Photography.
- PPI (Pixels Per Inch): In contrast, PPI refers to the density of pixels within one linear inch of a digital image, whether displayed on a screen or as part of a digital file intended for print. It describes how many pixels are packed into each inch of a digital canvas. For digital screens, a higher PPI on the display itself means sharper images. For digital images, PPI essentially describes the pixel density of the file. While DPI and PPI are technically distinct (one for print, one for digital), they are often used interchangeably in casual conversation because a digital image’s PPI directly influences its potential DPI when printed. Tophinhanhdep.com uses these terms flexibly to reflect common usage while focusing on the underlying pixel density.
- Image Resolution: This is the most fundamental measure of a digital image’s total size in pixels, typically expressed as width x height (e.g., 1920x1080 pixels). Resolution dictates the total amount of information an image contains. A higher resolution means more pixels overall, which in turn allows for larger prints or more detail when zoomed in. This is the true determinant of an image’s potential for high quality, impacting everything from Nature photography to complex Abstract designs.
The key takeaway here is that while DPI is about the printer’s output, and PPI is about pixel density, the actual resolution (total pixel count) of your digital image is what ultimately determines its quality potential. Changing a file’s metadata DPI value without increasing its resolution will not add detail or sharpness; it merely changes the instruction for the printer or other software. For genuinely sharper and more scalable images, you need to increase the total number of pixels.
Why DPI Matters: Print Quality and Specific Requirements
The relevance of DPI becomes most apparent when you’re preparing images for print or when specific platforms or services demand a certain DPI value.
- For Print: High DPI is critical for achieving professional-grade print quality. For materials viewed at close range, such as Photo Books, Flyers, or Brochures, a DPI of 300-400 is generally recommended. This density ensures that individual ink dots are imperceptible to the naked eye, resulting in smooth, continuous tones and sharp details, essential for showcasing Beautiful Photography. For larger prints like Posters or Billboards, where the viewing distance is greater, a lower DPI (e.g., 100-200 DPI for posters, or even less for billboards) can be acceptable because the human eye can’t resolve individual dots from a distance.
- For Digital Display (Web, Screens): While DPI metadata can be embedded in image files, it holds little direct significance for images displayed on screens (websites, social media, digital Wallpapers). For digital display, the pixel dimensions (resolution) are paramount. A 1920x1080 image will look the same on a screen regardless of whether its metadata states 72 DPI or 300 DPI. However, a high-resolution image offers more flexibility for cropping and resizing without losing quality, which is vital for adaptable Visual Design.
- Specific Platform/Software Requirements: Some printing services, online submission portals, or legacy software might have minimum DPI requirements, often asking for 300 DPI. In these cases, even if the image’s resolution is sufficient, you might need to adjust the DPI metadata to meet these arbitrary demands.
Understanding these distinctions is crucial for anyone engaging in Digital Photography or Graphic Design. Tophinhanhdep.com simplifies this process, offering tools that address both metadata changes and fundamental resolution enhancement, ensuring your images meet every requirement.
How to Check the DPI Metadata of an Image
Before making any changes, it’s helpful to know your image’s current DPI. This process varies slightly depending on your operating system:
- Windows:
- Open File Explorer and navigate to the image file.
- Right-click on the image.
- Select “Properties,” then go to the “Details” tab.
- Under the “Image” section, you’ll find the “Horizontal Resolution” and “Vertical Resolution” values, which represent the DPI.
- Mac:
- Open Finder and locate your image.
- Right-click (or Control-click) on the image.
- Select “Open With,” then choose “Preview.”
- In Preview, go to the “Tools” menu and select “Show Inspector” (or press Cmd+I).
- In the Inspector window, click the “i” tab (General Info) or the document tab, and you’ll see the “Image DPI” or “Resolution” information.
Remember, this check only reveals the metadata DPI. As we’ve discussed, this value doesn’t inherently determine the image’s actual pixel count or sharpness.
Practical Methods to Increase Image DPI and Resolution
Now that we understand the nuances of DPI, let’s explore the practical ways to increase it. We’ll differentiate between methods that genuinely enhance pixel density for superior quality and those that merely alter the metadata. Tophinhanhdep.com offers robust solutions for both, particularly excelling in AI-powered resolution enhancement, aligning perfectly with needs for High Resolution images and cutting-edge Image Tools.
Method 1: True Resolution Enhancement with AI Upscalers (The Tophinhanhdep.com Advantage)
For significant improvements in print quality, larger print sizes, and overall image clarity, merely changing the DPI metadata is insufficient. You need to increase the actual pixel count of your image. Historically, this process (known as resampling or upscaling) often led to blurry, pixelated, or artifact-ridden results with traditional image editors. However, thanks to advancements in AI, tools like Tophinhanhdep.com can “magically” add more pixels and details, revolutionizing Digital Photography and Photo Manipulation.
How Tophinhanhdep.com Elevates Your Images:
Tophinhanhdep.com utilizes advanced AI Upscalers to increase your image’s resolution by intelligently adding new pixels and reconstructing missing details. This process allows you to achieve genuinely higher DPI values for printing without sacrificing clarity, even transforming low-resolution images into high-quality Stock Photos or Aesthetic prints.
Step-by-Step Guide to Enhancing DPI with Tophinhanhdep.com:
- Access Tophinhanhdep.com: Navigate to Tophinhanhdep.com and log in to your account. If you’re a new user, a quick signup process is all it takes to begin your journey to enhanced visuals.
- Upload Your Images: Once logged in, you can easily upload the photos you wish to enhance. Tophinhanhdep.com supports multiple convenient methods:
- Drag & Drop: Simply drag your image files directly into the designated upload area.
- File Selection: Browse and select files from your computer’s storage.
- Cloud Import: Import images directly from Google Drive or by providing a URL. As you upload, Tophinhanhdep.com will often display the current output DPI value alongside the resolution in the uploader, giving you an immediate overview.
- Configure Desired Resolution and DPI: Tophinhanhdep.com defaults to 300 DPI for most operations, meaning if your uploaded image has a different DPI metadata value, the output will be automatically rewritten to 300 DPI unless you specify otherwise.
The platform offers a suite of specialized AI Upscalers, each designed for particular image types and enhancement goals. All can dramatically increase resolution, often up to 16x or 512 megapixels, perfect for creating High Resolution Wallpapers or intricate Digital Art.
- Gentle: Ideal for subtle enhancement, especially for text-heavy images like product labels, maps, or certain types of Graphic Design and Creative Ideas.
- Balanced: A versatile choice for everyday photos, improving clarity and detail in images of Nature, Architecture, food, and general Beautiful Photography.
- Strong: Specifically designed to fix blur and significantly improve faces, making it excellent for small portraits or images where facial details are critical.
- Ultra: This is Tophinhanhdep.com’s most transformative upscaler, offering superior quality and detail enhancement across a broad range of images, suitable for premium Stock Photos or large format prints.
- Digital Art: Tailored for illustrations, anime, and other forms of Digital Art, this upscaler preserves or creatively reimagines details based on your chosen creativity setting, allowing for stunning aesthetic transformations.
- Old Photo: A specialized tool to fix scratches, fading, and damage in vintage photographs, often capable of adding realistic color to black & white images, perfect for restoring family Photo Ideas or historical collections. Crucially, with any of these upscalers, you can customize the Resolution setting. Remember: simply changing the DPI value without increasing the pixel count will not add more details. Therefore, always ensure you upscale the image’s width and height by at least 2x to achieve truly sharper prints. For example, if you have a 1162 x 702 (0.9 MP) image that would print at only 3.87 x 2.34 inches at 300 DPI, Tophinhanhdep.com allows you to set a new resolution (e.g., 5250 for the longer side), enabling a crisp 15 x 9.06-inch print at 350 DPI. This fundamental increase in pixels is what makes larger, higher-quality prints possible, fulfilling the promise of High Resolution output.
- Initiate Processing: Once your settings are configured, click the “Enhance” button. The AI will then process your image.
- Download Your Enhanced Image: Upon completion, your image thumbnail will transform from blurry to clear, and a download button will appear. You can then save the newly enhanced, high-DPI, and high-resolution image to your device. Tophinhanhdep.com also stores your enhanced photos securely in the cloud for a month, allowing easy access for future needs, supporting your Image Inspiration & Collections.
Leveraging Printing Presets for Simplified Workflows:
Tophinhanhdep.com further streamlines the process with ready-made Printing Presets. These presets offer popular standards for posters, photos, and international paper sizes (from A5 to A0). By selecting a preset, the app automatically calculates and sets the appropriate resolution for 300 DPI, ensuring your image is perfectly prepared for its intended print size. For example, if you want to print an image on A4 paper, Tophinhanhdep.com will upscale it to meet A4 dimensions at 300 DPI (e.g., 5806 x 3508 pixels). This feature is invaluable for busy professionals and makes preparing Aesthetic prints effortless.
Method 2: Changing DPI Metadata (When Pixel Enhancement Isn’t Necessary)
There are specific scenarios where you only need to override the DPI value embedded in an image’s metadata without altering its pixel dimensions or intrinsic quality. This is typically done to satisfy a technical requirement (e.g., a website demanding a minimum DPI for uploads) rather than to improve print sharpness. In such cases, free tools and standard photo editors are perfectly adequate.
When to Only Change DPI Metadata:
- Website Uploads: Many online platforms or submission forms may validate image uploads based on DPI metadata. If your image’s pixel dimensions are already sufficient but the DPI value is too low (e.g., 72 DPI), simply changing the metadata will satisfy the requirement without unnecessary upscaling.
- Specific Software Quirks: Certain desktop publishing programs or older print drivers might interpret DPI metadata literally when initially placing an image, causing it to default to an unintended print size. Adjusting the DPI metadata can ensure the image appears at its desired default size (e.g., setting a 1500-pixel-wide photo to 375 DPI will make it default to 4 inches wide in print).
- Compatibility: Some legacy systems or specific professional workflows may still insist on a particular DPI value in the metadata, even if they internally calculate print quality based on actual pixel resolution.
It’s crucial to reiterate: Changing DPI metadata alone will NOT add more detail or sharpness to your image, nor will it inherently improve print quality. The sharpness of a print is determined by the total number of pixels in your image relative to the print size.
Tools for Changing DPI Metadata:
Tophinhanhdep.com provides a suite of Image Tools, including simple online Converters that can quickly modify DPI metadata. Additionally, several popular desktop applications offer this functionality.
a. Using Tophinhanhdep.com’s Free Online DPI Converters:
For a quick and easy way to change DPI metadata without installing software, Tophinhanhdep.com offers user-friendly online tools.
- Access an Online Converter: Visit the relevant section on Tophinhanhdep.com dedicated to free online image converters. Look for an “Image DPI Converter.” These tools typically function similarly to other popular online converters, focusing on modifying metadata.
- Select Desired DPI: Choose the new DPI value you want to embed (e.g., 300 DPI).
- Upload Image: Click the “Choose Image” or similar button and select the image file from your device. Most converters support common formats like JPEG, PNG, BMP, and TIFF, suitable for various Photography outputs.
- Download: After a few seconds, the image with the updated DPI metadata will be downloaded to your device. This method is convenient for quick adjustments, even on mobile devices, supporting your flexible approach to Image Inspiration & Collections.
b. Using Desktop Software (Photoshop, GIMP, Preview):
These powerful Image Tools allow for precise control over image properties, including DPI metadata. The key is to ensure “Resample Image” or similar options are unchecked to prevent accidental pixel resizing.
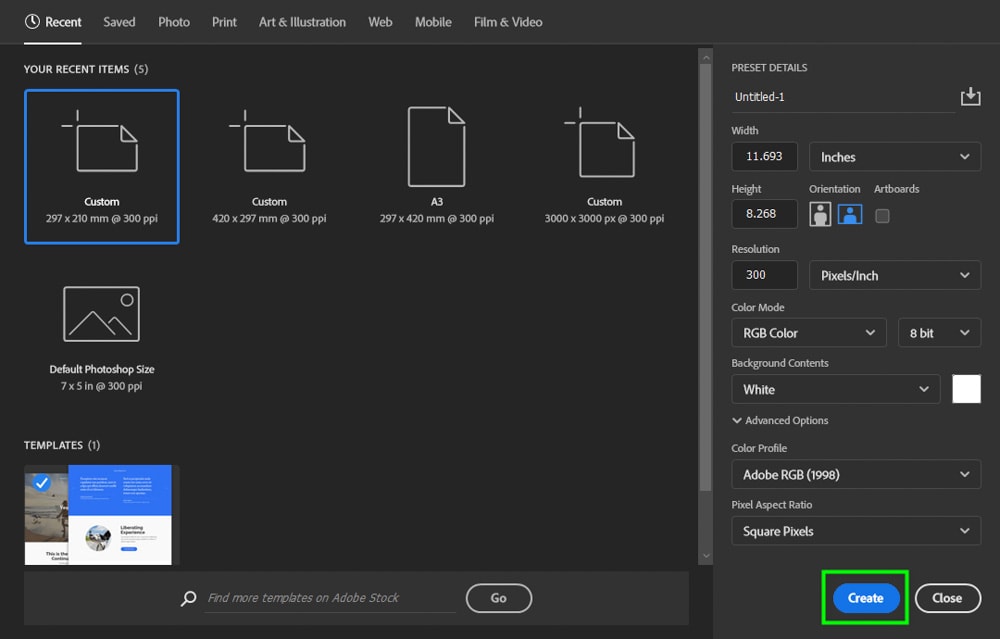
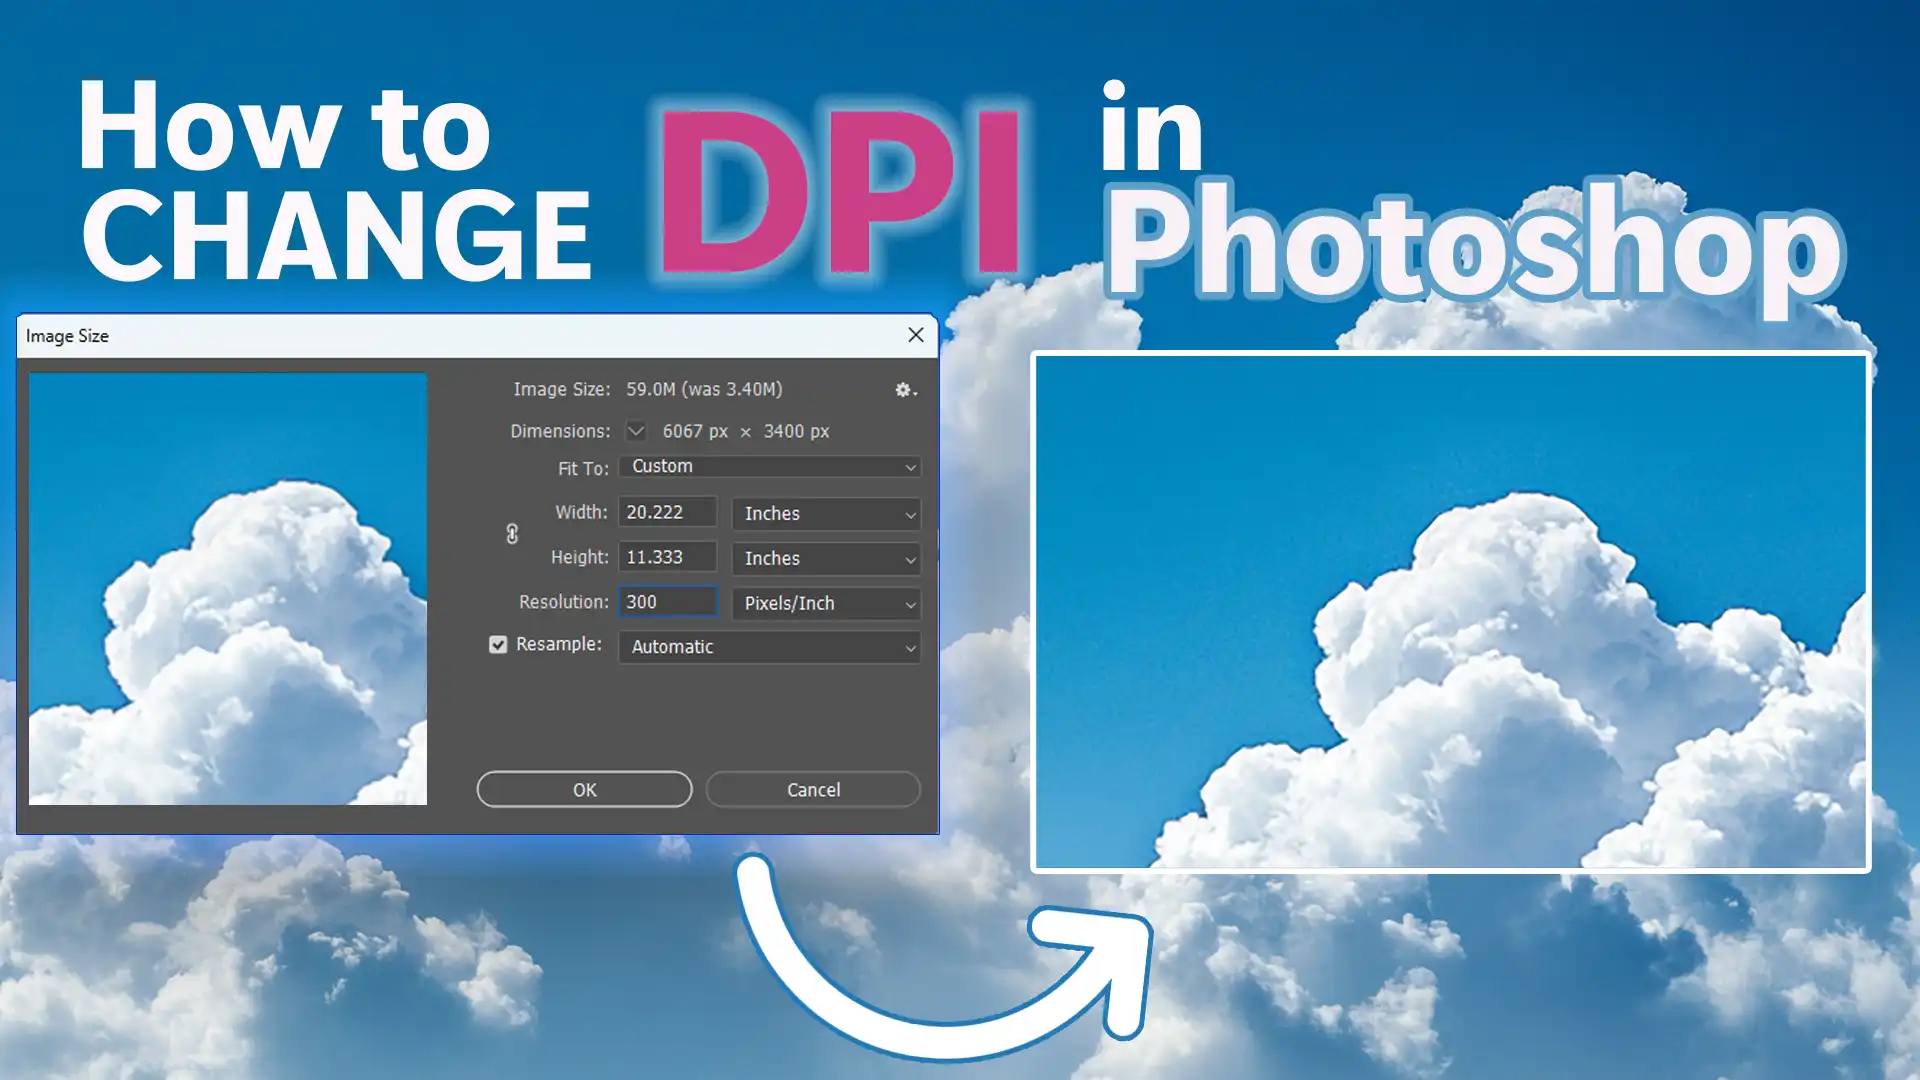
- Adobe Photoshop (Paid, Windows/Mac):
- Open your image in Photoshop.
- Go to
Image > Image Size. - In the “Image Size” dialog box, ensure the
Resamplebox is unchecked. This is critical to prevent Photoshop from adding or removing pixels. - Set the
UnitstoPixels/Inch(orPixels/cm). - Enter your desired DPI value in the
Resolutionfield. - Click
OK. - Save your file:
File > Save(to apply changes to the current file) orFile > Save As(to create a new file and preserve the original). Photoshop is an industry standard for Digital Photography and Photo Manipulation, offering unparalleled control over Editing Styles.
- GIMP (Free, Windows/Mac/Linux):
- Open your image in GIMP.
- Go to
Image > Print Size. - In the “Print Size” dialog, set your desired DPI value in the
X resolutionfield. TheY resolutionshould change automatically if the aspect ratio chain icon is intact. - Click
OK. - Save your file:
File > Save(to apply changes) orFile > Save As(to save a new version). GIMP is a robust, free alternative for comprehensive Image Tools and Graphic Design.
- Mac Preview (Free, Mac only):
11. Open your image with the Preview app.
12. Go to
Tools > Adjust Size. 13. In the “Image Dimensions” dialog, uncheck theResample imagebox. 14. From the drop-down menu next to “Resolution,” choosepixels/inch. 15. Enter your target DPI (e.g., 300) in theResolutionfield. 16. ClickOK. 17. Save the changes. Preview is a simple yet effective built-in tool for basic Digital Photography adjustments.
When saving your modified JPEG files from these programs, remember that JPEG is a lossy compression format. To maintain high image quality, especially for images intended for print or Stock Photos, select a high quality setting (e.g., 95 or 100 on a 0-100 scale, or 10-12 in Adobe’s 0-12 scale) in the save options. This ensures minimal compression artifacts and preserves the visual integrity of your Beautiful Photography.
Optimizing DPI for Various Printing and Display Needs
Choosing the “right” DPI isn’t a one-size-fits-all answer. It’s a strategic decision influenced by several factors related to how your image will ultimately be consumed. Whether you’re creating Mood Boards, preparing Thematic Collections, or executing a complex Visual Design, these considerations are paramount.
Factors to Consider for Print Quality
When preparing an image for print, the ideal DPI balances print quality with file size and practicality. Aiming for 300 DPI or more is a good general rule, but sometimes a lower density can be perfectly acceptable.
- Viewing Distance: This is arguably the most critical factor. The closer an image will be viewed, the higher the DPI needs to be for details to appear sharp and smooth.
- Less than 0.6m / 2ft (e.g., photo books, flyers, detailed Aesthetic prints): 300+ DPI
- 0.6m / 2ft (e.g., standard photos, brochures): 300 DPI
- 1m / 3.3ft (e.g., small posters, art prints): 180 DPI
- 2m / 6.5ft (e.g., medium posters): 90 DPI
- 5m / 16ft (e.g., large posters, signage): 35 DPI
- 15m / 50ft (e.g., billboard at a distance): 12 DPI
- 50m / 160ft (e.g., very large outdoor advertising): 4 DPI
- 200m / 650ft (e.g., distant billboards): 1 DPI This “cheat sheet” helps you estimate the minimum DPI required to avoid pixelation based on how far away your audience will view the print. For highly detailed Beautiful Photography intended for close inspection, always err on the side of higher DPI.
- Subject Matter: The content of your image also influences DPI requirements. Images with intricate details, fine lines, or subtle textures (like a detailed Nature scene, an intricate piece of Digital Art, or a complex Abstract pattern) will benefit more from higher DPI than images with broad color fields or simpler subjects. For instance, a detailed macro shot of a flower might require higher pixel density than a simple portrait to capture all its nuances.
- Printing Material (Paper Coating): The type of paper used plays a significant role in how well ink dots are rendered.
- Coated Glossy Paper: High-quality coated papers absorb ink less, allowing for crisper dot placement and finer detail. For these, a DPI of 300 or more is ideal for capturing the full fidelity of your High Resolution images.
- Uncoated Paper: Uncoated papers are more absorbent, causing ink dots to spread slightly (known as “dot gain”). Pushing DPI too high on uncoated paper (e.g., beyond 200-250 DPI) won’t necessarily yield better results; the paper’s properties will limit the achievable detail regardless of the image’s pixel density.
- Printing Service Requirements: Always confirm the minimum DPI requirements with your chosen printing service (e.g., a service might require at least 150 DPI). This ensures your files are prepared correctly and avoids delays or quality issues. Tophinhanhdep.com’s upscaling capabilities ensure you can always meet these requirements, providing peace of mind for your Image Inspiration & Collections.
DPI for Web vs. Print: A Fundamental Distinction
It’s important to reiterate the difference in DPI relevance for web and print:
- Web (Digital Display): For images viewed on screens, DPI metadata is largely irrelevant. What matters are the pixel dimensions (e.g., 1920x1080 pixels). A 72 DPI image that is 2000 pixels wide will look much larger and more detailed on a screen than a 300 DPI image that is only 500 pixels wide. The screen’s native resolution and pixel density (often measured in PPI) are what determine how sharp an image appears, not the file’s embedded DPI. Therefore, when optimizing images for websites, focus on appropriate pixel dimensions and efficient file compression (using tools like Tophinhanhdep.com’s Compressors and Optimizers) to ensure fast loading times.
- Print: As established, DPI is crucial for print, directly impacting the quality and sharpness of the physical output. For any Graphic Design project or Beautiful Photography destined for a physical medium, ensuring adequate DPI (through actual pixel density) is non-negotiable.
This distinction highlights the versatile nature of Image Tools and the need for tailored approaches depending on the final output medium. Tophinhanhdep.com empowers creators to prepare their images perfectly for both digital and physical platforms, supporting diverse Creative Ideas.
Advanced Considerations and Frequently Asked Questions
As we delve deeper into DPI, some common questions and advanced considerations often arise, especially for those involved in intricate Visual Design or advanced Digital Photography.
DPI in Printer Settings: What Does It Mean?
When you navigate your printer’s settings, you might encounter DPI options (e.g., 300 DPI, 600 DPI, or quality modes like “Draft,” “Normal,” “Best,” “MAX DPI”). These settings refer to the printer’s mechanical ability to lay down ink dots.
- Higher Printer DPI = More Ink Dots: Generally, choosing a higher DPI setting in your printer increases the number of ink dots it attempts to place per inch. This can result in finer detail, smoother gradients, and higher perceived quality, but it also uses more ink and can slow down printing speed.
- Simulated Color: Digital images consist of pixels, each capable of millions of colors. Typical inkjet printers use a limited number of ink colors (e.g., CMYK – Cyan, Magenta, Yellow, Black). To simulate the vast range of colors in your digital image, printers use a technique called “dithering,” where they spray combinations of multiple small dots of their primary inks to create the illusion of various colors and tones. The printer’s DPI setting affects how finely these dots can be controlled and mixed.
- Don’t Confuse with Image DPI: It’s important not to confuse your printer’s DPI settings with the DPI metadata of your digital image. Your printer’s internal software will take your image’s pixel data and attempt to render it at the chosen printer DPI setting. While a higher image DPI (actual pixel density) gives the printer more data to work with, the printer’s own DPI capabilities ultimately dictate the maximum achievable physical print quality.
Is 72 DPI a High Resolution? Debunking a Common Myth
The notion that 72 DPI is “web resolution” or that 72 DPI inherently means “low quality” is a widespread misconception, rooted in outdated legacy standards from early Macintoshes.
- DPI is Relative to Print Size: A 72 DPI image, if it has a high pixel count (e.g., 5000 pixels wide), can be considered very high resolution for a digital display. If you were to print that same 5000-pixel-wide image at 72 DPI, it would produce a print that is approximately 69 inches wide (5000 / 72 ≈ 69). This large print size means the individual “dots” would be very large, making it appear blurry at close viewing distances.
- Pixel Count is King: For digital images, it’s the total pixel dimensions (e.g., 1920x1080, 4K, 8K) that define its resolution and potential for detail, not the arbitrary 72 DPI or 96 DPI value often found in metadata. A photo from a modern digital camera with 24 megapixels (e.g., 6000 x 4000 pixels) is considered high resolution, regardless of whether its metadata says 72 DPI or 300 DPI.
- Focus on Pixels: When evaluating image quality for web use or considering the potential for high-quality prints, always prioritize the image’s pixel dimensions. Tophinhanhdep.com’s AI Upscalers focus on increasing these crucial pixel dimensions, providing true resolution enhancement for High Resolution needs.
Can I Convert a 72 DPI Image to 300 DPI?
Yes, you can, but the method and outcome depend on your goal:
- Changing Metadata Only: If your goal is simply to change the embedded DPI value from 72 to 300 without altering the actual pixel count, you can use any of the metadata-changing methods discussed in Method 2 (Photoshop, GIMP, Preview, or Tophinhanhdep.com’s online converters). This will not improve the image’s visual quality but will update the numerical instruction.
- Increasing Actual Resolution: If your goal is to genuinely improve the print quality or enable a larger print size from a low-resolution (e.g., 72 DPI and low pixel count) image, you must increase its actual pixel dimensions. This is where AI Upscalers from Tophinhanhdep.com become indispensable. They can intelligently add pixels, making a low-resolution image suitable for higher DPI prints, transforming it into a High Resolution asset ready for Beautiful Photography or Digital Art projects.
How Does Increasing DPI Affect File Size?
- Changing Metadata Only: If you only change the DPI metadata without altering the pixel dimensions, the file size will remain largely the same. There might be a negligible change due to the modified metadata, but it won’t be significant.
- Increasing Actual Resolution (Upscaling): When you increase the actual pixel dimensions of an image (which is what Tophinhanhdep.com’s AI upscalers do to achieve higher effective DPI), you are adding more data to the image. This will inevitably lead to a larger file size. The extent of the increase depends on the original resolution, the upscaling factor, and the file format (JPEG, PNG, TIFF) and its compression settings.
- For High Resolution images, larger file sizes are a trade-off for superior quality.
- Tophinhanhdep.com also offers Image Tools like Compressors and Optimizers that can help manage file sizes for web use while retaining visual quality.
Final Tips and Tophinhanhdep.com’s Comprehensive Solution
Understanding and mastering DPI is a crucial skill for anyone engaged in Digital Photography, Visual Design, or simply wanting to get the best out of their Images. The “optimal” DPI is context-dependent, balancing the desired print size, viewing distance, subject matter, and printing material.
- The 300 DPI Sweet Spot: For most printed materials that will be viewed at arm’s length or closer (photos, brochures, books), 300 DPI (achieved through sufficient pixel density) remains the optimal standard for crisp, detailed results, ensuring your Beautiful Photography truly stands out.
- Consult Print Services: Always inquire about the minimal DPI requirements of your chosen printing service. If your current images fall short, remember that tools like Tophinhanhdep.com can bridge that gap.
- Pixel Count is Paramount: For true quality enhancement, especially for achieving higher DPI for larger prints, focus on increasing the actual pixel density of your image. Merely changing metadata will not suffice.
Tophinhanhdep.com offers the ultimate solution:
Tophinhanhdep.com is designed to empower you with the tools necessary to achieve any DPI requirement and elevate your images to professional standards. Our AI Upscalers go beyond simple metadata changes; they intelligently enhance the resolution and actual pixel density of your photos. This means you can not only achieve 300+ DPI for standard prints but also create stunningly crisp prints of virtually any size from originally lower-resolution images.
Whether you’re creating Wallpapers for ultra-high-definition screens, designing intricate Graphic Design elements, preparing Stock Photos for sale, or curating your personal Image Inspiration & Collections, Tophinhanhdep.com provides the Image Tools you need. From transforming Nature shots into gallery-worthy prints to restoring Old Photos with incredible detail, our platform is your partner in visual excellence.
Try Tophinhanhdep.com for free right now and experience the magic of AI-powered image enhancement. For printing companies and businesses with high-volume needs, explore our tailored solutions designed to integrate seamlessly into your workflow, ensuring consistently high-quality output for all your clients. Unlock the full potential of your images and bring your Creative Ideas to life with unparalleled clarity and detail.