Elevating Your Visuals: A Comprehensive Guide to Increasing Image DPI for Flawless Quality with Tophinhanhdep.com

In the dynamic world of digital imagery, the clarity and quality of your photos can make all the difference. Whether you’re a professional photographer curating a portfolio, a graphic designer crafting compelling visuals, or simply someone looking to print cherished memories, understanding and optimizing your image’s DPI (Dots Per Inch) is paramount. A higher DPI translates to sharper, more detailed prints and displays, ensuring your images look their best across all mediums.
This comprehensive guide, brought to you by Tophinhanhdep.com, will delve into the nuances of increasing image DPI. We’ll explore why it matters, differentiate between key terms like DPI and PPI, and most importantly, show you how Tophinhanhdep.com’s cutting-edge tools empower you to achieve stunning, high-resolution results. From wallpapers and backgrounds to aesthetic photography and intricate digital art, mastering DPI is your gateway to superior visual design and photographic excellence.
Understanding DPI, PPI, and Image Resolution: The Core of Image Quality
Before we dive into how to increase DPI, it’s essential to grasp what these terms truly mean and why they’re critical for image quality, especially in the realm of high-resolution photography and digital art. Many people often use DPI and PPI interchangeably, and while there’s a technical distinction, their shared goal is to describe image density.
DPI (Dots Per Inch)
DPI specifically refers to the number of ink dots a printer places within one linear inch of an image for print output. It’s a measure of printer resolution and directly impacts the physical quality of a printed photograph or design. For instance, a printer set to 300 DPI will lay down 300 dots of ink in every inch, creating a dense, smooth image. The higher the DPI, the finer the detail and the less “pixelated” or blurry your print will appear when viewed up close. This is crucial for professionals creating stock photos, detailed digital photography prints, or intricate graphic design work where fidelity is key.
PPI (Pixels Per Inch)
PPI, on the other hand, relates to the pixel density of a digital image itself, or how many pixels are contained within one inch of a screen display. It describes the inherent resolution of your digital file. A digital image with a higher PPI contains more pixel information per inch, meaning it holds more detail. While DPI is about printing, PPI is about the digital file. However, when preparing images for print, a higher PPI in your digital file is necessary to achieve a high DPI output from the printer. For example, if you have a 300 PPI image, a printer can effectively use that rich pixel data to produce a 300 DPI print.
Image Resolution
Image resolution refers to the total number of pixels in an image, typically expressed as width x height (e.g., 1920x1080 pixels). This is the fundamental measure of a digital image’s size and detail. A higher total pixel count (megapixels) means more information is captured, allowing for larger prints or more significant cropping without loss of quality.
The Crucial Distinction: Metadata vs. Actual Pixel Density
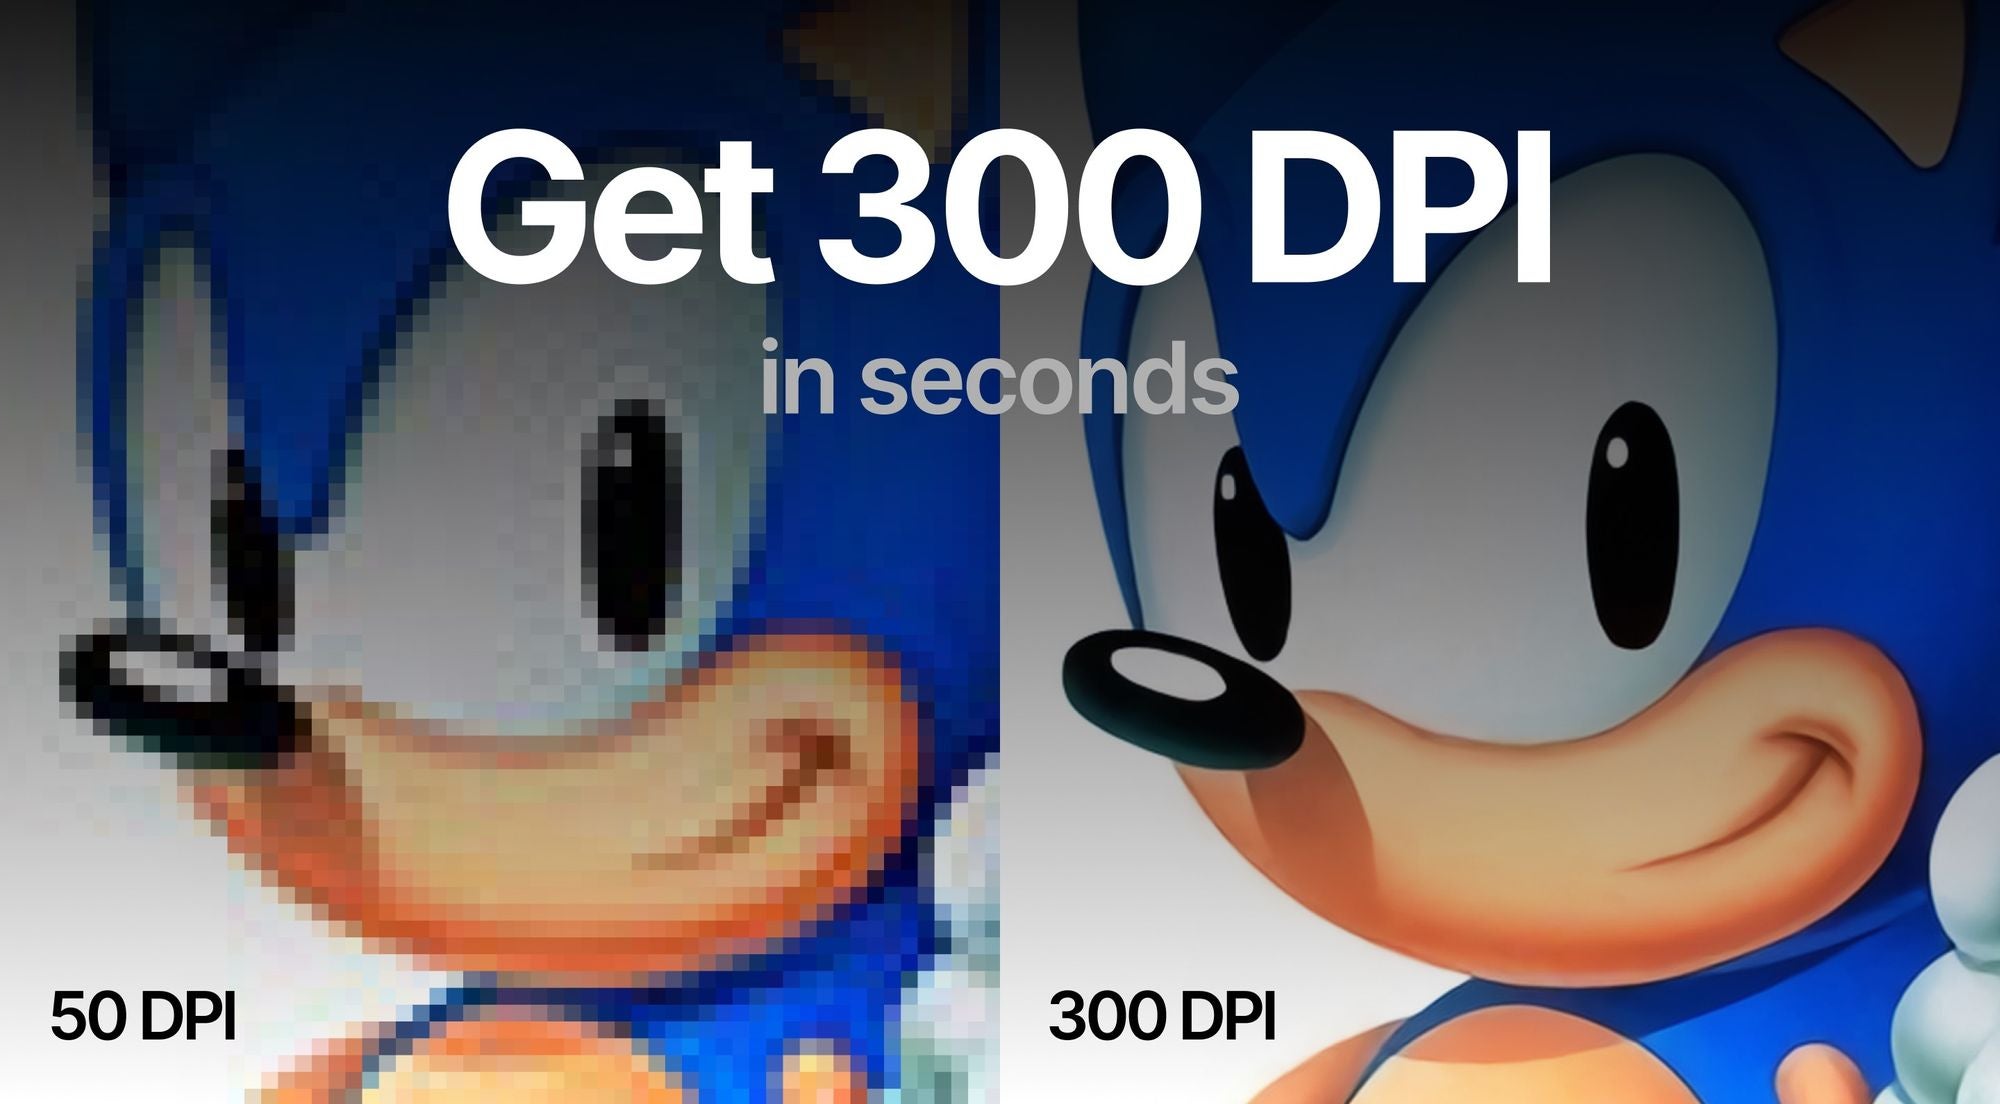
Here’s a vital point that many miss: simply changing the DPI value in an image’s metadata (its file properties) does not add more pixels, sharpness, or clarity to your image. This is a common misconception, often referred to as “the myth of DPI.” If you have a low-resolution image (few total pixels) and you change its metadata from 72 DPI to 300 DPI, you’re merely telling the computer or printer to pack those existing, limited pixels into a smaller physical space. The image itself doesn’t magically gain detail.
For truly sharper prints and scalable visuals, you need to increase the actual pixel density – meaning you need more total pixels in your image. This is where advanced image tools, particularly AI upscalers like those found on Tophinhanhdep.com, become indispensable. They intelligently generate new pixels, transforming low-resolution images into high-resolution masterpieces suitable for everything from intricate photo manipulation to large-format aesthetic prints.
Tophinhanhdep.com: The AI-Powered Solution for True DPI Enhancement and Visual Excellence
Tophinhanhdep.com offers a revolutionary solution for genuinely increasing your image’s DPI by enhancing its actual pixel density. Our AI-powered upscaling technology goes beyond simple metadata changes, meticulously adding details and improving clarity to prepare your photos for any application, be it high-resolution stock photos or captivating digital art.
How Tophinhanhdep.com Elevates Your Images
Our platform is designed to transform your ordinary images into print-ready, high-resolution masterpieces. Follow these simple steps to unlock the full potential of your visuals:
- Log In or Create Your Account: Start your enhancement journey by logging into your Tophinhanhdep.com account. If you’re new, a quick sign-up process (including Google sign-in) will get you started on a path to superior image quality.
- Effortless Image Upload: Tophinhanhdep.com makes uploading your images incredibly flexible. You can:
- Drag & Drop files directly onto the platform.
- Select Files from your device.
- Import images from cloud services like Google Drive or by providing a URL. You can even preview the output DPI value below the resolution in the uploader, giving you immediate feedback.
- Set Your Desired Resolution and DPI: This is where the magic of Tophinhanhdep.com truly shines. While our default output DPI is 300 (overwriting any lower metadata values), you have granular control to customize both resolution and DPI.
- The Power of Upscalers: Tophinhanhdep.com offers a suite of unique AI upscalers, each tailored for specific image types and enhancement needs. These tools can increase resolution up to an astonishing 16x or 512 megapixels, ensuring unparalleled detail for any photographic or artistic endeavor.
- Gentle: Perfect for subtle enhancements on text-heavy images like product labels, maps, or posters, ensuring readability without over-processing.
- Balanced: Your go-to for everyday photos, improving clarity and detail in diverse subjects such as nature photography, architectural shots, and food aesthetics.
- Strong: Specifically designed to fix blur and enhance faces, making it ideal for small portraits, family photos, or social media profile pictures where facial detail is paramount.
- Ultra: Our most transformative upscaler, offering superior quality and detail enhancement for images requiring the absolute best, suitable for professional photography, high-end stock photos, and detailed visual design projects.
- Digital Art: Specifically optimized for illustrations, anime, and other forms of digital art, preserving original styles or reimagining them based on your creative settings.
- Old Photo: A powerful tool for restoring cherished memories, fixing scratches, fading, and damage, and even adding realistic color to black & white photographs.
- Customizing Resolution: Remember, simply changing the DPI value without increasing the pixel count won’t add detail. Tophinhanhdep.com emphasizes increasing the image’s actual width and height (pixel count). For example, if you have a low-resolution image, you can use the “Width & Height” tab on the Size sidebar to set a significantly larger resolution. This allows you to print much larger, crisper photos at your desired DPI, such as transforming a small crop into a 15x9 inch photo at 350 DPI.
- The Power of Upscalers: Tophinhanhdep.com offers a suite of unique AI upscalers, each tailored for specific image types and enhancement needs. These tools can increase resolution up to an astonishing 16x or 512 megapixels, ensuring unparalleled detail for any photographic or artistic endeavor.
- Initiate Processing: Once your settings are optimized, a single click on the “Enhance” button sets our powerful AI to work. The processing time is minimal, swiftly transforming your image.
- Download Your Masterpiece: When your enhanced file is ready, the thumbnail will visibly sharpen, and a download arrow will appear. You can instantly save your high-DPI image to your device. For convenience, Tophinhanhdep.com also stores your enhanced photos on the cloud for a month, allowing easy access later.
Streamlining with Printing Presets
For those who prioritize specific print sizes, Tophinhanhdep.com offers ready-made printing presets. These intelligently calculate and set the appropriate resolution for standard poster, photo, and international paper sizes (A5 to A0) at a default 300 DPI. For instance, if you select an A4 preset, Tophinhanhdep.com will automatically upscale your image to meet A4 dimensions at 300 DPI, taking the guesswork out of preparing images for print. This feature is a game-changer for graphic designers and photographers who frequently prepare images for various print formats.
When Tophinhanhdep.com’s Full Power Isn’t Needed (Metadata Override)
While Tophinhanhdep.com excels at true image enhancement, there are specific scenarios where you only need to override the DPI metadata without improving image quality. For example, some online submission portals or websites might require a specific minimum DPI/PPI value in the file’s properties, even if they don’t actually process or display images based on that value. In these cases, Tophinhanhdep.com’s suite of tools also includes options to quickly adjust just the metadata.
Traditional Approaches: Modifying DPI Metadata (Without Quality Enhancement)
As discussed, sometimes you only need to alter the DPI value embedded in an image file’s metadata, not its actual pixel count. This is a simple adjustment that can be done using various general image editing software, or even Tophinhanhdep.com’s dedicated metadata editing functions. It’s important to reiterate: this method does not add pixels or improve image quality. It merely changes a number in the file’s information.
Checking Image DPI Metadata
You can typically check an image’s DPI by viewing its properties in almost any file manager or photo editor:
- Windows: Right-click the image file, select “Properties,” then navigate to the “Details” tab.
- Mac: Open the image with Preview, then go to “Tools” > “Show Inspector.”
- Within Tophinhanhdep.com: Our uploader displays output DPI, and detailed image information is accessible post-processing.
Changing DPI Metadata with Image Editing Software (including Tophinhanhdep.com’s Built-in Tools)
Many image editing programs, including Tophinhanhdep.com’s advanced editing suite, allow you to change the DPI metadata. Here’s a general approach:
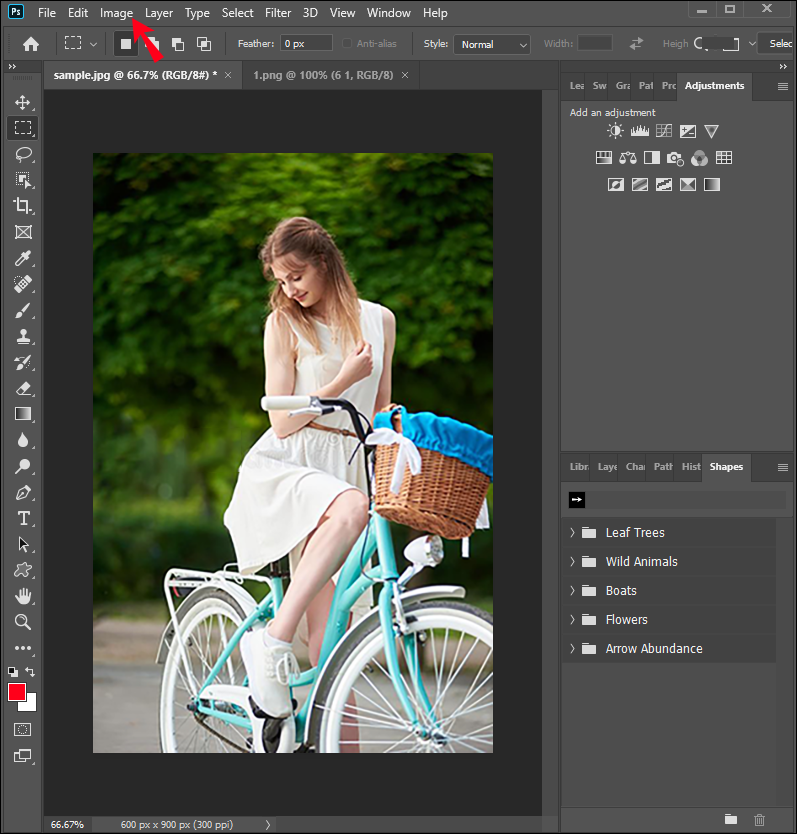
- Open the Image: Load your image into Tophinhanhdep.com’s editor or your preferred software.
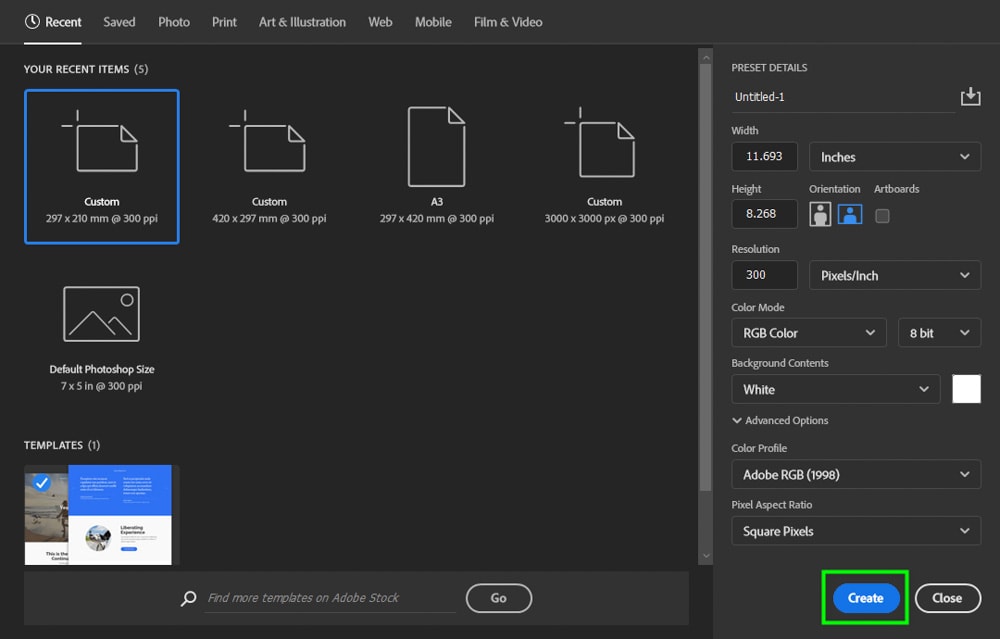
- Access Image Size/Print Size Settings: Look for options like “Image Size,” “Print Size,” or “Resize/Resample” in the menu (often under “Image” or “File”).
- Locate Resolution/DPI Field: In the dialog box, you’ll find a field for “Resolution” or “DPI.”
- Crucially, Uncheck “Resample Image”: This step is paramount. If “Resample Image” (or similar phrasing like “Resize Image” or “Change Pixel Dimensions”) is checked, the software will try to add or remove pixels, which can lead to image degradation if not done carefully with advanced AI. For simply changing metadata, ensure it’s unchecked.
- Enter Desired DPI: Input your target DPI value (e.g., 300).
- Apply and Save: Click “OK” or “Apply” and then “Save As” (to preserve your original file) or “Save” (to overwrite).
Changing DPI Online for Free (Tophinhanhdep.com’s Online Converter)
For a quick, hassle-free way to change only the DPI metadata, Tophinhanhdep.com also offers a simple online DPI converter tool:
- Navigate to Tophinhanhdep.com’s DPI Converter: Locate the dedicated tool on our website.
- Choose Desired DPI: Select or input the DPI value you need.
- Upload Your Image: Click the “choose image” button and select your file. Our converter supports common formats like JPEG, PNG, BMP, TIFF, and ICO.
- Download: The image with the updated DPI metadata will be processed and available for download in moments. This tool is also convenient for changing DPI on your iPhone or Android smartphone.
Optimizing DPI for Printing, Visual Design, and Digital Photography
Choosing the right DPI for your images isn’t a one-size-fits-all decision. The optimal pixel density depends on several factors related to how the image will be used, especially for physical prints and high-quality visual design. Generally, higher DPI is better, but sometimes you can achieve excellent results with lower densities.
Factors to Consider for Optimal DPI
-
Viewing Distance: This is perhaps the most critical factor. The closer people will view your printed photo or design, the higher the DPI you’ll need for it to appear crisp and detailed.
- Less than 0.6m (2ft): 300+ DPI (e.g., photo books, close-up photography, flyers, detailed graphic design)
- 0.6m (2ft): 300 DPI
- 1m (3.3ft): 180 DPI (e.g., smaller posters, artistic prints)
- 2m (6.5ft): 90 DPI (e.g., larger posters, display boards)
- 5m (16ft): 35 DPI (e.g., banners, exhibition graphics)
- 15m (50ft): 12 DPI (e.g., large outdoor advertising)
- 50m (160ft): 4 DPI (e.g., billboards)
- 200m (650ft): 1 DPI (e.g., very large billboards viewed from afar) This cheat sheet helps inform your decision, ensuring that a stunning landscape photograph intended for a gallery wall is prepared differently than a high-resolution wallpaper for a desktop display.
-
Subject Matter: The content of your photo also plays a role. Images with intricate details, fine textures, or sharp lines (e.g., macro photography, architectural details, complex digital art) will benefit more from a higher DPI than images with broad, smooth areas. A nature photograph of a forest with individual leaves will require more pixel density than a soft, abstract background image.
-
Printing Material (Paper Coating): The type of paper or material you print on significantly affects how well details are rendered.
- Coated Glossy Paper: This type of paper holds ink exceptionally well, allowing for very fine details. You can safely aim for 300 DPI or more to maximize print quality. This is ideal for professional photography portfolios, aesthetic prints, and high-quality photo books.
- Uncoated Paper: Uncoated paper is more absorbent, causing ink to spread slightly. There’s often no noticeable benefit to exceeding 200-250 DPI, as the paper itself can’t reproduce finer details. This might be suitable for certain types of mood boards or thematic collections where a less precise, more textured feel is desired.
DPI in Printer Settings
Beyond the DPI of your digital file, your printer settings also play a role. Generally, choosing a higher DPI in your printer’s software increases print quality but uses more ink and can slow down the printing process. Many modern printers offer various DPI modes (e.g., Draft, Normal, Best, MAX DPI), or even allow you to specify an exact DPI. However, this printer DPI is often a simplified number and doesn’t directly correlate one-to-one with the pixels per inch of your digital image. The printer’s internal software uses sophisticated algorithms to translate your digital pixels into physical ink dots, especially when dealing with a limited palette of ink colors trying to simulate a wide range of digital colors.
Takeaway for Visual Design and Photography: For the highest quality prints, especially for stock photos, detailed digital photography, and elaborate graphic design, always strive to increase the total pixel amount of your digital picture using tools like Tophinhanhdep.com’s AI upscaler. This ensures you have ample data for your printer to produce a high DPI print without pixelation or loss of detail.
Frequently Asked Questions About Image DPI
To further clarify common queries, here are some frequently asked questions about DPI, PPI, and image resolution, with insights from Tophinhanhdep.com.
What is the difference between DPI and PPI?
As covered earlier, DPI (Dots Per Inch) technically refers to the density of ink dots a printer places on paper. PPI (Pixels Per Inch) refers to the density of pixels in a digital image or on a screen. Although distinct, they are often used interchangeably, particularly when discussing preparing digital images for print. For simplicity, Tophinhanhdep.com often uses DPI to encompass both concepts when guiding users on print quality.
Is 72 DPI a high resolution?
No, 72 DPI (or 96 DPI) are legacy numbers, remnants of old industry standards for web images when screen resolutions were much lower. These values embedded in image files tell you nothing about the actual image quality or resolution. What truly matters is the total number of pixels in the image (its megapixels). A 72 DPI image could be a small icon or a massive high-resolution photograph with its metadata simply set to 72 DPI. For high-quality prints or detailed digital display, always focus on the pixel dimensions.
How does increasing DPI affect file size?
When you increase the DPI by genuinely upscaling the image (i.e., adding more pixels with tools like Tophinhanhdep.com’s AI upscaler), the file size will significantly increase. This is because you are adding more data (more pixels) to the image file. If you only change the DPI metadata without altering pixel dimensions, the file size will remain largely the same, or change only negligibly due to minor metadata updates.
Does DPI matter for images on websites?
Not directly. For web display, the pixel dimensions (width x height) are far more important than the DPI metadata value. Web browsers and screens display images based on their pixel count. A 1920x1080 pixel image will occupy the same screen space whether its metadata says 72 DPI or 300 DPI. However, having a high-resolution image (with a high pixel count) allows for flexibility; you can then resize and optimize it for web without losing quality, or extract high-quality sections.
Can I convert a 72 DPI image to 300 DPI?
Yes, but simply changing the DPI metadata value won’t add detail or improve quality. To genuinely convert a low-DPI image to a high-DPI one for better prints, you must increase its actual resolution (pixel count) using intelligent upscaling techniques. Tophinhanhdep.com’s AI upscalers are specifically designed for this purpose, generating new pixels to enhance detail and clarity, effectively transforming a low-resolution input into a high-DPI output suitable for stunning prints and visual design.
What is the maximum DPI for an image?
The “maximum DPI” for a digital image isn’t a fixed limit, as it depends on the total pixel count. The higher the pixel count (megapixels), the more potential DPI you can achieve for a given print size. For example, a 10,000 x 7,000 pixel image could print at a very high DPI even on a large canvas. Tophinhanhdep.com’s AI upscalers can increase resolution up to 512 megapixels, allowing for exceptionally high DPI values, far exceeding typical print requirements, for specialized applications like large-format graphic design or detailed stock photography.
Final Thoughts and Your Visual Journey with Tophinhanhdep.com
The journey to superior image quality, whether for intricate digital art, breathtaking nature photography, or professional graphic design, hinges on understanding and effectively managing your image’s DPI. While the technical distinctions between DPI and PPI are important, the core principle remains: more actual pixels lead to better quality prints and displays.
Tophinhanhdep.com stands as your ultimate partner in this endeavor. Our advanced AI upscalers are meticulously engineered to not only increase your image’s DPI to optimal levels (300+ DPI) but, more importantly, to enhance its actual resolution and pixel density. This means clearer, sharper images ready for any purpose – from stunning wallpapers and backgrounds to print-ready stock photos and compelling visual designs.
For anyone who demands excellence in their visuals, Tophinhanhdep.com offers the tools to transform your images into true masterpieces. Don’t compromise on quality; try our tool for free today and experience the difference AI-powered enhancement can make across all your image collections, creative ideas, and thematic projects. If you’re a printing company or a professional studio, explore our tailored business solutions to elevate your service offerings with unparalleled image enhancement capabilities. Embrace the future of image quality with Tophinhanhdep.com.