Mastering Image Insertion in Adobe Illustrator: A Gateway to Visual Excellence on Tophinhanhdep.com

Adobe Illustrator stands as an indispensable tool for graphic designers, digital artists, and anyone passionate about visual communication. Its vector-based environment provides unparalleled precision and scalability, making it the preferred choice for creating everything from logos and icons to intricate illustrations and print designs. However, the world of digital art often requires a blend of vector graphics and raster imagery. Understanding “how to insert image in Adobe Illustrator” is a fundamental skill that unlocks a vast realm of creative possibilities, allowing you to seamlessly integrate stunning photography, detailed textures, and compelling backgrounds into your vector artwork.
At Tophinhanhdep.com, we understand the dynamic needs of visual creators. Our platform offers a rich tapestry of resources, including breathtaking Images (from captivating Wallpapers and versatile Backgrounds to Aesthetic, Nature, Abstract, Sad/Emotional, and Beautiful Photography), essential Photography guides (covering High Resolution needs, sourcing Stock Photos, mastering Digital Photography, and exploring various Editing Styles), powerful Image Tools (like Converters, Compressors, Optimizers, AI Upscalers, and Image-to-Text functionalities), insights into Visual Design (including Graphic Design, Digital Art, Photo Manipulation, and cultivating Creative Ideas), and inspiring Image Inspiration & Collections (featuring Photo Ideas, Mood Boards, Thematic Collections, and Trending Styles). This comprehensive ecosystem is designed to empower your creative journey, and learning to effectively import images into Illustrator is a crucial first step in leveraging these assets.
Whether you’re crafting a promotional poster that demands the vibrant impact of a high-resolution stock photo, designing a website banner that needs an aesthetic background, or developing a digital art piece that incorporates natural textures, Illustrator provides the flexibility to bring your vision to life. This guide will walk you through the precise steps for inserting images, exploring advanced techniques for integration, and ultimately demonstrating how Tophinhanhdep.com’s resources can elevate your Illustrator projects.
The Fundamental Process: Inserting and Positioning Your Images
Inserting an image into Adobe Illustrator is a straightforward process, yet it’s the foundation upon which complex visual designs are built. It allows you to introduce raster elements—like a piece of beautiful photography or an abstract wallpaper—into your vector artwork, creating rich, layered compositions. The beauty of Illustrator lies in its ability to handle both types of graphics, letting you combine photographic realism with the crisp, scalable nature of vectors.

Getting Started: Opening Your Project
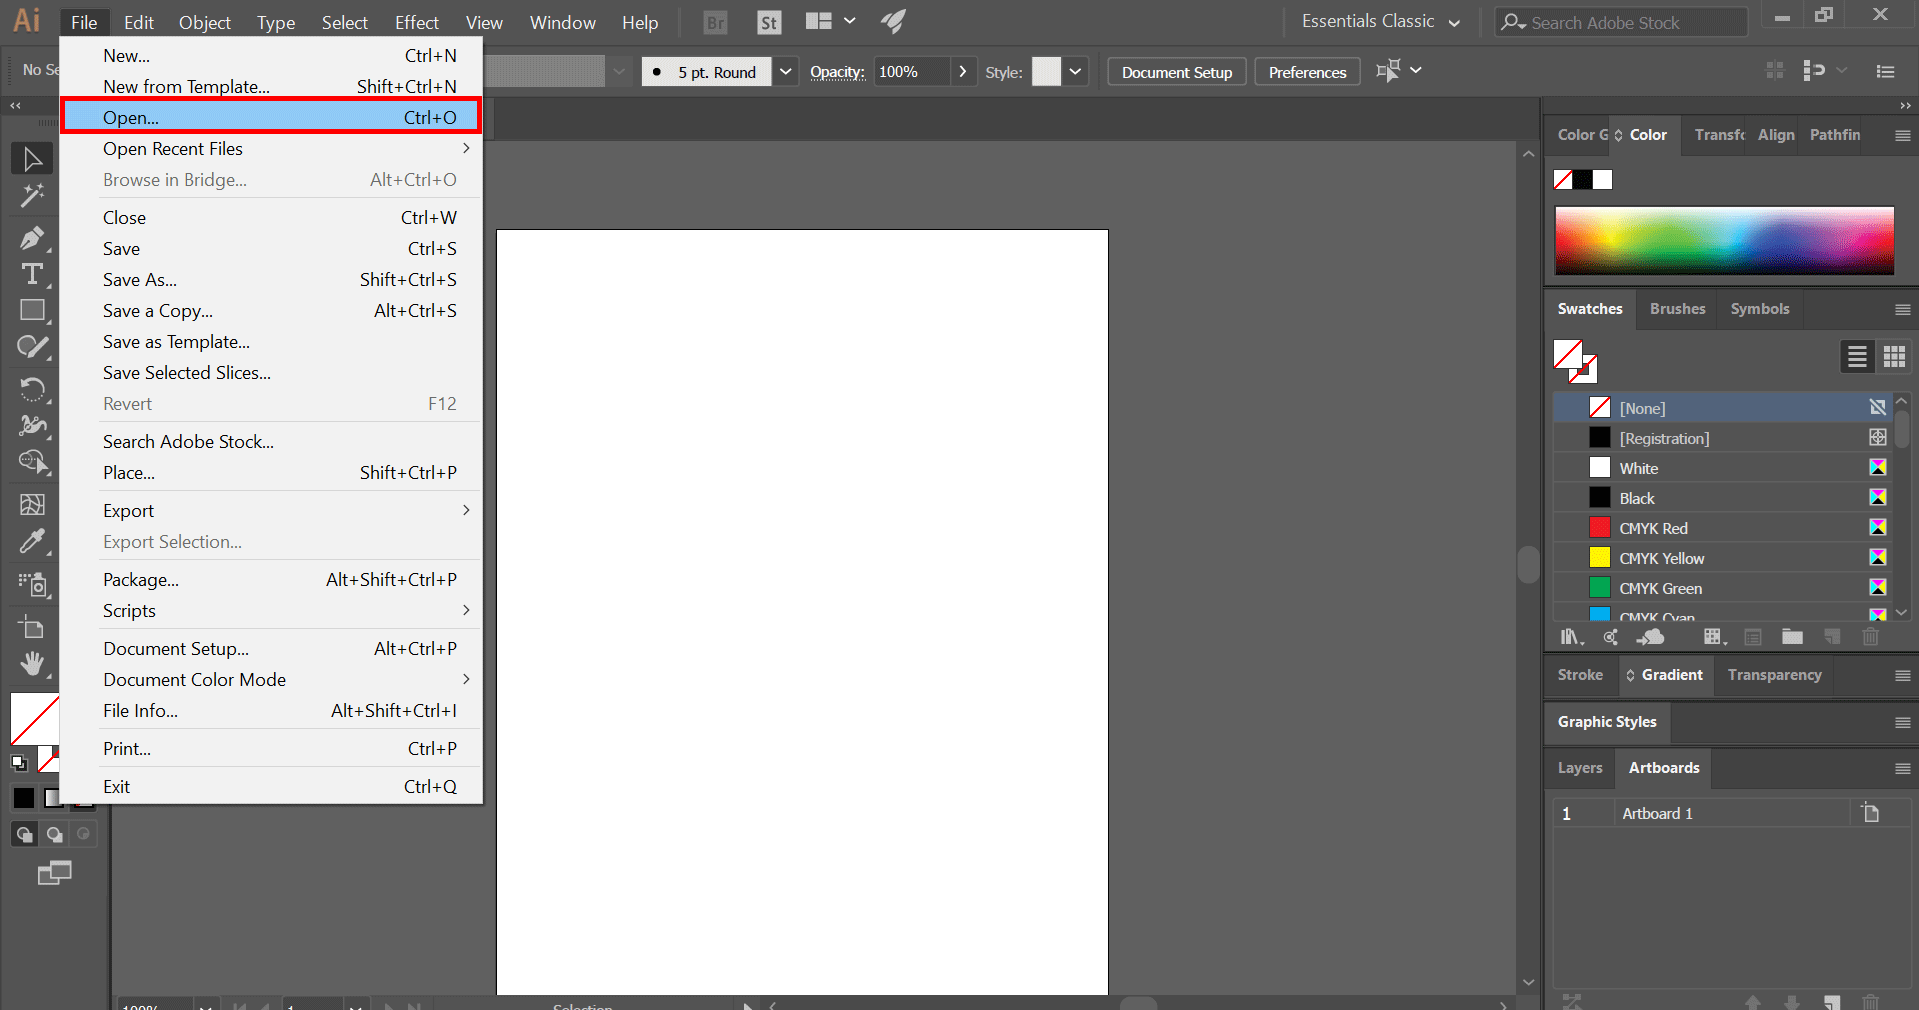
Before you can place an image, you need an Illustrator document ready.
- Open an Existing or New Adobe Illustrator File: Launch Adobe Illustrator. If you’re working on an ongoing project, select “File” from the menu bar at the top, then “Open” (or use the shortcut
Ctrl+O/Command+Oon Mac) to locate your saved document. If you’re starting fresh, click “File” > “New…” to create a new artboard. When creating a new document, consider the final output: Will it be a high-resolution print or a web graphic? This influences your document’s color mode and resolution settings, ensuring your placed images align with your project’s intent.
Think of this initial step as setting the stage for your visual design masterpiece. The images you choose from Tophinhanhdep.com – perhaps a stunning nature background or an aesthetic photo – should be prepared appropriately. While Illustrator can handle various formats (PNG, JPEG, TIFF, PSD, etc.), ensuring your source digital photography is of high resolution from the outset minimizes quality loss during scaling or editing. You might even consider using Image Tools like AI Upscalers from Tophinhanhdep.com if your initial image resolution isn’t sufficient for your project’s demands, pre-emptively enhancing its quality before insertion.
Seamless Image Placement: The “Place” Command

Once your document is open, the “Place” command is your gateway to bringing external images into Illustrator.
- From the File Menu, Go to the “Place” Option: Navigate to “File” in the top menu bar and select “Place…” (or use the shortcut
Shift + Ctrl + P/Shift + Command + Pon Mac). This action opens a dialog box, allowing you to browse your computer’s files. - Choose the Image You Wish to Add: Locate the desired image file on your hard drive. This could be a stock photo downloaded from Tophinhanhdep.com, a personal beautiful photography shot, or an abstract background you plan to use as a design element. Select it and click “Place.”
- Position the Image with Your Mouse Cursor: After clicking “Place,” your mouse cursor will transform into a small icon representing the image. Click once on your artboard to place the image at its original size, or, for more control, click and drag to define the size and position of the image as you place it. Holding down the
Shiftkey while dragging is crucial for maintaining the image’s original proportions, preventing distortion. This ensures that your carefully selected high-resolution images retain their integrity within your graphic design.
Refine and Adapt: Resizing, Repositioning, and Cropping
Once an image is placed, it’s rare that it perfectly fits your design from the get-go. Illustrator provides intuitive tools for precise adjustments.
- Resize and Reposition the Image: Select the image using the Selection Tool (black arrow, shortcut
V). You’ll see a bounding box with anchor points around it. Click and drag these anchor points to resize the image. Again, always hold down theShiftkey while dragging a corner anchor point to resize proportionally. To move the image, simply click and drag it with the Selection Tool, or use the keyboard arrow keys for fine adjustments. HoldingShiftwith the arrow keys moves the image in larger increments. These actions are fundamental to photo manipulation within Illustrator, allowing you to perfectly frame a nature wallpaper or position a central element from your digital photography. - Crop the Image: For more precise trimming, select the image and look for the “Crop Image” option in the control panel at the top of the workspace. Clicking this activates a cropping interface, allowing you to drag handles to define the visible area of the image. Once satisfied, press
Enterto confirm. This is particularly useful when working with stock photos where only a specific section is relevant, allowing you to focus on the aesthetic aspects of your chosen imagery without needing external image editing styles.
Dynamic Image Transformation for Creative Freedom
Beyond simple resizing and repositioning, Illustrator offers powerful transformation tools to creatively manipulate your images.
- Use the Transformation Tool for Various Options: Right-click on your selected image to open a contextual menu. Hover over “Transform,” and you’ll find a submenu with options like “Move,” “Rotate,” “Reflect,” “Scale,” and “Shear.” Each of these allows for precise numerical transformations or interactive manipulation.
- Rotate: Turn your abstract image to align with a new visual design flow.
- Reflect: Mirror an element from your beautiful photography to create symmetry or unique patterns.
- Scale: Precisely adjust size without using the bounding box, useful for detailed graphic design work.
- Shear: Skew the image for dynamic angles, adding creative ideas to your digital art.
These transformation capabilities are at the heart of photo manipulation and are essential for realizing complex visual design concepts. Whether you’re integrating an aesthetic background or a striking wallpaper, mastering these tools allows you to push the boundaries of your digital art and achieve unique compositions that stand out.
Beyond Basic Placement: Enhancing Images with Illustrator’s Tools
Illustrator’s power extends far beyond merely inserting images. It offers a suite of features that allow for profound photo manipulation and integration, turning simple placed images into integral components of your visual design. Two key features, Image Trace and Clipping Masks, are particularly transformative.
Vectorizing Raster Images with Image Trace
One of Illustrator’s most celebrated features is its ability to convert raster images into vector artwork using Image Trace. This process is invaluable for maintaining high-resolution quality, especially for print, and for integrating photographic elements into scalable graphic design.
- Understanding Raster vs. Vector for High-Quality Output: Raster images (like JPEGs or PNGs) are composed of pixels. When scaled up significantly, they can lose quality and appear pixelated. Vector graphics, made of mathematical paths, scale infinitely without degradation. Image Trace bridges this gap, transforming a pixel-based image into a scalable vector graphic. This is critical for digital photography intended for large-format printing or intricate logo work, ensuring your designs remain crisp and professional.
- Accessing the Image Trace Panel: After placing your image in Illustrator, go to “Window” in the top menu bar and select “Image Trace.” This will open the Image Trace Panel, your control center for vectorization.
- Exploring Presets and Modes: The Image Trace panel offers various presets (e.g., “Auto Color,” “High Color,” “Low Color,” “Grayscale,” “Black and White,” “Outline”) that provide quick starting points for different editing styles.
- “High Color” is excellent for detailed beautiful photography, trying to preserve many hues.
- “Black and White” is perfect for converting sketches or line art, useful for abstract designs.
- The “Color Mode” dropdown further refines the output, allowing you to specify the maximum number of colors for a traced image or define grayscale accuracy.
- Fine-Tuning with Advanced Options: Expand the “Advanced” menu in the panel to reveal more granular controls over the vectorization process.
- Paths: Adjusts the accuracy of the vector paths to the original image. Higher values create more detailed paths but can result in larger file sizes.
- Corners: Controls how sharp or rounded the corners of your traced artwork appear.
- Noise: Filters out small, unwanted details (noise) from the original image, simplifying the vector output.
- Checking the “Preview” box allows you to see the live results of your adjustments, facilitating iterative refinement of your digital art.
For images that are a bit low-resolution to begin with, consider using AI Upscalers (an Image Tool feature often found on platforms like Tophinhanhdep.com) before applying Image Trace. Upscaling can provide Illustrator with a better-quality raster image to work with, leading to a cleaner and more accurate vector conversion, especially for complex nature photography or detailed stock photos.
Clipping Masks and Envelope Distort: Advanced Photo Manipulation
These techniques allow you to integrate images into specific shapes or even warp them to fit complex forms, opening up countless creative ideas for your visual design projects.
-
Creating a Clipping Mask: Image Inside a Shape: A clipping mask uses one object (the “mask”) to crop another object (the “artwork”). The artwork takes on the shape of the mask. This is a common photo manipulation technique for incorporating images into logos, text, or custom shapes.
- Place your image and create the desired shape (e.g., a circle, star, or custom path) directly above the image on the artboard.
- Select both the image and the shape.
- Go to
Object > Clipping Mask > Make(or use the shortcutCtrl+7/Command+7). The image will now appear cropped inside the shape. This method is perfect for framing aesthetic photography or using parts of a wallpaper to fill specific design elements. An expert tip, as noted in some references, is to first copy the shape, create a new layer, paste the shape exactly in place (Ctrl+Shift+V), add a stroke (border) to this top shape, turn off its fill, and then lock that layer. This allows you to have a visible border around your clipped image, enhancing the visual design with clean edges.
-
Using Envelope Distort: Warping Images to Shapes: While clipping masks simply crop, Envelope Distort allows you to warp an image to conform to the contours of an irregular shape. This is an advanced photo manipulation technique that yields unique, organic effects.
- Place your image and create the desired shape. The shape will serve as the “envelope” that the image will be distorted into. The shape should be positioned above the image.
- Select both the image and the shape.
- Go to
Object > Envelope Distort > Make with Top Object. The image will literally bend and stretch to fit the shape, providing dynamic and artistic results. This technique is ideal for digital art where you want an image, perhaps an abstract pattern or a piece of sad/emotional photography, to seamlessly blend with a flowing, non-geometric form. It allows for highly creative ideas in transforming ordinary images into extraordinary visual design elements.
These advanced techniques, when combined with Image Inspiration & Collections from Tophinhanhdep.com, can transform your design approach. Imagine applying a thematic collection of nature images using clipping masks within a typography design, or warping a dynamic abstract background to form a unique visual motif.
Optimizing and Exporting Your Visual Creations
After the creative process of inserting, manipulating, and enhancing images in Adobe Illustrator, the final crucial steps involve optimizing and exporting your artwork. This ensures your designs are delivered in the correct format and quality for their intended use, whether for web, print, or further digital photography processing.
Preparing Images with Tophinhanhdep.com’s Image Tools
Before you even hit save or export, consider how your images fit into the broader digital ecosystem. Tophinhanhdep.com offers a suite of Image Tools that can be immensely beneficial at various stages of your workflow:
- Converters: If you need to change an image’s format (e.g., from TIFF to JPEG for web use, or vice-versa for print), our Converters can assist. This ensures compatibility and optimal file sizes for different platforms.
- Compressors & Optimizers: For web-bound graphics that include raster images, file size is critical for loading speed. Using Compressors and Optimizers from Tophinhanhdep.com can significantly reduce file size without compromising visual quality, ensuring your wallpapers and backgrounds load quickly on websites.
- AI Upscalers: As mentioned earlier, if you’re working with older or lower-resolution digital photography that needs to be brought into a high-resolution Illustrator project or prepared for Image Trace, an AI Upscaler can intelligently enhance its detail and clarity.
- Image-to-Text: While less directly related to inserting images, this tool can be useful for extracting text from visual assets (e.g., stock photos of documents), which you might then integrate as editable text within your Illustrator designs.
Thinking strategically about these Image Tools as part of your overall visual design workflow can save time and improve the quality of your final output, especially when working with diverse image collections.
Saving and Exporting Your Artwork from Illustrator
Illustrator offers distinct options for saving your native project files and exporting them into various image formats for distribution.
-
Saving Your Illustrator Project (AI, PDF, EPS, SVG):
- Go to
File > Save As.... Here you can choose native Illustrator formats:- Adobe Illustrator (AI): This is your native working file, preserving all layers, vectors, and editable elements. Always save your main project in this format.
- PDF (Portable Document Format): Ideal for sharing your designs while preserving layout and graphics, often used for client reviews or print-ready files. It can embed Illustrator editing capabilities.
- EPS (Encapsulated PostScript): A common format for vector graphics, often used for exchanging files between different design software or for print production.
- SVG (Scalable Vector Graphics): An XML-based vector image format for two-dimensional graphics with support for interactivity and animation. Crucial for web graphic design where scalability without quality loss is paramount.
- Go to
-
Exporting Your Artwork as Image Formats (PNG, JPEG, Photoshop, etc.):
- Go to
File > Export > Export As...orFile > Export > Save for Web (Legacy)...(for older web-specific options). This is where you prepare your designs for different media, often converting your vector art into pixel-based formats.- JPEG (Joint Photographic Experts Group): Best for photographs and complex raster images with many colors, such as beautiful photography, nature backgrounds, or detailed wallpapers. It uses lossy compression, so quality can be reduced with higher compression.
- When exporting to JPEG, a dialog box will appear allowing you to set the Color Model (RGB for web, CMYK for print), Quality (which controls compression), and Resolution. For high-resolution web wallpapers or backgrounds, choose a high quality setting and appropriate dimensions.
- PNG (Portable Network Graphics): Ideal for web graphics requiring transparency (e.g., logos, icons, aesthetic images with transparent backgrounds). It uses lossless compression.
- Photoshop (PSD): Preserves layers and editable elements for further work in Adobe Photoshop, useful for intricate photo manipulation workflows involving both Illustrator and Photoshop.
- Other formats like Targa or AutoCAD Drawing are available for specific industry needs.
- JPEG (Joint Photographic Experts Group): Best for photographs and complex raster images with many colors, such as beautiful photography, nature backgrounds, or detailed wallpapers. It uses lossy compression, so quality can be reduced with higher compression.
- “Use Artboards” Option: When exporting, make sure to check the “Use Artboards” option if you only want to export the content within your defined artboard(s), preventing any overflow or hidden elements from being included in your final image export. This is essential for clean outputs of your visual designs.
- Go to
These saving and exporting strategies are integral to ensuring that your graphic design efforts within Illustrator, enriched by the images you’ve integrated, are perfectly suited for their final destination, whether it’s a website, a print publication, or a thematic collection on Tophinhanhdep.com.
Tophinhanhdep.com: Your Hub for Image Inspiration and Design Excellence
Integrating images into Adobe Illustrator is a skill that empowers endless creative ideas and transforms your visual design capabilities. From the initial placement of a high-resolution stock photo to advanced photo manipulation using clipping masks and Image Trace, Illustrator is a versatile platform for bringing diverse visual elements together.
At Tophinhanhdep.com, we are dedicated to fueling your artistic journey. Our extensive library of Images—featuring breathtaking Wallpapers, versatile Backgrounds, evocative Aesthetic, tranquil Nature, striking Abstract, poignant Sad/Emotional, and exquisite Beautiful Photography—provides an endless wellspring of material for your Illustrator projects. Whether you’re seeking the perfect photo ideas for a new campaign or compiling mood boards from our thematic collections and trending styles, Tophinhanhdep.com is your go-to resource.
Beyond inspiration, our Photography section offers insights into capturing and curating your own digital photography, understanding high resolution demands, and exploring various editing styles that complement Illustrator’s capabilities. And when your images need fine-tuning before or after your Illustrator work, our Image Tools—including Converters, Compressors, Optimizers, and AI Upscalers—are ready to ensure your visuals are pristine and perfectly optimized.
By mastering the art of inserting and manipulating images in Adobe Illustrator, you’re not just learning a software function; you’re unlocking a powerful method of storytelling, expression, and visual design. Combine these technical skills with the rich content and practical tools available on Tophinhanhdep.com, and you’ll find yourself equipped to create stunning digital art that captivates and inspires. Start exploring, start designing, and let your creativity flourish.