How to Layer Images in Canva

Layering is a fundamental technique in visual design, transforming flat compositions into dynamic, multi-dimensional masterpieces. In Canva, a widely embraced graphic design platform, understanding how to layer images and various elements is key to unlocking its full creative potential. Whether you’re a seasoned designer or just starting your journey into digital art, mastering layers empowers you to craft sophisticated visuals, from captivating wallpapers and aesthetic backgrounds to intricate photo manipulations and expressive digital photography. This comprehensive guide, brought to you by Tophinhanhdep.com, will walk you through the intuitive process of layering in Canva, enhancing your graphic design skills and helping you bring your creative ideas to life.

Tophinhanhdep.com is your ultimate resource for high-resolution images, photography insights, and essential image tools, providing a perfect complement to your Canva designs. As you delve into layering, remember that Tophinhanhdep.com offers an extensive collection of stock photos, thematic collections, and trending styles that can serve as the perfect foundation or accent for your layered projects, ensuring your designs are not only visually stunning but also optimized for any platform.
Understanding Layers in Canva: The Foundation of Dynamic Visual Design
At its core, a design is a collection of individual components stacked upon one another. In Canva, these components are referred to as “layers.” Each text box, shape, image, icon, or graphic element you add to your canvas occupies its own distinct layer. This layered structure is instrumental in creating complex visual designs, allowing for precise control and non-destructive editing, much like professional photo manipulation software.

What are Layers and Why are They Crucial?
Layers in Canva represent the various design elements arranged within your composition. Think of them as transparent sheets stacked on top of each other, where each sheet holds a different part of your design. This system offers unparalleled flexibility: you can select, edit, reposition, or delete any element without disturbing others, maintaining the integrity of your overall layout. For anyone engaged in graphic design, digital art, or even just curating beautiful photography, understanding this concept is vital.
The ability to manipulate individual layers is crucial for several reasons:
- Precision Editing: Easily isolate and modify specific elements, whether it’s adjusting the typography in an aesthetic design or fine-tuning a background image.
- Complex Compositions: Build intricate designs by overlapping various images, shapes, and texts, creating depth and visual interest for wallpapers or mood boards.
- Non-Destructive Workflow: Experiment freely with elements, knowing you can always adjust their position or visibility without permanently altering other parts of your design. This encourages creative ideas and exploration.
- Accessibility and Control: Even with numerous overlapping elements, layers provide a clear pathway to select and modify exactly what you intend, streamlining the photo manipulation process.
Mastering layers transforms your approach to visual design, enabling you to move beyond simple arrangements to create sophisticated, high-impact visuals that truly stand out, drawing from the rich resources and inspiration available on Tophinhanhdep.com.
Accessing the Layers Panel: Your Command Center
While Canva’s interface is celebrated for its simplicity, the platform offers robust layer management tools that are easy to locate and utilize. Knowing how to quickly access and navigate your layers list is a game-changer for efficient design work.
Here’s how to find the list of layers in Canva:
- Open Your Design: Log into your Canva account and open the design project you wish to work on. Whether you’re starting with a blank canvas or editing a template, ensure your workspace is ready.
- Locate the “Position” Button: On your Canva editor, typically found in the top toolbar when an element is selected, or sometimes on the upper left side of the editor, you’ll see a button labeled “Position.” Click this button.
- Pro Tip: If you have an element selected, the “Position” button might appear more prominently in the contextual toolbar at the top.
- Select the “Layers” Category: After clicking “Position,” a panel will appear on the left side of your screen. This panel usually has two categories: “Arrange” and “Layers.” Make sure to click on the “Layers” category.
- Explore Your Layers: The “Layers” panel will display a vertical arrangement of all the design components in your project. Each rectangle in this list represents an individual layer—be it a high-resolution image, a text box, a graphic element, or a shape.
- Identify and Select Elements: You can click on any rectangle in the Layers list to select the corresponding element on your canvas. This is incredibly helpful for designs with overlapping elements, allowing you to easily target hidden or hard-to-reach components for editing.
- Pro Tip from Tophinhanhdep.com: To quickly identify an element, hover your cursor above the different layers in the list. Canva will automatically outline the corresponding part on your canvas with a purple box, making it simple to see which layer you’re about to select.
- Keyboard Shortcut: For a lightning-fast way to bring up the Layers panel, utilize the keyboard shortcut: Alt + 1 (for Windows users) or Option + 1 (for Mac users). This will instantly display the Layers panel on the left, ready for you to manage your visual design.
By using these methods, you gain precise control over every aspect of your composition, from individual aesthetic elements to complex photo manipulation, paving the way for truly inspiring digital art.
Building Your Masterpiece: Adding and Arranging Layers in Canva
Once you understand how to locate and identify your layers, the next step is to actively build your design by adding new elements and strategically arranging them. This is where your creative ideas truly begin to take shape, allowing you to compose stunning visuals using Tophinhanhdep.com’s rich image resources.
Importing Elements and Images for Layering
Adding elements to your Canva design is the first step in creating a layered composition. Canva offers multiple ways to bring content onto your canvas, whether from its vast internal library or your personal collection.
-
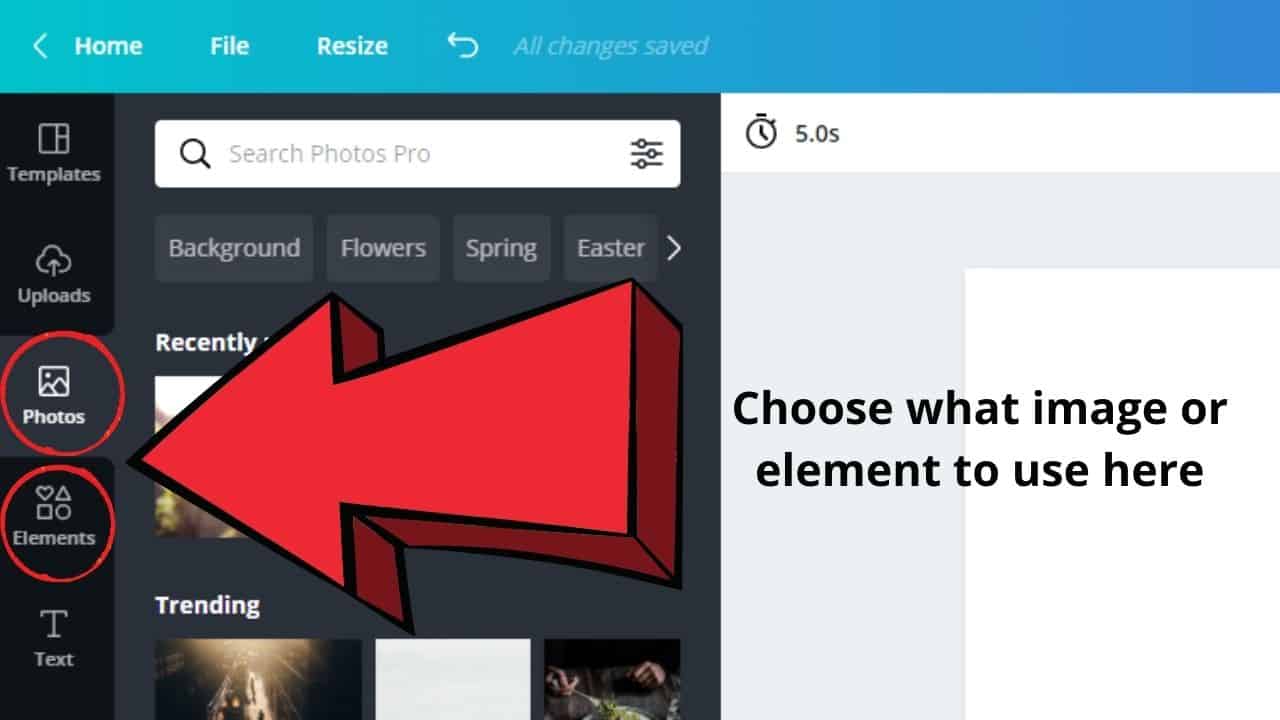
Utilizing Canva’s “Elements” Library:
- On the left-side toolbar of your Canva editor, you’ll find a button labeled “Elements.” This is a treasure trove of design assets, including shapes, lines, graphics, stickers, photos, videos, audio, charts, and frames.
- Click on “Elements” to open the panel. You can browse through categories or use the search field to find specific designs or templates. For instance, you might search for “nature backgrounds” to create an ethereal layered scene, or “abstract shapes” for a modern digital art piece.
- Once you find your desired element—be it an icon, a shape, or a piece of Canva typography—simply click on it to add it to your canvas. It will automatically appear as a new layer.
- Tophinhanhdep.com Connection: Explore Tophinhanhdep.com’s “Image Inspiration & Collections” for trending styles and photo ideas. You can then search for similar elements within Canva or use Tophinhanhdep.com’s “Photography” section to find high-resolution stock photos that align with your mood board.
-
Uploading Your Own Files:
- If you have specific images, digital photography, or graphic assets saved on your computer, you can easily upload them to Canva. On the left-side toolbar, click on the “Uploads” tab, then select “Upload files.”
- Browse your computer, select the file(s) you want to upload, and click “Open.” Once uploaded, these files will appear in your “Uploads” tab, ready to be dragged and dropped onto your design canvas.
- Tophinhanhdep.com Connection: Many users rely on Tophinhanhdep.com for their personal collection of beautiful photography, wallpapers, and background images. Uploading these high-resolution images directly from Tophinhanhdep.com ensures your layered designs maintain professional quality.
After adding an element or image, it will automatically appear on your canvas, typically as the topmost layer. From there, you can click, drag, and resize it to fit your desired layout, preparing it for precise layering.
Precision Positioning: Mastering Layer Order
Once you have multiple elements on your canvas, managing their relative positions—which one appears in front of or behind another—becomes paramount. Canva offers intuitive tools for this crucial aspect of photo manipulation and visual design.
Newly added layers in Canva will generally be placed on top of any existing design elements. However, you have complete control over their stacking order using the “Position” tool:
- Selecting Your Layer: Click on the specific image or element on your canvas that you wish to reposition. Alternatively, use the “Layers” panel (accessed via “Position” -> “Layers”) to select it.
- Accessing Positioning Options: With the element selected, click the “Position” button in the top toolbar. You will see several options related to layer order:
- Bring Forward: Moves your selected layer one step closer to the front. If it’s behind one element, it will move in front of that element, but still behind others further up the stack. (Keyboard shortcut: Ctrl + ])
- Bring to Front: Instantly moves your selected layer to the absolute top of all other layers, placing it in front of everything else on the canvas.
- Send Backward: Moves your selected layer one step further back in the stack. If it’s in front of one element, it will move behind it. (Keyboard shortcut: Ctrl + [)
- Send to Back: Instantly moves your selected layer to the very bottom of all other layers, placing it behind everything else on the canvas. This is particularly useful for background images or aesthetic patterns.
- Drag-and-Drop in the Layers Panel: For a visual approach to arranging, open the “Layers” panel (Position -> Layers). Click and hold on a layer in the list, then drag it up or down the panel. The order of layers in this list directly corresponds to their stacking order on your canvas (top of the list is front, bottom is back). This method is excellent for complex designs with many elements, allowing you to see the entire hierarchy at a glance.
By strategically using these positioning tools, you can achieve sophisticated layered effects, from subtle depth in a beautiful photography collage to prominent text overlays on a wallpaper design. This precision control is key to transforming your creative ideas into polished visual design outcomes.
Advanced Layer Management Techniques for Seamless Design
As your Canva designs grow in complexity, advanced layer management techniques become indispensable. These methods help you navigate intricate compositions, prevent accidental edits, and streamline your workflow for efficient graphic design and digital art creation.
Navigating Overlapping Elements and Backgrounds
One of the most common challenges in layered designs is selecting an element that is partially or completely hidden behind another. Canva provides smart solutions to overcome this, ensuring you maintain full control over your photo manipulation.
-
Selecting Hidden Elements with Shortcuts:
- If you have deeply layered elements and clicking isn’t working, try a keyboard shortcut: Ctrl + Click (Windows) or Cmd + Click (Mac). Each successive click while holding Ctrl/Cmd will cycle through the overlapping layers at that specific point, allowing you to select the desired element. This is invaluable for intricate visual designs.
- Alternatively: Refer back to the “Layers” panel (Position -> Layers). This panel always shows all elements, regardless of their visibility on the canvas, allowing you to directly select any hidden layer.
-
Managing Background Images:
- A frequent point of confusion arises when an image is set as the background of your design. When an image is set as the background, it often spreads across the entire canvas and cannot be layered using the standard “Bring forward” or “Send backward” options.
- The Solution: If you cannot reposition a supposed background image, right-click on it. If you see the option “Detach image from background,” click it. This action converts the background image into a standard, movable layer, which can then be layered like any other element using the “Position” tool or the Layers panel.
- Tophinhanhdep.com Connection: When selecting wallpapers or background images from Tophinhanhdep.com, consider whether you want them as a static canvas background or as an active layer for photo manipulation. Detaching allows for more dynamic aesthetic compositions.
-
Zooming for Precision:
- For designs with many overlapping elements, zooming in on your canvas can greatly simplify selection and adjustment. Use the zoom controls at the bottom right of the Canva editor (or Ctrl/Cmd + scroll wheel) to magnify your workspace, making it easier to click on small or obscured elements.
By understanding these nuances, you can navigate even the most complex layered designs with confidence, ensuring your creative ideas are executed precisely. For inspiration on intricate layered backgrounds or thematic collections, Tophinhanhdep.com offers an array of abstract, nature, and beautiful photography that can be skillfully integrated into your projects.
Grouping, Locking, and Unlocking Layers for Efficiency
Beyond individual layer control, Canva offers features to manage multiple layers simultaneously, significantly boosting your design efficiency, especially in graphic design and digital art projects.
-
Grouping Elements:
- When you have multiple elements that need to move or be layered together as a single unit (e.g., text paired with an icon, or several shapes forming a composite graphic), grouping them is incredibly useful.
- How to Group:
- Click and drag your cursor to select all the desired elements on the canvas.
- Alternatively, hold down the Shift key and click on each element you wish to group.
- Once selected, click the “Group” button in the top toolbar (or use the shortcut: Ctrl + G for Windows / Cmd + G for Mac).
- After grouping, the selected elements will behave as one layer. You can then move this entire group, resize it, and apply layering commands (“Bring forward,” “Send backward”) to the group as a whole. This is ideal for maintaining relationships between elements in your visual design.
- Ungrouping: If you need to edit individual elements within a group, simply select the group and click the “Ungroup” button in the top toolbar.
-
Locking and Unlocking Layers:
- To prevent accidental edits, movements, or deletions of elements you’ve finalized, you can lock them. This is particularly useful for background images, aesthetic elements, or foundational layers that you don’t want to accidentally disturb while working on other parts of your design.
- How to Lock: Select the element(s) you wish to lock. Click the “Lock” icon (a padlock symbol) in the top toolbar. A locked element cannot be moved, resized, or edited until unlocked.
- How to Unlock: To make changes, select the locked element and click the “Unlock” icon in the top toolbar.
- Tophinhanhdep.com Connection: Locking essential layers ensures that the high-resolution photography or carefully selected abstract backgrounds from Tophinhanhdep.com remain perfectly positioned throughout your editing process.
-
Exceptions to Grouping:
- It’s important to note that not all elements can be grouped. For instance, grids and charts typically cannot be grouped with other elements. These components will need to be managed and layered individually.
By incorporating grouping and locking into your workflow, you can maintain control over complex visual designs, efficiently manipulate elements, and confidently explore new creative ideas, leveraging the full power of Canva alongside Tophinhanhdep.com’s extensive resources.
Layering on the Go: Mobile Design in Canva
In today’s fast-paced world, designing isn’t confined to a desktop. Canva’s mobile app extends its powerful layering capabilities to your tablet or smartphone, allowing you to create stunning visual designs anytime, anywhere. While the interface might feel slightly different, the core principles of layering remain consistent.
Crafting Layered Designs on Mobile Devices
Designing with layers on a smaller screen is entirely feasible and can produce equally professional results. Here’s how you can manage layers using the Canva mobile app:
- Start Your Project: Open the Canva app on your mobile device and either create a new blank design or open an existing project.
- Add Your Elements:
- Tap the "+" icon (usually at the bottom of the screen) to open the content panel.
- Navigate to “Elements” or “Uploads” to add your desired images, shapes, text, or graphics. Tap on an item to add it to your canvas, or tap and hold to drag it directly.
- Tophinhanhdep.com Connection: Access your saved high-resolution photography and aesthetic backgrounds from Tophinhanhdep.com directly through your mobile device’s gallery or cloud storage to upload them into Canva.
- Arrange and Select: Once elements are on your canvas, tap and drag them to arrange their initial positions. To select a specific element, simply tap on it.
- Access Positioning Options: With an element selected, a toolbar will appear, usually at the bottom or top of the screen. Swipe through the options until you find the “Position” icon (often represented by an overlapping squares or a target symbol). Tap it.
- Adjust Layer Order:
- Within the “Position” menu, you will typically find options like “Forward” and “Backward.” These function identically to their desktop counterparts, moving your selected layer one step forward or backward in the stack.
- You might also see “To Front” and “To Back” for instant placement.
- Tap these options repeatedly until your element is precisely where you want it in the layer order. Speed isn’t the goal; precision and the intended visual effect are.
- Pro Tip: On mobile, carefully tapping can sometimes be tricky. If elements are heavily overlapped, try tapping slightly off-center to select the one beneath, or move a top element aside temporarily.
- Group and Lock (Mobile): Similar to desktop, you can group elements by selecting multiple items (tap one, then long-press and drag to select others, or use a “Select multiple” option if available). Look for a “Group” option in the toolbar. Locking is also available via a lock icon to prevent unwanted changes.
- Save Your Work: Once satisfied with your layered design, ensure you save it (Canva often auto-saves, but manually saving is good practice).
Designing with layers on mobile devices provides incredible flexibility, allowing you to iterate on creative ideas, refine beautiful photography compositions, and manage your visual design projects from virtually anywhere. By leveraging the intuitive controls of the Canva app and the vast resources from Tophinhanhdep.com, you can create professional-grade layered designs directly from the palm of your hand.
Conclusion
Mastering how to layer images and elements in Canva is a transformative skill for anyone delving into visual design. From precisely positioning text over high-resolution photography to creating complex digital art with multiple abstract shapes and background images, layers provide the control and flexibility necessary for stunning results. By understanding the “Position” tool, navigating the “Layers” panel, utilizing grouping, and managing backgrounds, you empower yourself to craft compelling narratives and breathtaking visuals.
As you continue to explore the endless possibilities of layered design in Canva, remember that Tophinhanhdep.com is your premier resource for inspiration and high-quality assets. Our extensive collections of wallpapers, aesthetic backgrounds, nature scenes, and diverse photography, combined with insights into editing styles and image tools, provide the perfect ecosystem to complement your Canva creations. Whether you’re seeking trending styles for your mood boards or needing to optimize your final layered design with compressors or AI upscalers, Tophinhanhdep.com is here to support every step of your creative journey. Unlock your full potential in graphic design and digital art today by seamlessly integrating Canva’s powerful layering features with Tophinhanhdep.com’s rich content and tools.