Mastering the Art of Layering Images in Adobe Photoshop

Adobe Photoshop stands as the undeniable titan in the realm of digital image editing, offering an unparalleled suite of tools for photographers, graphic designers, and digital artists alike. Among its myriad functionalities, the concept of “layers” is arguably the most fundamental and transformative skill any user can acquire. For those looking to elevate their “Visual Design,” perfect their “Digital Photography,” or craft intricate “Photo Manipulation” pieces, understanding how to layer images is not just beneficial—it’s essential. This comprehensive guide, brought to you by Tophinhanhdep.com, will demystify Photoshop layers, guiding you from basic operations to advanced techniques, ensuring you can stack, blend, and manipulate images like a seasoned professional.
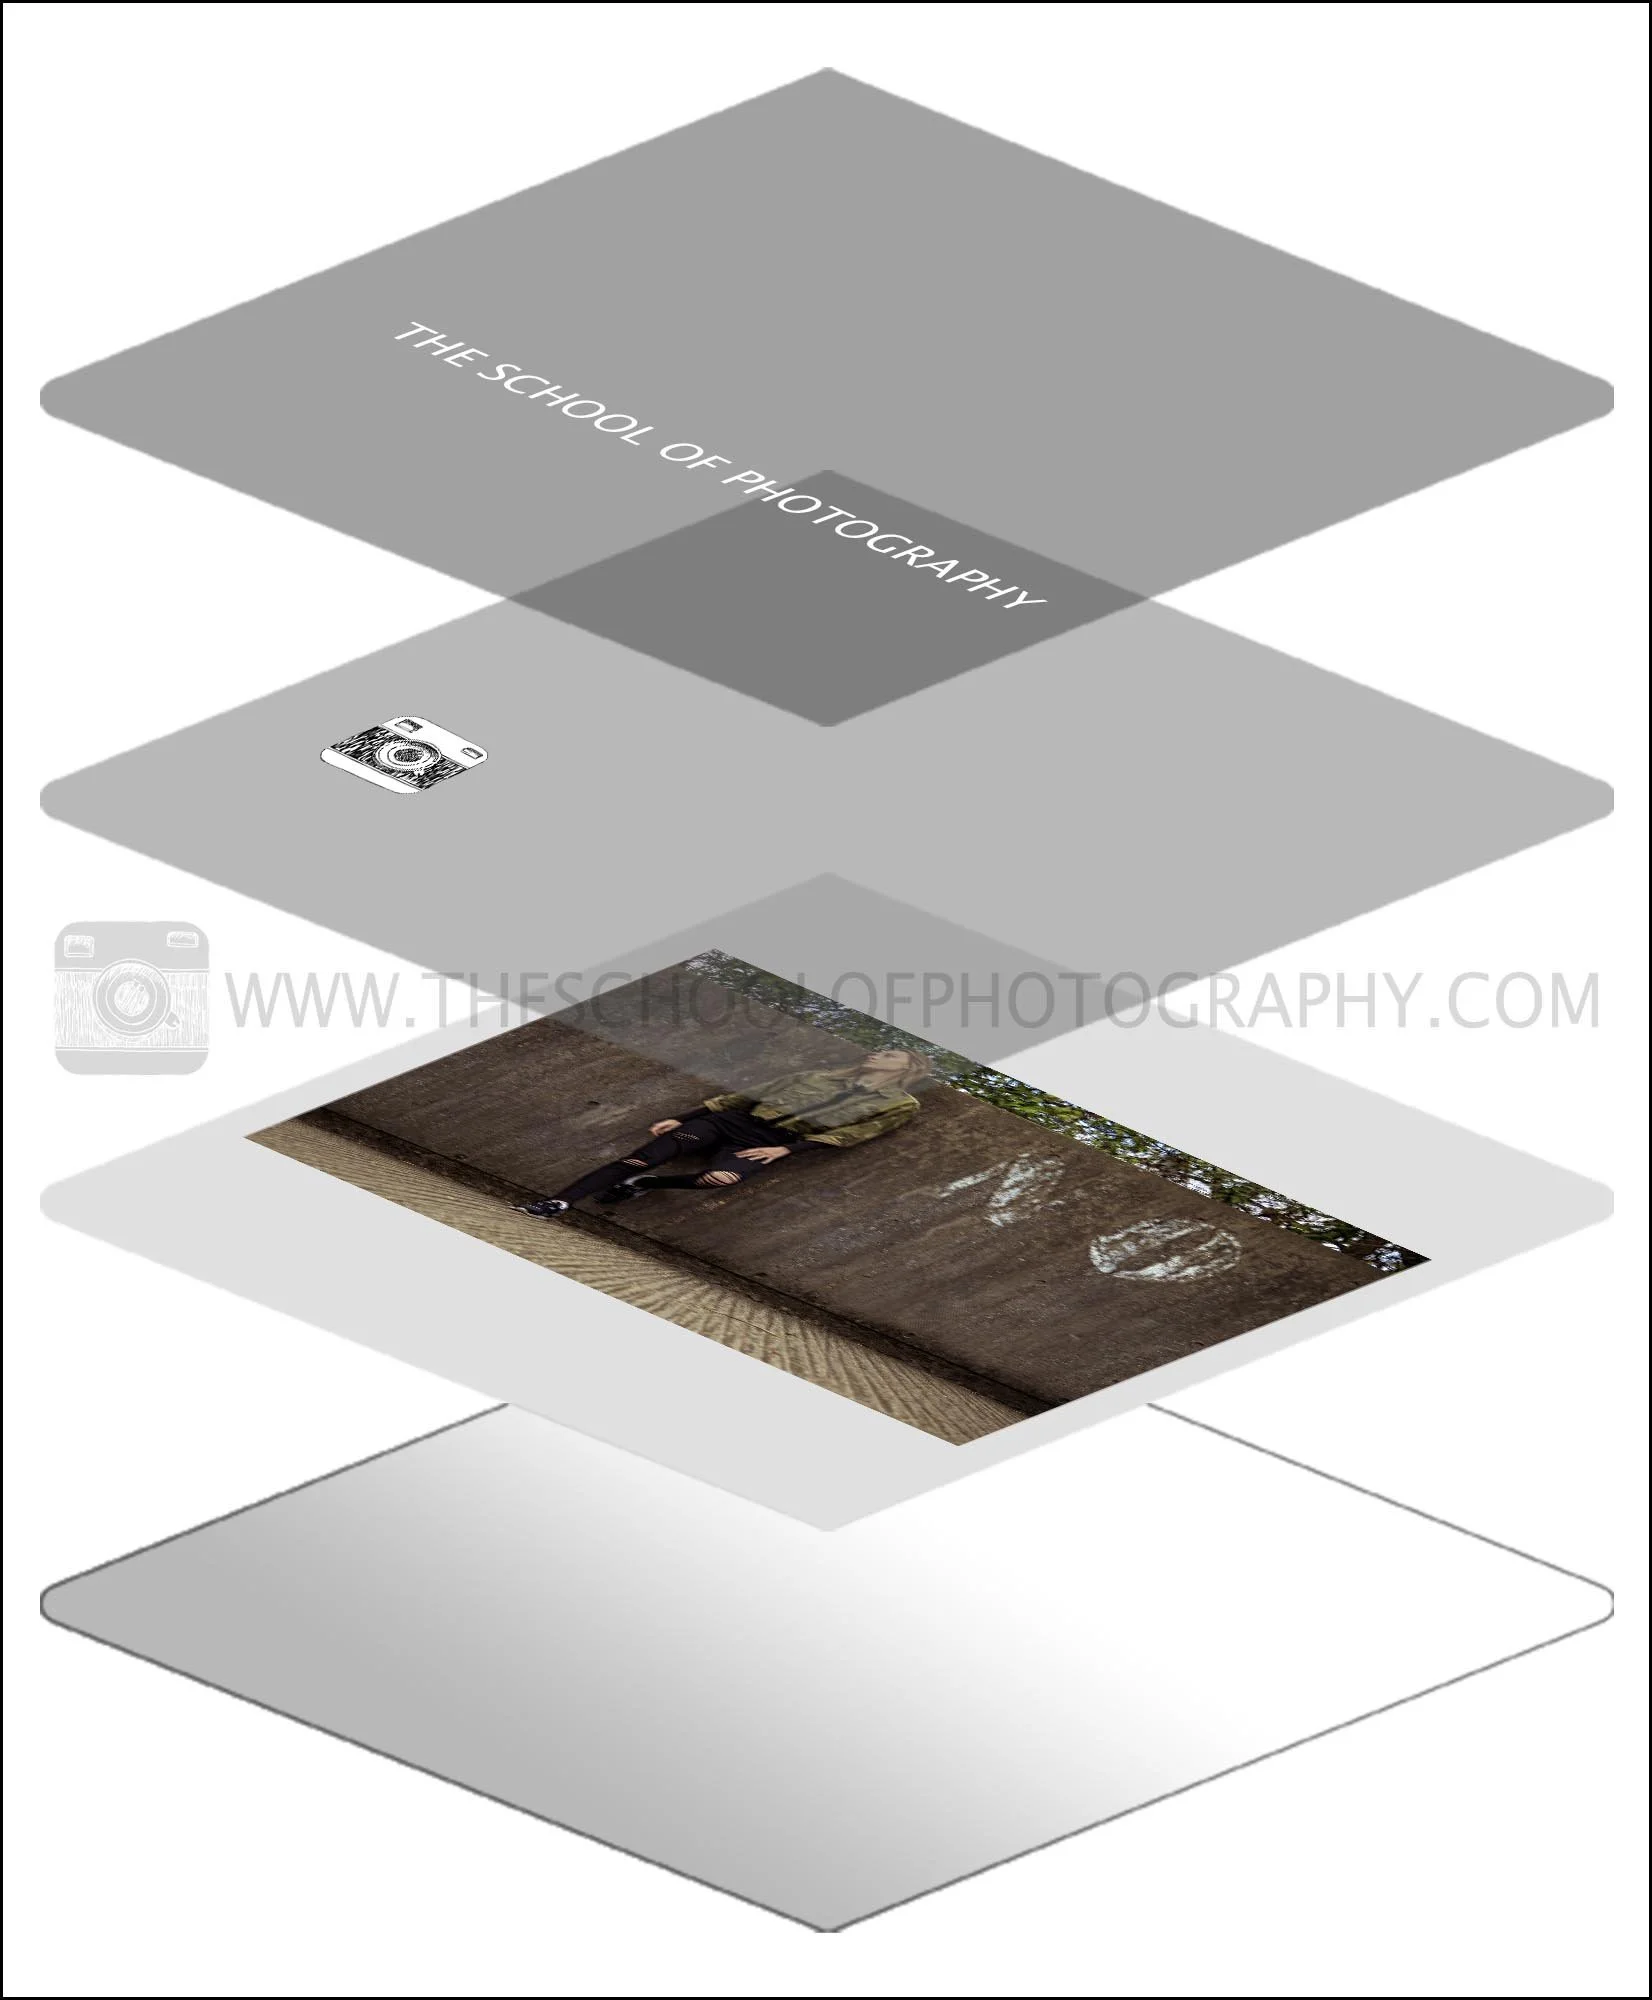
The power of layers lies in their ability to separate different elements of your artwork onto independent, transparent sheets, allowing for non-destructive editing. Imagine each component of your image—a background, a person, a text overlay, a color adjustment—residing on its own clear pane of glass. When stacked, they combine to form the complete picture. This isolation grants immense flexibility, enabling you to modify one element without affecting others, a critical advantage for producing “High Resolution” images, refining “Editing Styles,” and creating compelling “Aesthetic” or “Abstract” compositions.
Whether you’re compiling “Thematic Collections” for “Image Inspiration,” preparing “Stock Photos” for a client, or simply enhancing your personal “Nature” and “Beautiful Photography” shots, mastering layers will unlock a new world of creative possibilities. So, let’s embark on this journey to transform your editing game with the indispensable art of layering in Photoshop.
Understanding the Fundamentals of Layers in Photoshop
At its core, Photoshop’s layering system is built on a simple yet profound principle: isolation. Each layer is an independent canvas, capable of holding unique content or applying specific effects. This concept forms the backbone of efficient and flexible “Image Editing,” allowing for complex “Visual Design” without irreversible changes to your original artwork.
What Exactly Are Layers?
Think of layers as individual, transparent sheets of acetate stacked on top of each other. When you look down through the stack, you see the combined image. Where a sheet has no content, you see through to the layers beneath it. For instance, if you have a “Background” layer, and then place a “Text” layer and an “Image” layer on top, you can freely move the text or image around without altering the background. This allows for a modular approach to “Digital Art” and “Photo Manipulation,” where each element can be finely tuned or completely reimagined at any point. This approach also makes it easier to manage large projects, such as creating a series of “Wallpapers” or developing detailed “Mood Boards.”
The Power of Non-Destructive Editing
One of the most significant advantages of using layers is the ability to perform “non-destructive editing.” Unlike traditional methods that directly alter pixel data, layers allow you to apply changes—like color adjustments, filters, or effects—on separate layers. This means your original image pixels remain untouched. If you decide a particular adjustment isn’t working, you can simply delete or modify that adjustment layer without any harm to your base image. This is crucial when working with “High Resolution” images or valuable “Stock Photos,” where preserving the original quality is paramount. It empowers creative freedom, encouraging experimentation with various “Editing Styles” without fear of irreversible mistakes, thus enhancing your capacity for nuanced “Visual Design” and sophisticated “Digital Photography.”
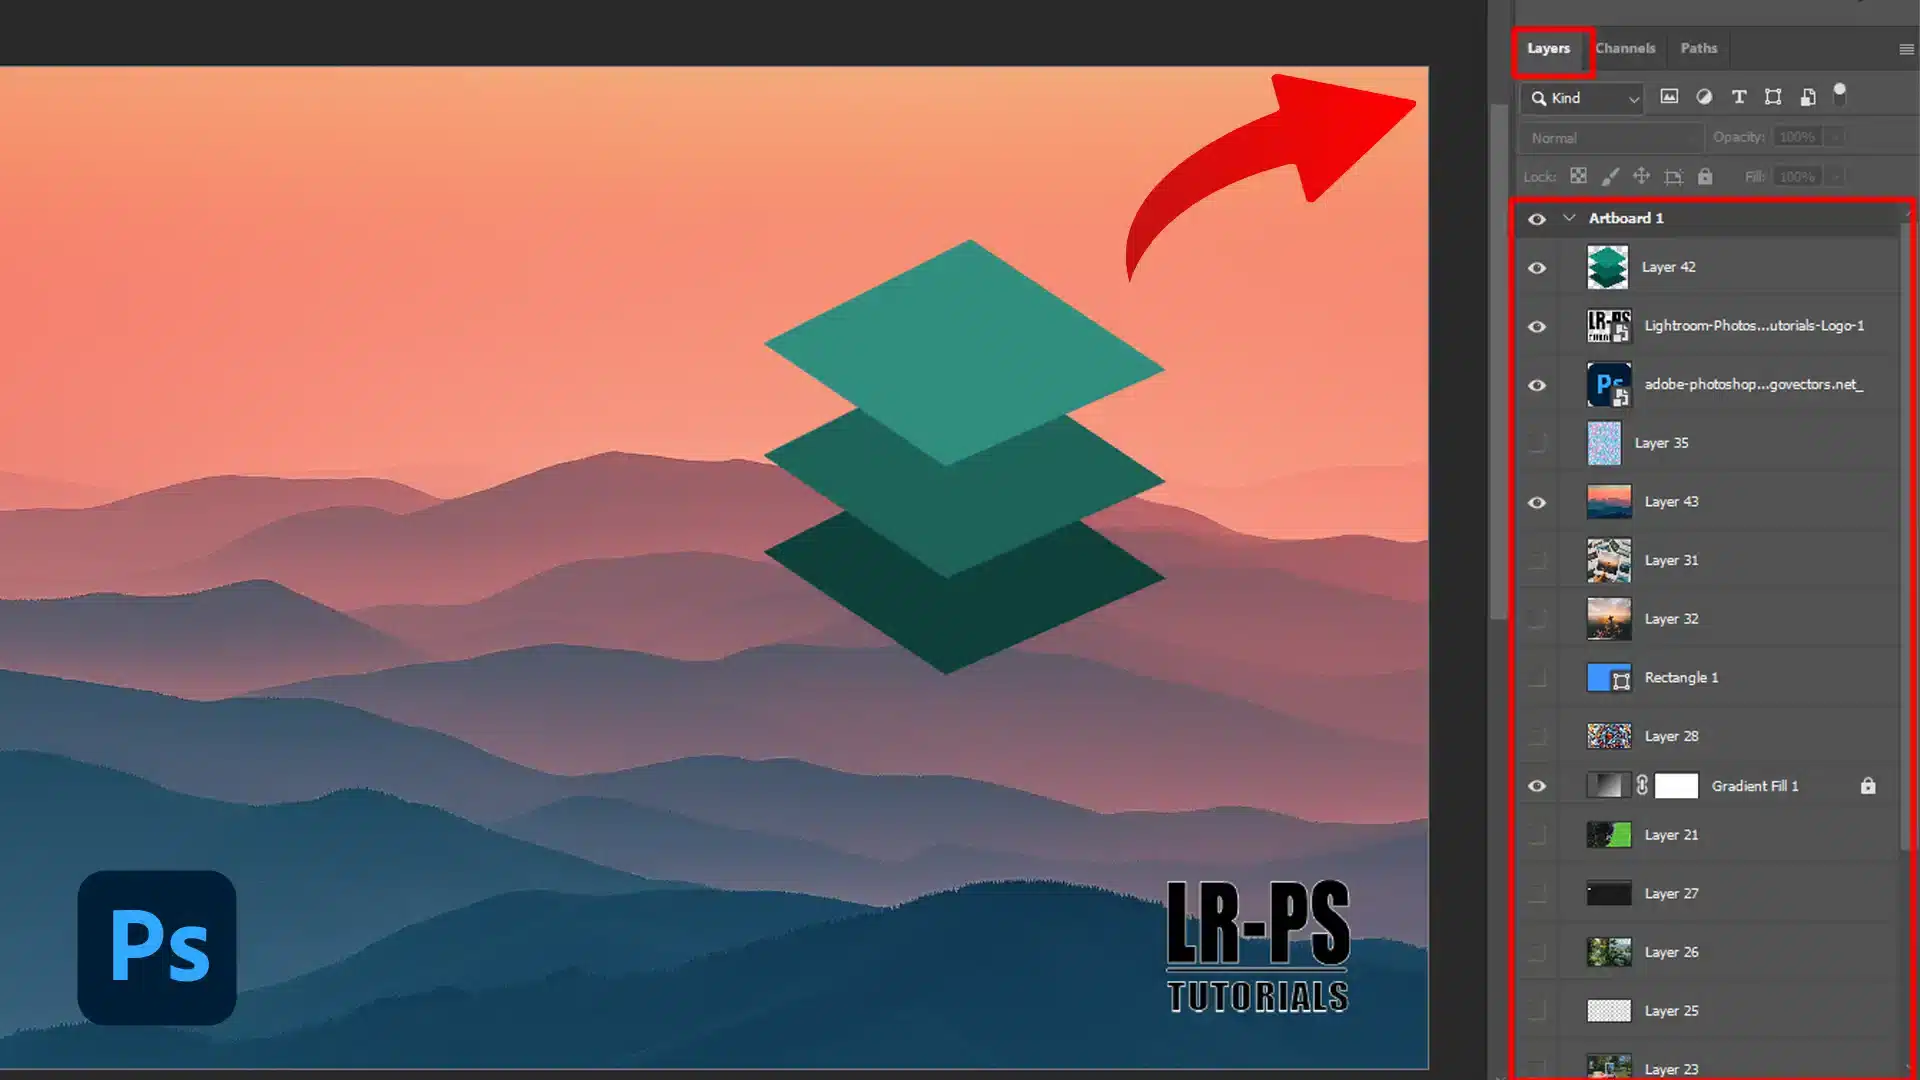
Navigating the Layers Panel
The Layers panel is your central hub for all layer-related activities in Photoshop. Typically located in the lower-right corner of your workspace, you can always make it visible by going to Window > Layers in the top menu bar.
Within the Layers panel, each existing layer is represented by a thumbnail, an icon, and a layer name. These visual cues help you quickly identify the content of each layer. The stacking order in this panel directly corresponds to the visual hierarchy in your document: layers higher in the list appear on top of layers lower down. To interact with a layer independently, you simply click on it to select it. Holding the Shift key allows you to select multiple contiguous layers, while holding Ctrl (Command on Mac) lets you select multiple non-contiguous layers, a handy trick for grouping or manipulating several elements at once in complex “Graphic Design” projects. Familiarity with this panel is the first step towards mastering “Creative Ideas” and intricate “Photo Manipulation.”
Mastering Basic Layer Operations
Once you understand the fundamental concept of layers, the next step is to get hands-on with basic operations. These core skills are the building blocks for any sophisticated “Image Editing” or “Visual Design” project.
Adding and Managing New Layers
Creating new layers is a straightforward process and a frequent action in Photoshop. To add a new layer:
- Locate the Layers Panel: Ensure the Layers panel is open (Window > Layers).
- Click the “Create a New Layer” button: At the bottom of the Layers panel, click the square icon with a plus sign inside (or a folded page icon, depending on your Photoshop version). Alternatively, use the shortcut
Shift+Ctrl+N(Shift+Command+N on Mac). This action creates a blank, transparent layer directly above your currently active layer. Pro Tip: Always name your new layers immediately after creating them. Double-click the default name (e.g., “Layer 1”) and type a descriptive name. This practice is invaluable for keeping complex projects, especially those involving multiple “Images,” “Wallpapers,” or “Backgrounds,” organized and easy to navigate.
To add a specific background layer, you might start with a solid color fill. Create a new layer as described above, drag it to the very bottom of your layer stack, then select the Paint Bucket Tool, choose your desired color, and click on the new layer to fill it. Similarly, to add an “Adjustment Layer,” click the half-black, half-white circle icon at the bottom of the Layers panel and select your desired adjustment.
Positioning and Resizing Layer Content
Once you have content on a layer, you’ll frequently need to move or transform it to fit your “Visual Design” vision.
- Moving Elements:
- Select the desired layer in the Layers panel.
- Choose the Move Tool from the toolbar (keyboard shortcut:
V). - Click and drag the content directly on your canvas to reposition it.
If you have multiple elements on different layers that you want to move together, select all relevant layers using
Ctrl(Cmd) orShiftand then use the Move Tool. This is essential for arranging “Aesthetic” layouts or combining elements from various “Beautiful Photography” shots.
- Transforming a Layer:
- Select the layer you wish to transform.
- Press
Ctrl+T(Command+T on Mac) to activate the Free Transform controls. - Drag the corner handles to resize, rotate, or distort the layer’s content. Hold
Shiftwhile dragging to maintain proportions during resizing. - Hit
Enter(Return on Mac) to apply the transformation. Transforming layers is crucial for achieving scale, perspective, and orientation, whether you’re integrating elements into a “Nature” scene or adjusting components in a “Digital Art” piece. UsingSmart Objects(which we’ll cover later) can help preserve quality during these transformations, especially for “High Resolution” images.
Adjusting Layer Order and Deletion
The order of your layers dictates what is visible and what is hidden or overlapped.
- Adjusting the Order of Layers: In the Layers panel, simply click and drag a selected layer up or down in the stack. Layers at the top of the panel will appear visually on top of layers below them in your image document. This is fundamental for arranging elements in your “Photo Manipulation” or “Graphic Design” projects, ensuring text overlays are above images, or foreground elements obscure parts of the background. For example, if you’re composing an image from several “Stock Photos,” adjusting their order is key to a seamless blend.
- Deleting Photoshop Layers:
If a layer is no longer needed, you can easily remove it.
- Select the layer you wish to delete in the Layers panel.
- Click the trash can icon at the bottom of the Layers panel, or simply press the
Deletekey on your keyboard. - Confirm if prompted. This helps keep your workspace clean and your file size manageable, particularly when working with numerous “Images” or drafts of “Creative Ideas.”
Advanced Layering Techniques for Creative Visual Design
Once comfortable with the basics, delve into advanced layering techniques to unlock Photoshop’s full potential. These methods offer greater control and foster more sophisticated “Visual Design” and “Photo Manipulation.”
Leveraging Adjustment Layers for Global and Targeted Enhancements
Adjustment layers are invaluable tools for making non-destructive color and tonal corrections to your “Digital Photography.” They act as transparent overlays that modify the appearance of all layers beneath them, without permanently altering any pixel data.
- Applying Adjustment Layers:
- Go to the
Adjustmentspanel (Window > Adjustments) or click the “Create new fill or adjustment layer” icon (half-black, half-white circle) at the bottom of the Layers panel. - Choose your desired adjustment, such as Levels, Curves, Hue/Saturation, Color Balance, or Black & White.
- A new adjustment layer will appear above your selected layer in the Layers panel, and its properties panel will open, allowing you to tweak settings.
For instance, using a
Curvesadjustment layer allows for precise tonal adjustments, boosting shadows and lifting highlights for a natural result, perfect for enhancing “Nature” photography or creating “Aesthetic” contrasts. AHue/Saturationlayer can be used to perform a “layer color swap,” subtly changing specific colors within a layer or globally shifting the mood of your image. This non-destructive workflow is ideal for experimenting with different “Editing Styles” on your “Beautiful Photography” and “Wallpapers.”
- Go to the
Precision Editing with Layer Masks
Layer masks are powerful tools that enable precise, non-destructive editing by concealing or revealing parts of a layer. They are excellent for blending “Images” seamlessly, combining multiple “Stock Photos,” or refining elements in “Digital Art.”
- Creating a Layer Mask:
- Select the layer to which you want to add a mask.
- Click the “Add layer mask” icon (a rectangle with a circle inside) at the bottom of the Layers panel. A white thumbnail will appear next to your layer, indicating the mask. A white mask means everything on that layer is currently visible.
- Hiding/Revealing Sections with the Brush Tool:
- With the layer mask selected (click its thumbnail in the Layers panel), choose the Brush Tool (keyboard shortcut:
B). - Set your foreground color to black to conceal (hide) parts of the layer. Paint over areas you want to disappear.
- Set your foreground color to white to reveal (show) parts of the layer. Paint over areas you want to reappear.
This black-and-white painting on the mask lets you precisely control transparency without erasing pixels. It’s fundamental for compositing “Thematic Collections” or isolating subjects for specialized “Editing Styles.” For intricate selections, complement masking with tools like
Photoshop's select subjectfeature orContent-Aware Fillfor seamless removal of unwanted objects.
- With the layer mask selected (click its thumbnail in the Layers panel), choose the Brush Tool (keyboard shortcut:
- Advanced Layer Mask Techniques:
- Gradient Masks: Apply a gradient to a layer mask for smooth, gradual transitions between hidden and revealed areas. This is particularly effective in landscape photography for blending multiple exposures of skies or creating subtle vignetting effects for “Nature” scenes.
- Combining Multiple Masks: Stack adjustment layers and mask each one to apply changes selectively across your image. This allows for incredibly fine-tuned control over specific areas, essential for complex “Photo Manipulation” or developing unique “Digital Art” pieces.
Smart Objects for Preserving Image Quality
Smart Objects are special layers in Photoshop that contain all the original image data, regardless of how many times you transform them. Converting a layer to a Smart Object means it becomes a container for your image, video, or raw data.
- Benefits of Smart Objects:
- Non-Destructive Transformation: You can scale, rotate, skew, distort, perspective transform, or warp a Smart Object without losing original image data or quality. This is vital when working with “High Resolution” “Images” or “Stock Photos” that might be resized multiple times during a “Visual Design” project.
- Filter Flexibility: Filters applied to Smart Objects are Smart Filters, which are also non-destructive and can be easily edited, hidden, or deleted. This allows for flexible experimentation with various “Editing Styles.”
- Linked Resources: You can link Smart Objects to external files. If the original external file is updated, all linked Smart Objects in your Photoshop document will automatically update. To convert a layer to a Smart Object, right-click on the layer in the Layers panel and select “Convert to Smart Object.” This practice is a cornerstone of professional “Image Editing” and “Graphic Design,” ensuring maximum flexibility and quality preservation.
Organizing and Enhancing Your Layer Workflow
An efficient workflow is key to success in any “Visual Design” or “Photo Manipulation” project. Photoshop offers powerful features to keep your layers organized and enhance their visual impact, especially when managing numerous “Images” or complex “Creative Ideas.”
Streamlining Projects with Layer Groups
As your projects grow in complexity, with dozens or even hundreds of layers, the Layers panel can quickly become overwhelming. Layer groups provide a simple yet effective solution for organization, keeping your “layers palette” tidy and manageable.
- Creating Layer Groups:
- Select the layers you want to group. You can select multiple layers by holding
Ctrl(Command on Mac) and clicking them, or by clicking the first layer, holdingShift, and clicking the last layer to select a range. - Right-click on any of the selected layers and choose “New Group from Layers,” or click the folder icon (“Create a new group”) at the bottom of the Layers panel.
- Name your group descriptively (e.g., “Subject,” “Background Elements,” “Adjustments”).
- Select the layers you want to group. You can select multiple layers by holding
- Benefits: Layer groups collapse and expand, allowing you to hide or show a set of related layers with a single click. You can also apply adjustments or masks to an entire group, affecting all layers within it. This is invaluable for managing “Thematic Collections,” separating “Aesthetic” elements, or organizing different components of your “Digital Art.” It greatly enhances productivity when dealing with large-scale projects like designing entire “Wallpapers” or comprehensive “Image Collections.”
Adding Depth and Effects with Layer Styles
Layer Styles are pre-defined effects that can be applied to individual layers, instantly adding depth, texture, and visual interest. They are non-destructive and highly customizable, making them perfect for refining “Graphic Design” elements or enhancing “Beautiful Photography.”
- Applying Layer Styles:
- Double-click on the blank area of a layer in the Layers panel (not the thumbnail or name) to open the “Layer Style” dialog box. Alternatively, right-click the layer and choose “Blending Options.”
- From here, you can select various effects such as
Drop Shadow,Inner Shadow,Outer Glow,Inner Glow,Bevel & Emboss,Color Overlay,Gradient Overlay,Pattern Overlay, andStroke. - Adjust the parameters of each style to achieve your desired look.
For instance, adding a subtle
Drop Shadowcan make text pop off a “Background,” or anOuter Glowcan give elements a vibrant halo effect. These styles are particularly effective for text and shape layers, contributing significantly to the overall “Visual Design” and creative impact of your “Images.”
Creative Compositing and Blending Techniques
Beyond basic organization and effects, Photoshop’s layering capabilities truly shine in creative compositing and advanced blending.
- Experiment with Blend Modes:
Each layer has a “Blend Mode” option at the top of the Layers panel (default is “Normal”). These modes determine how the pixels of one layer interact with the pixels of the layers beneath it, creating various visual effects. Options like
Multiply,Screen,Overlay,Soft Light,Color Dodge, andDifferencecan produce stunning results, altering color, luminosity, and contrast. Experimenting with blend modes is essential for achieving unique “Editing Styles,” creating dynamic “Photo Manipulation,” and adding artistic flair to “Abstract” compositions. - Add Textures and Patterns:
Integrate textures (e.g., from “Nature” photos or “Abstract” designs found on Tophinhanhdep.com’s “Image Collections”) into your design by placing them on separate layers. Adjust their
OpacityandBlend Modeto seamlessly integrate them into your artwork, adding richness and depth to “Wallpapers” or “Backgrounds.” - Compositing Multiple Images: The true magic of layering comes alive when combining multiple “Images” into a single, cohesive composition. By using layer masks to blend edges, adjustment layers to unify colors and tones, and blend modes to achieve artistic interactions, you can create surreal landscapes, conceptual “Digital Art,” or complex collages from various “Stock Photos.” This process is at the heart of advanced “Photo Manipulation” and allows for limitless “Creative Ideas.”
- Incorporate Vector Graphics: Adding vector graphic shapes from programs like Adobe Illustrator directly into your Photoshop project as Smart Objects (or simply as shape layers) is an excellent way to introduce sharp, scalable graphics without losing quality. These are crucial for clean “Graphic Design” and for adding precise elements to any visual creation.
These layering techniques, when mastered, empower you to unleash your full creative potential in Photoshop, transforming raw “Images” into masterpieces of “Visual Design.”
Conclusion
The journey through “How To Layer Images In Adobe Photoshop?” reveals that layers are far more than just a basic feature—they are the very foundation upon which professional and creative “Image Editing” is built. From understanding the fundamental concept of transparent sheets to mastering advanced techniques like adjustment layers, masks, and Smart Objects, every step enhances your control, flexibility, and creative output.
Tophinhanhdep.com strives to provide you with the knowledge and tools to excel in all facets of visual creativity. Whether you’re interested in sourcing high-quality “Images” for your “Wallpapers,” learning new “Editing Styles” for your “Digital Photography,” or exploring “Creative Ideas” for “Photo Manipulation,” the principles of layering will be your constant companion. The ability to work non-destructively, organize complex projects with layer groups, and add stunning effects with layer styles empowers you to transform simple “Backgrounds” or “Stock Photos” into captivating “Aesthetic” or “Nature” compositions.
By consistently applying these layering techniques, you’ll not only streamline your workflow but also unlock new avenues for artistic expression. We encourage you to continue exploring the vast resources available on Tophinhanhdep.com, including tutorials on “Image Tools” like AI Upscalers, and collections of “Image Inspiration” and “Trending Styles.” Embrace the power of layers, experiment boldly, and watch your creative vision come to life. Happy editing!