Master the Art of Circular Images: A Comprehensive Guide with Tophinhanhdep.com

In the dynamic world of visual content, square and rectangular images have long been the standard. From crackers to children’s books, and even Uncle Owen, many great things are inherently square. However, there’s an undeniable allure and strategic advantage to breaking free from sharp corners and embracing the elegance of the circle. Scientists have even noted that humans are instinctively drawn to curved shapes more than straight ones, suggesting a primal connection to their gentle flow. This psychological preference translates directly into graphic design, making circular images incredibly effective for capturing attention, conveying professionalism, and adding a touch of unique aesthetic appeal.
Whether you’re crafting marketing buttons, designing a standout profile picture (PFP), or simply aiming for a truly unique masterpiece, transforming your images into circles is a skill that will elevate your digital presence. With Tophinhanhdep.com, this once complex task becomes a remarkably straightforward process, offering both speed and a wealth of creative control. This guide will walk you through various methods to achieve perfect circular images, explore advanced customization techniques, and delve into the myriad applications that make this shape so indispensable in modern visual design.
The Enduring Appeal of Circular Imagery

The shift towards circular imagery isn’t merely a fleeting trend; it’s rooted in psychological and aesthetic principles. Circles represent wholeness, perfection, unity, and timelessness. These inherent qualities make them incredibly powerful in visual communication, capable of conveying a sense of trustworthiness and approachability.
When applied to elements like logos, profile pictures, or call-to-action buttons, circular images can significantly enhance engagement. They soften the visual impact, making content feel less rigid and more inviting. For businesses, this can mean attracting more eyes to your brand materials. For individuals, a well-crafted circular profile picture can project an image of professionalism and approachability across social media platforms like Instagram or LinkedIn.
Moreover, circular images offer practical benefits. They can help create a focal point, drawing the viewer’s eye to a specific element on a crowded canvas. This is particularly useful in presentations, where guiding attention to key visuals is paramount. From aesthetic wallpapers to impactful digital photography, incorporating circular elements can transform a good design into a truly unforgettable one, aligning perfectly with Tophinhanhdep.com’s focus on beautiful photography and creative ideas.

Core Methods for Creating Circular Images with Tophinhanhdep.com
Tophinhanhdep.com offers a highly intuitive and powerful suite of tools for image manipulation, making the process of creating circular images accessible to everyone, regardless of their design expertise. You can easily convert a rectangular picture into a round one using several versatile methods, each designed for optimal flexibility and creative freedom.
Method 1: Shape Cropping and Masking
The most direct way to make an image circular is by applying a circular “shape cutout” or “mask.” This method crops your image to fit precisely within a circular boundary, often with a transparent background by default, which is ideal for integration into other designs.
Desktop Workflow with Tophinhanhdep.com:
- Start Your Project: Begin by opening Tophinhanhdep.com. Click “Create New” or “Start Editing” and choose your image source – whether it’s a personal photo from your computer, a high-resolution stock photo from our extensive gallery, or another digital asset. You can upload any JPG or PNG image you wish to transform.
- Access Shape Cutouts: Once your image is loaded onto the canvas, navigate to the “Frames” or “Shape Cutouts” tab in the left-hand toolbar. Tophinhanhdep.com automatically selects a default circular frame and a transparent background for this feature, which is exactly what you need.
- Adjust Placement and Size: Use your cursor to drag and position the circular frame over the area of your image you want to highlight. For seamless cropping, ensure your image is set as the background layer (a simple click on the image usually suffices). You can then use the “Shape Size” slider, typically found in the editor’s properties panel, to enlarge or shrink the circle, perfectly framing your subject.
- Apply and Refine: Once you’re satisfied with the circular crop, click “Apply.” The excess parts of your image outside the circle will be removed.
- Crop Canvas (Optional): After applying the circular shape, you might want to adjust the overall canvas size. Go to “Edits” or “Tools” and select “Crop Canvas.” Here, you can specify exact dimensions or manually drag the canvas boundaries to your desired size. Remember, cropping removes parts of the picture, while resizing changes its pixel dimensions and resolution.
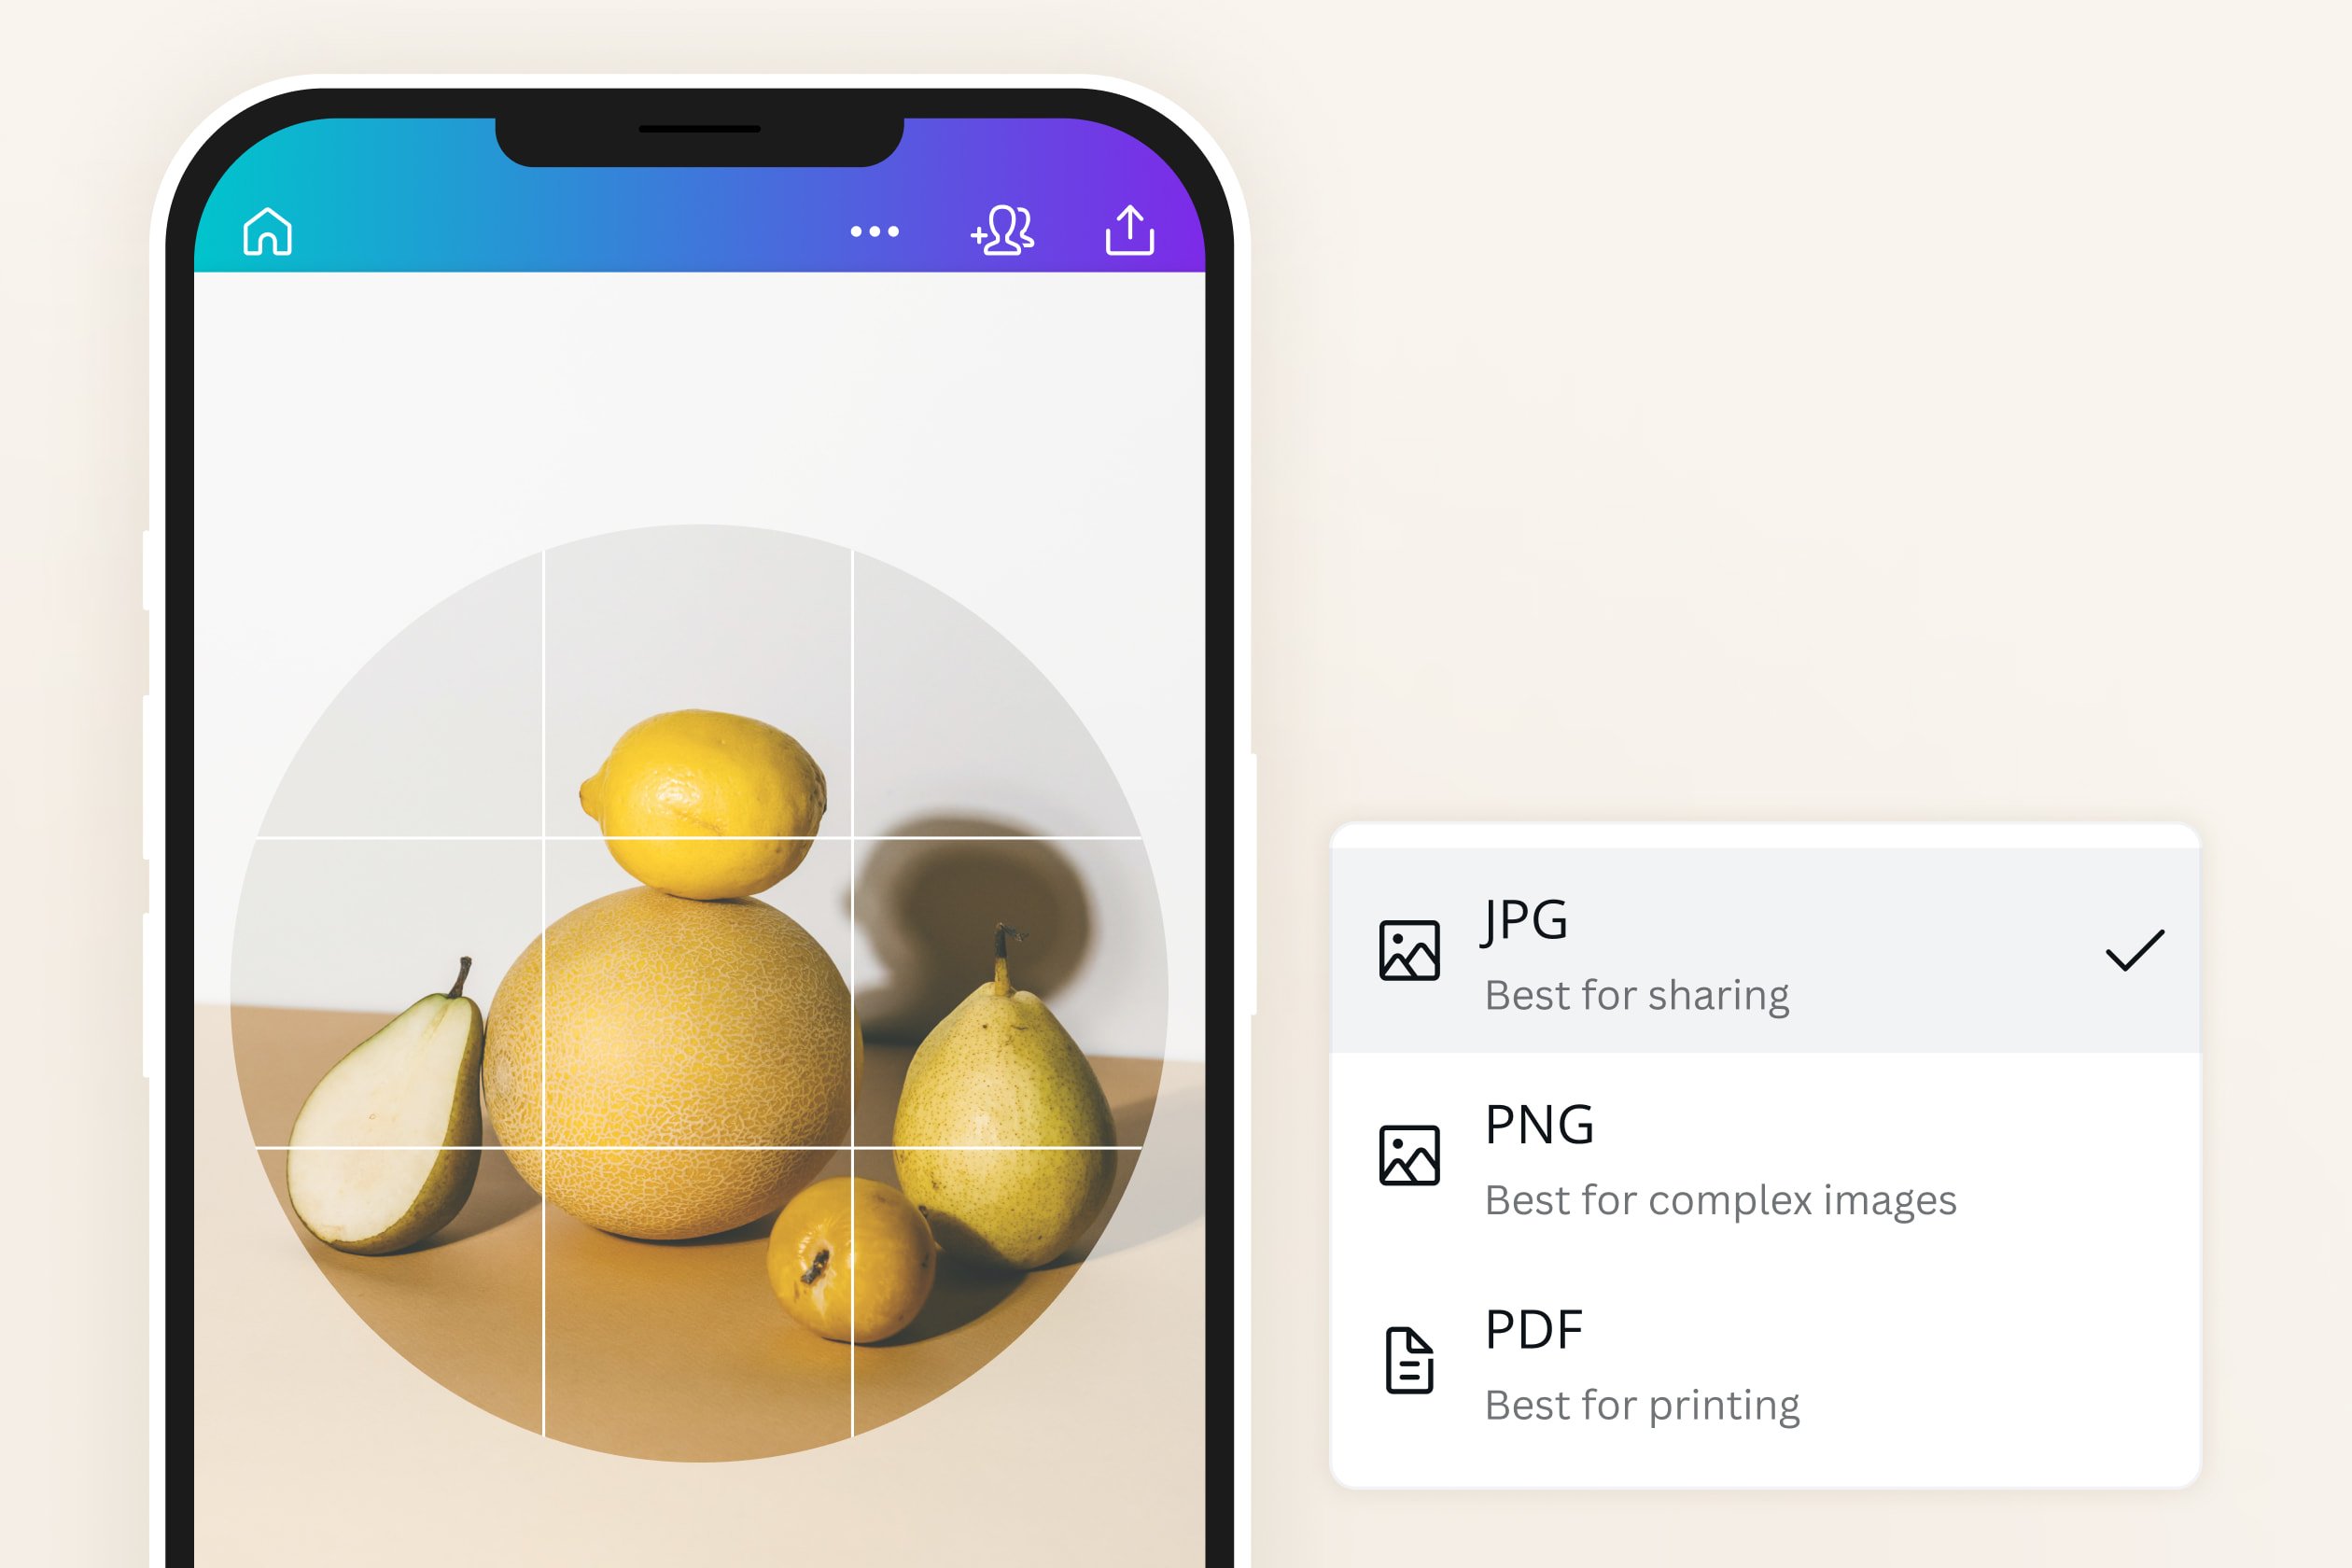
- Export for Transparency: If your circular image has a transparent background (which is often the case with shape cutouts), it’s crucial to export it as a PNG file. This format preserves transparency, allowing you to seamlessly layer your circular image onto other backgrounds, such as an ad, a business card, or a photo collage, without any unwanted white borders.
Mobile Workflow with Tophinhanhdep.com:
Tophinhanhdep.com’s mobile app makes creating circular images just as effortless, allowing you to edit stunning visuals on the go.
- Open and Select: Launch the Tophinhanhdep.com mobile app and tap “Edit a Photo.” Choose the image from your device’s gallery that you wish to transform.
- Access Shape Tools: Tap “Edit,” then look for “BG Remover” or “Shape.” You’ll find a wide array of shape options here, including the classic circle.
- Apply and Adjust: Tap the circular cutout option. A circular frame will appear over your image. You can drag the circle to reposition it and use a pinch-and-zoom gesture to adjust its size, ensuring it frames your subject perfectly.
- Confirm Changes: Once satisfied, tap the checkmark or “Apply” icon to finalize your circular image. It’s that simple to achieve professional results from your phone or tablet.
Method 2: Filling a Circular Shape with an Image
Another powerful and creatively flexible approach is to start with a circular shape and then “fill” it with your desired image. This method is particularly useful for greater control over the image within the circle after it’s been cropped, allowing for easy repositioning or replacement without affecting the circular boundary itself.
- Select a Circle Graphic: In Tophinhanhdep.com, go to the “Graphics” or “Elements” tab. Under “Basic Shapes” or “Geometric Shapes,” select a standard circle. Drag it onto your canvas.
- Activate “Fill with Image”: Click on the circle graphic you’ve placed on your canvas to select it. In the left-hand “Graphic Tools” or “Properties” menu, you’ll find a “Fill with Image” or “Add Mask” button. Click this.
- Choose Your Photo: A prompt will appear, allowing you to select an image to place “inside” your circle. This can be an uploaded photo or one from Tophinhanhdep.com’s vast collection of stock photos.
- Edit Image Fill (Optional): The advantage of this method is that the image inside the circle can be edited independently. After adding it, you can click “Edit image fill” (or a similar option) to reposition, scale, or even replace the image within the fixed circular frame. This offers incredible precision for showcasing the perfect part of your photo.
- Download as PNG: As with shape cutouts, if your filled circle has a transparent background, download it as a PNG file to preserve transparency for future design integration.
Method 3: Leveraging Templates for Quick Circular Designs
For those looking for instant polish, Tophinhanhdep.com provides a wealth of designer-made templates specifically featuring circular elements, especially for popular uses like profile pictures and collages.
Profile Picture (PFP) Templates:
Circles are the go-to shape for profile images across virtually all social media platforms due to their aesthetic appeal and consistent sizing. Tophinhanhdep.com offers a range of pre-cropped profile image templates, ensuring your personal or professional brand stands out.
- Browse Templates: From the Tophinhanhdep.com homepage, select “Templates” and search for “Profile Image” or “Circle PFP.”
- Customize Your Look: Choose a template that resonates with your style. Click “Edit image fill” in the left tools menu and easily replace the placeholder image with your own photo.
- Further Refine: Personalize the template even more by adjusting fonts, colors, and adding extra graphics from Tophinhanhdep.com’s extensive library. Apply unique effects, textures, or photo editing styles to truly make it your own.
- Export and Share: Download your high-resolution circular PFP as a JPG or PNG, or upload it directly to your preferred social media platform.
Circle Collage Templates:
Tophinhanhdep.com also simplifies the creation of visually striking circle collages. These templates combine multiple circular image elements into a cohesive design, perfect for mood boards, thematic collections, or showcasing a series of related images.
- Find Collage Templates: Search for “Circle Collage” templates on Tophinhanhdep.com.
- Populate with Images: Select a template, and then click on each circular photo placeholder. Use the “Replace Object” button to insert your own images from your uploads or Tophinhanhdep.com’s photo gallery.
- Arrange and Style: Adjust the placement and sizing of images within the circles. You can also add doodle lines or other graphic elements to enhance the collage’s aesthetic.
Enhancing Your Circular Images: Advanced Customization and Effects
Beyond simply cropping, Tophinhanhdep.com empowers you to transform your circular images into sophisticated visual assets. The platform integrates seamlessly with its broader suite of image tools, allowing for comprehensive visual design and photo manipulation.
Adding Borders, Frames, and Creative Outlines
A border can dramatically enhance a circular image, providing definition and complementing your design.
Basic Strokes and Decorative Frames:
- Applying a Stroke: After creating your circular image, select it. In the “Properties” or “Graphic Tools” panel, look for options like “Stroke,” “Border,” or “Outline.” Here, you can choose the color, thickness, and style of your border. Tophinhanhdep.com allows for multiple outline effects, giving you incredible depth.
- Using Pre-designed Frames: Navigate to “Elements” > “Frames” > “Decorations & Ornaments” or search for “circle frame” in the “Photos” category. Tophinhanhdep.com offers a rich gallery of round PNG frames and vector images. Simply drag and drop a frame onto your canvas, adjust its size to fit your circular image, and apply.
Unique Text-Based Borders:
For a truly unique touch, Tophinhanhdep.com’s “Curved Text Generator” can be used to create custom circular borders made from text symbols.
- Add Curved Text: Go to “Text” > “Curved Text.”
- Symbolic Border: Instead of words, type or copy-paste text symbols (like arrows, dots, stars, lines) repeatedly.
- Arrange in a Circle: Tophinhanhdep.com’s tools will allow you to arrange these symbols around a circle, effectively creating a distinctive, custom border for your image. This showcases excellent visual design and creative ideas.
Incorporating Text and Graphic Elements
Circular images often serve as ideal canvases for text or other graphic elements, particularly in logos, badges, or marketing materials.
Curved Text:
Tophinhanhdep.com’s “Curved Text” feature is perfect for adding text that follows the curvature of your circular image, creating a cohesive and professional look for badges, labels, or round logos. You can even experiment with “spiral text” for more dynamic designs.
Combining Graphics with Faded Circles:
To integrate graphics with text effectively, you can use Tophinhanhdep.com’s “Fade” slider. Place a graphic circle, adjust its color, and then use the “Fade” or “Opacity” slider to make it semi-transparent. This allows background elements or text to show through, creating layered, visually interesting compositions.
Mastering Layers and Transparency
Effective use of layers and understanding transparency are fundamental for professional image manipulation, particularly when dealing with circular cutouts. Tophinhanhdep.com simplifies these advanced concepts.
Converting to Layers for Precise Control:
After applying a circular shape, you might want to move it freely on your canvas or combine it with other images. Tophinhanhdep.com allows you to “Convert to Layer.”
- Access Layers Panel: Click the “Layers” button (often represented by a stack of square pancakes or similar icon) in the bottom toolbar.
- Convert: Select your circular image and click “Convert to layer.”
- Drag and Position: Your circular image now acts as an independent layer, which you can drag anywhere on or even off the canvas, providing unparalleled control over its placement in your visual design.
Flattening Layers for Complex Designs:
If you’re working with a multi-layered image (e.g., several images, text, and graphics) and wish to apply a single circular frame to the entire composition, you’ll need to “flatten” the layers first.
- Open Layers Panel: Access the “Layers” panel.
- Flatten All: Hover over any layer, click the three-dots icon, and select “Flatten all layers” from the menu. This merges all visible layers into a single background image, ready for a circular cutout.
Exporting with Transparent Backgrounds (PNG):
For any circular image intended for integration into other designs, especially those with custom backgrounds or overlays, preserving transparency is key.
- Set Background to Transparent: Ensure your canvas background is set to transparent (often indicated by a checkerboard pattern in the editor).
- Download as PNG: When saving, select “PNG” as your file format. Tophinhanhdep.com will automatically export your circular image with its transparent background intact, making it a versatile asset for any graphic design project.
Applying Artistic Filters and Adjustments
Tophinhanhdep.com’s robust photo editing features allow you to dramatically alter the mood and style of your circular images.
Blur Effects:
To create intriguing depth or emphasize a central element, blur effects are highly effective.
- Duplicate Image: Duplicate your original image layer.
- Apply Blur: To one of the duplicates, apply a “Blur” filter (e.g., Gaussian Blur, Zoom Blur) from the “Filters” or “Adjustments” menu.
- Mask for Focus: Apply a circular mask to the unblurred duplicate, bringing the sharp focus to the center, surrounded by a soft, ethereal blur. You can even add a subtle glow effect with a white shadow.
Color Adjustments, Brightness, Contrast, Opacity:
The “Adjustments” panel offers precise control over your image’s visual characteristics.
- Opacity: Adjust the transparency of your circular image.
- Brightness/Contrast: Fine-tune the luminosity and distinction of tones.
- Recoloring: Apply artistic filters to achieve surreal or specific aesthetic effects, transforming a standard photograph into digital art.
Shadows and Reflections:
Adding a drop shadow or reflection can give your circular image a sense of depth and realism, making it pop off the canvas, a critical aspect of compelling visual design.
Beyond Circles: Exploring Other Rounded Shapes
While circles are powerful, Tophinhanhdep.com’s flexibility extends to other rounded shapes, enabling you to convert pictures into various eye-catching forms.
Oval Shapes (Ellipses):
An oval, or ellipse, offers a softer alternative to the circle. Tophinhanhdep.com makes it easy to create these.
- Start with a Circle: Select a circle shape from “Elements” > “Shapes” > “Geometric.”
- Distort to Oval: Drag the middle handles of the selected circle to stretch and distort it into an oval or ellipse. You can then fill this shape with an image or use it as a crop mask, just like a circle. This subtle change can significantly alter the visual dynamics of your image.
Rounded Rectangles and Corners:
For designs that require soft edges without going fully circular, rounded rectangles are an excellent choice.
- Select Rounded Rectangle: From “Elements” > “Shapes” > “Geometric,” choose a “rounded rectangle” or “rounded square.”
- Use as Mask: Apply this shape as a mask to your image. You can adjust the curvature of the corners to your liking.
- Transparent Background: To ensure the rounded corners have a clean, transparent background, set your canvas background to transparent and export the image as a PNG. This technique is invaluable for aesthetic backgrounds and professional graphic design.
Practical Applications of Circular Images
The versatility of circular images makes them indispensable across numerous digital applications, aligning perfectly with Tophinhanhdep.com’s mission to provide tools for diverse visual needs.
Professional Profile Pictures (PFPs)
Circular PFPs are ubiquitous across social media, professional networking sites (like LinkedIn), and communication platforms. They convey a sense of approachability and focus. With Tophinhanhdep.com, you can easily create high-resolution, perfectly cropped circular profile pictures that project the desired image, whether it’s for personal branding or professional networking.
Dynamic Marketing Materials
From marketing buttons that grab attention to logos that embody a brand’s essence, circular images enhance the visual appeal and effectiveness of promotional content. Tophinhanhdep.com allows you to quickly circlify logos, watermarks, or product images, turning them into engaging visual assets that command a second look.
Engaging Web and Presentation Designs
Incorporating circular images into website layouts or presentation slides can break monotony and create visually appealing focal points. Whether it’s showcasing team members on a website or highlighting key concepts in a presentation, round images add a sophisticated and user-friendly element. Tophinhanhdep.com facilitates the creation of circular diagrams, infographics, and other creative presentation layouts.
Unique Digital Art and Collages
Beyond functional applications, circular images lend themselves beautifully to digital art and thematic collages. They can be combined with effects like blur or used within intricate collage templates to create stunning visual narratives, contributing to the “Image Inspiration & Collections” aspect of Tophinhanhdep.com. Round art prints are also gaining popularity in interior design, offering a unique contrast to traditional square frames.
Conclusion: Embrace the Circle with Tophinhanhdep.com
In a world saturated with visual information, standing out requires both creativity and efficient tools. Circular images, with their inherent aesthetic appeal and psychological impact, offer a powerful way to enhance your digital content. From crafting a compelling profile picture to designing innovative marketing materials and captivating digital art, the ability to transform your images into perfect circles is a vital skill for any modern creator.
Tophinhanhdep.com provides a comprehensive, user-friendly, and incredibly versatile platform to achieve this mastery. Whether you prefer direct shape cropping, filling predefined circular graphics, or leveraging expertly designed templates, Tophinhanhdep.com streamlines the process. With robust editing features for borders, text, layers, and artistic effects, you can elevate your circular images from simple crops to sophisticated visual statements. Embrace the smooth edges and endless possibilities of circular design – start creating unforgettable visuals with Tophinhanhdep.com today and rocket to the top of photo editing mastery!