How to Make a Transparent Image in Visio

In the intricate world of visual communication, transparency isn’t just a stylistic choice; it’s a fundamental tool that empowers designers to create depth, layer information, and achieve a sophisticated aesthetic. Whether you’re crafting complex diagrams, architectural layouts, or compelling presentations, the ability to make elements transparent can transform flat visuals into dynamic, engaging experiences. At Tophinhanhdep.com, we understand the power of visual design, from stunning Wallpapers and Backgrounds to the nuances of Photo Manipulation and Creative Ideas. Our extensive resources on Images, Photography, Image Tools, Visual Design, and Image Inspiration & Collections are dedicated to helping you master every aspect of visual creation.

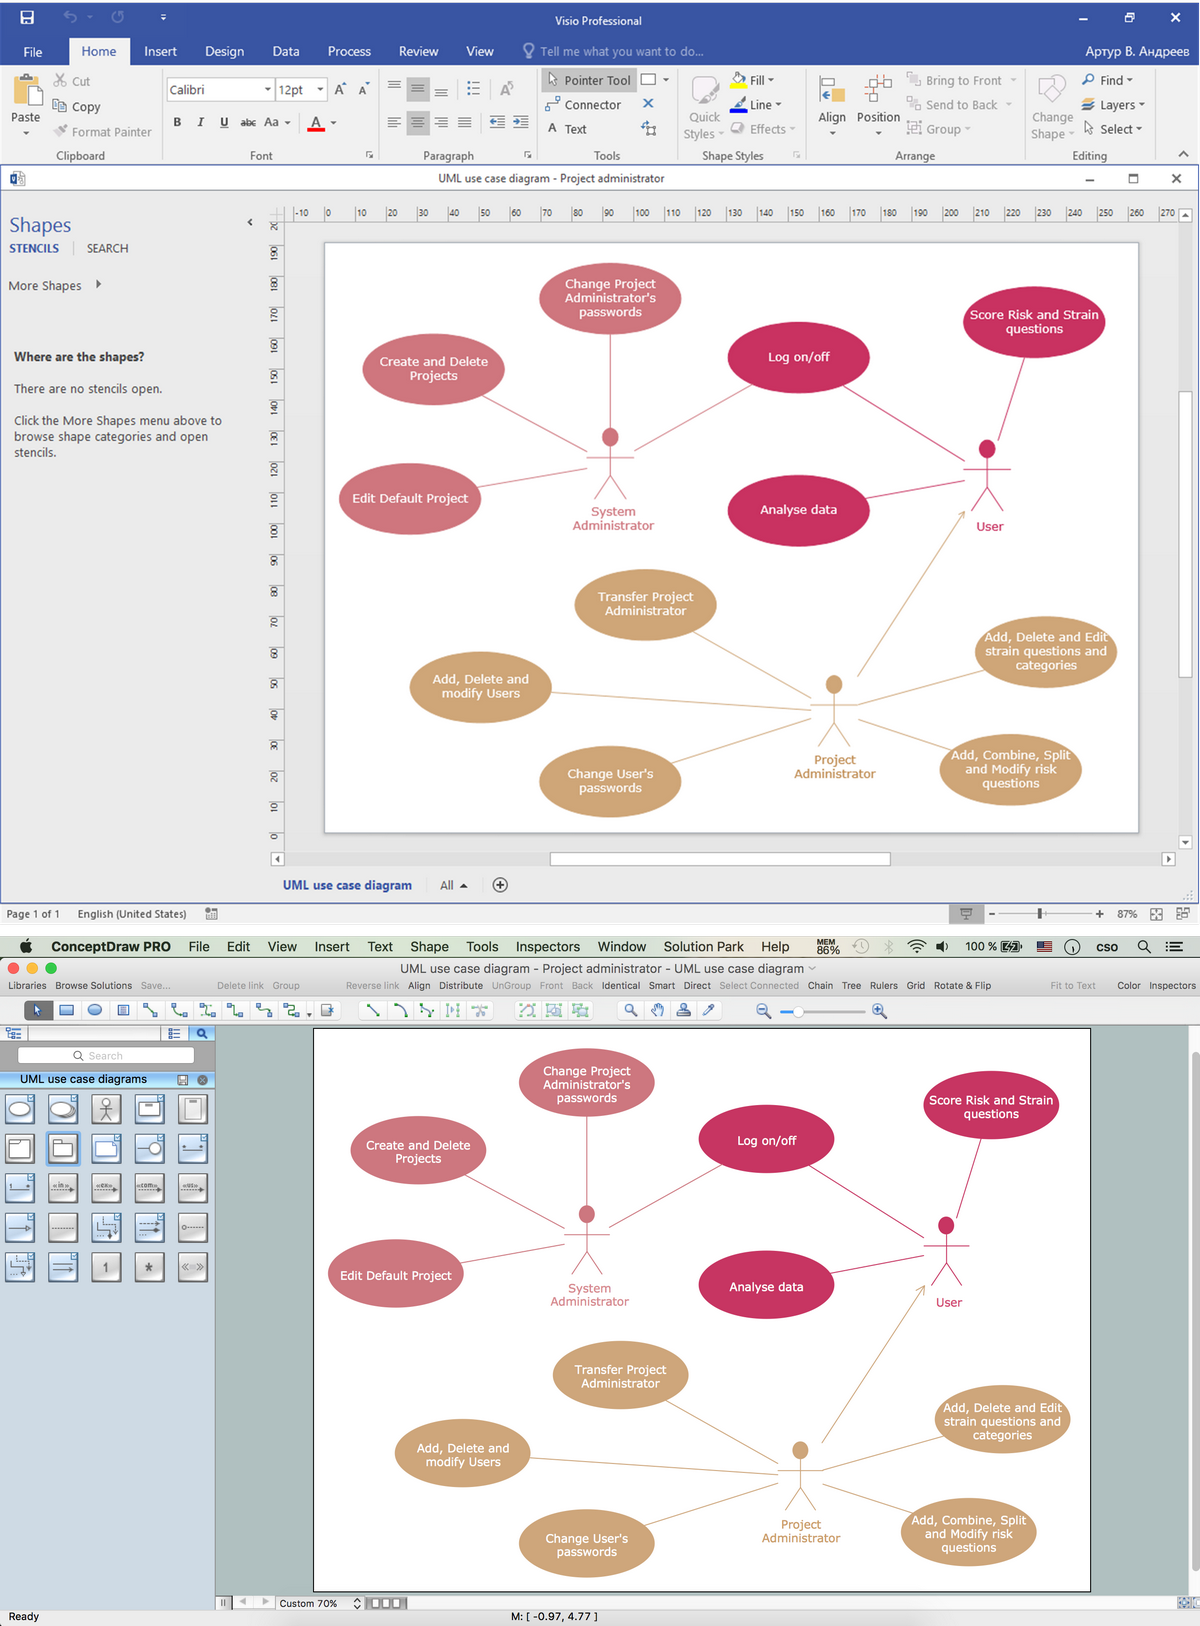
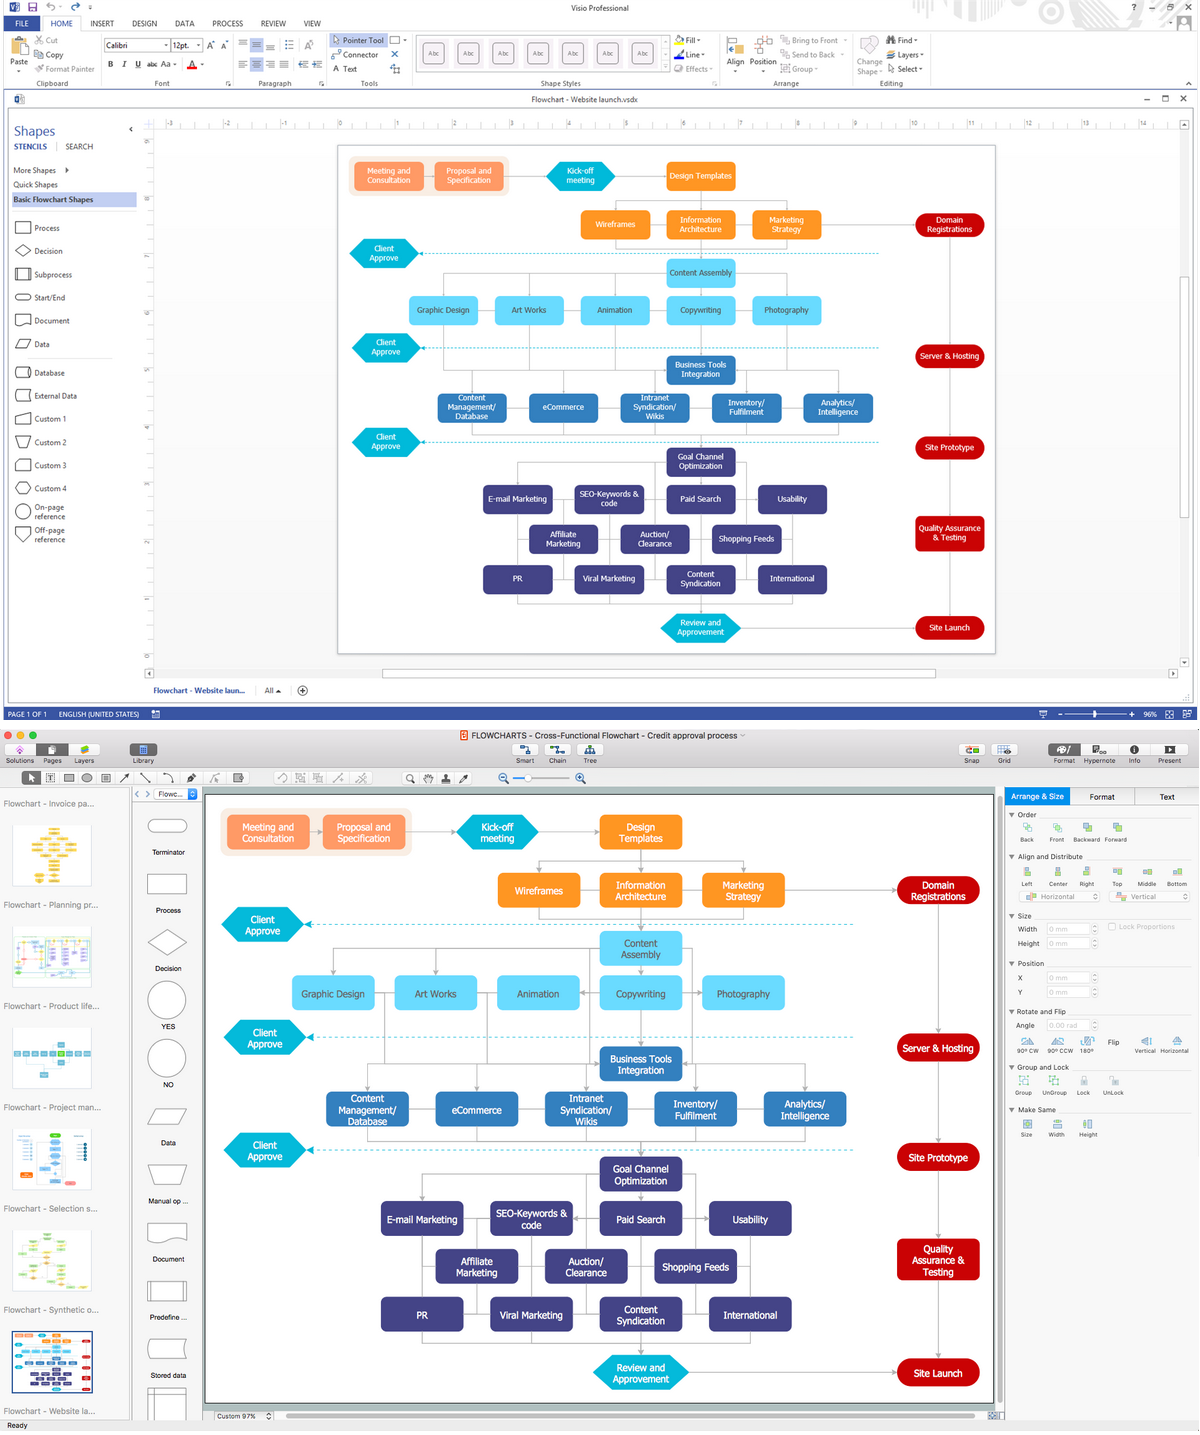
Visio, Microsoft’s versatile diagramming software, is a staple for professionals across various fields, enabling the creation of flowcharts, network diagrams, floor plans, and more. However, users often encounter a unique challenge when it comes to image transparency within Visio, particularly when compared to other Microsoft Office applications like PowerPoint. While tools for adjusting transparency are readily available and intuitive in some Office programs, Visio has historically presented a slightly different interface and, in some versions, even a perceived absence of direct “set transparent color” functionality for pictures. This article delves into how to navigate these specifics within Visio, providing workarounds and techniques to achieve the transparent effects you desire, while also exploring broader visual design principles that are championed by Tophinhanhdep.com.
Understanding Transparency in Visual Design
Transparency, or opacity, dictates how see-through an image or object is. A fully opaque object completely blocks anything behind it, while a fully transparent object is invisible, allowing everything beneath it to show through. Varying levels of transparency enable a multitude of design possibilities, from subtle overlays to intricate composite images.
Why Transparency Matters for Your Visuals
The strategic use of transparency can significantly enhance the readability, aesthetic appeal, and overall impact of your visual compositions. For designers exploring themes like Aesthetic, Nature, Abstract, or Beautiful Photography, transparency is key to crafting layered, visually rich content.
- Creating Depth and Layering: Transparent elements allow you to stack information or visual cues without cluttering the canvas. This is particularly useful in complex diagrams where you might want to overlay annotations or highlight specific areas without obscuring the underlying structure.
- Seamless Integration: By adjusting the transparency of an image, you can make it blend more harmoniously with your background or other design elements. This creates a cohesive look, essential for professional graphic design and digital art projects.
- Subtle Branding and Watermarks: Transparent logos or text can serve as unobtrusive branding, providing context without distracting from the main content. This is a common practice for Stock Photos and copyrighted images.
- Visual Interest and Softening Effects: A partially transparent image can soften harsh edges, introduce a dreamy or ethereal quality, or simply add visual interest by allowing hints of what lies beneath to peek through.
- Non-Rectangular Image Integration: When you need to integrate images that aren’t perfectly rectangular, especially screenshots or images with irregular shapes, making their background transparent is crucial. This allows you to avoid clunky, blocky images and achieve a clean, professional layout. This is especially pertinent for professionals using Visio to integrate CAD images or screenshots where white backgrounds need to be removed for proper overlaying and creating depth.
The Specific Challenge with Images in Visio
For many years, users migrating from PowerPoint to Visio have noticed a stark difference in how image transparency is handled. The familiar “Set Transparent Color” feature, prevalent in PowerPoint 2016 and older versions, seemed conspicuously absent from Visio 2016. This led to considerable frustration, as designers accustomed to quickly stripping white backgrounds from screenshots found themselves unable to replicate the process directly within Visio.
The core of the issue lies in how different Microsoft Office applications process and display images. While PowerPoint, Word, and Excel often share a common image processing engine, Visio, being a specialized diagramming tool, sometimes operates with its own distinct functionalities, leading to discrepancies. This meant that while you could easily paste an image into PowerPoint, go to the Format menu, click the Color button, and find the “Set Transparent Color” option, the same path in Visio 2016 seemed to lack the “Color” button entirely.
This perceived omission has driven users to seek workarounds, or even consider downgrading Visio versions, highlighting a significant hurdle for those aiming for polished, transparent image integration in their Visio diagrams. Fortunately, through various updates and a deeper understanding of Visio’s capabilities, solutions have emerged, albeit sometimes less intuitive than in its Office counterparts. Tophinhanhdep.com aims to demystify these processes, ensuring your visual design workflow remains smooth and efficient, regardless of the application.
Achieving Transparency for Shapes in Visio
While the “set transparent color” feature for pictures has been a point of contention in Visio, the application has consistently provided robust options for adjusting the transparency of its native shapes. This distinction is crucial: Visio treats vector-based shapes differently from raster-based inserted images.
Adjusting Fill and Line Transparency for Visio Objects
For any standard Visio shape, connector, line, container, or callout, adjusting transparency is a straightforward process accessible through the “Format Shape” pane. This method allows you to control the opacity of both the shape’s fill and its outline, offering granular control over your diagram’s visual elements.
Here’s how to do it:
- Select the Shape(s): Right-click the specific Visio shape, connector, or object you wish to modify. If you need to change multiple shapes at once, press and hold
Ctrlwhile clicking on each shape to select them collectively. You can also select a grouped object to apply changes to all elements within the group. - Open Format Shape Pane: From the right-click context menu, select “Format Shape.” This action typically opens the “Format Shape” pane on the right side of your Visio window. By default, the “Fill & Line” section is usually expanded.
- Access Fill Options: Within the “Format Shape” pane, click to expand the “Fill” category.
- Adjust Transparency: Locate the “Transparency” slider. You can drag this slider left or right to decrease or increase the transparency level. Alternatively, you can enter an exact percentage directly into the box next to the slider.
- Lower numbers (closer to 0%) mean the shape is more opaque (less transparent).
- Higher numbers (closer to 100%) mean the shape is more transparent (less opaque).
- As you adjust, you’ll see a live preview on your drawing, allowing you to fine-tune the effect.
- Line Transparency (Optional): If you also want to make the shape’s outline transparent, navigate to the “Line” category within the “Fill & Line” section of the “Format Shape” pane and adjust its “Transparency” slider similarly.
Special Case: Gradient Fills If your shape utilizes a gradient fill, the transparency control is even more sophisticated. In the “Fill > Gradient stops” slider within the “Format Shape” pane, each individual “stop” (represented by a small sliding arrow) has its own transparency setting. This means you can create gradients where one part of the fill is more transparent than another. If you want the entire gradient-filled shape to have a uniform transparency (e.g., 75%), you’ll need to select each gradient stop and set its transparency to 75%. For simpler, uniform transparency, it might be easier to change the fill from gradient to solid first.
The “Picture Correction Options” for Inserted Images (Visio 2010/2013/2019)
While direct “Set Transparent Color” for pictures might be elusive in some Visio versions, particularly Visio 2016, a workaround has been identified for inserted images, leveraging “Picture Correction Options.” This method allows you to adjust the overall transparency of an inserted picture, rather than making a specific color transparent. It’s important to note that this functionality has been observed in various versions, including Visio 2010, 2013, and 2019, but its availability and exact path can sometimes vary by minor updates or specific Office suites.
Here’s the general approach based on user reports and troubleshooting:
- Insert the Picture: First, ensure your picture is inserted directly into your Visio drawing (e.g., via
Insert > Pictures). Some users have noted that if a picture is copied and pasted, or inserted as part of a shape’s fill, these options might be grayed out or unavailable. - Select the Picture: Click on the inserted picture to select it. This should make the “Picture Format” or “Picture Tools Format” tab appear in your Visio ribbon, similar to other Office applications.
- Navigate to Brightness/Correction Options: Look for a “Brightness” or “Corrections” dropdown within the “Picture Format” tab.
- Find Picture Correction Options: At the bottom of this dropdown menu, you should find “Picture Correction Options” or “Image Control Tab.” Click on this.
- Adjust Transparency: This action should open a “Format Picture” pane or a similar dialog box. Within this pane, look for an “Image Control” tab or a section dedicated to “Effects.” Here, you should find a “Transparency” slider or input box.
- Set Transparency Level: Drag the slider or enter a percentage to adjust the picture’s overall transparency. This will make the entire image (including its background) more or less see-through.
Important Considerations:
- Version Dependency: The precise menu names and availability of this feature can be highly dependent on your specific Visio version and Office installation. As seen in the original forum discussion, features can change or disappear between versions (e.g., Visio 2016 vs. 2013).
- Overall Transparency: This method makes the entire picture transparent, not just a specific color. If you need to remove a solid color background (like white from a screenshot) and make only that color transparent, Visio’s built-in tools might be insufficient, potentially requiring external image editing or leveraging techniques from other Office applications (as discussed in the next section).
- Shape Sheet for Advanced Users: For highly advanced users comfortable with Visio’s developer features, directly editing the “Image Properties -> Transparency” in the Shape Sheet of an image can offer programmatic control. This is often done via macros but provides the ultimate customization.
While Visio’s approach to picture transparency might be less direct than some other Office programs, these methods allow designers to achieve crucial visual effects, maintaining the professional appearance and depth required for complex diagrams. Tophinhanhdep.com encourages users to experiment with these options to find the workflow that best suits their Visio version and design needs.
Expanding Transparency Techniques Beyond Visio (Leveraging General Office Tools)
Given the historical limitations or variations in Visio’s direct picture transparency features, many users resort to preparing images in other applications, particularly those within the Microsoft Office suite like PowerPoint, which offer more robust and intuitive tools. Understanding these broader techniques, which align perfectly with Tophinhanhdep.com’s focus on Digital Photography, Editing Styles, and Image Tools, can significantly enhance your workflow even when the final destination is a Visio diagram. You can apply these methods in PowerPoint, save the image (or the relevant slide as an image with a transparent background), and then insert the prepared image into Visio.
Making a Specific Color Transparent with ‘Set Transparent Color’
This is the classic technique often missed in certain Visio versions but readily available in PowerPoint, Word, and Excel. It’s ideal for images with simple, solid-color backgrounds, like clip art or screenshots with a uniform white or colored backdrop.
How it works (in PowerPoint/Word/Excel):
- Insert Image: Place your desired image onto a slide or document.
- Select Image: Click the image to select it, which activates the “Picture Format” tab on the ribbon.
- Access Transparency Tool: In the “Picture Format” tab, look for the “Adjust” group.
- Newer Versions (Office 2021/365): You might find a direct “Transparency” button. Clicking this often reveals preset transparency options and a “Picture Transparency Options” link to open the Format Picture pane with a slider.
- Older Versions (Office 2016-2019): You might need to click “Color” (within the “Adjust” group) and then select “Set Transparent Color” from the dropdown menu.
- Click Desired Color: Your cursor will change to a pen-like icon. Click on the specific color in the image that you want to make transparent (e.g., a white background). All pixels of that exact color will instantly become transparent.
Key Considerations:
- Solid Colors: This tool works best when the background is a single, uniform color with high contrast to the foreground subject.
- Limitations: If the “single” color actually contains subtle variations or gradients (like a photo of green leaves where the greens vary slightly), only the exact color you click will become transparent, leading to an imperfect, patchy result.
- One Color at a Time: You can only make one color transparent at a time. Clicking a different color will undo the previous transparency setting.
- Preparation for Visio: After achieving the desired transparency in PowerPoint, you can right-click the image, select “Save as Picture,” choose a format like PNG (which supports transparency), and then insert this PNG file into your Visio drawing.
Mastering Background Removal for Complex Images
For images with intricate backgrounds, varying colors, or complex subjects that need to be isolated, the “Remove Background” feature in PowerPoint (and other Office apps) is an invaluable tool. This advanced feature uses intelligent algorithms to distinguish between foreground and background, providing a more refined cutout. Tophinhanhdep.com, with its focus on Photo Manipulation and Digital Photography, champions such tools for their ability to transform raw images into design-ready assets.
How it works (in PowerPoint/Word/Excel):
- Insert and Select Image: Insert your image and click on it. The “Picture Format” tab will appear.
- Activate Background Remover: In the “Picture Format” tab, within the “Adjust” group, click “Remove Background.”
- Automatic Detection & Refinement: PowerPoint will attempt to identify the background and highlight areas it plans to remove in magenta.
- Often, the initial guess isn’t perfect. You’ll then see a “Background Removal” tab with tools like “Mark Areas to Keep” and “Mark Areas to Remove.”
- Use “Mark Areas to Keep” (a green plus sign) to draw lines over parts of the image that were incorrectly marked for removal.
- Use “Mark Areas to Remove” (a red minus sign) to draw lines over areas that should be transparent but weren’t initially marked by PowerPoint.
- Zoom in for precision, especially around complex edges like hair or intricate objects.
- Keep Changes: Once satisfied with your selection, click “Keep Changes.” The marked background areas will become transparent.
Key Considerations:
- Precision: This tool requires a steady hand and patience for optimal results, especially with highly detailed images.
- Non-Destructive Editing: You can always re-enter the “Remove Background” mode to refine your selection.
- Resulting File: Similar to “Set Transparent Color,” once the background is removed, save the image as a PNG file to preserve the transparency before inserting it into Visio. This ensures your visually engaging, high-resolution images are perfectly prepared for any diagram.
Granular Control with the Transparency Slider
Beyond making specific colors or entire backgrounds transparent, you often need to adjust the overall opacity of an entire picture. This is where the transparency slider comes in, allowing for fine-tuning that makes images subtle backdrops or softly integrated elements. This is a core feature for any Digital Photography or Graphic Design workflow.
How it works (in PowerPoint/Word/Excel):
- Select Image: Select the image you want to modify.
- Access Transparency Options:
- Direct Transparency Button (Newer Office versions): On the “Picture Format” tab, locate and click the “Transparency” button. This usually presents a gallery of preset transparency levels (0%, 15%, 30%, etc.).
- Picture Transparency Options: To gain more control, select “Picture Transparency Options” from the bottom of the preset gallery, or right-click the image and select “Format Picture.” This will open the “Format Picture” pane.
- Adjust Slider: In the “Format Picture” pane, under the “Picture Transparency” section, you’ll find a slider. Drag this slider to the right to increase transparency (decrease opacity) or to the left to decrease transparency (increase opacity). You can also enter a precise percentage value.
- 0% = Fully opaque (default).
- 100% = Fully transparent.
Key Considerations:
- Overall Effect: This slider applies transparency to the entire image uniformly. If the image already has transparent areas (e.g., from using “Remove Background”), those areas will remain transparent, but the visible parts of the image will also become more see-through.
- Layering and Blending: This is excellent for creating watermark effects, subtle background images, or layering multiple images to create compound designs without obscuring underlying text or graphics.
- Visual Design Integration: For Tophinhanhdep.com users exploring Aesthetic, Abstract, or Nature photography for their visual projects, mastering the transparency slider is crucial for achieving sophisticated, blended effects that enhance rather than distract.
By leveraging these powerful, albeit sometimes externally-applied, transparency techniques, Visio users can overcome the application’s specific quirks and integrate professionally prepared images into their diagrams. The flexibility offered by these tools ensures that your visual content, regardless of its origin, contributes effectively to your overall design objectives, embodying the principles of high-quality Visual Design promoted by Tophinhanhdep.com.
Best Practices for Integrating Transparent Images
Creating transparent images is just one step; effectively integrating them into your designs is where true visual artistry shines. Whether you’re working on a simple diagram or a complex visual narrative, applying best practices ensures your transparent elements enhance your message, rather than detract from it. Tophinhanhdep.com emphasizes these principles in its guidance on Graphic Design, Digital Art, and Creative Ideas.
Selecting and Optimizing Images for Transparency
The foundation of any great visual lies in the quality and suitability of the original image. This is particularly true when applying transparency.
- Start with High-Resolution Images: Low-resolution images can become pixelated or blurry when transparency is applied or when they are resized. Always begin with High-Resolution Photography or Stock Photos to ensure a crisp, clean finish. Tophinhanhdep.com offers a wealth of such resources.
- Choose Images with Simple, High-Contrast Backgrounds: If your goal is to remove a background color using “Set Transparent Color,” opt for images where the subject is clearly delineated from a solid, uniform background. This simplifies the editing process and yields cleaner results.
- Consider Image Relevance: The image you select should always complement and reinforce your message. Even with transparency, an irrelevant image can distract. Tophinhanhdep.com’s Image Inspiration & Collections can help you find thematic collections and Photo Ideas that perfectly match your content.
- Optimize File Formats: When saving images with transparency, always use formats that support it, such as PNG (.png) or GIF (.gif). JPEG (.jpg) does not support transparency and will automatically fill transparent areas with white or black.
Creative Applications for Enhanced Visual Impact
Transparent images open up a world of creative possibilities, transforming ordinary diagrams and presentations into compelling visual experiences. These applications align perfectly with the innovative spirit of Visual Design and Photo Manipulation advocated by Tophinhanhdep.com.
- Enhancing Slides with Transparent Logos and Icons: Incorporate your brand’s logo or relevant icons with a subtle transparency. This provides consistent branding throughout your Visio diagrams or presentations without overpowering the main content. Use a transparency level (e.g., 10-30%) that makes them visible but not distracting, creating a professional watermark effect.
- Creating Overlays and Compound Images:
- Overlays: Layer semi-transparent images on top of other elements to add depth or highlight specific areas. For instance, you could place a transparent colored filter over a section of a floor plan to indicate a zone or overlay a subtle texture to a background.
- Compound Images: Combine multiple transparent images to create a single, cohesive visual narrative. Imagine blending a transparent graph over a background image of a cityscape to represent data in a dynamic way. This form of Digital Art can make complex information more digestible.
- Softening Text Boxes and Callouts: Apply a slight transparency to the fill of text boxes or callouts that overlay images. This allows the background image to show through subtly, integrating the text more organically into the visual without losing readability.
- Aesthetic Backgrounds: Use highly transparent images as background elements in your Visio pages or presentation slides. This can provide aesthetic value (e.g., a blurred nature background from Tophinhanhdep.com) and set a mood without competing with foreground diagrams and text.
- Visualizing Depth with CAD Drawings: As noted in the initial problem statement, transparent images are invaluable for overlaying elements in architectural or engineering diagrams. Making the background of a CAD image transparent allows you to stack different views or components, creating a sense of depth and clearer visualization of complex designs.
By thoughtfully applying transparency, you can elevate your visual communications from merely informative to truly impactful. These techniques, whether performed directly in Visio or prepared in companion Office applications, empower you to create compelling and professional visuals that resonate with your audience, a core tenet of the visual philosophy promoted by Tophinhanhdep.com.
Conclusion: Elevate Your Visuals with Tophinhanhdep.com
Mastering image transparency in Visio, despite its unique interface compared to other Office applications, is a skill that significantly enhances your ability to create professional and visually engaging diagrams. While direct “set transparent color” features for pictures may vary or be absent in some Visio versions, understanding the workarounds—such as leveraging the “Picture Correction Options” for overall transparency or preparing images with transparent backgrounds in tools like PowerPoint before importing—empowers you to overcome these challenges. The consistency in applying transparency to Visio’s native shapes through the “Format Shape” pane also offers precise control over your diagram’s aesthetics.
The power of transparency extends far beyond mere technical adjustment; it’s a fundamental principle of effective visual design. It allows for sophisticated layering, creates depth, ensures seamless integration of diverse visual elements, and ultimately enhances the clarity and impact of your message. From crafting intricate network diagrams to designing compelling architectural layouts, the strategic use of transparent images can transform a functional visual into a truly captivating one.
At Tophinhanhdep.com, we are dedicated to providing you with the knowledge and inspiration to excel in every aspect of visual creation. Our comprehensive platform covers everything from high-resolution Images and breathtaking Photography to advanced Image Tools like AI Upscalers and robust Visual Design principles including Graphic Design and Photo Manipulation. Whether you’re seeking beautiful Wallpapers, exploring Abstract art, or curating Thematic Collections for your Mood Boards, Tophinhanhdep.com is your ultimate resource.
We encourage you to experiment with the techniques discussed in this article, both within Visio and by utilizing the broader capabilities of the Microsoft Office suite, to prepare your images. Unleash your creativity, explore the vast possibilities of transparent images, and let Tophinhanhdep.com be your guide in crafting visuals that not only inform but also inspire and impress. Elevate your visual communication today, and transform your designs into works of digital art that truly stand out.