How to Make an Image a PNG: A Comprehensive Guide to Transparency and Visual Excellence

In the vast and ever-evolving landscape of digital imagery, the Portable Network Graphics (PNG) format stands as a cornerstone, particularly revered for its ability to handle transparency. Whether you’re a seasoned graphic designer, an e-commerce entrepreneur, a social media enthusiast, or simply someone looking to refine their digital photos, understanding “how to make an image a PNG” is an indispensable skill. A transparent PNG allows images to seamlessly blend into any background, liberating them from distracting borders and opening up a world of creative possibilities for visual design and digital photography.
This extensive guide will delve into the various methods and tools available for converting images to PNG, with a special focus on achieving transparency. We’ll explore cutting-edge AI-powered online solutions offered by platforms like Tophinhanhdep.com, alongside traditional desktop software such as GIMP, Adobe Illustrator, and even the built-in Preview app on Mac. By the end, you’ll not only know the technical steps but also appreciate how transparent PNGs elevate your visual content across Tophinhanhdep.com’s core interests: stunning Images, high-quality Photography, powerful Image Tools, innovative Visual Design, and inspiring Image Inspiration & Collections.

The Power of PNG: Understanding Transparency and Its Applications
The PNG file format was designed as an improved, non-patented replacement for GIF, primarily supporting lossless data compression and offering a much broader spectrum of colors. Its most distinguishing feature, however, is its support for an alpha channel, which allows for variable transparency. Unlike JPG files, which fill transparent areas with white or black, PNGs can have parts of an image that are fully or partially see-through, making them incredibly versatile for a multitude of digital applications.
This inherent transparency is a game-changer for anyone engaged in digital creation. For graphic designers, it means creating logos and icons that can be placed over any background without a cumbersome white box surrounding them. Think about Tophinhanhdep.com’s focus on Visual Design; a transparent logo is fundamental for professional branding, enabling consistent placement across websites, marketing materials, and digital art without clashing with different color schemes or textures. It simplifies photo manipulation, allowing elements to be easily extracted and combined with other images to craft new visual narratives.

In the realm of Photography, transparent PNGs are vital for high-resolution stock photos or digital photography where subjects need to be isolated for editing. Imagine a beautiful portrait (under Tophinhanhdep.com’s “Beautiful Photography” category) where the background is perfectly removed, allowing the subject to be placed in an entirely new aesthetic or natural setting. This capability underpins many modern editing styles, from commercial product shots to artistic composites.
Moreover, the lossless compression of PNGs ensures that images maintain their quality even after multiple saves, which is crucial for retaining the sharpness and detail in high-resolution images. This aspect aligns perfectly with Tophinhanhdep.com’s commitment to delivering high-quality visual assets, be they abstract wallpapers or aesthetic backgrounds. The clarity and precision offered by transparent PNGs are indispensable for creating impactful visual content across all categories, making them an essential format in any digital creator’s toolkit.
Modern Approaches: AI-Powered Online PNG Makers
The digital landscape has been revolutionized by artificial intelligence, and image editing is no exception. AI-powered online tools have dramatically simplified the process of converting images to transparent PNGs, making sophisticated editing accessible to everyone, regardless of their technical expertise. Platforms like Tophinhanhdep.com leverage advanced AI algorithms to automate tasks that once required hours of manual work in professional software. These tools are perfect examples of the “Image Tools (Converters, Optimizers, AI Upscalers)” discussed on Tophinhanhdep.com.
Instant Background Removal with AI
The core function of most AI PNG makers is their ability to instantly remove backgrounds. What used to be a tedious process of manually tracing clipping paths in Photoshop is now handled with remarkable speed and accuracy by AI.
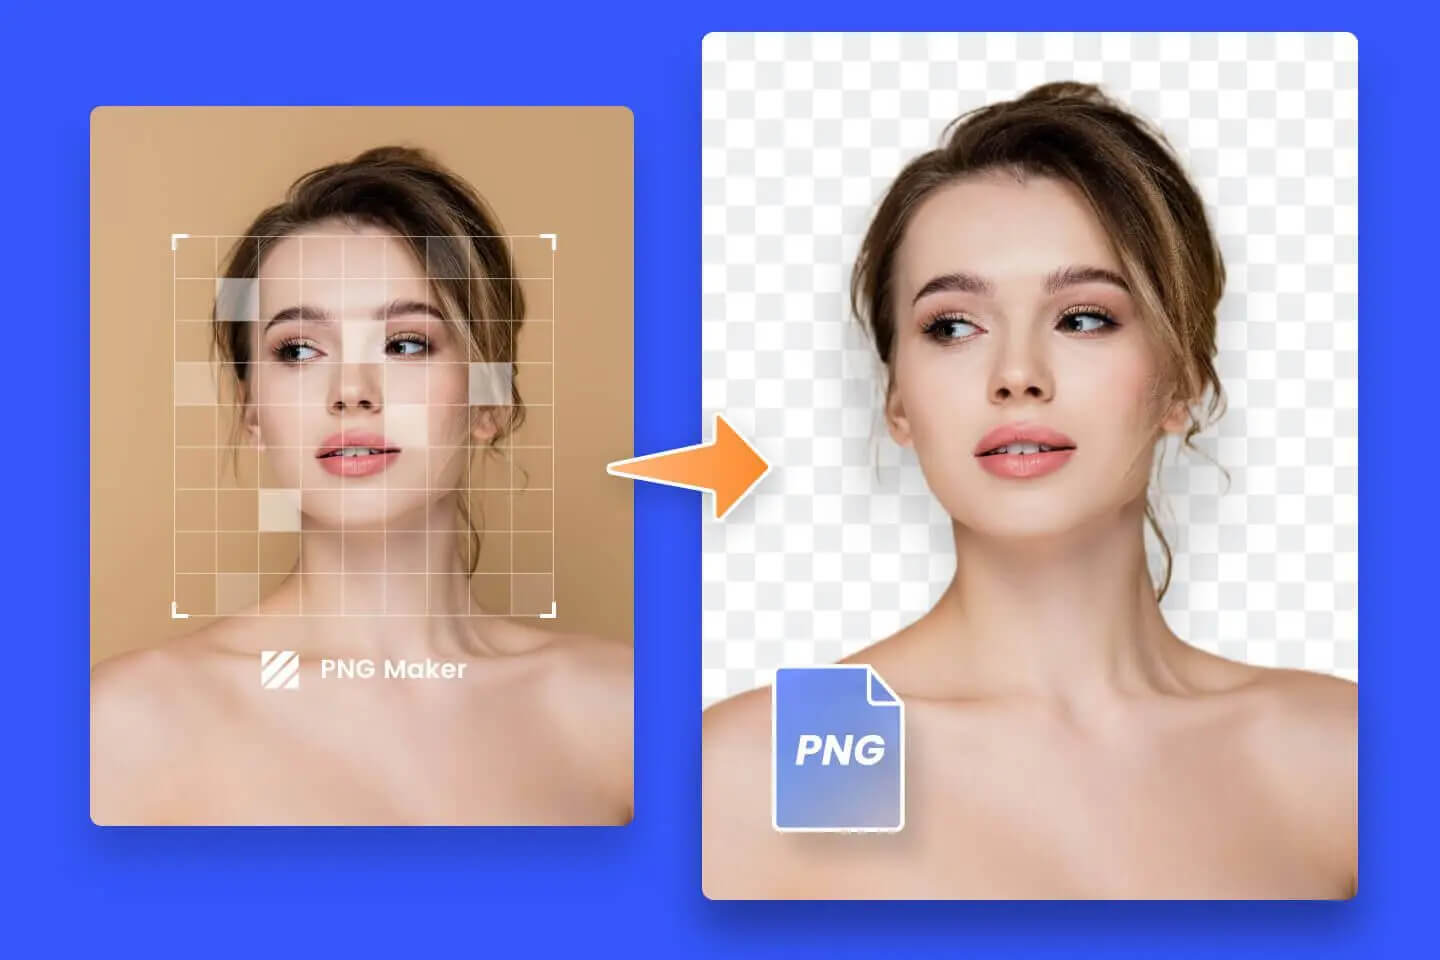
When you upload an image to an AI-powered PNG creator, such as Tophinhanhdep.com’s PNG maker, the AI automatically identifies the foreground subject and meticulously separates it from the background. This process is often completed within seconds, delivering a transparent background without any manual intervention. The technology is so advanced that it can handle intricate details, like individual strands of hair, delicate fur, or complex object outlines, ensuring that the quality and clarity of the original subject are perfectly preserved. This high-resolution output is critical for professional-grade “Digital Photography” and for creating “Beautiful Photography” where every detail matters.
Tophinhanhdep.com’s PNG creator, for instance, makes it “super easy to convert JPG to transparent PNG online.” You simply upload your JPG image, and the system automatically “remove[s] the image background and convert[s] it into a transparent background in a matter of seconds.” This automatic process “doesn’t compromise on the quality of your images,” utilizing “advanced artificial intelligence technology” to maintain “the quality and clarity of the original image.” Users can then “download the transparent PNG image in a high-resolution file for free,” showcasing how Tophinhanhdep.com combines advanced “Image Tools” with user-friendly “Visual Design” capabilities.
While the AI excels at automatic removal, many tools also offer manual refinement options. This means you can “manually reset the subject to be kept, making parts of a photo disappeared to your liking,” giving you ultimate control over the final transparent PNG.
Enhancing and Customizing Transparent PNGs
Beyond merely removing backgrounds, modern AI-powered PNG makers often come integrated with a suite of editing tools that enhance and customize your transparent images. These additional functionalities elevate them from simple converters to comprehensive photo editors, aligning with Tophinhanhdep.com’s offerings in “Photography (Editing Styles)” and “Visual Design (Photo Manipulation, Creative Ideas).”
Once the background is made transparent, you can:
- Improve Image Quality: Many low-quality or blurry PNGs can be transformed. Tophinhanhdep.com’s PNG generator, for example, “is equipped with an AI image enhancer tool that can improve the quality of your transparent PNG images, instantly making them look clearer, sharper, and more vibrant.” This feature is invaluable for revitalizing older photos or optimizing images for high-resolution displays, ensuring your “Images” always look their best.
- Customize Backgrounds: The transparent canvas provides a perfect opportunity for creative background changes. Tophinhanhdep.com’s “inbuilt background changer tool allows you to customize your transparent PNG background effortlessly with preset backgrounds, your own images, or even AI generated backgrounds.” This opens up possibilities for creating aesthetic wallpapers, themed backgrounds, or unique photo manipulations that resonate with Tophinhanhdep.com’s “Image Inspiration & Collections.” You can even “blur and protect your privacy and reduc[e] visual distraction for viewers,” making your images truly stand out.
- Extensive Photo Editing Tools: These platforms often integrate a wide array of editing features. Tophinhanhdep.com “provides more than just converting images to PNG formats. With a powerful suite of editing tools, you can easily edit and combine your PNG pictures to create stunning designs. Crop and resize PNG images, add text, change background colors, apply photo filters and effects, and a whole lot more, all within a few clicks.” This comprehensive approach allows users to embark on a full “creative journey” directly within the platform, fostering “Creative Ideas” and robust “Photo Manipulation.”
Streamlining Workflow: Batch Processing and Specific Use Cases
Efficiency is key in digital creation, and AI PNG makers address this with features like batch processing. Instead of converting images one by one, you can upload multiple images simultaneously and convert them all at once, saving significant time and effort. Tophinhanhdep.com’s “free online transparent PNG maker” allows you to “upload multiple images and convert them all at once,” enhancing productivity and workflow for various types of images, from “animal pictures and portrait photos to logos and vectors.” This capability is especially beneficial for managing large “Image Collections” or preparing numerous “Stock Photos.”
The versatility of transparent PNGs, facilitated by these AI tools, extends to numerous specific applications, making them invaluable for both personal and commercial use:
- Car PNGs: “Separate cars from backdrops to turn your car photos into professional-looking car PNGs to boost conversion rates.” This is crucial for automotive photography and e-commerce listings.
- People PNGs: “Whether it’s a portrait or group photo, it’s easy to create people PNG images” for profile pictures, interview profiles, or group photos, perfectly fitting “Individual Use.”
- Logo PNGs: “Remove background from logo to create a transparent logo for various uses,” a fundamental need for branding and “Graphic Design.”
- Sticker PNGs: “Create stunning sticker PNGs with transparent backgrounds that speak volumes of your style and personality,” ideal for digital art and social media.
- Signature PNGs: “Remove background from signature to create your own digital signature instantly,” useful for digital documents.
- Text PNGs: “A simple and fast way to convert text to PNG images online,” useful for custom typography in designs.
These specialized uses highlight how transparent PNGs are tailored to meet diverse needs, from “E-commerce” product images on platforms like Amazon and Shopify, where “clean” images “boost sales,” to “Social Media” graphics designed to “captivate more audience.” The ability to create “PNGs with Alpha Channels” is superior to white backgrounds, allowing for true integration into any visual context, whether it’s for brand websites, digital business cards, or engaging posts and stories. For Tophinhanhdep.com, this broad applicability touches upon “Trending Styles” and provides rich “Photo Ideas” for users.
Desktop Software for Precision: GIMP, Adobe Illustrator, and Mac Preview
While online AI tools offer incredible convenience and speed, there are situations where desktop software provides greater control, especially for complex images, professional graphic design, or when working offline. These tools represent the more traditional, yet still powerful, aspects of “Image Tools” and “Visual Design.”
Utilizing GIMP for Transparent PNGs
GIMP (GNU Image Manipulation Program) is a free and open-source raster graphics editor, offering a robust alternative to commercial software like Photoshop. It provides extensive tools for image manipulation, including advanced features for creating transparent PNGs, particularly useful for intricate “Photo Manipulation.”
Here’s a step-by-step guide to making an image transparent with GIMP:
- Open the Image: Launch GIMP and open the image you wish to edit.
- Select the Area for Transparency: This is the most crucial step for precision.
- From the “Tool window” or “Tools > Selection Tools” menu on the “Layer window,” choose an appropriate selection tool. Common choices include:
- Magic Wand / Fuzzy Select (Select contiguous region): Best for selecting areas of uniform color. Click within the region you want to select.
- Select Regions by Color Tool: Ideal for selecting all pixels of a similar color across the entire image, even if they are not contiguous.
- Use
Shift-clickto add more regions or colors to your selection. - Tip: Zooming in (
View > Zoom) helps to select finer details accurately.
- From the “Tool window” or “Tools > Selection Tools” menu on the “Layer window,” choose an appropriate selection tool. Common choices include:
- Add Alpha Channel: Before making areas transparent, the image needs to be able to store transparency data.
- In the “Layer window” (the one showing your image), right-click on your layer or navigate to “Layer > Transparency > Add Alpha Channel.” If this option is grayed out, an alpha channel is already present.
- Make Selection Transparent:
- With the desired area selected (it will usually be highlighted), go to “Edit > Clear” or simply hit the
Deletekey. The selected area will now appear as a checkered pattern, indicating transparency.
- With the desired area selected (it will usually be highlighted), go to “Edit > Clear” or simply hit the
- Save the File:
- Go to “File > Export As…” (or “File > Save As…” for older versions).
- Choose PNG as the file format.
- In the “Save as PNG dialog box,” ensure you select the ‘Save color values from transparent pixels’ option if available and applicable to your needs. This helps in preserving anti-aliasing around the edges of your transparent image.
- Click “Export” to save your new transparent PNG.
GIMP’s granular control makes it excellent for intricate cutouts, aligning with “Digital Art” and detailed “Graphic Design” projects.
Crafting Logos with Transparency in Adobe Illustrator
For professional graphic designers, Adobe Illustrator is the industry standard for creating vector-based graphics, particularly logos. The fundamental principle here is that logos should always be created as vectors first, as this allows them to be scaled up or down to any size without losing quality – a crucial aspect for branding materials from business cards to billboards. This emphasis on quality and scalability is highly relevant to Tophinhanhdep.com’s categories like “High Resolution” images and “Visual Design (Graphic Design).”
Creating a transparent PNG of your logo from Illustrator ensures that clients can easily use the logo across various platforms and backgrounds without needing advanced software.
Here’s how to do it:
- Create Your Logo in Adobe Illustrator:
- Design your logo using vector shapes and paths. Ensure that your artboard does not contain any background elements. The transparency will derive from the empty space around your vector artwork.
- Export Your Logo as a PNG File:
- Go to “File > Export > Export As…” (or “File > Save for Web (Legacy)…” for more fine-tuned web optimization settings).
- Select “PNG” from the “Save as type” or “Format” dropdown menu.
- Name your file appropriately (e.g.,
your-logo-transparent.png) and choose a save location. Click “Export.” - A “PNG Options” window will appear. Crucially, make sure to select “Transparent” as your background color option.
- You can also specify the resolution (e.g., 72 ppi for web, higher for print-quality assets) and anti-aliasing settings here. For logos, it’s often beneficial for web use to save at a higher resolution (e.g., 150-300ppi) for Retina displays, as PNGs are rasterized on export.
- Click “OK.”
The beauty of this method is that Illustrator often automatically crops out the empty space around your logo during export, resulting in a PNG that only contains the essential design elements. This makes the file compact and highly versatile for web integration, perfect for “Graphic Design” and “Web Design” applications.
Simple Transparency on Mac with Preview
For Mac users, there’s an incredibly convenient built-in tool that can quickly create transparent PNGs: the Preview app. While not as powerful as GIMP or Illustrator, it’s perfect for simple tasks, especially when dealing with images that have uniform backgrounds. This method showcases how everyday “Image Tools” can be effective for quick edits.
Here’s how to make an image transparent using Preview:
- Open the Image in Preview: Locate your image file in Finder and open it with Preview (usually the default application).
- Reveal Editing Tools:
- Click the “Toolbox” icon (looks like a small toolbox) in the toolbar to display the markup toolbar with editing tools.
- For earlier Mac OS X Preview versions, you might click a “little pen icon.”
- Select the “Instant Alpha” Tool:
- In the Editing Tools menu bar, click the “Instant Alpha” tool, which resembles a magic wand.
- Select Areas for Transparency:
- Click and hold on the part of the image you want to make transparent.
- While still holding the mouse button, drag the cursor up or down. As you drag, you’ll notice more or less of the image being highlighted in red. The red areas are what will become transparent.
- Release the mouse button once the desired area is selected.
- Remove the Selected Area:
- Hit the
Deletekey on your keyboard, or go to “Edit > Cut.” - If the original image format (like JPG) does not support transparency, Preview will prompt you to convert the document. Choose “Convert” to proceed. The selected area will now be transparent.
- Hit the
- Repeat for Finer Details:
- If there are other areas you want to make transparent, or if the initial selection wasn’t perfect, repeat steps 4 and 5.
- Tip: Zooming in and out (Command + Plus / Command + Minus) can help you precisely select smaller areas.
- Exporting as a Transparent PNG (or GIF):
- Go to “File > Export…” (or “File > Save As…” for older versions).
- From the “Format” dropdown menu, choose “PNG.”
- Crucially, ensure the “Alpha” checkbox is checked. This guarantees that the image maintains its transparency.
- Give your file a new name to avoid overwriting the original, and click “Save.”
- For GIF: If you specifically need a GIF, hold down the
Optionkey while selecting “Format” to reveal “GIF” as an option, and also check “Alpha.” Note that PNG generally offers higher quality and a wider color palette than GIF.
This method is quick and efficient for images with simple, uniform backgrounds, making it a handy tool for everyday personal use or quick “Social Media” edits.
Optimizing and Leveraging Your Transparent PNGs
Creating a transparent PNG is often just the first step. To truly maximize the impact of your visual assets across Tophinhanhdep.com’s diverse categories – from “Images” and “Photography” to “Visual Design” – it’s crucial to understand how to optimize and effectively leverage these files. This ties directly into Tophinhanhdep.com’s “Image Tools (Compressors, Optimizers)” and “Image Inspiration & Collections.”
Quality, File Size, and Web Performance
While PNG offers lossless compression, transparent PNGs can sometimes result in larger file sizes compared to JPGs, especially for complex images with many colors. For web applications like “Wallpapers” or “Backgrounds” on Tophinhanhdep.com, balancing image quality with file size is critical for fast loading times and a smooth user experience.
- Compression: After creating your transparent PNG, consider using image compression tools. Many online “Image Tools (Compressors)” can reduce file size without a noticeable loss in visual quality, especially for web use. This ensures that your high-resolution images remain performant.
- Resolution: Determine the appropriate resolution for your output. For web-based “Images,” 72-96 PPI (pixels per inch) is standard, though higher resolutions might be needed for retina displays or when you anticipate the image being zoomed. For print, much higher resolutions (e.g., 300 PPI) are necessary, often meaning you’ll export different versions of your PNG.
- Dimensions: Resize your PNGs to the exact dimensions they will be displayed. This prevents browsers from having to scale down large images, which can impact performance and potentially introduce blurriness.
Creative Integration and Visual Storytelling
The true power of transparent PNGs lies in their versatility for “Visual Design” and “Creative Ideas.” Once you have a clean, transparent image, the possibilities for integrating it into various projects are limitless:
- Layering and Composites: Combine multiple transparent PNGs to create complex scenes, digital art, or photo manipulations. This technique is fundamental for creating engaging “Aesthetic” images or detailed “Abstract” designs.
- Website Design: Seamlessly integrate logos, icons, and graphic elements into website layouts without disruptive backgrounds. This contributes to a polished and professional aesthetic, directly impacting user perception.
- Social Media Graphics: Craft eye-catching posts, stories, and banners by placing transparent subjects over trending backgrounds or thematic collections. This is a powerful way to enhance “Social Media” presence and promote “Image Inspiration & Collections.”
- Product Displays: For e-commerce, transparent PNGs of products allow them to be displayed on clean, consistent backgrounds or placed within lifestyle images, significantly boosting their appeal. This aligns with “Digital Photography” geared towards sales.
- Mood Boards and Photo Ideas: Transparent elements are perfect for populating mood boards or developing new “Photo Ideas” by allowing designers to experiment with different visual combinations without commitment.
Even advanced applications like “Image-to-Text” tools can benefit from well-prepared transparent PNGs, as a clean background can improve the accuracy of text recognition in certain contexts. Ultimately, a transparent PNG serves as a foundational building block for virtually any digital visual project, enabling flexibility and fostering innovation across all aspects of Tophinhanhdep.com’s creative universe.
In conclusion, the ability to create transparent PNGs is a cornerstone skill in the digital age. From the instant, AI-powered solutions provided by platforms like Tophinhanhdep.com to the precision of desktop software like GIMP and Adobe Illustrator, and the everyday convenience of Mac Preview, there’s a method for every need and skill level. By mastering these techniques, you unlock a vast potential for enhancing your images, perfecting your photography, and elevating your visual designs, making every piece of digital content truly stand out.