How to Make an Image Smaller File Size: The Ultimate Guide to Optimization

In today’s visually driven digital landscape, images are paramount. From breathtaking wallpapers and evocative backgrounds to professional stock photos and intricate digital art, high-quality visuals enrich our online experience. However, the pursuit of stunning imagery often comes with a significant challenge: large file sizes. Whether you’re a professional photographer showcasing high-resolution work, a graphic designer crafting a new aesthetic, or simply sharing beautiful photography with friends, understanding how to make an image smaller file size is a fundamental skill.
At Tophinhanhdep.com, we specialize in providing not just a vast collection of images spanning nature, abstract art, and emotional themes, but also the essential tools and knowledge to manage them effectively. Our platform is dedicated to enhancing your visual journey, offering image converters, compressors, optimizers, and even AI upscalers to ensure your images are perfect for any purpose. This comprehensive guide will delve into the critical reasons for image optimization, explore various techniques, and equip you with the expertise to achieve that ideal balance between pristine visual quality and efficient file size.
Understanding Image File Size: The Foundation of Optimization
Before we dive into the “how-to,” it’s crucial to grasp the “why” and “what” behind image file sizes. Every digital image is a collection of data, and the amount of this data determines its file size. The larger the file, the more storage space it consumes, the longer it takes to upload and download, and the more bandwidth it requires. For Tophinhanhdep.com users, this impacts everything from the speed at which your favorite wallpapers load to the efficiency of sharing your latest digital photography portfolio.
Images are typically stored in various formats, each with its own compression methods. The most common formats you’ll encounter are JPEG (or JPG) and PNG, alongside newer contenders like WebP. Understanding these formats is the first step toward effective optimization.
The Core of Compression: How It Works
Image compression is essentially the process of reducing the amount of data in an image file. There are two primary types of compression:

- Lossy Compression: This method achieves smaller file sizes by permanently discarding some of the image data. While this leads to significant reductions, it can also result in a loss of quality, especially if over-applied. JPEG is a prime example of a lossy format. It intelligently identifies and removes redundant or less perceptible visual information. For instance, in a vast blue sky, many pixels might be very similar; lossy compression might average these out. Tools like the compressors on Tophinhanhdep.com or dedicated online utilities often use lossy compression techniques, allowing you to choose a quality level that balances file size with visual fidelity. For “Nature” photography or “Abstract” art where smooth gradients are critical, a careful balance is key.
- Lossless Compression: This method reduces file size without discarding any data. The original image can be perfectly reconstructed from the compressed data. PNG is a popular lossless format, ideal for images with sharp lines, text, or transparent backgrounds, often seen in “Graphic Design” and “Digital Art.” While it offers perfect quality retention, lossless files are generally larger than their lossy counterparts.
The choice between lossy and lossless depends entirely on your specific needs and the type of image. For general “Wallpapers” and “Backgrounds,” where photographic realism is desired and slight imperfections are tolerable, JPEG (lossy) is often preferred. For logos, icons, or “Visual Design” elements that demand crisp edges and transparency, PNG (lossless) is usually better.
Why Reduce Image File Size? The Benefits for Tophinhanhdep.com Users
The benefits of reducing image file sizes extend far beyond saving disk space. For the diverse community of photographers, designers, and enthusiasts using Tophinhanhdep.com, optimized images unlock a world of possibilities:
- Faster Website Loading Speeds: This is perhaps the most significant advantage for anyone sharing images online, from displaying “High Resolution” stock photos to showcasing a “Thematic Collection.” Slower loading times frustrate users, leading to higher bounce rates and a poor user experience. Search engines also penalize slow websites, impacting visibility for your “Digital Photography” portfolio or “Image Inspiration” mood boards.
- Improved SEO (Search Engine Optimization): Search engines favor fast-loading websites. By optimizing your images, you contribute to better overall site performance, which can lead to higher rankings in search results. This means more people will discover your “Beautiful Photography” or “Creative Ideas.”
- Reduced Bandwidth Usage: For website owners and those sharing images frequently, excessive bandwidth consumption can be costly. Smaller image files mean less data transfer, saving money and server resources.
- Enhanced User Experience: Visitors to Tophinhanhdep.com expect a seamless experience, whether they are browsing “Aesthetic” images or downloading “Wallpapers.” Quick-loading, high-quality images contribute to a positive and engaging user journey.
- Efficient Storage and Sharing: Storing hundreds or thousands of “High Resolution” images, whether for a “Mood Board” or a personal archive, can quickly consume valuable storage. Smaller files are easier to manage, back up, and share via email or messaging apps, making collaborative “Visual Design” projects much smoother.
- Better Performance on Mobile Devices: A significant portion of internet traffic comes from mobile devices. Optimized images ensure that your content is accessible and performs well on smartphones and tablets, catering to a wider audience.
- Streamlined Digital Art and Graphic Design Workflows: For professionals working with numerous image assets, smaller file sizes mean faster rendering, smoother manipulation within software, and quicker exports for “Photo Manipulation” or “Digital Art” projects.
Understanding these reasons highlights why Tophinhanhdep.com places such importance on image optimization, providing tools and resources to help you achieve these benefits effortlessly.
Essential Steps to Reduce Picture File Size Effectively
Achieving the perfect balance between file size and image quality often involves a combination of techniques. The good news is that many of these methods are straightforward and can be implemented quickly, often taking just a few minutes per image or even less with batch processing.
Leveraging Online Image Compressors and Optimizers
One of the easiest and most accessible ways to reduce image file size is through online tools. Tophinhanhdep.com offers a suite of such “Image Tools,” including advanced compressors and optimizers, designed for simplicity and efficiency.
Here’s a general approach, mirroring popular methods for rapid optimization:
- Backup Your Original: Always start by making a backup copy of your original image. When reducing file size, especially with lossy compression, there’s a risk of reducing image quality. Having a backup ensures you can always revert if you’re not satisfied with the result. This is crucial for precious “Beautiful Photography” or critical “Digital Art” pieces.
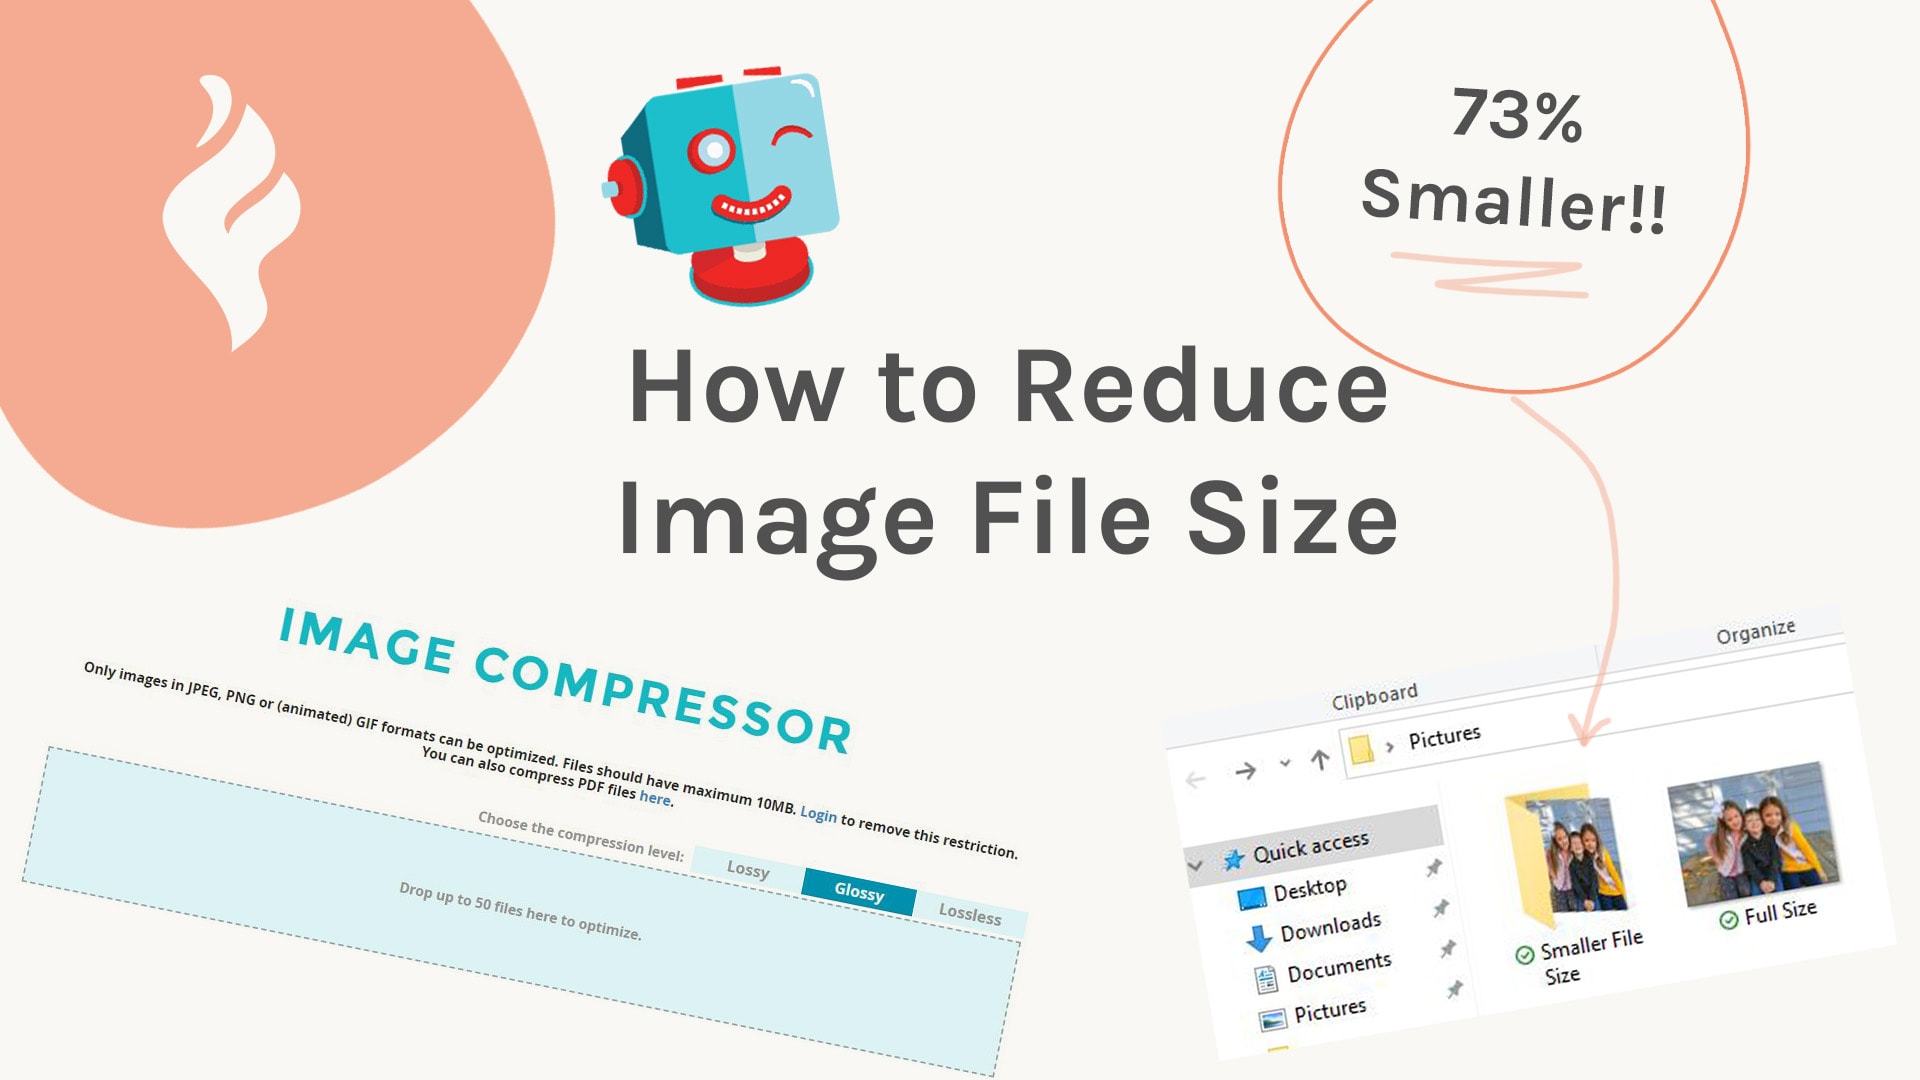
- Choose Your Compression Setting: Navigate to Tophinhanhdep.com’s free online image compressor. You’ll often find different compression levels, such as “Glossy,” “Lossy,” and “Lossless.”
- “Glossy” (or similar balanced settings): Many tools offer a setting designed to provide an excellent ratio of file size reduction to visual quality for most JPEG images. This is typically a form of intelligent lossy compression that aims for the sweet spot, often reducing files by 40-80% without noticeable degradation for the average viewer. This is ideal for “Wallpapers” and general “Backgrounds” where a good visual impact is needed without excessively large files.
- “Lossy”: Offers the maximum reduction in file size but with a greater potential for quality loss. Use this for images where file size is paramount and slight quality compromises are acceptable, perhaps for web previews or very small thumbnails.
- “Lossless”: As discussed, this retains 100% of the image data, resulting in larger files but no quality degradation. Best for images requiring absolute fidelity, like intricate “Graphic Design” elements or images with sharp text.
- Make sure to select your desired compression level before uploading your photo.
- Upload Your Images: Drag and drop your photo(s) into the designated upload area, or select them from your computer. Tophinhanhdep.com’s tools are designed to handle single images or even multiple images in bulk, accommodating various file sizes per photo. This batch processing capability is a lifesaver for managing “Stock Photos” or entire “Image Collections.”
- Download Your Compressed Picture: Once the compression is complete, you can download your optimized images. In many cases, you’ll see a significant reduction in file size. For example, a 2.1MB image might be compressed down to 0.6MB, representing a savings of 73% while retaining excellent visual quality.
- Organize (Optional): To keep your files organized, you might move the downloaded, compressed picture into its original folder and rename it (e.g., adding “_optimized” to the filename) so you know which version is which.
This simple process, facilitated by Tophinhanhdep.com’s user-friendly interface, allows you to reduce file sizes efficiently, even without altering the pixel dimensions of your images.
The Power of Pixel Dimensions: Resizing Images Strategically
While compression is powerful, the most significant impact on file size often comes from adjusting an image’s pixel dimensions (width and height). A high-resolution image might have dimensions suitable for printing a large poster, but it’s completely overkill for a website banner or a social media post.
Consider this crucial best practice: it is always better to export images at the precise dimensions they will actually be needed for display, rather than uploading a larger image and relying on the platform (like a CMS) to resize it.
- Why does this matter? When you upload an oversized image, even if the website displays it smaller, the entire large file still needs to be downloaded by the user’s browser. This negates many of the benefits of file compression. For “High Resolution” images, especially for “Wallpapers” or detailed “Nature” photography, providing the exact display size is paramount.
- How to do it: Most image editing software (discussed in the next section) and even many online tools allow you to resize images. When exporting or saving, look for options to set specific width and height in pixels, or to scale by a percentage. For example, if your website displays an image at a maximum width of 1200 pixels, there’s no need to upload an image that’s 4000 pixels wide.
This strategic resizing is critical for “Digital Photography” portfolios and “Image Collections” meant for web display. Tophinhanhdep.com encourages users to consider their final output dimensions as a primary optimization step.
Choosing the Right Format: JPEG, PNG, and WebP for Different Needs
The file format you choose has a direct impact on file size and quality.
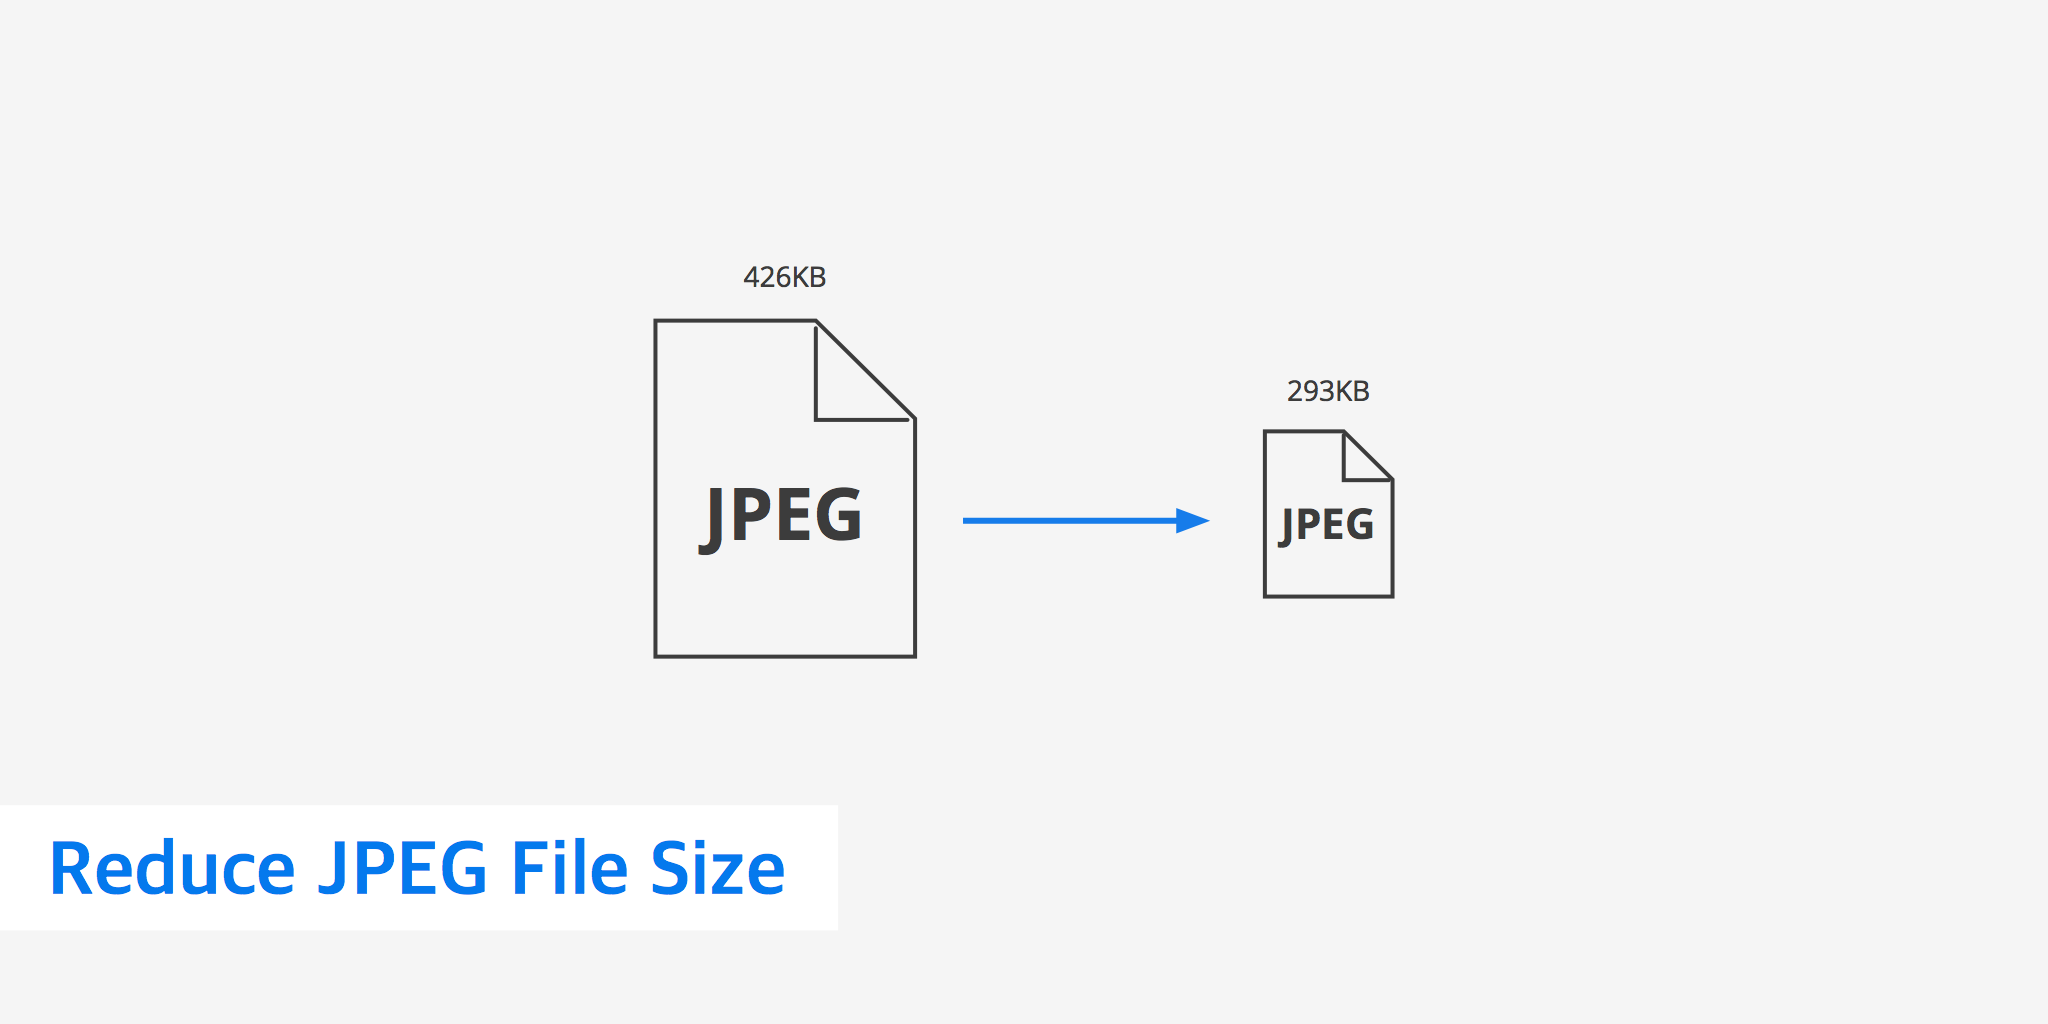
- JPEG (Joint Photographic Experts Group): Best for photographs and images with continuous tones and many colors, such as “Beautiful Photography,” “Nature” scenes, or complex “Abstract” art. Its lossy compression excels at reducing photographic file sizes significantly.
- PNG (Portable Network Graphics): Ideal for images requiring transparency, sharp lines, or text, common in “Graphic Design” or “Digital Art” where transparency is needed (e.g., logos, icons). As a lossless format, it ensures perfect quality but results in larger files than JPEGs for photos.
- WebP: A newer format developed by Google, WebP supports both lossy and lossless compression and offers superior compression to JPEG and PNG, often reducing file sizes by an additional 25-34% compared to JPEGs and PNGs, respectively, while maintaining similar quality. It’s gaining widespread browser support and is an excellent choice for web-based “Image Inspiration” and “Mood Boards” where speed is critical. Tophinhanhdep.com’s “Converters” can help you transition to WebP to maximize performance.
By selecting the appropriate format for each image, you lay a strong foundation for optimal file size without unnecessary compromises.
Advanced Techniques and Software for Image File Reduction
Beyond simple online compressors, a range of desktop software and specialized tools offer more granular control over image optimization, catering to the needs of professional photographers, graphic designers, and serious enthusiasts. Tophinhanhdep.com recognizes the importance of these tools in crafting “High Resolution” images and complex “Visual Design” projects.
Desktop Image Editing Software
Professional-grade software provides the most comprehensive control over image compression and resizing. Many of these tools allow you to manipulate every aspect of an image, crucial for “Photo Manipulation” and creating unique “Creative Ideas.”
- Adobe Photoshop and Lightroom: These industry-standard tools are indispensable for photographers and graphic designers.
- Photoshop: Offers robust “Save for Web (Legacy)” or “Export As” options. Here, you can preview different compression levels for JPEG, PNG, and GIF formats, adjust quality sliders, specify pixel dimensions, and even remove metadata. This fine-tuning is essential for maintaining the integrity of “Aesthetic” or “Sad/Emotional” photography while optimizing for web or print. For large operations, tools like Adobe Bridge (for batch processing) can automate the optimization of many images at once.
- Lightroom: Primarily a photo management and editing tool, Lightroom’s export settings allow you to define image quality (for JPEG), resize to fit specific dimensions (long edge, short edge, total pixels), and set resolution (PPI). This is particularly useful for exporting “Digital Photography” collections in various sizes for online galleries, print, or client review.
- GIMP (GNU Image Manipulation Program): A free and open-source alternative to Photoshop, GIMP runs on most operating systems (Windows, macOS, Linux). It provides similar functionality for choosing compression settings (e.g., JPEG quality sliders) when exporting or saving images, making it accessible for anyone interested in “Digital Art” without a subscription fee.
- Affinity Photo: Another powerful, one-time purchase alternative to Photoshop, offering professional-grade editing and robust export options for optimization.
When using these tools, the key is to experiment with quality settings and pixel dimensions. The goal is to find the lowest possible file size where the reduction in quality is imperceptible to the human eye for its intended use.
Platform-Specific Compression on macOS and Windows
Both macOS and Windows operating systems offer built-in functionalities to compress files, including images, without needing third-party software for basic tasks.
- macOS (Using Preview and Photos):
- Preview: This default image viewer on Mac is surprisingly capable. You can open an image, go to
File > Export, and then select JPEG as the format. A “Quality” slider will appear, allowing you to visually adjust compression and see the estimated file size. For basic resizing, go toTools > Adjust Sizeto change pixel dimensions and resolution. This is handy for quickly optimizing “Wallpapers” or images for personal use. - Photos App: Similar to Preview, you can select photos in the Photos app and use the
File > Exportoption. This often presents choices for “JPEG Quality” and “Size,” allowing you to export images at desired pixel dimensions and compression levels. It might take a bit of experimentation to find the perfect balance. - Compress to Archive: For any file or folder (including image collections), you can right-click (or Control-click) in Finder and select “Compress.” This creates a .zip archive, which reduces the file size losslessly and is useful for sharing multiple files together.
- Preview: This default image viewer on Mac is surprisingly capable. You can open an image, go to
- Windows (Using Paint and Office Apps):
- Paint (or Paint 3D): While basic, the built-in Paint application can resize images. Open an image, click “Resize,” and specify dimensions by pixels or percentage. When saving as a JPEG, you’ll be prompted to choose a quality level, which affects file size.
- Microsoft Office Applications (Word, PowerPoint, Excel): If your images are embedded in documents or presentations, Office applications have a “Compress Pictures” feature.
- Select the picture(s) you want to compress.
- Under “Picture Tools,” on the “Format” tab, in the “Adjust” group, select “Compress Pictures.” (You might need to double-click the picture to make the tab appear).
- You can choose to apply compression only to the selected picture(s) or all pictures in the document.
- Under “Resolution,” select a desired resolution (e.g., “Web (150 ppi)” for screen display, or “Email (96 ppi)” for smallest size).
- Optionally, if you’ve cropped images, check “Delete cropped areas of pictures” for further savings. This is particularly useful for reducing the file size of presentations filled with “Stock Photos” or “Graphic Design” elements without manually editing each image.
Batch Processing and Workflow Integration
For users dealing with a large volume of images, such as photographers managing “High Resolution” event photos or content creators curating “Thematic Collections,” batch processing is indispensable.
- Tophinhanhdep.com’s Bulk Optimizers: Our platform offers tools that allow you to upload and compress multiple images simultaneously, applying consistent optimization settings across an entire folder. This streamlines the workflow for updating “Image Collections” or preparing “Mood Boards.”
- ImageMagick: This is a command-line utility that can convert, resize, animate, and transform images. While it requires a comfort level with the command line, it’s incredibly powerful for automating complex image processing tasks on servers or for large batch operations, working across Linux, macOS, and Windows. This is a tool often preferred by developers for optimizing images on a large scale for websites featuring “Trending Styles” or vast “Image Inspiration” libraries.
- Dedicated WordPress Plugins: For those using WordPress to showcase “Digital Photography” or “Wallpapers,” plugins specifically designed for image optimization can automatically compress images upon upload and even bulk optimize existing media. Tophinhanhdep.com can offer recommendations or integrated solutions for such needs.
Deleting Picture Editing Data and Metadata
Another often-overlooked aspect of file size is the embedded data within an image.
- EXIF Data (Exchangeable Image File Format): Digital cameras and smartphones embed extensive metadata into images, including camera model, lens used, exposure settings, date and time, and even GPS location. While useful for organizing “Digital Photography,” this data can add several kilobytes to each file. For public-facing images or when sharing “Stock Photos,” removing EXIF data can slightly reduce file size and protect privacy. Many online optimizers and desktop software (like Photoshop’s “Save for Web”) offer options to strip this data.
- Editing Data: When you edit an image in software like Photoshop, the program often saves a history of edits within the file, allowing you to undo changes. While convenient, this editing data also increases file size. Some applications (like Microsoft Office) allow you to “Discard editing data” to reduce the file size, though this means you won’t be able to easily revert previous changes without re-inserting the original image.
Considering these finer points of image data management can contribute to a more thoroughly optimized file, particularly when dealing with large volumes of “High Resolution” images.
Best Practices for Optimized Images on Tophinhanhdep.com
At Tophinhanhdep.com, our mission is to empower you to create, share, and enjoy stunning visuals. Implementing image optimization techniques is not just a technical task; it’s a creative choice that enhances the impact of your “Images,” “Photography,” and “Visual Design” efforts.
Maintaining Visual Quality for Wallpapers and Aesthetic Imagery
While reducing file size is important, it should never come at the expense of the visual impact. For “Wallpapers,” “Backgrounds,” “Aesthetic” images, or any form of “Beautiful Photography,” quality is paramount.
- Find the “Sweet Spot”: The goal is to find the perfect file size and quality ratio. This often means using the highest possible compression that doesn’t introduce perceptible artifacts or degradation. Tophinhanhdep.com’s “Glossy” settings on our compressors are designed to help you achieve this balance.
- Visual Inspection: After compression, always visually inspect your image at its intended display size. Zoom in to check for artifacts, banding, or blurriness, especially in areas with fine details or smooth gradients (common in “Nature” scenes or “Abstract” art).
- Context Matters: A slight reduction in quality might be acceptable for a small thumbnail but entirely unsuitable for a full-screen “High Resolution” wallpaper. Always consider the viewing context.
SEO and Web Performance for Photography Portfolios and Collections
For photographers and artists showcasing their work, optimized images are a direct path to greater visibility and engagement.
- Faster Loading Galleries: If your “Digital Photography” portfolio or “Image Collections” load slowly, potential clients or viewers might leave before seeing your best work. Optimized images ensure your “Mood Boards” and “Thematic Collections” are presented quickly and professionally.
- Higher Search Rankings: Search engines consider page speed a ranking factor. By optimizing images, your pages load faster, improving your SEO and making it easier for people to discover your “Creative Ideas” and “Trending Styles.”
- Descriptive Filenames and Alt Text: Beyond file size, use descriptive filenames (e.g.,
golden-hour-nature-photography.jpginstead ofIMG_1234.jpg) and relevant alt text. This helps search engines understand your image content, crucial for images on Tophinhanhdep.com that fall into categories like “Sad/Emotional” or “Beautiful Photography.”
Integrating Tophinhanhdep.com’s Image Tools
Tophinhanhdep.com is your one-stop hub for image excellence. We provide a robust ecosystem of tools designed to help you with every aspect of image management and optimization:
- Image Converters: Easily switch between formats like JPEG, PNG, and WebP to suit different needs and platforms.
- Image Compressors: Rapidly reduce file sizes with intelligent lossy and lossless options, ensuring your “Wallpapers” and “Backgrounds” load quickly without sacrificing quality.
- Image Optimizers: Fine-tune images for web performance, ensuring that your “High Resolution” “Stock Photos” are both stunning and efficient.
- AI Upscalers: Need to increase the resolution of a beloved image without pixelation? Our AI upscalers can enhance images, making them suitable for larger displays or print, providing new life to older “Digital Photography.”
- Image-to-Text: Extract text from images, a versatile tool for various “Visual Design” and organizational tasks.
By integrating these tools into your workflow, you can confidently manage your image assets, ensuring they are always perfectly optimized for their intended purpose, whether for professional “Graphic Design” projects or simply sharing a moment of “Image Inspiration.”
Conclusion
The journey of creating, curating, and sharing digital images is filled with opportunities for visual expression. From the sweeping landscapes of “Nature” photography to the intricate patterns of “Abstract” art, images captivate and communicate. However, the technical challenge of managing image file sizes is ever-present.
Understanding how to make an image smaller file size is not just a technicality; it’s a vital skill that enhances web performance, improves user experience, optimizes storage, and streamlines creative workflows. By adopting the techniques outlined in this guide – from leveraging online compressors and strategically resizing images to choosing the right formats and utilizing professional software – you can achieve an optimal balance between visual quality and file efficiency.
Tophinhanhdep.com is committed to being your ultimate resource in this endeavor. With our comprehensive collection of “Images,” dedicated “Photography” resources, powerful “Image Tools” like converters, compressors, and AI upscalers, and a wealth of “Visual Design” and “Image Inspiration” content, we empower you to elevate your visual journey. Embrace these optimization strategies, and let your “Beautiful Photography” and “Creative Ideas” shine brightly, efficiently, and effectively for all to see.