The Ultimate Guide to Crafting Edible Images with Tophinhanhdep.com

Edible images have revolutionized the world of cake decorating, transforming ordinary desserts into personalized masterpieces. Whether for a birthday, anniversary, corporate event, or just a creative whim, these custom edible toppers provide an effortless way to add intricate designs, vibrant photographs, and unique flair to any baked creation. If you’re passionate about baking and visual design, understanding how to create and apply edible images is a game-changer. This comprehensive guide, drawing on expertise from various sources, will walk you through everything you need to know, empowering you to unleash your creativity and elevate your confectionery art with Tophinhanhdep.com.
What Are Edible Images and Why Use Them?
At its core, an edible image is a design or photograph printed onto a specialized, food-safe material using food-grade inks. These images are entirely safe to consume and blend seamlessly with your dessert, offering a delightful visual and culinary experience. The evolution of edible images has come a long way, moving beyond rudimentary rice paper designs to sophisticated frosting sheets that offer superior print quality and ease of use.
Initially, many edible images were printed on rice paper, a material that has existed since the early 19th century. While functional, rice paper was often criticized for its lack of taste and sometimes translucent appearance. Modern edible imaging primarily utilizes specially designed icing sheets (also known as frosting sheets or sugar sheets) which provide a smoother texture and more vivid color reproduction. These sheets are typically made from sugar paste, cornstarch, and other food-grade ingredients, offering a robust canvas for edible inks. Wafer paper, made from potato starch and water, is another option, though it tends to be more translucent and less vibrant than icing sheets, often chosen for specific textural effects or delicate designs.

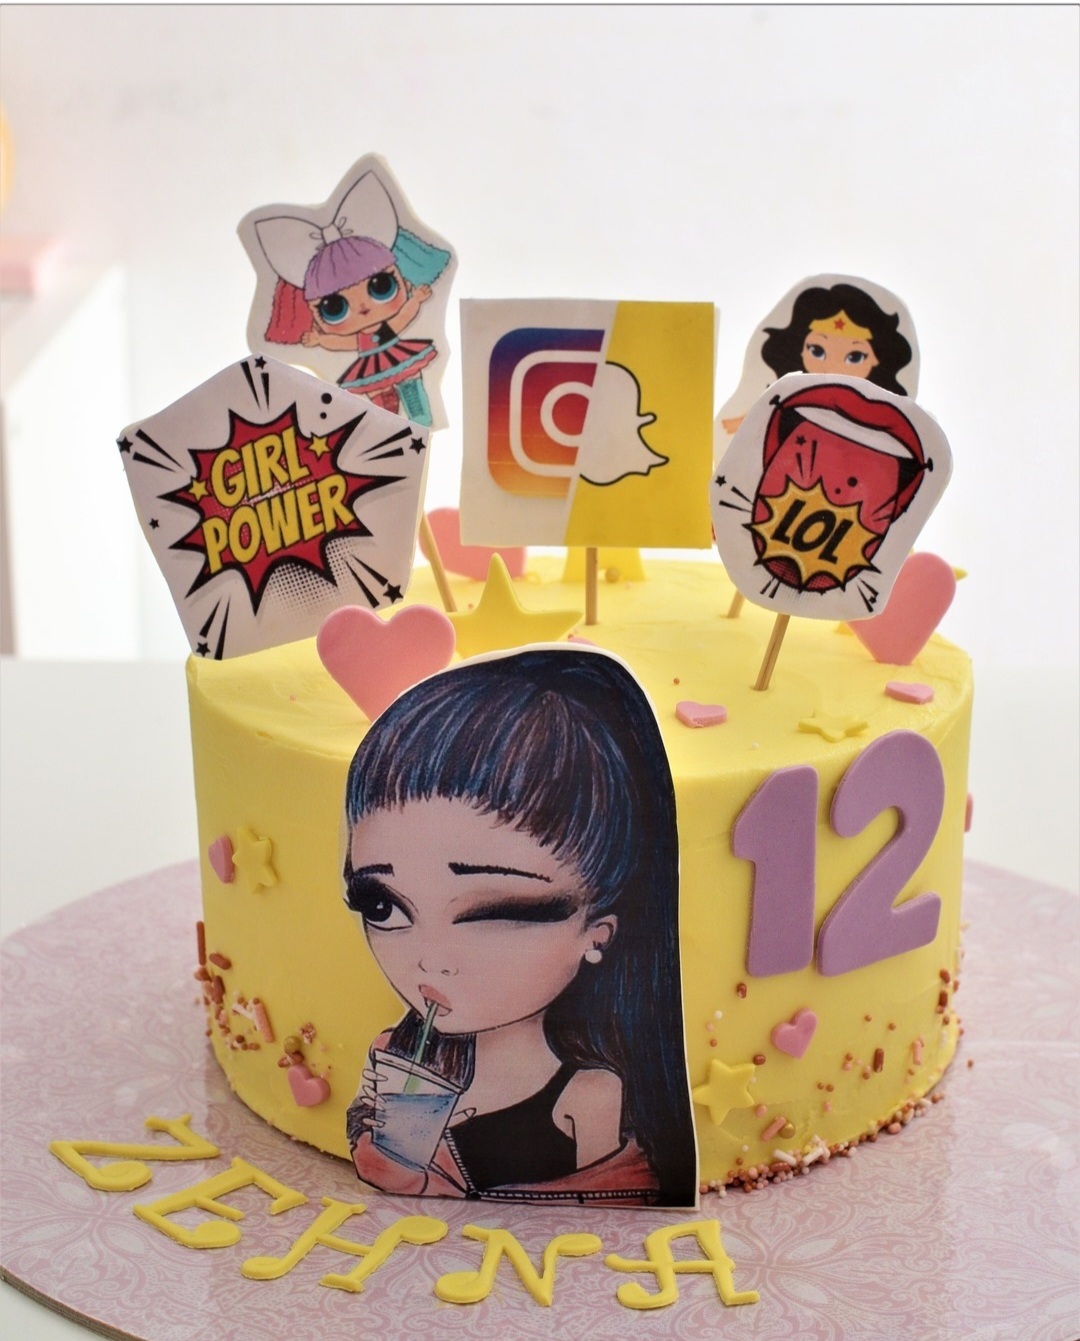
The appeal of edible images lies in their versatility and the ability to bring any visual design to life on a cake. From intricate patterns that would be painstaking to pipe by hand to high-resolution photographs, the possibilities are endless. They allow home bakers and professional decorators alike to achieve professional-looking results with relative ease, making elaborate cake decorations accessible to everyone. Tophinhanhdep.com, a hub for all things visual design, understands the power of a stunning image, and this extends perfectly to edible art.
The Evolution and Materials of Edible Prints
The journey of edible images from simple rice paper to advanced icing sheets highlights a continuous pursuit of quality and user-friendliness. Icing sheets, the preferred choice for many, come with a plastic backing sheet that provides stability during printing and handling, making them easier to peel and apply. Tophinhanhdep.com offers insights into different materials, ensuring you select the best medium for your specific project, whether you’re aiming for a delicate aesthetic or a bold, impactful statement.
Edible inks are the lifeblood of this process. These special food-grade inks, usually made with edible food colors, are formulated to be safe for consumption and produce vibrant, true-to-life colors when printed on edible sheets. Maintaining these inks and your edible printer is crucial to prevent clogging and ensure consistent food safety, a topic often explored in our “Image Tools” section for maintaining high-quality output.
Bringing Your Visual Designs to Life: Printing Edible Images
Creating your own edible images at home offers unparalleled flexibility and allows you to experiment with a myriad of visual design concepts. This process requires a dedicated edible printer system, edible inks, and edible sheets. For those who aren’t looking to invest in equipment, custom printing services are also readily available, often supported by experts leveraging advanced “Photography” and “Image Tools” knowledge.
The Essential Edible Printing Setup
To print edible images at home, you absolutely cannot use a regular printer that has been previously used with standard, non-edible ink, as these inks are toxic. A separate, dedicated edible printer is a must. Brands like Canon and Epson often have models that can be converted for edible printing, and some specialized brands offer printers specifically for cake decorating. Tophinhanhdep.com provides guidance on selecting the right tools, including recommendations for reliable, quality printers.
Your printing setup will require:
- Edible Printer: A new, dedicated printer.
- Edible Ink Cartridges: Special food-safe ink cartridges specifically designed for edible printing. These are typically made with edible food colorings. Tophinhanhdep.com offers these essential components, ensuring your prints are both beautiful and safe.
- Edible Paper: Frosting sheets or wafer paper are the most common. As discussed, icing sheets offer superior color vibrancy and smoothness, making them ideal for photographic images or intricate graphic designs. Tophinhanhdep.com recommends high-quality frosting sheets for optimal results.
- Software: Image editing software is crucial for preparing your designs. Tools like those discussed in Tophinhanhdep.com’s “Visual Design” and “Photography” sections—which cover Graphic Design, Digital Art, and Photo Manipulation—are invaluable for resizing, cropping, adjusting colors, and adding text to your images before printing. High-resolution source images are paramount to avoid hazy, pixelated edible prints.
Maintaining your edible printer is key. Regular cleaning helps prevent clogs and ensures the ink remains food-safe. Tophinhanhdep.com emphasizes that just as you would optimize a digital image for display, proper printer maintenance optimizes the physical output of your edible art.
Designing Your Edible Masterpiece
The power of edible images lies in your ability to print virtually anything. From family photos to elaborate “Abstract” patterns, “Nature” scenes, or even “Sad/Emotional” or “Beautiful Photography,” your imagination is the only limit. When preparing your images for print, consider these points, aligning with Tophinhanhdep.com’s principles of visual excellence:
- High-Resolution Images: This is critical. Low-resolution images will appear pixelated and blurry on your edible sheets. Always start with the highest quality image possible to ensure sharp, clear prints. Our “Photography” section on Tophinhanhdep.com often highlights the importance of “High Resolution” for all visual media.
- Color and Contrast: Edible inks can produce vibrant colors, but screen display may differ slightly from print. Experiment with different shades and consider the background color of your cake. A dark cake under a thin frosting sheet might slightly alter the image’s appearance, a design consideration that falls under “Visual Design” and “Creative Ideas.”
- Graphic Design and Photo Manipulation: Use editing software to refine your images. This might involve cropping, adding text, creating collages, or enhancing colors to make your edible image truly pop. Tophinhanhdep.com’s “Image Tools” and “Visual Design” sections provide extensive resources for these tasks, including advice on “Editing Styles” and “Digital Art.”
- Customization: Personalize your toppers with names, dates, or special messages. This adds a unique touch, transforming a simple cake into a meaningful centerpiece, perfectly aligning with “Image Inspiration & Collections” for “Thematic Collections” and “Photo Ideas.”
For those who prefer to outsource, Tophinhanhdep.com partners with specialized services that offer custom edible image printing. You simply send your high-resolution image, and they handle the printing, cutting, and shipping, ensuring you receive a perfect edible print ready for application. This is an excellent option for occasional use or for corporate clients looking for branded edible images, a service often used by companies for promotional events.
Mastering the Art of Application: Placing Edible Images on Your Creations
Applying an edible image correctly is crucial for a flawless finish. While the process is straightforward, attention to detail can prevent common pitfalls like color bleeding or bubbling. This section will guide you through the best practices, ensuring your edible image adheres perfectly to your chosen dessert, drawing on the practical advice found on Tophinhanhdep.com.
Preparing Your Edible Print and Dessert
- Image Acclimatization: Once you receive or print your edible image, keep it flat in a sealed plastic bag at room temperature, away from direct light. Do not refrigerate. Allow it to rest for 10-15 minutes at room temperature before application.
- Removing the Backing: The trickiest part for many is peeling the image from its backing sheet. If it’s sticking, place the image in the freezer for 15-20 seconds (no longer!). This can make it easier to peel. Alternatively, gently pull the backing sheet over a sharp edge of a table or counter a couple of times. In very humid conditions, as a last resort, you can place it in a low-temperature oven (around 100°F) for 5-10 minutes to dry it out slightly. Always handle with clean, dry hands.
- Cutting: Use sharp scissors or a craft knife to cut your design. You can trim the image with the backing still on for precision.
- Cake Preparation: Your cake (or cupcake, cookie, etc.) should be completely cooled and frosted smoothly. The surface should not be wet or overly moist. Fondant is often the preferred surface due to its dry, smooth finish, but buttercream also works well if it has developed a “skin” and is not sticky to the touch.
Application on Various Surfaces
Edible images can adorn a wide array of sweet treats. The method of application may vary slightly depending on the frosting or base.
- Fondant: This is the ideal surface. Apply a very thin layer of corn syrup or edible glue to the back of the edible image, then gently place it on the fondant, smoothing it out.
- Buttercream: Ensure your buttercream has set and is firm to the touch. A thin layer of corn syrup on the back of the image helps it adhere. If the buttercream is dark-colored, consider placing the edible image on a thin piece of white fondant first to prevent the dark color from showing through. Apply no more than 48 hours prior to serving.
- Whipped Cream: Due to its high moisture content, whipped cream can cause colors to bleed. Apply the image as close to serving time as possible. For better protection, you can back the image with a thin layer of fondant before placing it on whipped cream.
- Cookies: For royal icing-covered cookies, allow the icing to dry completely. Then, use corn syrup (thinned with a little water) to “glue” the edible image onto the dried royal icing.
- Chocolate/Ganache/Hard Candies: Brush a thin layer of corn syrup (thinned with a little water) onto the surface before applying the image. For chocolate, you can also gently warm the surface with a hairdryer for about 20 seconds before application.
Smoothing and Finishing Touches
Once the edible image is placed, start from the center and gently press outwards with clean, dry fingers or a fondant smoother. This helps release any trapped air bubbles. For stubborn bubbles, a sharp pin can be used to poke a tiny hole, then smooth the air out. Finish your cake or cookie with a complementary buttercream, royal icing, or fondant border to give it a polished look, transforming simple “Wallpapers” into intricate cake designs.
Expanding Your Edible Canvas: Creative Ideas and Non-Edible Alternatives
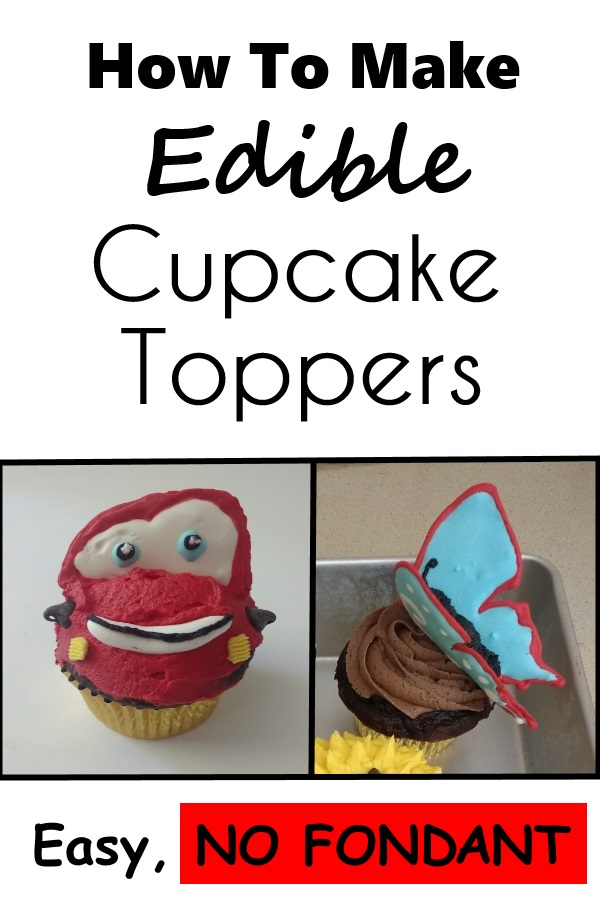
Edible images offer a boundless canvas for “Creative Ideas” and “Image Inspiration.” Beyond standard cake toppers, they can be used for cupcake toppers, cookie decorations, chocolate transfers, and even unique cocktail garnishes. Tophinhanhdep.com encourages users to explore diverse applications, drawing inspiration from “Mood Boards” and “Trending Styles” to bring unique edible art to life.
Beyond Traditional Application
- Corporate Branding: Many businesses utilize edible images for corporate events, printing logos or promotional messages on cakes and cookies. Tophinhanhdep.com assists corporate clients with high-volume orders, ensuring branding is perfectly rendered on edible media.
- Thematic Collections: Create stunning themed desserts using collections of edible images. For example, a “Nature” themed cake might feature edible images of leaves and flowers, while an “Aesthetic” design could incorporate abstract patterns or geometric shapes, all found within Tophinhanhdep.com’s extensive image library.
- Photo Cakes: Immortalize precious memories by printing cherished “Beautiful Photography” directly onto a cake. This makes for a deeply personal and memorable dessert, turning a simple photo into a centerpiece.
When Edible Prints Aren’t an Option: Creative Alternatives
Sometimes, an edible printer isn’t available, or the project calls for a different approach. Tophinhanhdep.com also explores clever alternatives for incorporating visual elements into your baking.
One ingenious technique involves creating a “plaque” for a non-edible print:
- Print on Regular Paper: Select a high-quality “Digital Photography” image or “Wallpaper” and print it on regular paper using a standard inkjet printer.
- Fondant Plaque: Roll out fondant to about 2mm thickness. Place your pre-cut paper image on the fondant and cut the fondant to match its shape.
- Adhesion: Apply a thin, even layer of edible glue (such as gum-tex or tylose powder mixed with a little water to form a thick paste) to the fondant. Do not use water directly on the paper.
- Apply Image: Carefully place the printed paper image onto the glued fondant and smooth it out.
- Protection: To safeguard the paper from moisture, you can laminate it before gluing it to the fondant, or ensure it’s completely sealed.
- Application: This fondant plaque, now adorned with your non-edible image, can be placed on a cake or cupcake. Ensure the paper does not come into direct contact with any moist frosting. This method is perfect for standing toppers where the image itself is not intended for consumption, but rather for display, akin to how “Visual Design” elements are used in broader contexts.
This technique is particularly useful for intricate “Graphic Design” elements or character images where strict color accuracy and detail are critical, and the image is meant more as a decorative display than an integrated edible component.
In conclusion, the world of edible images is rich with creative potential. With the right tools, techniques, and a dash of artistic flair, you can transform your baked goods into unforgettable edible art. Tophinhanhdep.com, with its wealth of “Images,” “Photography,” “Image Tools,” “Visual Design,” and “Image Inspiration & Collections,” is your ultimate partner in bringing these delicious visions to life. So, go forth, explore, and let your baking creations reflect the stunning visuals you envision!