Mastering Monochrome: How to Make Any Image Black and White in Photoshop

Black and white photography possesses a timeless, captivating allure that transcends the vibrant tapestry of our modern, color-saturated world. Stripping away the distraction of hues, monochrome images compel viewers to engage with the fundamental elements of a photograph: light, shadow, texture, form, and emotion. This artistic choice can transform an ordinary snapshot into a dramatic masterpiece, highlighting details and conveying moods that color might obscure.
Whether you’re a seasoned photographer aiming for a classic aesthetic or a digital artist exploring new realms of visual design, converting a color image to black and white in Photoshop is an essential skill. On Tophinhanhdep.com, we understand the profound impact of compelling imagery, from stunning Wallpapers and Backgrounds to evocative Aesthetic and Beautiful Photography. This guide delves into the various methods Photoshop offers to achieve breathtaking black and white conversions, empowering you to unlock the profound grace and narrative power of monochrome. We’ll explore techniques that range from quick adjustments to sophisticated tonal controls, ensuring your images — be they Nature landscapes, Abstract compositions, or Sad/Emotional portraits — achieve their maximum potential.

The Timeless Appeal of Black and White Photography
Since its inception, photography has been profoundly influenced by the power of black and white. This enduring style offers an undeniable beauty and a profound depth that often transcends reality. It forces both the creator and the audience to focus on the inherent qualities of a scene without the often-overwhelming presence of color. Imagine a majestic mountain range; in color, your eye might be drawn to the vibrant greens of the trees or the blue of the sky. In black and white, however, the intricate textures of the rock, the sweeping lines of the peaks, and the play of light and shadow across the landscape become the undeniable stars. This is why monochrome is a cherished technique for fine art, Digital Photography, and Visual Design, offering a unique lens through which to explore Creative Ideas and Photo Manipulation.
For photographers, especially those interested in Editing Styles that emphasize mood and drama, black and white conversion is more than just removing color; it’s about reinterpreting the visual narrative. It can evoke a sense of nostalgia, transporting images from another era, or inject intense emotion into a portrait by accentuating facial expressions and the quality of light. From high-contrast scenes that pop with stark differences to subtle, misty compositions that exude serenity, the possibilities within the grayscale spectrum are infinite. As you explore the vast collections and Image Inspiration & Collections on Tophinhanhdep.com, you’ll notice how many of the most impactful Photo Ideas and Thematic Collections leverage the enduring power of black and white to tell a strong story.
Preparing Your Image for Optimal Black and White Conversion
Before diving into the mechanics of Photoshop, proper image preparation is paramount for achieving stunning black and white results. The quality of your monochrome conversion is significantly influenced by how the original color photograph was captured and pre-processed. This crucial step ensures you have the maximum flexibility and control over the tonal range and detail in your final grayscale image. This section aligns perfectly with our focus on Photography fundamentals, particularly Digital Photography and mastering various Editing Styles.

Maximizing Detail with RAW and Proper Color Mode
One of the most critical tips for any serious photographer venturing into black and white is to never shoot in JPEG black and white mode directly from your camera, unless you’re also shooting in RAW format. While it might seem convenient, shooting in-camera JPEG black and white inherently discards a vast amount of color information. Your DSLR or mirrorless camera is designed to capture a full spectrum of color tones, creating an image closer to real-life perception. If you limit it to just shades of black, white, and gray at the point of capture in JPEG, you severely restrict your post-production options.
When you convert an image to black and white in Photoshop, you’re essentially telling the software how to interpret each original color’s luminosity. For example, a bright red might be mapped to a different shade of gray than a bright green, even if they have similar perceived brightness in color. If this original color information isn’t recorded (as with in-camera JPEG B&W), you lose the ability to fine-tune these crucial tonal relationships. Shooting in RAW format preserves all the original color data, giving you an unparalleled ability to adjust the darkness and lightness of individual colors during conversion, leading to much richer, more nuanced monochrome images. This attention to detail is key for producing High Resolution images with exceptional quality, which we frequently feature on Tophinhanhdep.com.
Furthermore, for the best results, especially when using advanced filters like Photoshop’s Neural Filters (though we focus on conversion to B&W here, understanding color modes is universal), your image should be in RGB Color mode. Many black and white images, especially older scans or those saved simply, might be in Grayscale mode. To check and convert:
- Go to the Image menu in the Menu Bar.
- Choose Mode.
- If Grayscale is checked, click on RGB Color to select it. This ensures that the image retains its full color data for the conversion process, even if it has a sepia tint, allowing Photoshop’s algorithms to work with the richest information possible. You can also quickly see the document’s current color mode in the tab at the top of your Photoshop window.
Enhancing Tonal Range for Impactful Monochrome
Beyond ensuring optimal color data, preparing your image often involves boosting its inherent contrast. Black and white images thrive on strong contrast and a full range of tones, from pure black to pure white. If you’re working with an older, faded photograph, or an image that simply lacks punch, a quick contrast adjustment can make a world of difference before conversion. This directly contributes to creating visually stunning Aesthetic images and powerful Beautiful Photography.
Here’s a rapid method to improve contrast:
- Duplicate the Background layer: In the Layers panel, click on your “Background” layer and drag it down onto the “New Layer” icon (the square with a plus sign) at the bottom of the panel. This creates a non-destructive copy, allowing you to easily revert or adjust. Rename this new layer “Contrast” for clarity.
- Desaturate if needed: If your image has a color tint (like sepia) that you want to neutralize before boosting contrast, go to Image > Adjustments > Desaturate. This will convert the image to a pure black and white without any color cast, which can sometimes aid in contrast calculation.
- Apply Auto Contrast: Go to Image > Auto Contrast. Photoshop will analyze the image’s tonal range and automatically adjust the highlights and shadows to maximize contrast. This is a quick way to give your image more punch.
- Fade Auto Contrast (if necessary): If “Auto Contrast” makes some areas too bright or too dark, immediately go to Edit > Fade Auto Contrast. In the dialog box, you can then lower the Opacity slider to reduce the intensity of the effect, striking a perfect balance.
By taking these preparatory steps, you establish a solid foundation, giving you the best possible starting point for any black and white conversion technique in Photoshop. This meticulous approach is vital for achieving the high standards of Stock Photos and premium Image Collections found on Tophinhanhdep.com.
Step-by-Step Black and White Conversion Methods in Photoshop
Photoshop offers a diverse toolkit for converting images to black and white, each method providing different levels of control and producing unique results. Choosing the right tool depends on your desired outcome and experience level. Here, we’ll guide you through the most effective and popular methods, ensuring you can create compelling monochrome images suitable for Wallpapers, Backgrounds, or any form of Digital Art.
The Foundational Black & White Adjustment Layer
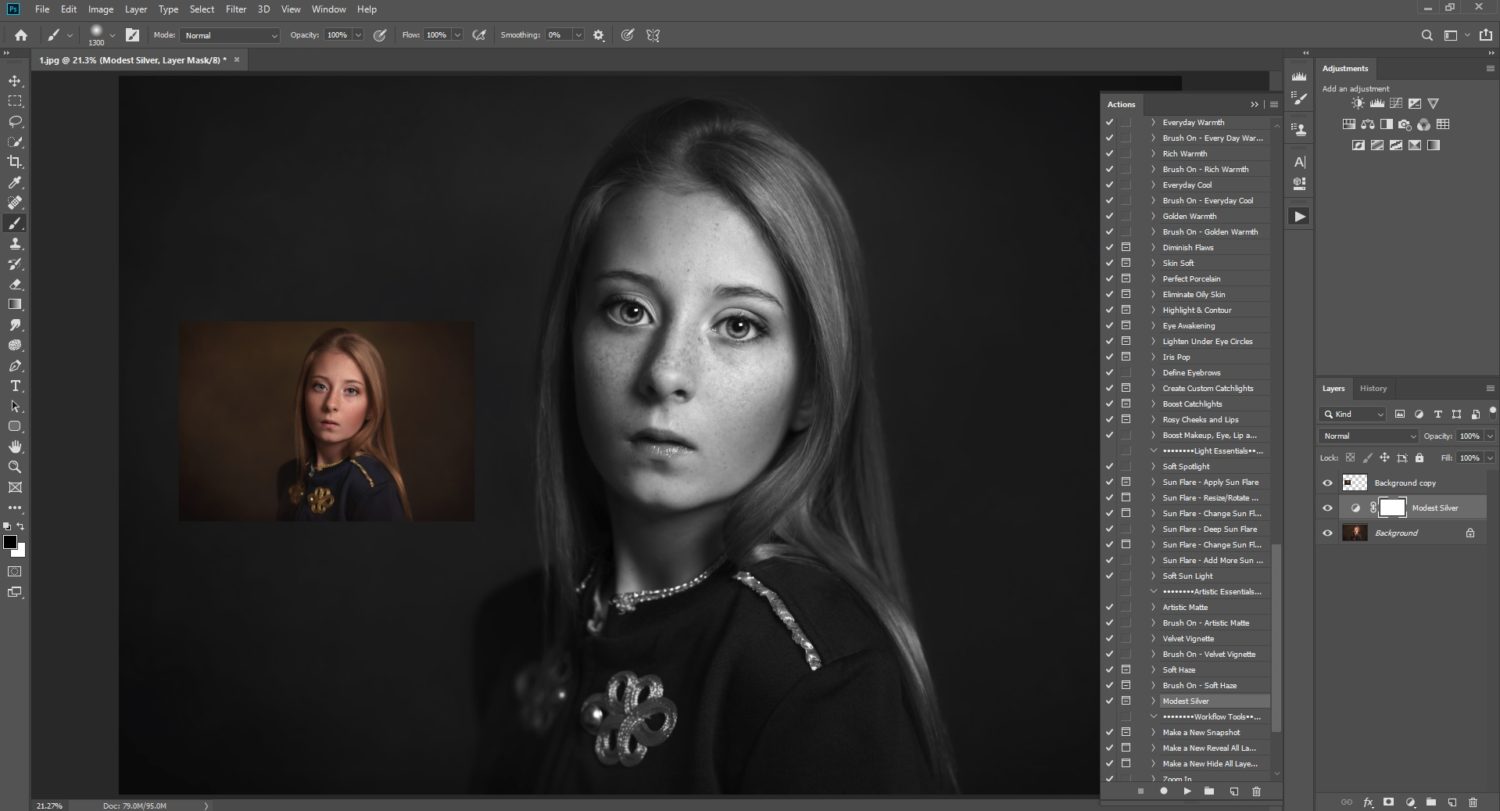
The Black & White adjustment layer is widely considered the most powerful and flexible method for converting images to monochrome in Photoshop. Its non-destructive nature means your original image data remains untouched, allowing for endless experimentation and easy revisions. This tool is a cornerstone for advanced Photo Manipulation and refining Editing Styles.
Here’s how to use it:
- Open your image in Photoshop.
- Access the Adjustment Layer: Go to Window > Adjustments to open the Adjustments panel. Alternatively, you can click on the half-black, half-white circle icon at the bottom of the Layers panel and choose Black & White.
- Select Black & White: In the Adjustments panel, click on the Black & White icon (which looks like a half black, half white square). This will instantly convert your image to black and white and add a new “Black & White” adjustment layer above your image layer in the Layers panel.
- Fine-tune with Sliders: The magic happens in the Properties panel (which usually opens automatically with the adjustment layer). You’ll see a series of sliders: Red, Yellow, Green, Cyan, Blue, and Magenta. These sliders allow you to control how light or dark those original colors will appear in your black and white image.
- Dragging the Red slider to the right will lighten all areas that were originally red in the color image, while dragging it to the left will darken them.
- Experiment with each slider to see how it affects different parts of your photo. For instance, to darken a bright blue sky, drag the Blue slider to the left. To make foliage pop, adjust the Green and Yellow sliders. This granular control is essential for achieving the specific contrast and mood you desire.
- Explore Presets: Photoshop provides several built-in presets (e.g., “High Contrast Red Filter,” “Infrared,” “Neutral Density”) in a dropdown menu within the Properties panel. These presets emulate traditional photographic filters and offer excellent starting points.
- Add a Color Tone (Tint): For a classic sepia look or other creative toning, check the Tint box. This activates a color swatch; click on it to open the Color Picker and choose your desired tone. This is perfect for creating evocative Sad/Emotional or vintage Aesthetic images.
The non-destructive nature of this adjustment layer means you can always go back and modify your settings, stack other adjustment layers on top, or even mask out the effect from specific areas, giving you complete creative freedom.
Quick Conversions: Desaturate and Grayscale Mode
Sometimes, you need a quick and straightforward black and white conversion without intricate controls. Photoshop offers a couple of fast methods, though they come with limitations compared to the Black & White adjustment layer. These are useful for rapid previews or when tonal precision isn’t the primary concern.
-
Desaturate:
- Open your image.
- Go to Image > Adjustments > Desaturate.
- Alternatively, use the keyboard shortcut Shift + Ctrl + U (Windows) or Shift + Command + U (Mac). This method instantly removes all color information, leaving you with a grayscale image. It’s incredibly fast, but it offers no control over how individual colors are translated into shades of gray. The conversion is based purely on the original luminosity of each pixel, which can sometimes result in a flat, uninspired look. It’s a good choice for preliminary checks or when the original image already has strong inherent contrast.
-
Grayscale Mode:
- Open your image.
- Go to Image > Mode > Grayscale.
- Photoshop will prompt you with a dialog box asking if you want to “Discard color information.” Click Discard. This converts the entire image to Grayscale mode, permanently removing all color data (unless you save it with a new name or revert). While effective, it’s generally a destructive process if applied directly to your working layer and also lacks the fine-tuning capabilities of the Black & White adjustment layer. It’s best used as a final output step or when you specifically intend to work in a true grayscale color space.
Advanced Tonal Control: Channel Mixer and Gradient Map
For photographers and designers seeking even greater artistic control over their monochrome conversions, Photoshop provides sophisticated tools like the Channel Mixer and Gradient Map. These methods allow for deep manipulation of tonal values, offering endless possibilities for unique and dramatic effects. These techniques are favored in high-end Digital Photography and complex Photo Manipulation projects.
-
Channel Mixer: The Channel Mixer allows you to redefine how the Red, Green, and Blue color channels contribute to the luminance of your black and white image. This offers a level of control beyond simply adjusting individual color sliders.
- Open your image.
- Go to Image > Adjustments > Channel Mixer (or create a Channel Mixer adjustment layer via the Layers panel icon).
- In the Channel Mixer dialog box, check the Monochrome box at the bottom. This immediately converts your image to black and white.
- Now, adjust the Red, Green, and Blue sliders in the “Source Channels” section. The sum of these percentages should ideally be around 100% to maintain overall brightness, but you can exceed or go below for specific effects.
- Increasing the Red slider will brighten areas that were originally red.
- Increasing the Green slider will brighten areas that were originally green.
- Increasing the Blue slider will brighten areas that were originally blue.
- By manipulating these sliders, you can selectively lighten or darken elements based on their original color. For example, to make a blue sky more dramatic, you might reduce the Blue channel’s contribution while slightly increasing the Red and Green, adding a deep, moody contrast.
- The Constant slider allows you to globally brighten or darken the entire image after channel mixing.
-
Gradient Map: The Gradient Map adjustment layers map the luminosity values of your image to a gradient. While often used for creative color toning, a simple black to white gradient can create striking monochrome conversions with powerful contrast control.
- Open your image.
- Go to Image > Adjustments > Gradient Map (or create a Gradient Map adjustment layer).
- In the Properties panel, click on the gradient bar to open the Gradient Editor.
- Ensure your gradient is set from black to white. If not, choose the “Black, White” preset from the “Basics” folder.
- The Gradient Editor shows “color stops” at each end (black on the left, white on the right). These stops represent the darkest and brightest parts of your image.
- You can drag these color stops and add new ones to precisely control the contrast and tonal distribution. For instance, dragging the black stop further to the right will crush the shadows, making them darker, while dragging the white stop further left will blow out highlights. Adding a mid-tone gray stop can control the gamma.
- This method excels at generating high-contrast black and white images with a unique, often dramatic, feel. It’s an excellent tool for Creative Ideas and artistic expression in Visual Design.
Utilizing Hue/Saturation for Monochrome Effects
The Hue/Saturation adjustment layer is another non-destructive option for black and white conversion, offering a different approach to manipulating color before eliminating it. While less sophisticated than the Black & White adjustment layer, it provides a simple way to desaturate an image while still having some initial control over color channels.
Here’s how to use it:
- Open your image.
- Go to Image > Adjustments > Hue/Saturation (or create a Hue/Saturation adjustment layer).
- In the Properties panel, locate the Saturation slider and drag it all the way to the left (-100). This will instantly remove all color, leaving you with a black and white image.
- Selective Color Channel Adjustments (Pre-Desaturation Logic): While you can’t adjust individual color channels after desaturating with this tool, the “Hue/Saturation” tool also allows you to target specific color ranges before you desaturate.
- Instead of setting the master Saturation to -100, you can select individual color channels (e.g., Reds, Yellows, Blues) from the dropdown menu (where “Master” is usually selected).
- You can then adjust the Saturation of only that color channel to -100, while potentially adjusting the Lightness of other channels.
- However, for a full black and white conversion, setting the Master Saturation to -100 is the primary function. More effective color channel control for B&W is found in the dedicated Black & White adjustment layer. This method is often preferred for its straightforward simplicity if a nuanced conversion isn’t strictly required.
Each of these methods offers a pathway to monochrome artistry. We encourage you to experiment with them on your Wallpapers, Backgrounds, and personal Photography projects to discover which best suits your creative vision.
Beyond Conversion: Crafting Compelling Monochrome Images
Converting a photograph to black and white in Photoshop is merely the first step on a journey toward creating truly compelling monochrome art. The real magic lies in understanding that not every color image will translate beautifully into grayscale. A great black and white photograph requires careful consideration of subject matter, light, texture, and composition to tell a strong story without the aid of color. This entire process is a crucial aspect of Visual Design, Photo Manipulation, and cultivating Creative Ideas for Image Collections.
The Art of Selection: What Makes a Great Black and White Photo?
Choosing the right photograph to convert is perhaps more important than the technical conversion itself. Some images inherently rely on color for their context or impact. For example, a sports fan draped in their country’s flag and team colors might lose significant meaning in black and white, as the visual cues that define their allegiance would vanish. On the other hand, certain subjects flourish in monochrome:
- Portraits: Especially tight-cropped headshots with sharp focus on the eyes, benefit immensely from black and white. It strips away distractions, drawing attention to facial features, expressions, and the human condition. The interplay of light and shadow across contours can reveal profound depth.
- Landscapes with Strong Form and Texture: Images dominated by intricate patterns, dramatic skies, rugged terrain, or misty atmospheres thrive in grayscale. These elements are often enhanced when color no longer competes for attention.
- Architectural Photography: Buildings, bridges, and cityscapes with strong lines, geometric shapes, and distinct textures become graphic and powerful in black and white.
- Silhouettes: The stark contrast between a dark subject and a bright background is inherently powerful in monochrome, emphasizing shape and form.
- Street Photography: The raw, gritty nature of urban scenes, often filled with complex compositions and diverse textures, can gain a timeless, documentary feel in black and white.
- Images with Dramatic Lighting: High contrast lighting, strong shadows, or ethereal glows are amplified in black and white, creating a sense of drama and mood that color might dilute.
As you explore Image Inspiration & Collections on Tophinhanhdep.com, pay attention to the underlying elements that make black and white images stand out. Look for strong compositional elements, interesting textures, and compelling light—these are the ingredients of a successful monochrome conversion. The more you experiment and analyze, the more intuitive your selection process will become.
Refinishing Your Monochrome Masterpiece
Once you’ve converted your image to black and white, the editing journey isn’t over. Post-conversion enhancements are critical for refining contrast, sharpening details, and imbuing your image with a unique artistic flair. This is where your Editing Styles truly come into play.
- Dodging and Burning: These traditional darkroom techniques, easily replicated in Photoshop with the Dodge and Burn tools or via non-destructive methods (like creating a 50% gray layer set to Overlay/Soft Light blend mode), allow you to selectively lighten (dodge) or darken (burn) areas of your image. This is invaluable for sculpting light, adding depth, guiding the viewer’s eye, and enhancing textures. For instance, you can burn the edges of a portrait to create a subtle vignette, or dodge highlights on a textured surface to make it pop.
- Curves and Levels Adjustments: Even after using a Black & White adjustment layer, global or targeted Curves and Levels adjustment layers are powerful tools for fine-tuning the overall tonal range and contrast. Curves, in particular, offer granular control over how different luminosity values are mapped, allowing for sophisticated contrast adjustments and the creation of specific moods (e.g., flat, high-key, low-key).
- Sharpening: Black and white images often benefit from a touch of sharpening, as the absence of color can sometimes make details appear softer. Use a non-destructive sharpening technique (like Smart Sharpen on a duplicated layer or High Pass sharpening) to bring out fine textures without introducing artifacts.
- Noise Reduction: If your original image was shot in low light or exhibits digital noise, this becomes more apparent in black and white. Applying selective noise reduction can smooth out unwanted grain while preserving detail.
- Toning (beyond sepia): While the Black & White adjustment layer offers basic tinting, more advanced toning can be achieved with techniques like split toning (using Photoshop’s Split Toning adjustment) or applying subtle color overlays for creative effects. This adds a sophisticated touch, allowing you to further define the emotional impact of your Digital Art.
On Tophinhanhdep.com, we provide a wealth of Image Tools that complement these Photoshop techniques. After crafting your monochrome masterpiece, you might want to use our Compressors and Optimizers to prepare it for web use, or even explore AI Upscalers to enhance the resolution of older black and white scans. The goal is always to refine your vision and present your work in the best possible light.
Conclusion
Converting a color image to black and white in Photoshop is far more than a simple desaturation; it is an art form that allows you to reimagine your photographs, emphasizing texture, contrast, light, and emotion. From the robust control of the Black & White adjustment layer and the precision of the Channel Mixer to the dramatic flair of a Gradient Map, Photoshop provides a comprehensive suite of tools for every skill level and artistic ambition.
As explored on Tophinhanhdep.com, black and white photography is an invitation to see the world differently—to find beauty in simplicity, meaning in the mundane, and stories in silence. It challenges you to focus on the enduring elements of an image, transforming it into a powerful tool for storytelling and a canvas for boundless creativity.
We encourage you to experiment with these techniques, apply them to your Wallpapers, Backgrounds, Stock Photos, and personal Image Collections. Discover which methods resonate with your unique Editing Styles and help you achieve your desired Aesthetic. And remember, while this guide focuses on making images black and white, Tophinhanhdep.com also delves into advanced Photo Manipulation techniques, including how to colorize black and white photos for specific artistic projects, providing a complete resource for all your Visual Design needs. Dive in, play, and let your vision shine through the powerful shades of gray.