How to Make the Size of an Image Smaller: Optimizing Your Visuals for Performance and Quality on Tophinhanhdep.com

In today’s visually-driven digital world, images are paramount. From breathtaking wallpapers and artistic backgrounds to professional stock photos and intricate digital art, Tophinhanhdep.com is dedicated to providing an unparalleled experience for visual enthusiasts and creators alike. However, the sheer beauty and detail of high-resolution images often come with a significant drawback: large file sizes. Whether you’re a photographer preparing a portfolio, a graphic designer crafting a website, or simply sharing stunning aesthetic images with friends, understanding how to effectively reduce the size of an image is a crucial skill.
Large image files can significantly slow down website loading times, consume excessive bandwidth, and make sharing cumbersome. For platforms like Tophinhanhdep.com, which thrives on visual content, optimizing image sizes isn’t just a technical detail—it’s fundamental to user experience, search engine optimization (SEO), and the efficient display of beautiful photography and creative ideas. This comprehensive guide, brought to you by Tophinhanhdep.com, will explore the various methods, tools, and best practices for making your images smaller without compromising their visual integrity.
Understanding Why Image Optimization Matters
The digital landscape demands speed and efficiency. Every millisecond counts when a user lands on a webpage or attempts to download a file. Images, while enriching content, are often the heaviest elements on any digital platform. Therefore, actively managing their file size is not merely a recommendation; it’s a necessity for anyone working with visuals, from casual sharers to professional digital artists and photographers.
Enhanced User Experience and Website Performance
Imagine browsing Tophinhanhdep.com’s extensive collection of nature wallpapers or abstract backgrounds, only to encounter slow loading times and stuttering displays. This frustration is a direct consequence of unoptimized images. By reducing image file sizes, we ensure:
- Faster Loading Times: This is perhaps the most immediate and impactful benefit. Pages load quicker, allowing users to rapidly access and appreciate Tophinhanhdep.com’s diverse image categories, from aesthetic visuals to sad/emotional photography. This is especially critical for mobile users who might be on slower connections.
- Improved Sharing Capabilities: Smaller images are easier to attach to emails, upload to social media platforms, or integrate into online presentations. For those sharing high-resolution photography or digital art, this means less waiting and a smoother workflow.
- Reduced Bandwidth Consumption: Both for website hosts and users, smaller files mean less data transferred. This can lead to lower hosting costs for websites and reduced data consumption for users, a benefit that contributes to a more sustainable and accessible web.
- Smoother Browsing of Collections: When exploring thematic collections or mood boards on Tophinhanhdep.com, optimized images allow users to scroll through dozens or even hundreds of photos seamlessly, without the browser struggling to render heavy files.
SEO Benefits and Digital Footprint
Search engines, particularly Google, prioritize website speed as a ranking factor. A slow website directly impacts your visibility and reach. Tophinhanhdep.com understands that for its wealth of high-resolution and stock photos, image optimization is key to robust SEO:
- Higher Search Rankings: Websites with faster loading times tend to rank higher in search results, increasing organic traffic. This is vital for Tophinhanhdep.com to ensure its beautiful photography and creative ideas reach a wider audience.
- Better Core Web Vitals: Google’s Core Web Vitals metrics (Largest Contentful Paint, First Input Delay, Cumulative Layout Shift) are heavily influenced by image performance. Optimizing images contributes positively to these scores.
- Improved Crawlability: Search engine bots can crawl and index faster-loading pages more efficiently, ensuring that all your content, including new image collections and trending styles, is discovered and categorized correctly.
- Reduced Storage Space: For individuals and organizations alike, smaller files translate to less storage required on hard drives, cloud services, and web servers, reducing costs and simplifying data management.
Balancing Quality and File Size
The core challenge in image optimization lies in finding the sweet spot between a reduced file size and preserved visual quality. Especially for categories like high-resolution photography and digital art where detail is paramount, an aggressive size reduction can lead to:
- Pixelation and Blurriness: Improper resizing or over-compression can degrade an image, making it appear stretched, warped, out of focus, or pixelated. Tophinhanhdep.com emphasizes maintaining the aesthetic integrity of all images.
- Loss of Detail: Fine textures, subtle gradients, and intricate elements, crucial for capturing the essence of nature photography or abstract art, can be lost if compression is too strong.
- Professionalism: A high-quality, sharp image reflects professionalism, whether it’s for a graphic design project, a personal photo collection, or stock photo submission. Compromising on quality can undermine the visual message.
Tophinhanhdep.com believes that the goal is not merely to make an image smaller but to make it optimally sized for its intended use, ensuring that quality remains high while performance is maximized.
Core Methods to Reduce Image File Size
Reducing the size of an image can be achieved through several techniques, each targeting different aspects of the image data. Understanding these methods is the first step towards effective optimization.
Image Compression: The Smart Shrink
Image compression is a process that reduces the amount of data needed to store or transmit an image. It works by identifying and removing redundant information, leading to a smaller file size. There are two primary types of compression:
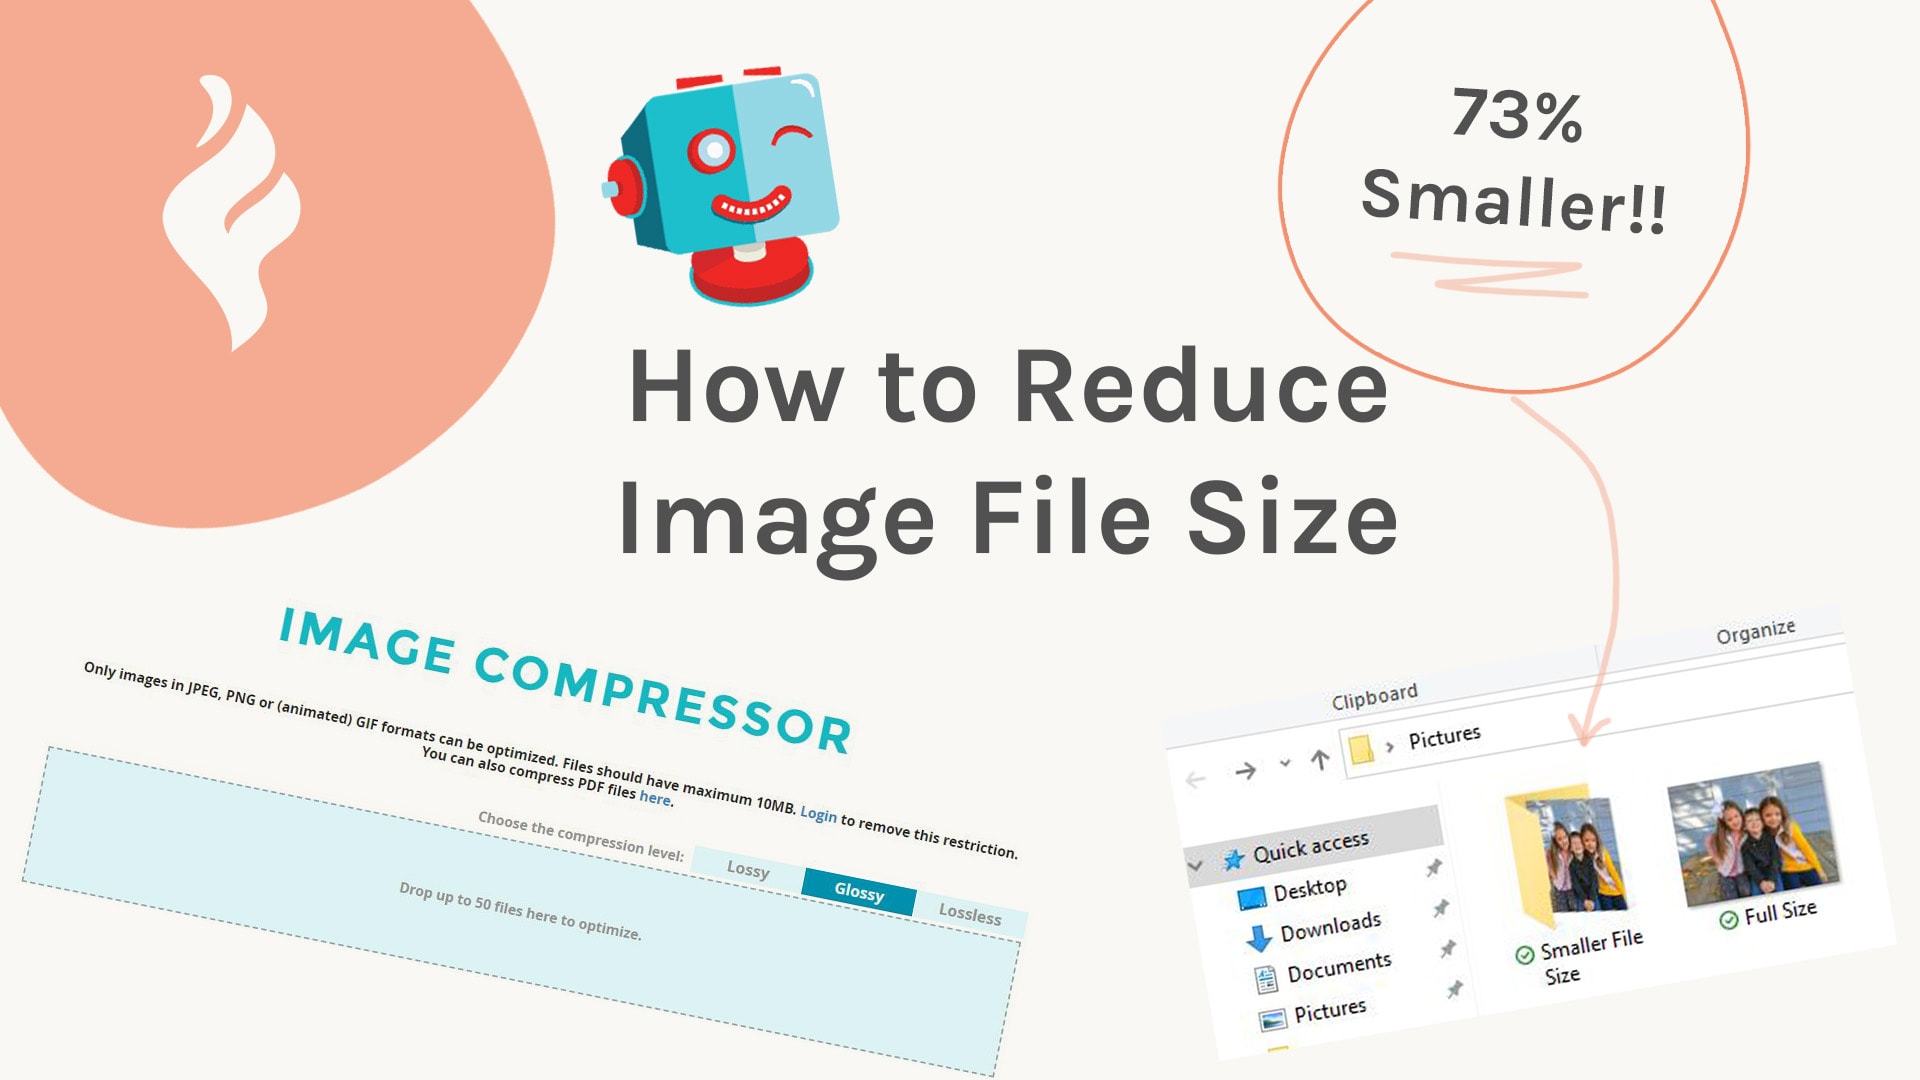
- Lossy Compression: This method permanently removes some image data, resulting in a smaller file but a slight, often unnoticeable, degradation in quality. JPEG is a common lossy format. For most web images on Tophinhanhdep.com, especially photographs, lossy compression offers the best balance of file size reduction and visual quality. Many online compressors offer settings like “Glossy” (as seen in popular tools Tophinhanhdep.com often references, such as ShortPixel), which strikes a good balance for typical JPG images, often reducing file size by 40-80%.
- Lossless Compression: This method reduces file size without discarding any data, meaning the image can be perfectly reconstructed to its original state. PNG and GIF formats often use lossless compression. While it maintains perfect quality, the file size reduction is typically less significant than with lossy methods. This is ideal for images where absolute fidelity is required, such as precise graphic design elements or digital art with sharp lines and defined colors.
How Compressors Work: Compressors analyze an image for repeated patterns, areas of similar color, or details that the human eye is unlikely to perceive. They then encode this information more efficiently. For instance, if a large area of an image is the same shade of blue (like a clear sky in a nature photo), instead of storing information for every single pixel, the compressor can store a single instruction that says “this entire area is blue.”
Resizing and Cropping: Adjusting Dimensions and Composition
Beyond compression, altering the physical dimensions of an image is a direct way to reduce its file size. The number of pixels (width x height) in an image directly correlates with its file size.
- Resizing (Changing Pixel Dimensions): This involves altering the width and height of an image. If you have a photograph taken at 6000x4000 pixels but only need it to display at 1200x800 pixels on a webpage, reducing its dimensions will drastically cut down its file size. Crucially, resizing should always maintain the image’s aspect ratio (the proportional relationship between its width and height) to prevent distortion, stretching, or warping. Most image editing software provides a “constrain proportions” or “lock aspect ratio” option to help with this. As a best practice, Tophinhanhdep.com recommends exporting images at the exact dimensions they will be displayed on your site rather than letting a CMS dynamically resize a much larger image. This proactive approach saves server resources and ensures optimal display.
- Cropping: This technique involves removing unwanted outer portions of an image. Cropping reduces the total number of pixels, thereby decreasing the file size. It’s also an essential tool in visual design for improving composition, focusing on key subjects, or adapting an image to fit specific layouts or thematic collections. Removing unnecessary elements not only shrinks the file but also enhances the visual impact of beautiful photography.
Choosing the Right Image Format
The file format you choose has a significant impact on file size, quality, and how the image can be used:
- JPEG/JPG (Joint Photographic Experts Group): Best suited for photographic images, complex graphics, and images with smooth color gradients. It uses lossy compression, offering excellent file size reduction with acceptable quality for most uses. This is often the go-to for the vast collections of wallpapers, backgrounds, and general photography on Tophinhanhdep.com.
- PNG (Portable Network Graphics): Ideal for images requiring transparency (like logos or graphic design elements) or sharp lines and solid blocks of color. It uses lossless compression, meaning larger file sizes than JPEGs for photos but perfect quality preservation.
- GIF (Graphics Interchange Format): Best for simple animations and images with a limited color palette. Not suitable for high-quality photographs due to its 256-color limit.
- WebP: A modern image format developed by Google that offers superior lossy and lossless compression for images on the web. It can result in significantly smaller file sizes than JPEG or PNG while maintaining similar or better quality. Tophinhanhdep.com encourages its users to explore WebP for optimal web performance.
- TIFF (Tagged Image File Format): Primarily used for high-resolution print images and professional photography. TIFF files are typically very large because they store a lot of detail and often use lossless compression, making them unsuitable for web use directly.
Understanding these formats helps you select the most appropriate one for your image, directly contributing to efficient file size management, a key aspect of digital photography and visual design workflows.
Tophinhanhdep.com’s Recommended Tools and Workflows
Optimizing images doesn’t have to be a daunting task. A wide array of tools, from simple online compressors to professional desktop software, can help you achieve the perfect balance of size and quality. Tophinhanhdep.com recommends exploring these options to streamline your image management.
Online Image Tools for Quick Optimization
For users seeking quick and easy solutions without installing software, online tools are invaluable. They are perfect for optimizing aesthetic images, quick backgrounds, or casual photography for sharing.
- ShortPixel, TinyPNG, TinyWow, Aiseesoft Image Compressor Online, Compress JPEG/PNG: These web-based platforms are excellent for compressing images. Many, like ShortPixel, offer various compression levels (e.g., “Glossy” for a balanced outcome) and support batch processing, allowing you to upload multiple images at once. These tools often reduce JPG files by 40-80% without noticeable quality loss.
- Workflow Example (using a Tophinhanhdep.com recommended online compressor):
- Backup: Always make a backup copy of your original image. While these tools are robust, it’s good practice.
- Choose Settings: Select your desired compression level (e.g., “Glossy” for JPEGs or Lossless for PNGs).
- Upload: Drag and drop your photo(s) into the designated area or select them from your computer. Many services allow uploading up to 50 images at once.
- Download: Once compressed, download your optimized picture(s).
- Organize (Optional): Replace the original image with the compressed version in your folder, perhaps renaming it to indicate it’s optimized.
- Workflow Example (using a Tophinhanhdep.com recommended online compressor):
- Resizeimage.net and Simple Image Resizer: These tools specialize in resizing images to specific pixel dimensions. They are intuitive and ensure you maintain the aspect ratio, preventing distortions. Perfect for adjusting images to fit precise layouts in graphic design or website building.
These online platforms are fantastic for handling image collections and preparing them for Tophinhanhdep.com or other online galleries, ensuring that your photo ideas and thematic collections load swiftly.
Desktop Software for Advanced Control
For professional photographers, digital artists, and graphic designers who require fine-tuned control over every pixel, desktop applications are indispensable. Tophinhanhdep.com highlights these powerful tools for managing high-resolution, stock photos, and intricate digital art.
- Adobe Photoshop and Lightroom: These industry-standard tools offer unparalleled control over image manipulation and compression.
- Resizing in Photoshop (Using Image Size):
- Open your image in Photoshop.
- Navigate to
Image > Image Size. - In the dialog box, adjust
WidthandHeight(ensure “Constrain Proportions” is checked). You can also setResolution(e.g., 72 PPI for web). - For optimal reduction, Tophinhanhdep.com suggests selecting
Bicubic Sharper (best for reduction)under theResample Imagedropdown. - Click
OKand thenFile > Save Asto save your resized image.
- Cropping in Photoshop:
- Open your image.
- Select the
Crop Toolfrom the toolbar. - Drag the crop handles to define your desired area.
- Press
Enter(or the checkmark) to apply the crop. - Save the new image.
- Resizing in Photoshop (Using Image Size):
- GIMP (GNU Image Manipulation Program): A powerful, free, and open-source alternative to Photoshop. GIMP provides extensive tools for resizing, cropping, and optimizing images across Windows, macOS, and Linux. Its capabilities make it a strong recommendation from Tophinhanhdep.com for budget-conscious creators.
- SnagIt: While primarily known for screen capture, SnagIt also includes robust image editing features, including resizing. It offers a straightforward interface for adjusting image dimensions and saving.
- JPEGmini: A desktop application that excels at reducing JPEG file sizes without perceptibly reducing quality, often achieving significant reductions, making it ideal for large batches of photography.
- ImageMagick: For developers and those comfortable with command-line interfaces, ImageMagick provides a powerful suite of tools for image manipulation, including advanced compression and resizing scripts. This tool offers maximum automation for complex workflows on Tophinhanhdep.com.
- Reduce Images: This website-based tool allows you to compress AND change pixel dimensions simultaneously, offering a hybrid approach between online compressors and desktop resizers.
Built-in Operating System Tools
You don’t always need specialized software. Your computer’s operating system often comes with basic but effective image resizing and cropping tools. These are perfect for quickly optimizing images for personal use, such as preparing photos for a mood board or a digital frame from Tophinhanhdep.com’s aesthetic collections.
- Preview (macOS):
- Open your image in the Preview app.
- Go to
Tools > Adjust Size. - Enter your desired
WidthorHeight(ensureScale Proportionallyis checked). - Click
OK, thenFile > Exportto save the new version.
- Photos app (Windows 10/11):
- Open the Photos app and select your image.
- Click the “See More” menu (three dots) in the upper-right corner and select
Resize. - Choose from predefined sizes (S, M, L) or
Define Custom Dimensions(C). - Enter
WidthandHeight, ensuringMaintain Aspect Ratiois checked. You can also adjustQuality. - Click
Save Resized Copy.
Integrating Optimization into Your Workflow
Effective image optimization is not a one-time task but an ongoing process best integrated into your regular workflow:
- Make Backups: Before performing any compression or resizing, always create a backup copy of your original image. This safeguards your high-resolution files in case you’re unhappy with the outcome.
- Rename and Organize: After optimizing, rename your files descriptively (e.g.,
original-photo.jpgtooriginal-photo-optimized.jpgororiginal-photo-web.jpg). This helps in keeping your Tophinhanhdep.com collections organized. - Pre-Optimize for CMS: If you’re uploading images to a content management system like WordPress, always optimize them before uploading. While CMS platforms can perform some resizing, they often do so less efficiently, potentially leading to larger “scaled” images. Exporting at the exact display dimensions is always the best practice.
Best Practices for Maintaining Quality and Efficiency
Beyond knowing the tools, applying certain best practices ensures that your image optimization efforts yield the best results for quality, performance, and visual appeal, especially crucial for the beautiful photography and visual design aspects showcased on Tophinhanhdep.com.
Preserve Aspect Ratio and Original Quality
- Always Constrain Proportions: When resizing, consistently use the “constrain proportions” or “lock aspect ratio” feature in your editing software. This prevents your images from looking squashed or stretched, preserving the integrity of your abstract art or nature photography.
- Start with High-Quality Originals: It’s always easier to downscale a high-resolution image than to try and upscale a low-resolution one. When working with digital photography or stock photos, always begin with the highest quality original available. This provides more data for the optimization process to work with, allowing for better quality retention even after significant size reduction.
- Avoid Excessive Re-compression: Compressing an image multiple times (e.g., compressing with one tool, then another) can lead to cumulative quality degradation, especially with lossy formats. Optimize once, thoroughly, to achieve your target file size and quality.
Consider the End Use of Your Image
The ideal image size varies greatly depending on where and how the image will be displayed:
- Web Display (Tophinhanhdep.com, Blogs, Portfolios): For web pages, aim for a resolution of 72 DPI (dots per inch) and dimensions that match the display area. For instance, a full-width image on a typical blog might be 1200-1920 pixels wide. File sizes under 100KB are generally good, with under 30KB being excellent for very fast loading, as Tophinhanhdep.com strives for across its wallpapers and backgrounds.
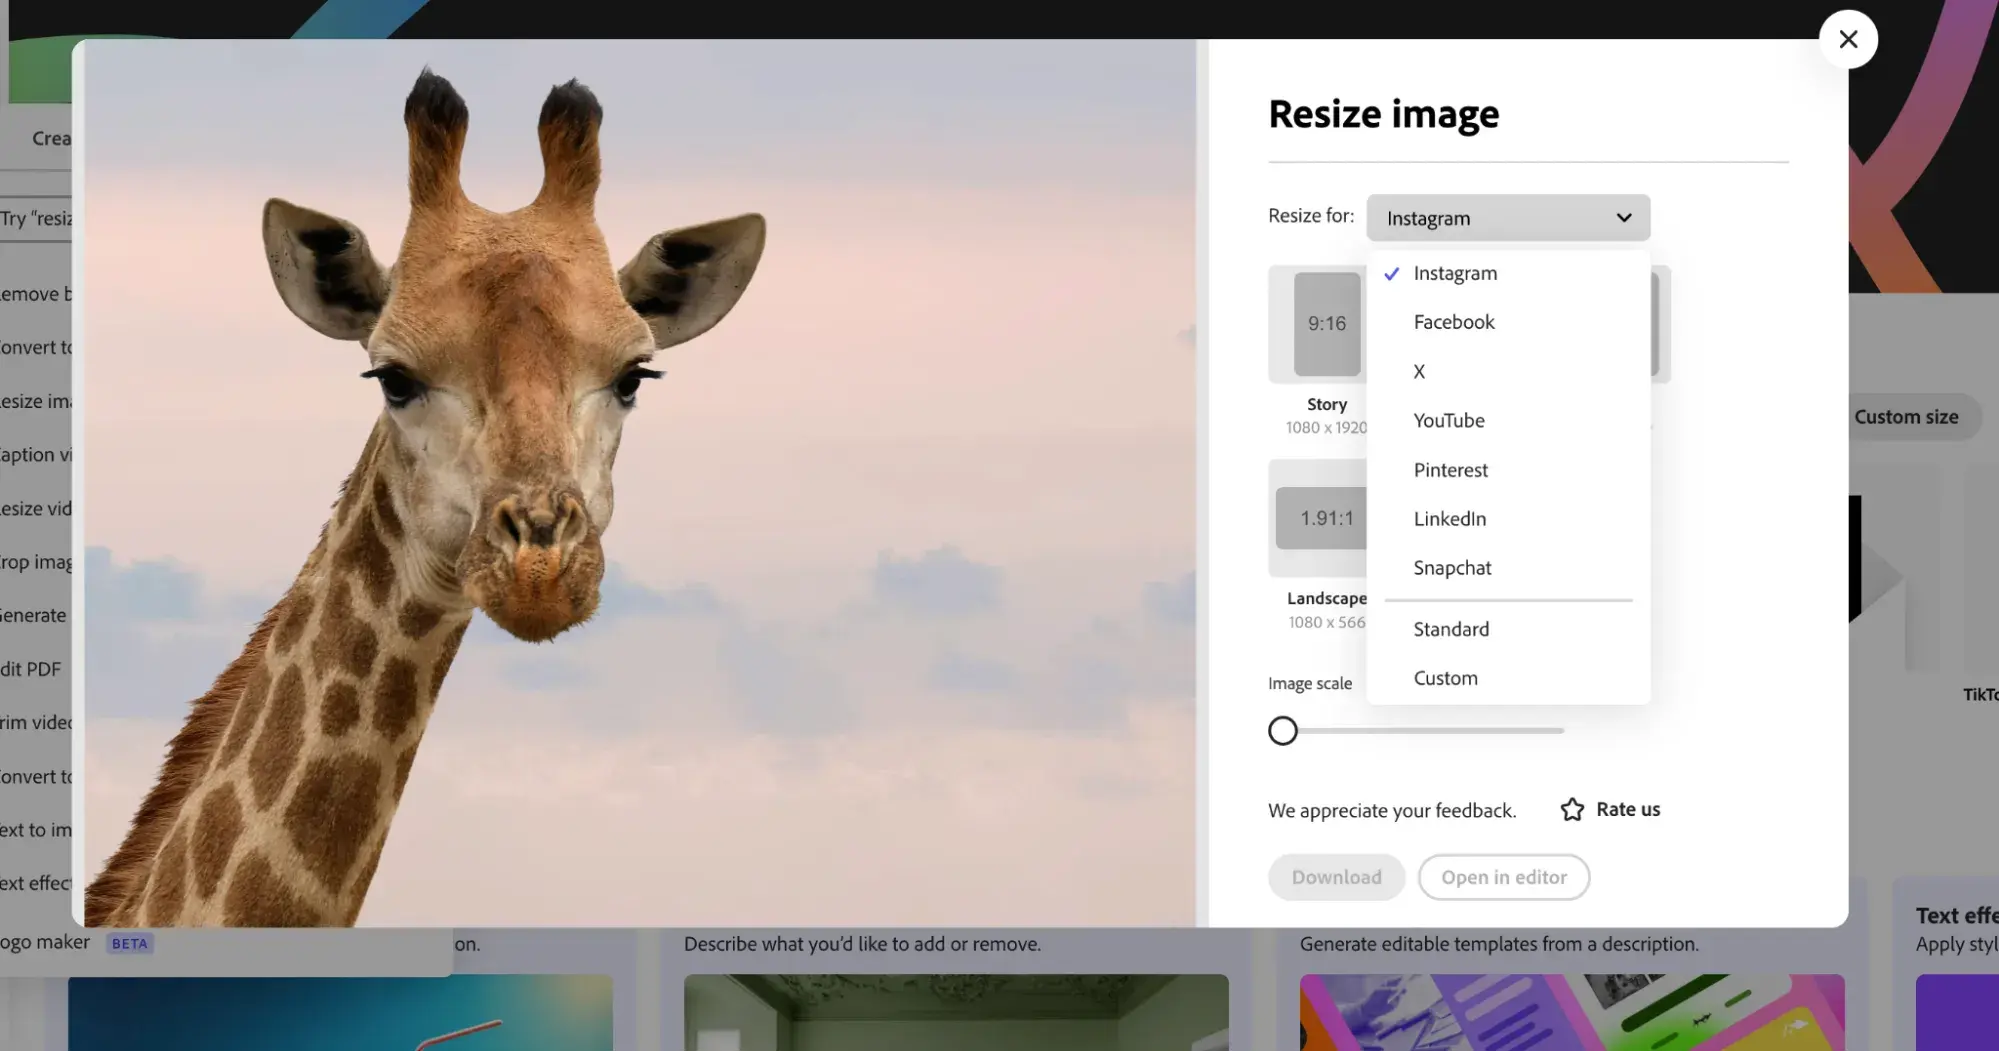
- Social Media: Each platform has its own recommended image dimensions and file size limits. Resizing images specifically for Instagram, Facebook, or Pinterest ensures they display correctly and load quickly.
- Email: Images in emails should be very small in file size (e.g., under 50KB) to avoid recipients facing slow downloads or exceeding inbox limits.
- Print: Print images require much higher resolutions (typically 300 DPI or more) and larger file sizes to ensure sharp, high-quality output. Never use a web-optimized image for print.
Visual Design Considerations
Optimizing images also ties into broader visual design principles, especially for graphic design and digital art creators on Tophinhanhdep.com:
- Impact of Edits on File Size: Be mindful that extensive photo manipulation, increasing brightness/contrast, or adding complex filters can sometimes increase file size. Simple images often compress more effectively.
- Text Over Images: While adding text over images is common for creative ideas and banners, recognize that it can increase file size. If text is paramount, consider using a solid background for text elements rather than a busy image, which can dramatically reduce the image’s baseline size.
- Avoid Unnecessary Images: In graphic design and web development, evaluate if every image is truly necessary. Sometimes, well-placed white space or text can be more effective than an image, contributing to overall page lightness.
- Format Choice: As discussed, use JPG for photographs and PNG for images with transparency or sharp graphics. For modern web projects, explore WebP.
In conclusion, mastering the art of making images smaller is an indispensable skill for anyone navigating the digital world. By understanding the underlying reasons, applying effective techniques like compression, resizing, and format selection, and utilizing the right tools—from simple online options to professional desktop software—you can ensure your visuals load quickly, look stunning, and contribute positively to your digital presence. Tophinhanhdep.com is committed to empowering you with the knowledge and resources to create, share, and enjoy images at their absolute best. Explore our extensive collections, learn more about photography, and unleash your visual design potential, knowing your images are perfectly optimized for every platform.