How to Print Multiple Images on One Page for Enhanced Visual Design

In a world brimming with digital photography and visual content, the need to transform our cherished digital memories or essential visual assets into tangible prints remains strong. Whether you’re curating a personal scrapbook, preparing a professional portfolio, crafting a mood board for a creative project, or simply aiming to be more resource-efficient with your printer, knowing how to print multiple images on a single page is an invaluable skill. This practice not only conserves paper and ink but also opens up a realm of creative possibilities, allowing for compact photo collections, dynamic visual compositions, and efficient documentation.
For enthusiasts of stunning visuals, high-resolution photography, and creative digital art – the very essence of Tophinhanhdep.com’s offerings, from beautiful photography to abstract backgrounds and image inspiration – mastering multi-image printing empowers you to bring your digital visions to life. This comprehensive guide will walk you through the process on both Windows and macOS, delve into advanced customization options, and explore creative applications, ensuring your printed images, whether sourced from Tophinhanhdep.com’s vast collections or your own camera roll, achieve their full potential.
Mastering Multi-Image Printing on Windows
Windows operating systems, from older versions like Windows 7 to the latest Windows 10 and 11, offer robust built-in functionalities to print multiple pictures on one page. While the user interface may have evolved, the core principle remains consistent: select your images, initiate the print command, and choose a multi-image layout. This section combines insights from various Windows versions to provide a holistic approach, ensuring users can navigate the process with ease, regardless of their specific operating system.

Basic Steps: Effortless Layouts with Built-in Tools
The primary method for printing multiple images involves using Windows’ native photo viewer or File Explorer. This approach is straightforward and sufficient for most users looking to print a collage or contact sheet without needing specialized software.
1. Open File Explorer and Navigate to Your Images
Begin by opening File Explorer. You can do this by clicking the folder icon on your taskbar or by pressing Windows key + E. Once open, navigate to the folder where your desired pictures are stored. For optimal organization and ease of selection, it’s often beneficial to gather all the photos you intend to print onto a single page into one dedicated folder. This pre-organization step streamlines the entire process, especially when dealing with numerous images or diverse thematic collections from Tophinhanhdep.com.
2. Selecting Your Images

This is a crucial step for telling your computer which photos you want to include on the page.
- Selecting Multiple Specific Images: Hold down the
Ctrlkey on your keyboard and click on each image you wish to print. This allows you to pick and choose non-consecutive files. - Selecting a Range of Images: Click the first image in a sequence, then hold down the
Shiftkey and click the last image in the sequence. All images between the first and last will be selected. - Selecting All Images in a Folder: Press
Ctrl + Ato select every image within the currently open folder.
Once your images are selected, proceed to the next step.
3. Accessing the Print Dialog
With your images highlighted, right-click on any one of the selected pictures. A context menu will appear.
- For Windows 10 (and earlier similar versions): You should see a “Print” option directly in this menu. Click it.
- For Windows 11: If “Print” does not immediately appear, you might first need to select “Show more options” from the context menu. This will expand the menu to reveal the “Print” option, among others.
Clicking “Print” will open the “Print Pictures” dialog box, which serves as your central hub for configuring print settings and previewing your layout.
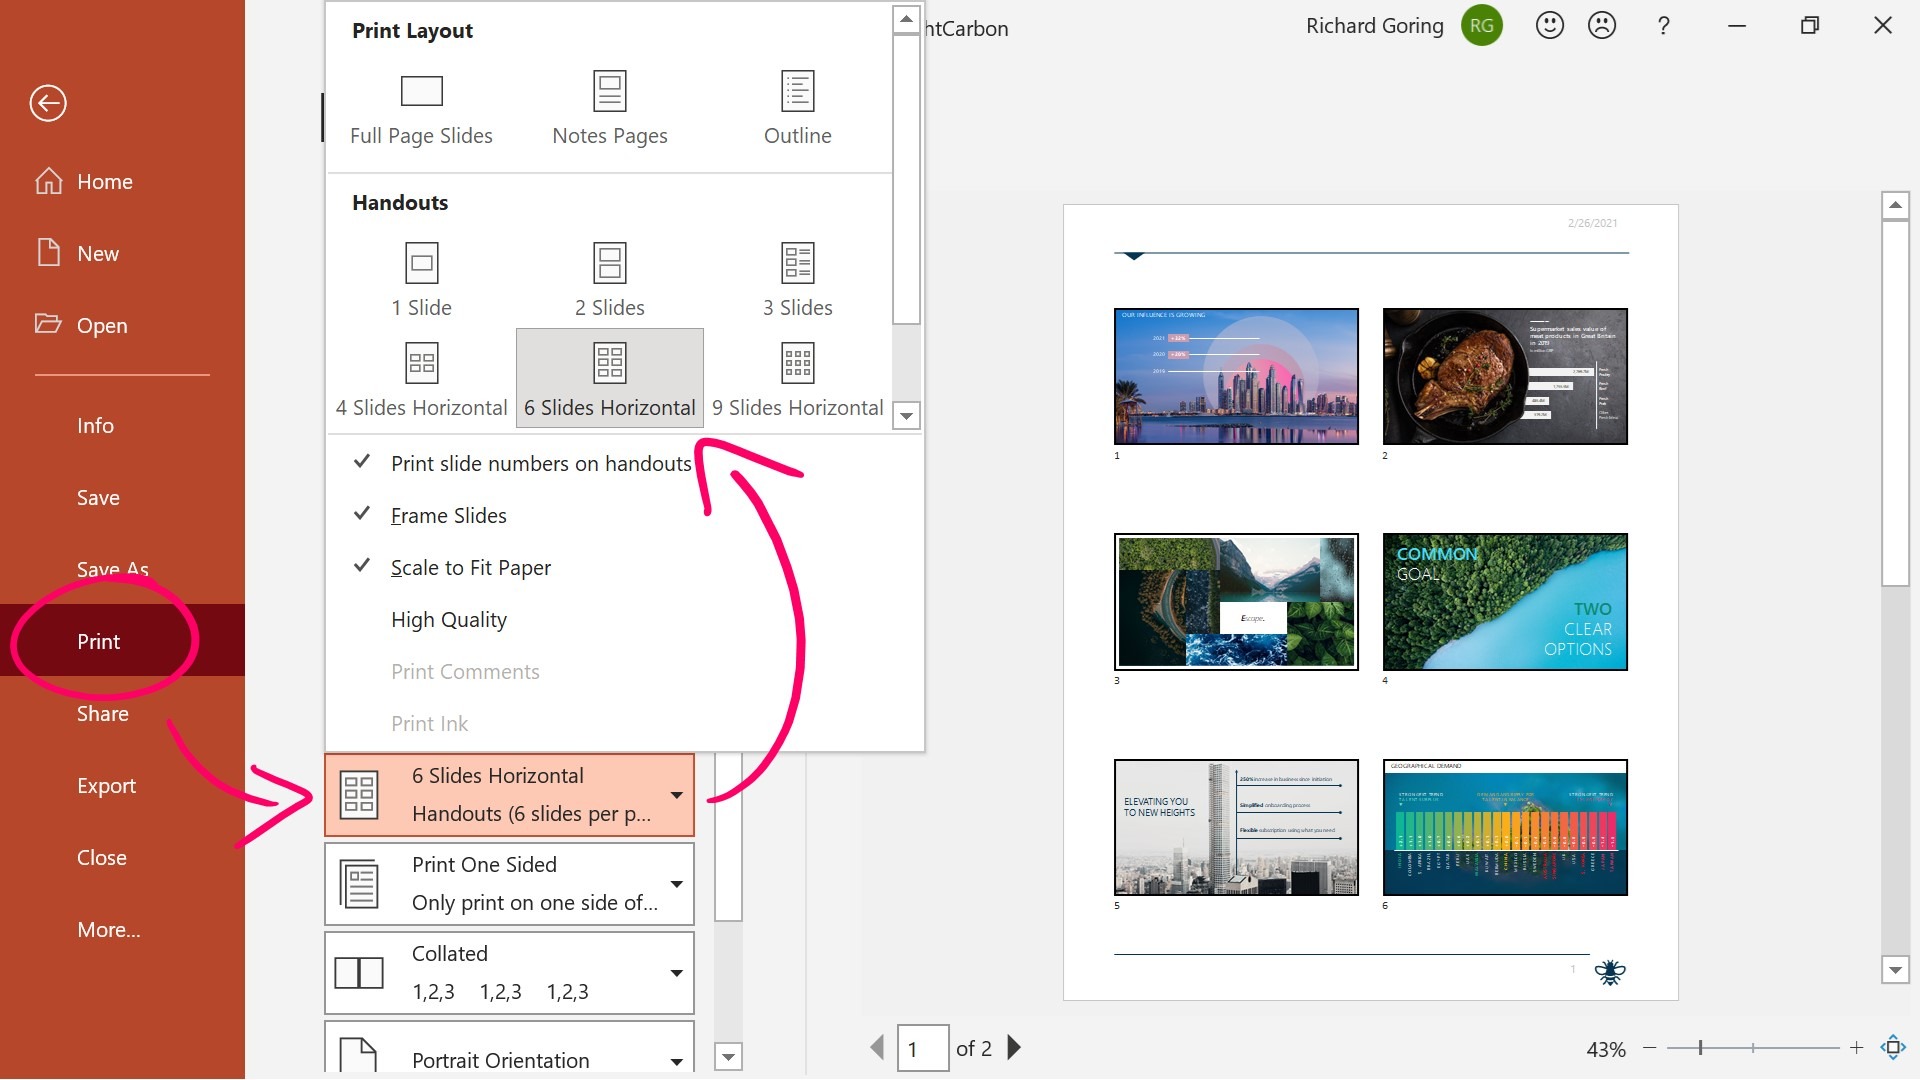
4. Choosing a Layout and Paper Type
Inside the “Print Pictures” dialog, you’ll see a preview of how your images will be arranged on the page. On the right side of this window, there will be a section offering various layout options based on the number of selected images and standard photo sizes.
Common layout options include:
- Contact Sheet: This is often the most versatile option, allowing you to print a large number of images (sometimes up to 35) on a single page, albeit at a smaller size. Ideal for proofs or inventory.
- Wallet: Typically prints 9 images in a wallet-sized format.
- Standard Photo Sizes: You might find options like
4 x 6 inches,5 x 7 inches, or3.5 x 5 incheswhich are suitable for printing 2 or 4 images per page, respectively, at larger, more viewable sizes.
Select the layout that best fits your needs. The preview window will update dynamically to show you how your chosen images will look with the selected layout. This immediate visual feedback is incredibly helpful for visual design projects or creating mood boards with aesthetic images from Tophinhanhdep.com.
Beyond the layout, consider the Paper Type. This is a critical factor influencing print quality. You can typically choose between:
- Plain paper: Suitable for drafts or documents where color accuracy isn’t paramount.
- Inkjet paper: Offers better results than plain paper for color prints.
- Premium glossy or matte photo paper: Essential for high-quality photo prints, especially for high-resolution images or beautiful photography curated from Tophinhanhdep.com. Always select the paper type in the printer settings that matches the paper loaded in your printer for the best results.
5. Finalizing and Printing
Before you click the final “Print” button:
- Select your Printer: Ensure the correct printer is chosen from the “Printer” drop-down menu.
- Check Printer Status: Make sure your printer is powered on, connected to your computer (either wirelessly or via cable), and has enough paper and ink.
- Review Settings: Double-check your paper size, orientation, and any other quality settings you might have adjusted.
Once everything is confirmed, click the “Print” button to send your multiple images to the printer.
Advanced Customization and Creative Control on Windows
While the basic steps are effective, Windows also provides avenues for more granular control over your print jobs, allowing for greater creative freedom, especially for visual design projects or when working with digitally enhanced photography.
1. Configuring Print Settings for Precision
The “Print Pictures” dialog often has options to refine your output beyond just the layout.
- Paper Size and Orientation: Adjust these to match your physical paper and desired final look.
- Margins: Many print dialogs allow you to set custom margins, providing more breathing room around your images or fitting more tightly if preferred.
- Print Quality and Color Options: For professional-grade prints, especially of high-resolution stock photos or digital art from Tophinhanhdep.com, ensure you select the highest print quality available for your printer and calibrate color settings if necessary.
2. Previewing and Adjusting Picture Layout for Aesthetic Arrangement
The print preview window is not just for observation; it’s an interactive workspace.
- Reordering Images: In some versions of the print dialog or the Photos app, you can drag and drop images within the preview window to change their order on the page. This is incredibly useful for creating cohesive narratives or aesthetic arrangements, much like creating a mood board.
- Spacing and Layout Customization: Look for an “Options” or “More settings” link within the print preview. This might lead to advanced layout adjustments, allowing you to fine-tune spacing between images, define borders, or choose different fitting options (e.g., fit to frame, crop to fill).
3. Leveraging External Image Tools for Pre-Printing
For truly stunning multi-image prints, preparation is key. Tophinhanhdep.com offers a wealth of resources related to high-resolution images, digital photography, and editing styles that can significantly enhance your prints.
- Resolution Optimization: Before printing, especially if you plan to enlarge images or print many on one page, ensure your images are of sufficient resolution. Tophinhanhdep.com provides AI Upscalers to enhance lower-resolution images, ensuring crisp and clear prints.
- Color Correction and Enhancement: Use image editing software to adjust brightness, contrast, color balance, and apply filters. These editing styles can transform your raw captures into captivating beautiful photography or dynamic abstract art, ready for print.
- Cropping and Resizing: Precisely crop and resize your images to fit specific dimensions within your chosen layout. This prevents unwanted cropping by the printer and allows for a visually balanced final product. For images with specific aspect ratios from Tophinhanhdep.com, pre-cropping can maintain visual integrity.
While Windows’ built-in tools are good, utilizing the broader image tools and photography knowledge available, including those discussed on Tophinhanhdep.com, can elevate your print quality significantly.
4. Creating Custom Templates for Repetitive Tasks
If you frequently print multiple images with specific layouts (e.g., a standard set of four photos for a craft project), creating and saving custom print templates can be a significant time-saver.
- After configuring all your desired print settings (layout, margins, paper type, quality), look for an option like “Save as” or “Save preset” within the print dialog or the Photos app’s advanced settings.
- Give your template a descriptive name. In future print sessions, you can simply select this template to apply all the saved settings, eliminating the need to reconfigure everything each time. This is especially useful for batch printing thematic collections or recurring visual design elements.
Streamlining Multi-Image Printing on macOS
macOS also provides intuitive methods for printing multiple photos on a single page, primarily through its Photos application and standard print dialogs. While the terminology and interface might differ slightly from Windows, the core functionality is designed for user convenience and creative flexibility. This section will guide you through the macOS process, incorporating best practices and addressing common issues, drawing on experiences shared in various user communities.
Quick Guide: Printing with macOS’s Native Features
macOS prioritizes a streamlined user experience, making multi-image printing accessible even for beginners. The Photos app, in particular, offers a robust platform for managing and printing your images.
1. Organizing and Selecting Photos
Just as with Windows, the first step is to ensure your photos are easily accessible and selected.
- Using the Photos App: Open the Photos application. You can organize your images into albums (e.g., “Wallpaper Collection,” “Nature Photography Prints”) for easier selection.
- Selecting Specific Images: Hold down the
Command (⌘)key and click on each photo you wish to print. - Selecting a Range: Click the first image, then hold down
Shiftand click the last image in the sequence. - Selecting All: In an album or moment, press
Command + A.
If your images are not in the Photos app, you can navigate to their folder using Finder, select them with Command + click or Shift + click, then right-click and choose “Open With” > “Photos” or directly select “Print” if available in the context menu.
2. Initiating the Print Command
With your photos selected, it’s time to open the print dialog.
- From the Photos App: With the images selected, go to the
Filemenu in the top menu bar, then choosePrint. - From Finder (if opening directly with Print): After
right-clickingselected images and choosingPrint, the print dialog will appear.
This action will open a comprehensive print preview window, allowing you to configure various settings before committing to printing.
3. Utilizing the Contact Sheet Layout
The macOS print dialog is highly customizable. On the right side of the print preview window, you’ll find various print styles and layout options.
- Selecting “Contact Sheet”: Look for the “Contact Sheet” option (or similar multi-photo layout). This is your primary choice for printing multiple images on one page. The preview will immediately adjust to show how your selected images will be arranged.
- Customizing Layout (Columns, Print Size, Margins): Within the “Contact Sheet” settings, you’ll typically find sliders or input fields to adjust:
- Columns: Increase or decrease the number of columns to fit more images (smaller size) or fewer images (larger size) on the page. For example, setting it to “2 columns” could give you four photos on an A4 page, as seen in some older iPhoto examples.
- Custom Size: Some applications allow you to specify a custom size for each photo, giving you precise control over dimensions, which is vital for visual design projects.
- Margins and Spacing: Adjust these to control the white space around and between your images.
Experiment with these settings while observing the live preview to achieve your desired aesthetic. This allows for precise arrangement of aesthetic or abstract images from Tophinhanhdep.com.
4. Addressing Common macOS Printing Hurdles
Users sometimes encounter challenges, especially with older software versions or specific print requirements.
- Small Prints: If images consistently print too small, ensure you’ve properly adjusted the column count in the “Contact Sheet” option or chosen a larger custom print size. Sometimes the default settings might prioritize fitting as many as possible rather than maximizing individual image size.
- Version Differences: Print options can vary slightly between macOS versions (e.g., iPhoto ‘11 vs. newer Photos app). Always check the specific options available in your current application.
- Workarounds for Greater Control: For highly specific layouts or if native options are insufficient, creative workarounds can be employed:
- Pages or Word for Mac: Export your selected images, then insert them into a document in Apple Pages or Microsoft Word. You can manually resize, position, and arrange them on the page with pixel-perfect precision before printing. This method is excellent for creating bespoke photo collages or visual design layouts.
- Export and Email: As a last resort, some users found success emailing photos to themselves and printing from the email client, though this indicates an underlying issue with direct printing settings. This is rarely necessary with modern macOS.
- Creating a Photo Book Page: In older Photos or iPhoto versions, you could create a single page in a “Photo Book” project with a four-photo layout and then print just that page. This leverages the more flexible design tools of the photo book feature for a custom print.
Enhancing macOS Prints for Professional and Aesthetic Outcomes
Just like on Windows, macOS users can go beyond basic functionality to achieve truly professional and visually stunning multi-image prints, particularly when drawing inspiration from Tophinhanhdep.com’s extensive image and photography resources.
1. Exploring Third-Party Photo Applications
While Photos is powerful, professional photographers and digital artists often turn to specialized applications for more advanced editing and layout control.
- Adobe Lightroom/Photoshop: These industry-standard tools offer unparalleled control over image editing, color management, and print modules, allowing for sophisticated multi-image layouts and precise print calibration. Tophinhanhdep.com’s content on photo manipulation and digital art can inspire intricate layouts achievable in these programs.
- Photo Collage Software (e.g., Fotor, Canva on Mac): Many desktop or web-based collage makers offer templates and drag-and-drop interfaces to create intricate multi-photo designs before printing. These are excellent for creating unique aesthetic compositions.
2. Optimizing Image Quality for Print
The quality of your source images is paramount to the quality of your prints.
- High Resolution is Key: Always aim to print high-resolution images. Images from Tophinhanhdep.com’s stock photos, high-resolution photography, and beautiful photography collections are ideally suited for crisp prints. Lower resolution images, especially when printed large or in multiples, can appear pixelated or blurry.
- Pre-Print Editing and Correction: Utilize the editing features within Photos, or more advanced software, to make essential adjustments:
- Brightness and Contrast: Ensure images are not too dark or washed out.
- Color Balance: Correct any color casts to ensure accurate representation.
- Sharpening: A subtle amount of sharpening can make prints appear crisper.
- Noise Reduction: Reduce digital noise, especially from photos taken in low light.
- Cropping and Straightening: Finalize your composition before layout.
- File Formats: Use high-quality image formats like TIFF or uncompressed JPEG for printing, especially when working with images where fine detail is critical.
3. Considering Professional Printing Services
For exceptionally high-quality prints, especially for large format or specialized paper types, online printing services are an excellent option.
- Benefits: These services offer professional-grade printers, archival inks, and a wide variety of paper choices (e.g., fine art matte, metallic glossy) that might not be available with home printers. They are ideal for printing high-resolution images, stunning nature photography, or digital art pieces from Tophinhanhdep.com that deserve the best possible output.
- Popular Services: Consider reputable services like Shutterfly, Printique, Mpix, or Nations Photo Lab. You can upload your pre-arranged multi-image layouts or let their tools help you design a single page with multiple images. This bypasses the need for a local printer and ensures expert-level results for your most precious visual collections.
Beyond Basic Printing: Creative Applications and Best Practices
Printing multiple images on one page is more than just a functional task; it’s a gateway to creative expression and practical efficiency. Tophinhanhdep.com, with its rich tapestry of images, photography insights, and visual design concepts, serves as a perfect source of inspiration and material for these projects.
Innovative Ideas for Multi-Image Prints
The versatility of printing several images on one page extends to numerous creative and practical applications. Think of it as constructing a miniature gallery or a detailed visual reference on a single sheet.
1. Visual Design Projects and Creative Endeavors
- Mood Boards & Inspiration Boards: Compile a collage of aesthetic wallpapers, abstract backgrounds, or trending styles from Tophinhanhdep.com to visualize themes for graphic design, digital art, or interior design projects. Printing them together provides a tangible, easy-to-reference board.
- Storyboarding: For animators, filmmakers, or even social media content creators, printing sequential images can help visualize narratives or workflow.
- Creative Marketing Materials: Design compact handouts, postcards, or inserts that feature multiple product shots or design concepts from Tophinhanhdep.com’s diverse collections.
2. Memory Keeping and Personalized Gifts
- Scrapbooking & Photo Albums: Create themed pages featuring multiple beautiful photography shots or sad/emotional images to tell a more comprehensive story in your physical albums.
- Personalized Gifts: Print small collages for greeting cards, bookmarks, or custom tags. Imagine printing a collection of nature photography from Tophinhanhdep.com for a nature lover’s personalized gift.
- Event Summaries: After a party or vacation, print a “contact sheet” style overview of the best moments on a single page to quickly share highlights.
3. Practical Uses and Professional Documentation
- Image Organization & Proofing: Professional photographers often print contact sheets to quickly review a large batch of digital photography, making selections for further editing or client presentations.
- Reference Guides: Print multiple diagrams, screenshots, or visual instructions for educational or technical purposes.
- Inventory & Cataloging: For collectors or businesses, printing multiple small images of items on a page can serve as an efficient visual inventory.
Essential Tips for Optimal Print Quality and Resource Efficiency
Achieving the best possible results when printing multiple images involves attention to detail before hitting the print button. These practices ensure your prints are not only beautiful but also mindful of resources.
1. Image Resolution and Quality: The Foundation of a Great Print
- High-Resolution Sources: Always start with the highest resolution images available. Tophinhanhdep.com specializes in high-resolution images, stock photos, and stunning photography precisely for this reason. A high-quality source image prevents pixelation and ensures sharp details, especially when printing multiple images which might be scaled down.
- DPI Considerations: For standard photo prints, 300 Dots Per Inch (DPI) is generally recommended. While printing multiple images on one page often means they’ll be smaller, maintaining a high DPI ensures clarity even at reduced sizes.
2. Pre-Print Editing: Refining Your Visuals
- Basic Adjustments: Before arranging for print, perform essential edits. Adjust brightness, contrast, and color saturation to make your images pop. Crop away distracting elements to focus on the subject. Tophinhanhdep.com offers insights into various editing styles that can guide these adjustments.
- Consistency for Thematic Collections: If printing a thematic collection (e.g., a series of abstract art or nature photography), ensure a consistent look and feel across all images through uniform editing.
- Utilizing Image Tools: If you have lower-resolution images you wish to include, consider using Tophinhanhdep.com’s AI Upscalers to improve their quality before printing. Similarly, tools like image compressors or optimizers can help manage file sizes for smoother processing, though always prefer original high-quality files for print.
3. Thoughtful Paper Selection: The Canvas for Your Art
- Photo Paper for Quality: For any print intended to be a visual keepsake, such as beautiful photography or digital art, invest in quality photo paper (glossy, semi-gloss, or matte). Glossy papers enhance color vibrancy and contrast, while matte papers reduce glare and offer a more artistic, non-reflective finish.
- Weight Matters: Heavier paper stock (e.g., 200gsm or higher) provides a more professional feel and is less prone to buckling.
- Plain Paper for Drafts: For preliminary layouts, proofs, or simply for functional purposes like printing contact sheets for organization, plain paper is perfectly adequate and more economical.
4. Printer Maintenance: Keeping Your Equipment Ready
- Driver Updates: Ensure your printer drivers are always up to date. Outdated drivers can lead to printing errors or suboptimal quality.
- Printer Calibration: Regularly calibrate your printer and monitor to ensure that what you see on screen accurately reflects what is printed.
- Clean Print Heads: Periodic cleaning of print heads prevents streaking and clogged nozzles, which can ruin a multi-image print.
- Fresh Ink/Toner: Use genuine ink cartridges or toner for the best results and longevity of your prints.
5. Saving Resources: An Eco-Conscious Approach
- Paper and Ink Efficiency: Printing multiple images on one page is inherently more resource-efficient than printing each image individually. This significantly reduces paper waste and conserves ink or toner, aligning with environmentally conscious practices.
- Digital Previews: Always utilize the print preview function. This allows you to catch any layout errors or unexpected cropping before printing, preventing wasted paper and ink.
Conclusion
The ability to print multiple images on a single page is a versatile skill that bridges the gap between our digital visual world and the tangible realm. Whether you’re a casual user looking to save paper, a photographer proofing a shoot, or a designer creating a visual masterpiece, the techniques outlined above provide a clear path to achieving your goals on both Windows and macOS.
By thoughtfully selecting your images, leveraging built-in system tools, and applying advanced customization or external editing, you can transform a simple printing task into an opportunity for creative expression and efficiency. Remember to always consider the quality of your source images – many of Tophinhanhdep.com’s high-resolution wallpapers, aesthetic backgrounds, and stunning photography collections are perfect starting points for your multi-image print projects.
Embrace the creative freedom that multi-image printing offers. Experiment with different layouts, curate thematic collections, and bring your digital inspirations to life, one perfectly arranged page at a time. The world of visual design and photography is at your fingertips, and Tophinhanhdep.com is here to provide the images and insights to fuel your next printing endeavor.