The Ultimate Guide to Recovering Lost Images from Your SD Card with Tophinhanhdep.com

In the digital age, our lives are meticulously documented through photographs and videos, often stored on convenient SD (Secure Digital) cards. From breathtaking high-resolution nature shots and abstract art pieces to cherished family portraits and aesthetic lifestyle moments, these tiny memory cards hold immense value. However, the convenience comes with a lurking risk: accidental deletion, card corruption, or unforeseen formatting can instantly wipe away years of memories and valuable digital photography. The thought of losing such irreplaceable visual assets can be daunting, evoking sad and emotional responses from photographers and everyday users alike.

Fortunately, losing images from an SD card doesn’t always mean they’re gone forever. Much like a digital ghost, deleted files often remain on the card, waiting to be overwritten. Acting quickly and employing the right recovery strategies, often powered by specialized image recovery software, can significantly increase your chances of successful restoration. At Tophinhanhdep.com, we understand the profound importance of your digital imagery, whether it’s for professional stock photos, personal wallpapers, or inspiring visual design projects. This comprehensive guide will walk you through the essential steps and recommended tools to recover those lost pictures, ensuring your beautiful photography and creative ideas live on.
Understanding SD Card Data Loss: Why Your Cherished Visuals Aren’t Gone Forever

Before diving into the recovery process, it’s crucial to understand why data loss occurs and, more importantly, why recovery is often possible. This knowledge empowers you to act effectively and increases your success rate.
The Invisible Remains: What Happens When You “Delete” a File?
When you “delete” an image from your SD card, whether it’s a stunning background, a piece of digital art, or a high-resolution photograph, it’s rarely erased permanently right away. Instead, the operating system simply removes the pointer or “address” to that file in the card’s file system table. The actual data, the raw bytes that make up your image, remains largely intact. The space it occupied is then marked as “available” for new data.
This is why immediate action is critical. Every new photo you take, every file you save to the card, risks overwriting these invisible remains. Once overwritten, the original data is permanently lost, making recovery impossible. This concept is fundamental to all data recovery efforts, emphasizing the urgency of stopping all activity on the SD card as soon as data loss is detected.
Common Threats to Your Digital Photography
Image loss from SD cards can stem from a variety of sources. Understanding these common scenarios can help prevent future incidents and inform your recovery approach.
Accidental Deletion & Formatting Nightmares
This is perhaps the most common cause of data loss. A slip of the finger, a hasty click, or an erroneous command can lead to the deletion of a single image, an entire folder of beautiful photography, or even the accidental formatting of the entire card. When an SD card is “quick formatted,” it primarily clears the file system, making it appear empty but often leaving much of the underlying data recoverable. A “full format,” however, overwrites the data more extensively, significantly reducing recovery chances.
Card Corruption & Physical Damage Challenges
SD card corruption can manifest in various ways: the card becomes unreadable, files appear fragmented or garbled, or the device prompts you to format it before use. Corruption can be caused by:
- Improper Ejection: Removing the card while data is being written or read can damage the file system.
- Power Fluctuations: Sudden power loss during write operations can lead to incomplete data.
- Malware/Viruses: Infections from a connected computer can corrupt files or the card’s structure.
- Manufacturing Defects: Less common, but sometimes cards fail due to inherent flaws.
- Physical Damage: While software can’t fix a physically broken card (e.g., snapped in half, water damaged), minor logical damage can often be addressed. For severe physical damage, professional data recovery services recommended by Tophinhanhdep.com would be necessary.
Crucial First Steps for Successful Image Recovery
The initial actions you take after discovering lost images are paramount. These steps can make the difference between a full recovery and permanent data loss.
The Golden Rule: Stop Using the SD Card Immediately
This cannot be stressed enough. As soon as you realize images are missing or the card is corrupted, stop using it. Remove it from your camera, phone, or computer. Do not take any more photos, do not save any more files, and do not attempt to reformat it (unless specifically instructed to by recovery software in a controlled environment, and even then, proceed with caution). This prevents new data from overwriting the sectors where your lost images reside, preserving their recoverability.
Preparing Your System for Recovery
Once the SD card is safely removed, prepare your computer for the recovery process.
- Card Reader: You’ll need an SD card reader to connect the card to your computer. Most modern laptops have one built-in, or you can use an external USB reader. Ensure it’s functioning correctly.
- Adequate Storage: Ensure your computer has sufficient free space to save the recovered files. Never save recovered files back to the same SD card you are recovering from, as this risks overwriting other lost data. Create a new, easily accessible folder on your hard drive for the recovered images.
- Download Recovery Software: Visit Tophinhanhdep.com to find and download our recommended image recovery tools. We provide access to powerful software designed to handle various data loss scenarios, ensuring you have the best chance to restore your high-resolution photography and other valuable image assets.
Tophinhanhdep.com’s Guide to Recovering Your Lost Images
Tophinhanhdep.com recommends several robust methods for recovering images from SD cards, catering to different operating systems and user preferences. These methods leverage advanced algorithms to scan deeply and reconstruct lost files, from aesthetic wallpapers to critical stock photos.
Method 1: Harnessing the Power of Tophinhanhdep.com’s PhotoRec-Inspired Approach (Any OS)
Drawing inspiration from powerful open-source tools, Tophinhanhdep.com provides guidance on a PhotoRec-inspired recovery method that is highly effective across Windows, macOS, and Linux. This method is particularly strong at recovering a wide array of file types even from severely damaged or formatted cards, making it ideal for high-resolution photography and diverse image collections.
A Step-by-Step Recovery Journey
- Access Tophinhanhdep.com’s Recommended Recovery Tool: Download the PhotoRec-inspired utility directly from Tophinhanhdep.com. This software typically comes as a portable application, meaning no installation is required; simply extract the files.
- Connect Your SD Card: Insert your SD card into your computer’s card reader.
- Launch the Program: Run the executable file provided by Tophinhanhdep.com. You will typically interact with a command-line interface, using arrow keys and the Enter key to navigate.
- Select Your SD Card: From the list of detected storage devices, identify and select your SD card. Pay attention to the drive size to ensure you select the correct one.
- Choose the Partition: Most SD cards have a single partition. Select it and proceed.
- Specify File Options: This is a crucial step for image recovery. Tophinhanhdep.com’s guide will help you navigate the “File Opt” menu. Deselect all file types you are not looking for, and ensure common image formats like JPG, JPEG, RAW (e.g., CR2, NEF, ARW), PNG, TIFF, GIF, BMP, SR2, and DNG are selected. This significantly speeds up the scan.
- Select File System Type: For most SD cards, choose “Other” as the file system type.
- Define Scan Area: If you’re recovering accidentally deleted files, select “Free” space. If the card is corrupted, select “Whole” to perform a deeper scan of the entire disk.
- Choose Save Location: Crucially, select a folder on your computer’s hard drive to save the recovered files. Do not save them back to the SD card. Tophinhanhdep.com emphasizes creating a new, dedicated folder for this purpose.
- Initiate Recovery: Confirm your selections to start the scanning and recovery process. This can take a significant amount of time depending on the card’s size and condition.
- Review Recovered Files: Once complete, navigate to your chosen save location. File names are often corrupted during this type of recovery, so you’ll need to manually browse through the files to identify your lost images, aesthetic backgrounds, or high-resolution photography.
Targeting Specific Image Formats (JPG, RAW, PNG, etc.)
This PhotoRec-inspired method is praised for its ability to recognize and recover hundreds of file signatures, making it invaluable for photographers. Whether you’re trying to retrieve standard JPGs or specialized RAW formats from your digital photography workflow, Tophinhanhdep.com’s tool provides the capability to pinpoint and restore these crucial files, ensuring the maximum quality of your recovered images.
Method 2: Seamless Recovery for Windows with Tophinhanhdep.com’s ZAR-Inspired Tool
For Windows users seeking a more intuitive, graphical interface for image recovery, Tophinhanhdep.com offers a ZAR-inspired tool, designed for straightforward photo restoration. This method is particularly user-friendly and specializes in image file recovery.
The User-Friendly Path to Photo Restoration
- Download from Tophinhanhdep.com: Obtain Tophinhanhdep.com’s recommended ZAR-inspired recovery companion, available for free for image-only recovery.
- Stop SD Card Access: As always, ensure no further data is written to the card.
- Insert SD Card: Connect your SD card to your Windows computer. If prompted to format the card, do not proceed. This prompt usually indicates corruption, but formatting will reduce recovery chances.
- Launch the Tool: Open the ZAR-inspired software from Tophinhanhdep.com. Select the “Image Recovery (Free)” option.
- Select SD Card: Choose your SD card from the list of disks and partitions presented. It should be clearly labeled, often by its brand or size. Click “Next” to begin the scan.
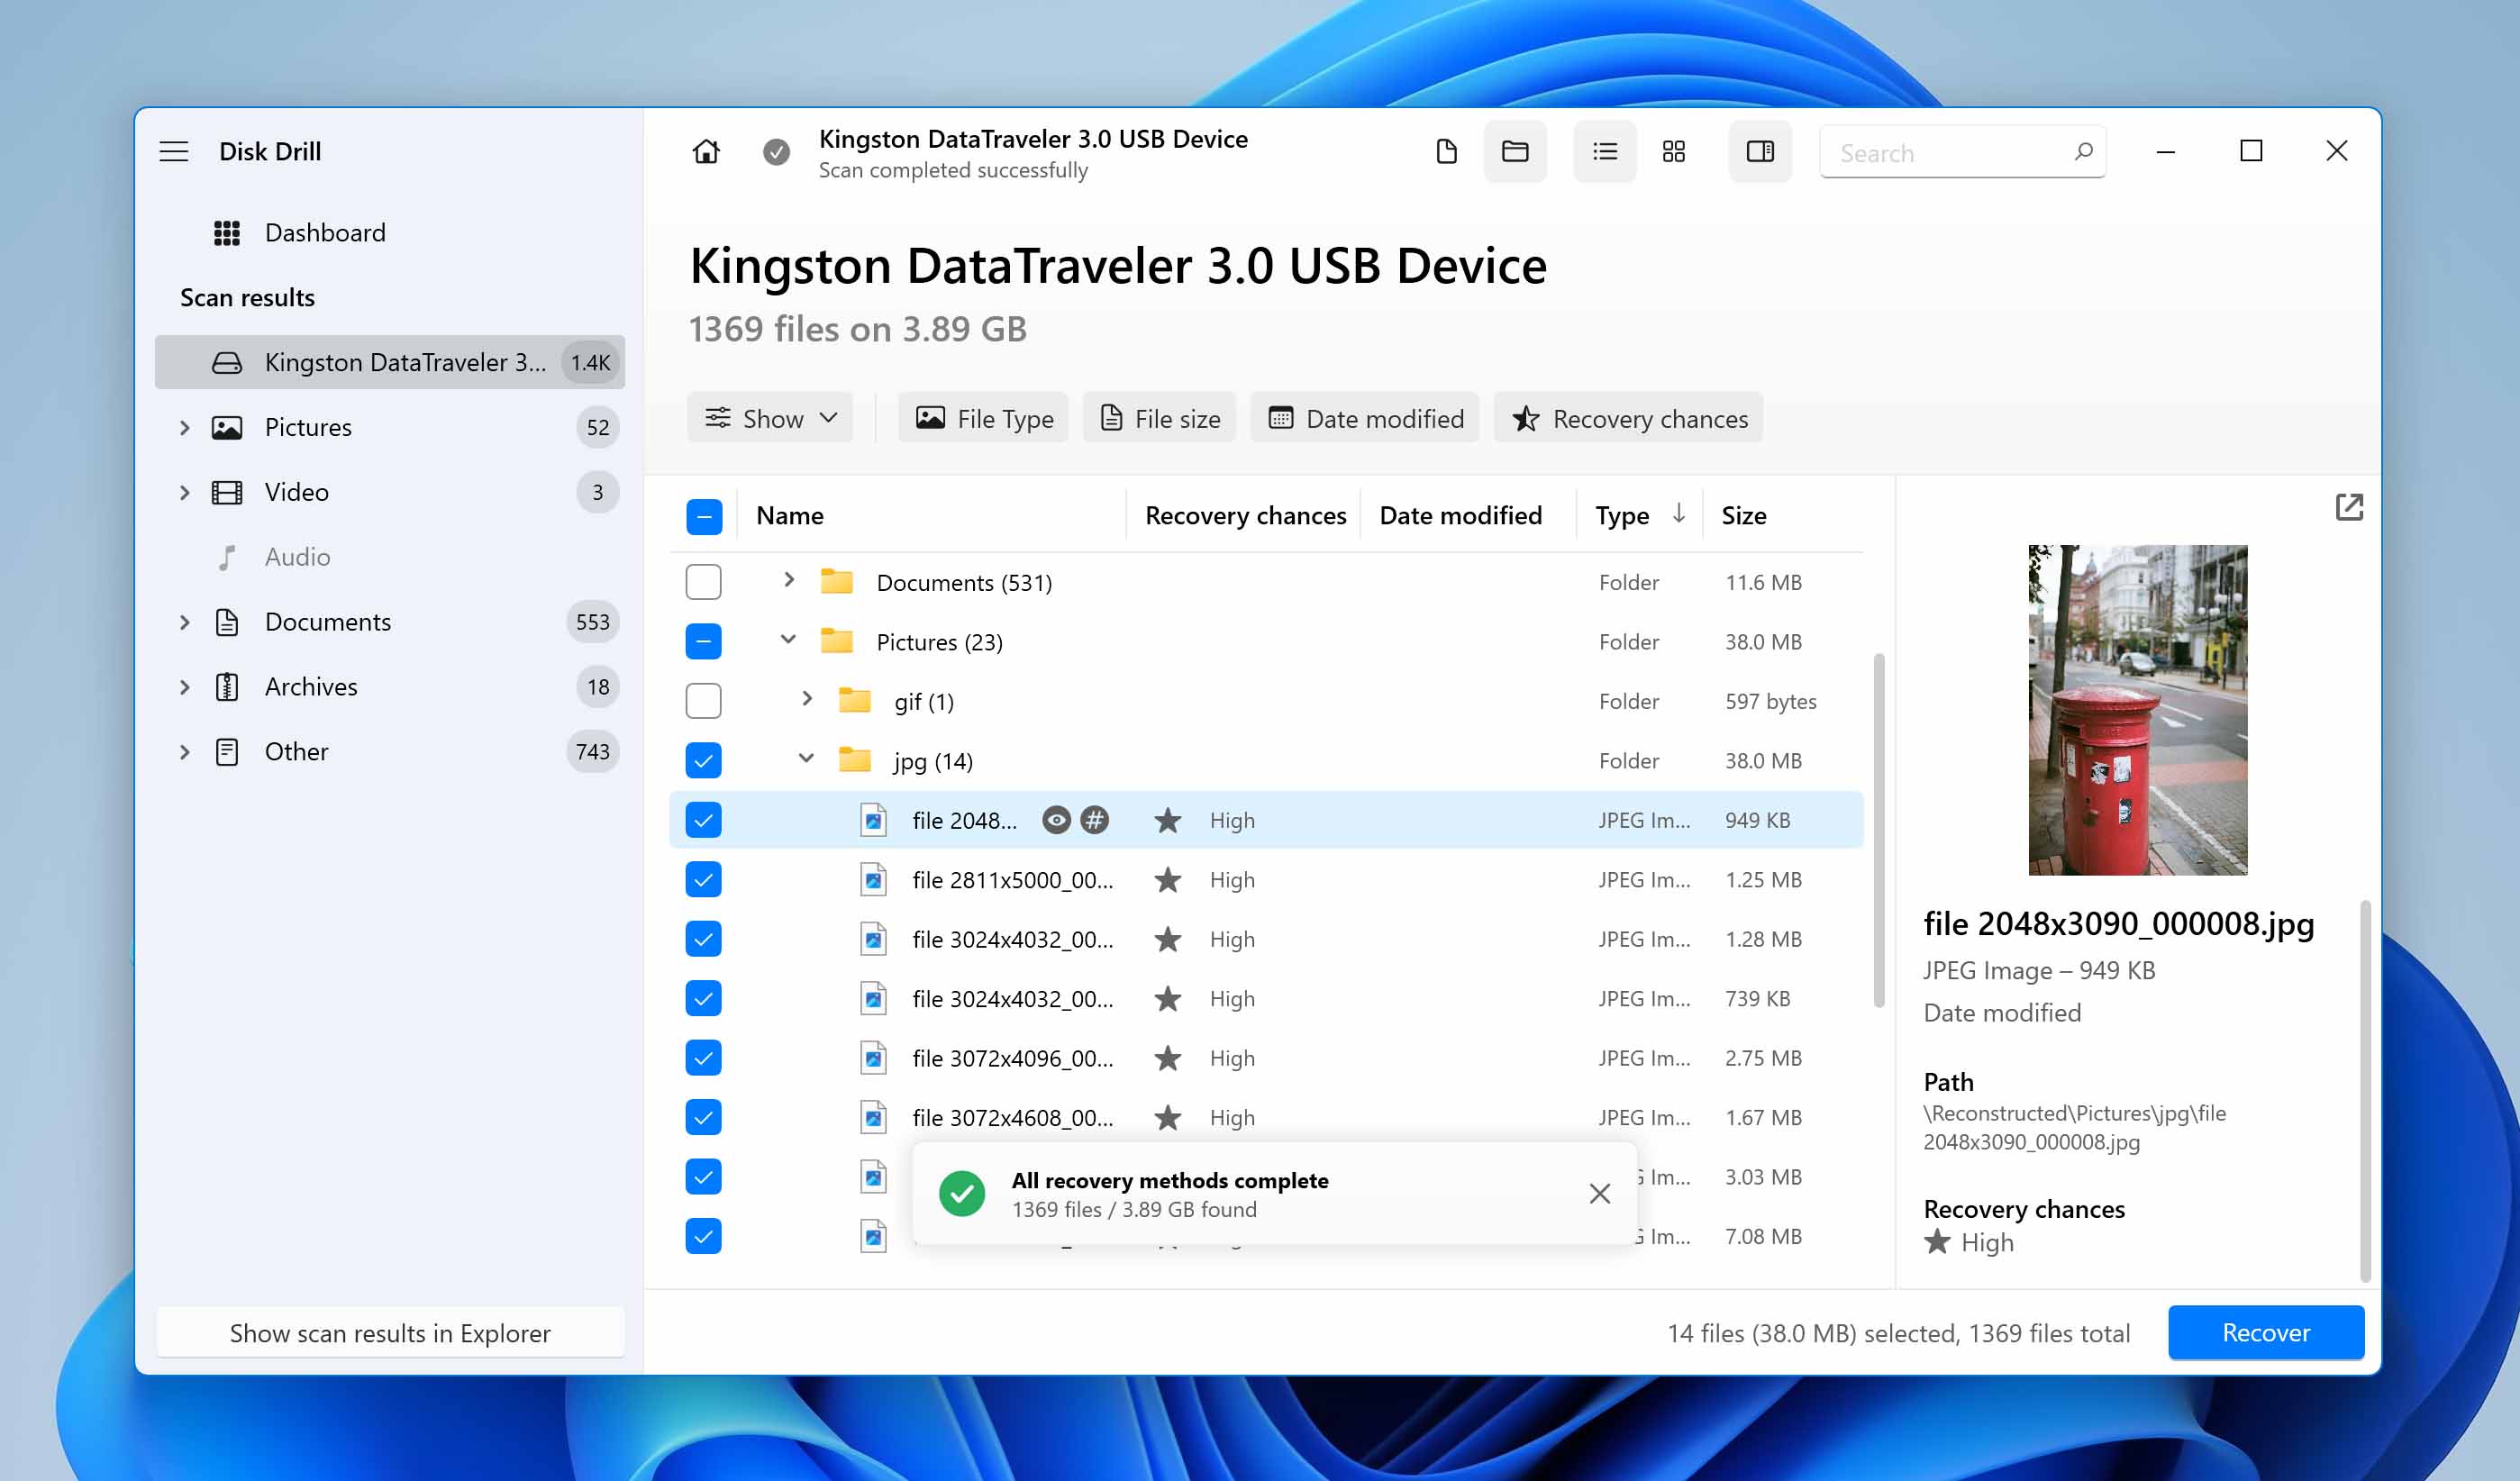
- Choose Images to Recover: The software will display a list of found images. You can select specific images or choose to restore all of them. While thumbnails might be available, filenames are frequently lost, so reviewing the content is key for identifying your beautiful photography or abstract images.
- Specify Save Location: Select a secure folder on your computer’s hard drive to save the recovered images. Again, avoid saving them back to the original SD card.
- Start Copying: Click “Start copying the selected files” to complete the process.
- Browse and Organize: Navigate to your save location to view your restored images. Some files might be partially damaged, but many will be fully recovered, ready to be incorporated back into your image collections.
Key Considerations for Windows Users
This Tophinhanhdep.com recommended tool excels in its ease of use for recovering various aesthetic, nature, and stock photos. It provides a visual interface that is less intimidating than command-line alternatives, making it a great option for users who prioritize simplicity in digital photography restoration.
Method 3: Mac-Optimized Photo Recovery with Tophinhanhdep.com’s Data Rescue 3 Alternative
Mac users also have a robust option through Tophinhanhdep.com’s Data Rescue 3-inspired recovery software. This professional-grade tool is celebrated for its powerful scanning capabilities and user-friendly design tailored for macOS, ideal for digital art, high-resolution photography, and critical image collections.
Scanning and Selecting Your Visual Assets
- Download from Tophinhanhdep.com: Acquire Tophinhanhdep.com’s recommended Data Rescue 3 alternative for macOS.
- Cease SD Card Usage: Immediately stop all activity on the SD card to prevent overwriting.
- Connect SD Card: Insert the SD card into your Mac.
- Launch the Software: Open the Data Rescue 3-inspired application from your Applications folder. Select “Start New Scan.”
- Select SD Card/Volume: Choose your SD card from the list of drives. If multiple volumes appear, select the entire SD card device.
- Choose Scan Method: Tophinhanhdep.com advises starting with a “Deleted Files Scan” to target free space. If initial results are poor, follow up with a “Quick Scan” and then a “Deep Scan” for a more thorough search. Click “Start.”
- Wait for Scan Completion: Allow the scan to run. Deep scans can be time-consuming but are often necessary for comprehensive recovery of complex image formats. You can pause the scan if needed.
- Select Files for Recovery: Upon completion, you’ll see a list of recoverable files.
- Deleted Files/Deep Scan: Check the “Reconstructed Files” section for images, which may have generic filenames but are often intact.
- Quick/Deep Scan: Look under “Found Files.”
- Use the “Preview” function to verify your images (e.g., wallpapers, beautiful photography).
- Restore Your Digital Art & Photography: Click “Recover” and select a safe destination on your Mac’s hard drive. Never recover to the source SD card. Once saved, your digital art and photography will be accessible.
Beyond Recovery: Cultivating and Protecting Your Image Collections with Tophinhanhdep.com
Recovering your lost images is a significant victory, but it’s also an opportune moment to implement strategies for future protection and enhanced image management. Tophinhanhdep.com is not just a recovery resource; it’s a comprehensive platform for all your visual needs.
Safeguarding Your Future Photography
Prevention is always better than cure. By adopting proactive measures, you can drastically reduce the risk of future data loss incidents for your high-resolution photography, aesthetic images, and creative ideas.
Strategic Backup Solutions
- Routine Backups: Regularly back up your SD card content to multiple locations (e.g., external hard drives, cloud storage services like Google Photos or OneDrive). Tophinhanhdep.com recommends automating this process whenever possible.
- Cloud Storage: Utilize cloud services for critical image collections. This provides off-site storage, protecting your beautiful photography even if your physical devices are lost or damaged.
- Redundancy: Follow the “3-2-1 backup rule”: keep 3 copies of your data, on 2 different media, with 1 copy off-site.
Best Practices for SD Card Longevity
- Safe Ejection: Always “safely remove” or “eject” your SD card from your computer before physically pulling it out. For cameras, turn off the device before removing the card.
- Quality Cards: Invest in reputable, high-quality SD cards from trusted brands. Cheaper, generic cards are more prone to failure.
- Format in Camera: When setting up a new card or after formatting on a computer, perform a full format using the camera it will primarily be used in. This optimizes the card’s file system for that specific device.
- Avoid Filling to Capacity: Try not to fill your SD card to its absolute maximum capacity, as this can sometimes lead to performance issues and corruption risks.
- Physical Care: Store SD cards in protective cases to prevent physical damage, dust, and static discharge.
Enhancing and Managing Your Recovered Images
Once your images are safely recovered, Tophinhanhdep.com offers a suite of tools and inspiration to help you organize, optimize, and creatively utilize your visual assets.
Leveraging Tophinhanhdep.com’s Image Tools (Upscalers, Compressors, Converters)
Tophinhanhdep.com provides various image tools to process your recovered files:
- Image Converters: Easily change formats (e.g., RAW to JPG, TIFF to PNG) to suit different uses, from web optimization to print.
- Image Compressors & Optimizers: Reduce file sizes without significant loss of quality, ideal for sharing online, freeing up storage, or using images as backgrounds and wallpapers.
- AI Upscalers: Breathe new life into older or lower-resolution recovered images by intelligently enhancing their detail and size, making them suitable for larger displays or printing, and transforming them into stunning high-resolution photography.
- Image-to-Text Tools: Automatically generate descriptions or tags for your photos, aiding in cataloging and searchability, especially useful for large thematic collections.
Crafting Visual Narratives: Mood Boards & Thematic Collections
Tophinhanhdep.com is also a hub for visual design and inspiration. Use your recovered images to:
- Create Mood Boards: Organize your photos into collections that inspire new creative ideas, digital art, or graphic design projects. Explore trending styles and see how your recovered aesthetic images can contribute.
- Build Thematic Collections: Categorize your recovered images by subject, event, color, or emotional tone (e.g., nature photography, abstract art series, sad/emotional moments, beautiful photography from a specific trip). This makes it easier to find and showcase your work.
- Personalize Your Devices: Select your favorite recovered images to use as high-resolution wallpapers or backgrounds, adding a personal touch to your digital environment.
In conclusion, the loss of images from an SD card can be distressing, but with the right knowledge and tools from Tophinhanhdep.com, recovery is often within reach. By understanding the nature of data loss, acting swiftly, and utilizing our comprehensive guides and recommended software, you can retrieve your valuable digital photography and restore your cherished image collections. Furthermore, Tophinhanhdep.com empowers you to move beyond recovery, offering resources for image optimization, creative inspiration, and robust data protection, ensuring your visual legacy is preserved and continues to flourish.