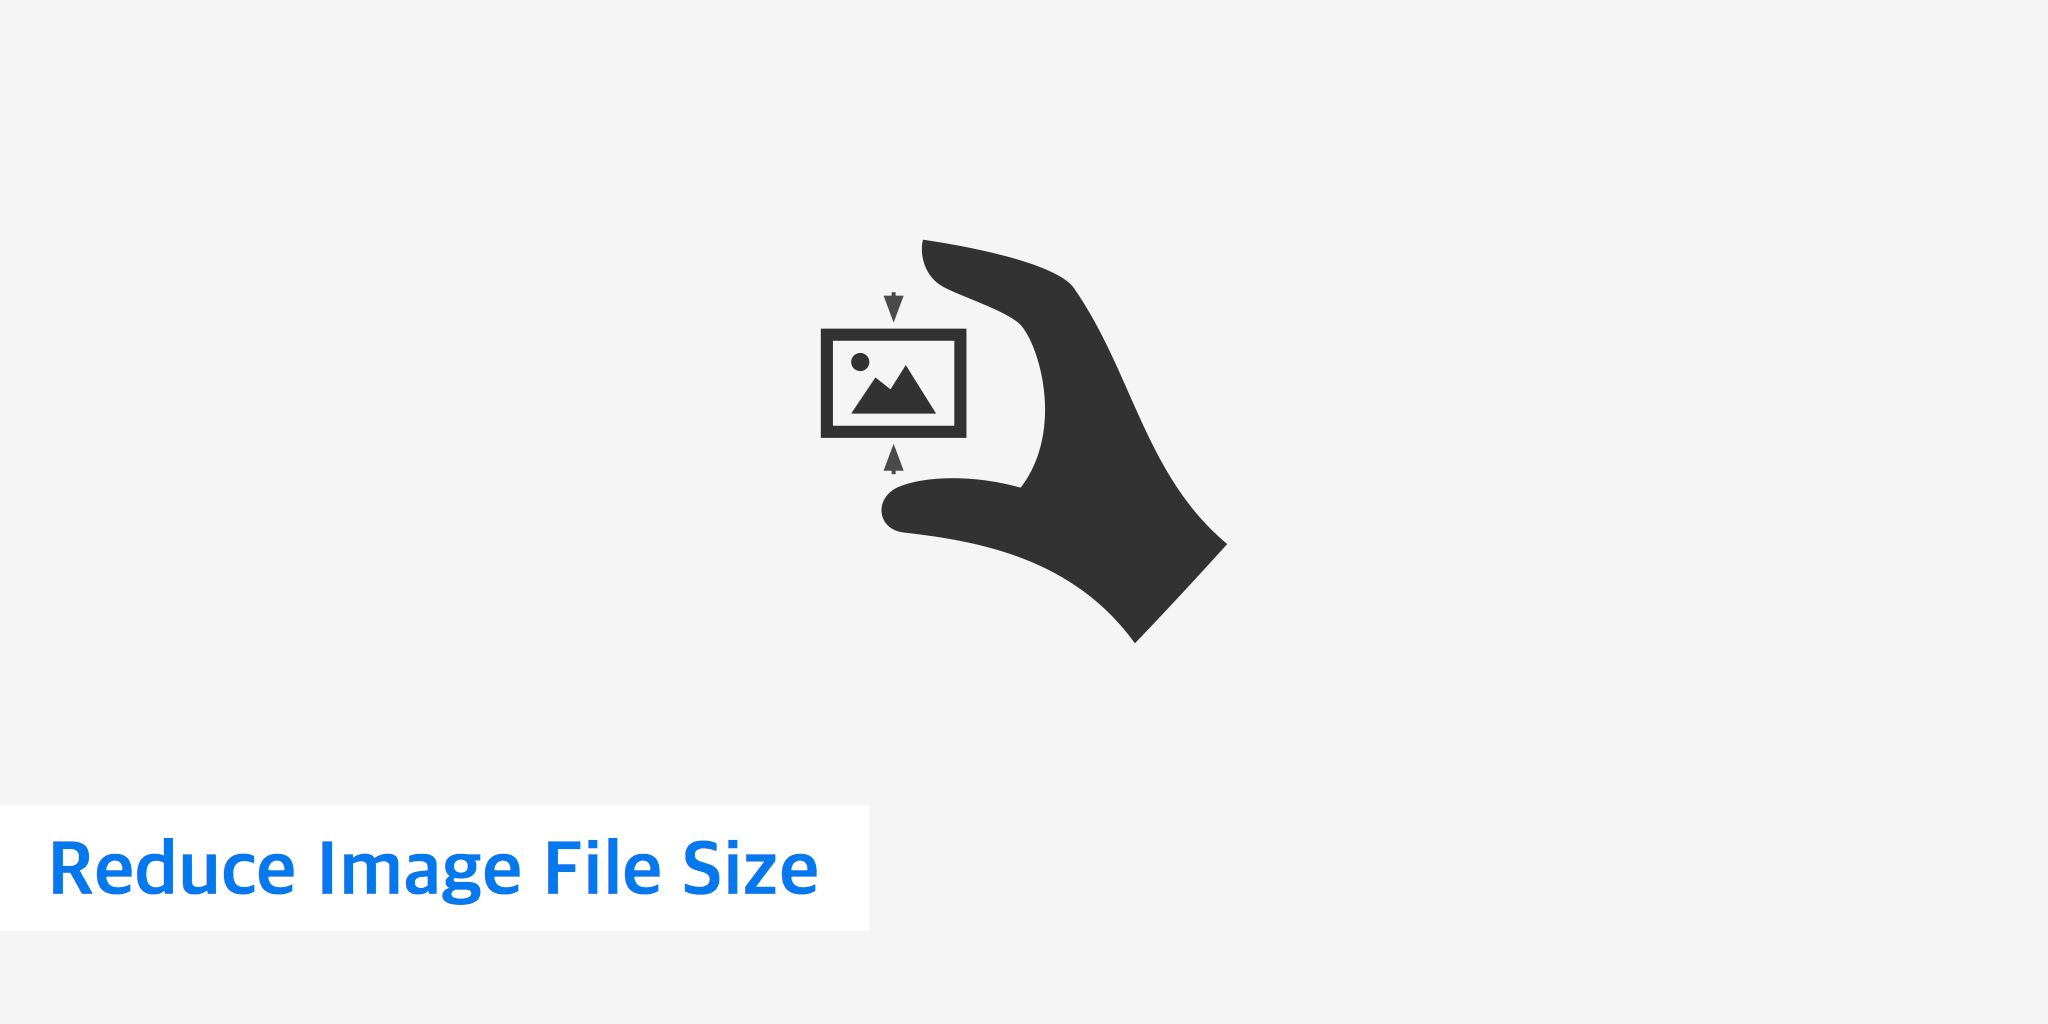
How to Reduce Image File Size

In our increasingly visual digital world, images are the lifeblood of communication, design, and engagement. From stunning wallpapers and captivating backgrounds to intricate digital art and professional photography, visuals grab attention, convey messages, and set the mood. However, the beauty and detail of high-resolution images, stock photos, and creative designs often come with a significant drawback: large file sizes. These bulky files can be a hassle, impacting everything from website loading speeds and user experience to storage efficiency and the ease of sharing across platforms.
At Tophinhanhdep.com, we understand the critical balance between stunning visual quality and optimal performance. Our platform is dedicated to providing inspiration and practical tools for all your image needs, whether you’re looking for aesthetic wallpapers, curated thematic collections, or high-resolution photography. A crucial aspect of managing and leveraging these visual assets effectively is knowing how to reduce their file size without compromising the artistic integrity or clarity that makes them so valuable.
This comprehensive guide will delve into the various methods, tools, and best practices for reducing image file sizes. We’ll explore the underlying principles of image compression, highlight the best formats for different scenarios, and introduce you to Tophinhanhdep.com’s powerful suite of image tools designed to make this process seamless and efficient. Our goal is to equip you with the knowledge to deliver the most optimized images, ensuring your visual content shines without slowing down your digital presence.
Understanding Image Compression and Its Digital Impact
Before diving into the “how-to,” it’s essential to grasp the fundamental concepts behind image file sizes and why optimizing them is paramount in today’s digital landscape. Images, especially those originating from high-resolution cameras or professional stock photo platforms, often contain far more data than is necessary for their intended display. This surplus data translates directly to larger file sizes, which can create numerous bottlenecks.
The Core Concept: Lossy vs. Lossless Compression
Image compression is the process of reducing an image’s file size. This is achieved by encoding image data more efficiently, often by removing redundant or less critical information. There are two primary categories of compression:
- Lossy Compression: This method involves permanently discarding some of the image data to achieve a smaller file size. Once the data is removed, it cannot be recovered. The trick with lossy compression is to discard data that is least perceptible to the human eye, aiming for a significant size reduction with minimal noticeable quality degradation.
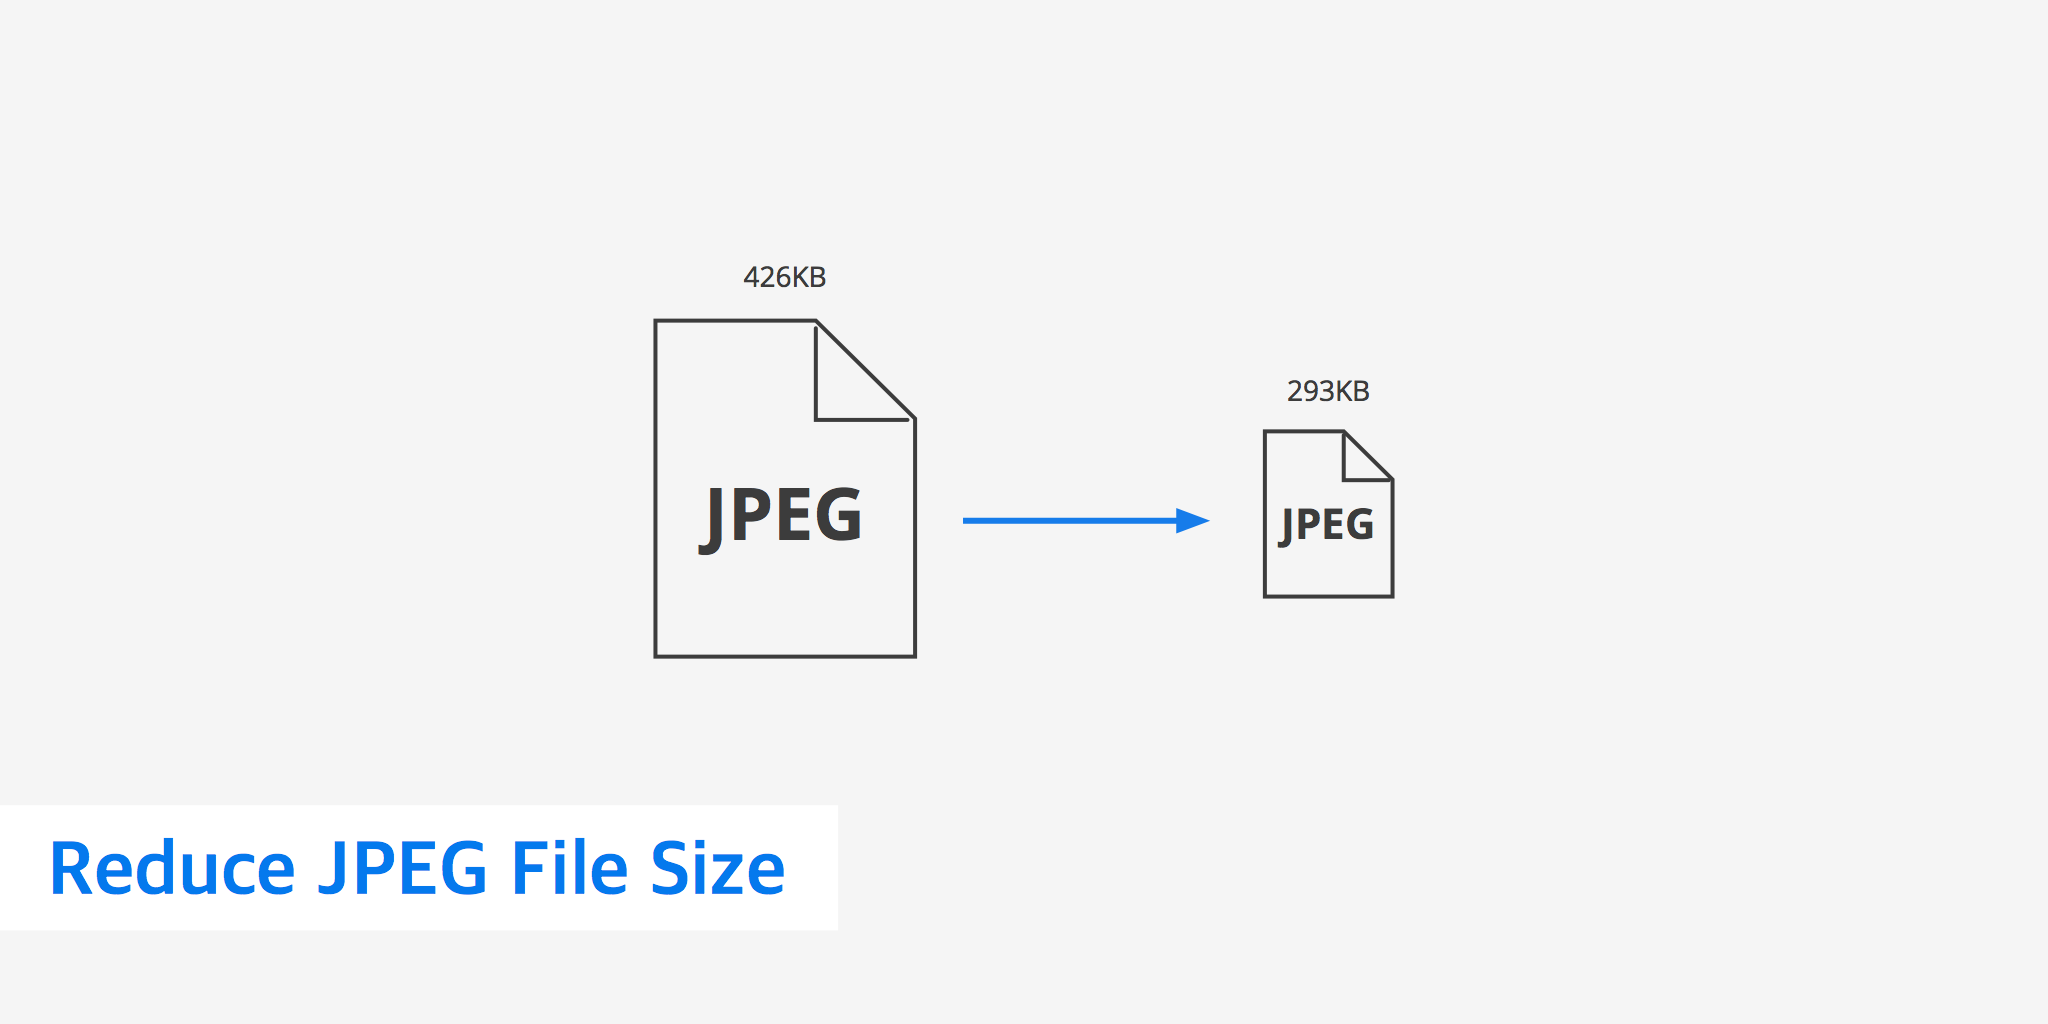
- JPEG (Joint Photographic Experts Group): This is the most common form of lossy compression and the go-to format for photographs and complex images with millions of colors. JPEG compression employs a complex mathematical operation called a Discrete Cosine Transform (DCT) to sample and re-encode individual colored pixels. You can control the level of compression (and thus quality) when saving a JPEG. Higher compression means smaller file size but more noticeable artifacts. While a JPEG file might still be too large, the format itself is a means of compression. However, over-compressing can lead to a blurry or pixelated image. JPEG files also embed color profiles and EXIF metadata (like GPS locations).
- Why JPEG is popular: Its widespread adoption across devices (DSLRs, phones) and its ability to achieve significant file size reductions while retaining acceptable quality for photographs make it a cornerstone of web imagery.

- Lossless Compression: As the name suggests, this method compresses the image without discarding any data. The original image can be perfectly reconstructed from the compressed data. While lossless compression results in larger file sizes compared to lossy methods, it guarantees no loss in quality, making it ideal for images where fidelity is paramount.
- PNG (Portable Network Graphics): This format is excellent for images requiring transparency, such as logos, icons, or graphics with sharp edges and fewer colors. PNG uses lossless compression, meaning it preserves all image details. However, for complex photographs with many colors, PNG files can be significantly larger than their JPEG counterparts.
- GIF (Graphics Interchange Format): GIF supports up to 256 colors, transparency, and animation. It uses lossless compression. While suitable for simple graphics and animations, its limited color palette makes it unsuitable for photographs.
- Modern Formats for Web Optimization:
- WebP: Developed by Google, WebP offers superior compression compared to both JPEG and PNG while maintaining high quality. It supports both lossy and lossless compression, as well as transparency and animation. Most modern browsers now support WebP, making it an excellent choice for web optimization.
- AVIF: An even newer format, AVIF (AV1 Image File Format) often provides even better compression than WebP, resulting in smaller file sizes for the same quality. Its browser support is growing rapidly, positioning it as a strong contender for future web image standards.
- SVG (Scalable Vector Graphics): Unlike raster images (pixels), vector images store mathematical curves and color information. SVGs are ideal for line art, logos, and simple graphics that need to scale infinitely without losing quality. Many web designers swap raster logos (like PNGs or JPEGs) for SVGs to maintain visual fidelity and achieve smaller file sizes for these specific elements.
Why File Size Matters in the Digital Age
Reducing image file size isn’t merely about saving storage space; it profoundly impacts multiple aspects of digital performance and user experience, especially for websites dealing with extensive image collections such as Tophinhanhdep.com.
- Faster Website Loading Times: This is perhaps the most critical reason. Large images are the biggest culprits behind slow-loading websites. A sluggish site leads to higher bounce rates, frustrated users, and missed opportunities. Research consistently shows that users abandon pages that take too long to load. Optimized images ensure that your aesthetic wallpapers, beautiful photography, and digital art collections load quickly, keeping visitors engaged.
- Better Performance on Mobile Devices: Mobile users often contend with limited data plans and varying network speeds. Smaller image files translate to faster load times and significantly reduced data usage, providing a smoother experience for users browsing your site on cellular networks. Given the prevalence of mobile browsing, this is non-negotiable for any visually-driven platform.
- Easier File Sharing: Whether you’re sending high-resolution stock photos to a client via email, sharing inspiring aesthetic visuals through messaging apps, or uploading digital art to a portfolio, large file sizes can be a barrier. Email clients often have strict attachment limits, and uploading large files can be time-consuming. Reduced file sizes make sharing efficient and hassle-free.
- Storage Optimization: High-resolution photography, vast collections of wallpapers, and intricate graphic designs can quickly consume massive amounts of storage space on local devices, cloud services, and website servers. Compressing images helps maximize available space, reducing storage costs for website owners and making personal media management more efficient.
- Improved SEO Rankings: Search engines, especially Google, prioritize fast-loading pages. Core Web Vitals, a set of metrics measuring user experience, heavily factor in page load speed. Optimized images are a direct contributor to better general and image SEO, increasing the likelihood of your beautiful photography and curated image collections ranking higher in search results. This is vital for platforms like Tophinhanhdep.com that rely on discoverability.
Essential Methods for Reducing Image File Size
Optimizing images requires a multi-faceted approach, combining various techniques to achieve the best balance between visual quality and file efficiency. The ideal method often depends on the image’s purpose and the required level of fidelity.
Compressing Images Effectively
Image compression is the cornerstone of file size reduction. It involves intelligently re-encoding the image data to occupy less space.
- Understanding Compression Levels: Most compression tools, including those offered by Tophinhanhdep.com, allow you to choose different compression levels:
- Lossless: Retains 100% of image quality but offers the least file size reduction.
- Glossy: A smart hybrid compression that offers significant file size reduction with minimal, often imperceptible, quality loss. This is Tophinhanhdep.com’s recommended setting for most web images.
- Lossy: Provides the greatest file size reduction but at the cost of some permanent quality degradation. It’s crucial to find the “sweet spot” where the visual impact is still acceptable.
- Tophinhanhdep.com’s Dedicated Tools: For quick, easy, and effective compression, Tophinhanhdep.com offers powerful online image compression tools. You can upload images in various formats (JPEG, PNG, GIF, WebP, AVIF), and our platform will automatically optimize them, allowing you to download compressed versions with minimal visible quality loss. This process is designed to be intuitive for everyone, from graphic designers to casual users.
- Automated Compression for Websites: If you manage a website, particularly one built on WordPress, Tophinhanhdep.com provides a highly effective image optimizer plugin. This plugin automates the compression process as images are uploaded, and can even bulk optimize existing image libraries. It also supports WebP/AVIF generation and can serve these next-gen images directly from a CDN (Content Delivery Network) for even better performance.
Resizing and Cropping for Optimal Dimensions
Many images, especially those from high-resolution digital photography or stock photo sites, are much larger in pixel dimensions (width and height) than they need to be for their intended display.
- Resizing: If an image is, for example, 4000 pixels wide but will only ever be displayed at a maximum of 1200 pixels on your website or social media feed, keeping the original 4000-pixel version is wasteful. Resizing the image to its exact display dimensions can dramatically reduce its file size without any loss of perceived quality. Most websites, social media platforms, and email clients do not require ultra-high-resolution images; matching dimensions is an easy and significant optimization. Tophinhanhdep.com’s online tools allow you to resize and compress images simultaneously, streamlining your workflow.
- Cropping: Cropping an image removes unnecessary areas, effectively reducing its overall pixel count and, consequently, its file size. This is particularly useful for focusing on specific subjects or adapting images to different aspect ratios. Microsoft Office applications, for instance, offer built-in features to compress images by deleting cropped areas, further optimizing file size within documents.
Choosing the Right Image Format
The file format you choose has a profound impact on an image’s file size and capabilities. Selecting the correct format is a foundational step in optimization.
- JPEG for Photography: Ideal for aesthetic photography, nature shots, abstract art, and any image with a broad spectrum of colors and subtle gradients. It offers excellent compression at decent quality levels.
- PNG for Transparency and Graphics: Best suited for logos, digital art with crisp lines, screenshots, and UI elements where transparency is required. While lossless, always compress PNGs to avoid unnecessarily large files.
- WebP and AVIF for Web Optimization: For website images, especially backgrounds, high-resolution stock photos, and general visual content, these modern formats provide the best compression ratios without sacrificing quality. Tophinhanhdep.com’s conversion tools can effortlessly convert older formats to WebP or AVIF.
- GIF for Simple Animations: Use sparingly for very short, simple animations or icons with limited color palettes where transparency is also needed.
- SVG for Scalable Graphics: For graphic design elements like logos, icons, and line art, SVG is invaluable. Its vector nature means it looks sharp at any size, and its file sizes are often minuscule compared to raster equivalents.
Stripping Unnecessary Metadata and Editing Data
Many digital images, particularly those from digital cameras or stock photo libraries, come embedded with metadata. This “data about data” can include:
- EXIF data: Camera model, lens information, exposure settings, date and time, and even GPS location.
- IPTC data: Copyright information, author, keywords, captions.
While some metadata (like copyright) is important, much of it is unnecessary for web display or general sharing and contributes to file size.
- Removing Metadata: Tools like Tophinhanhdep.com’s compression services, specialized metadata strippers, or even the “Save for Web” option in professional image editors like Adobe Photoshop, can remove EXIF data without affecting the image’s visual quality. In Microsoft Office applications, you can also “Discard editing data” to remove information about past edits, which can reduce file size. Always consider which metadata is essential to retain (e.g., copyright) before stripping it entirely.
Adjusting Color Palettes and Resolution
For certain types of images, further reductions can be achieved by manipulating their color information or default display resolution.
- Reducing the Number of Colors: For images with broad regions of similar colors or limited color transitions (e.g., simple graphics, background textures, abstract art), reducing the color palette can significantly shrink the file size.
- File Format Specifics: As mentioned, GIF files automatically limit colors to 256. Converting an image to GIF in an editor often allows you to preview different color reduction options.
- Color Reduction Tools: Many raster-based image editors (like GIMP or Photoshop) include “posterize” or similar features that limit an image to a specified number of colors.
- Grayscale Conversion: Converting a color image to grayscale (black and white) drastically reduces the amount of color data stored, often resulting in smaller file sizes. This technique is effective for backgrounds, subtle textures, or artistic photography where color isn’t the primary focus.
- Changing Default Picture Resolution: In applications like Microsoft Office, images are often inserted at a default high resolution (e.g., 220 ppi). You can modify these settings to a lower resolution more suitable for screen viewing or email, which automatically compresses inserted images. This applies to individual pictures or can be set as a default for all new documents.
Top Tools and Strategies for Image Optimization
The digital landscape offers a wide array of tools to assist with image optimization, ranging from specialized online platforms to robust desktop software. The best choice depends on your specific needs, volume of images, and existing workflow.
Dedicated Image Optimization Platforms
For most users, especially those managing websites or large image collections, online platforms and plugins offer the most convenient and powerful solutions.
- Tophinhanhdep.com: Our platform is a leading choice for image optimization. It provides:
- Comprehensive Format Support: Optimizes JPEG, PNG, GIF, and generates WebP/AVIF versions.
- Flexible Compression Options: Offers lossy, glossy, and lossless compression to balance file size and quality.
- Ease of Use: Simple drag-and-drop interface for online compression, allowing users to upload images, let Tophinhanhdep.com optimize them, and download the compressed versions effortlessly.
- WordPress Integration: Tophinhanhdep.com’s image optimizer plugin for WordPress automatically compresses images on upload, provides bulk optimization for existing media, and seamlessly serves WebP/AVIF images, often integrated with CDN services for maximum speed.
- Batch Processing: Designed to handle large volumes of images efficiently, a must for high-resolution photography collections or extensive visual content libraries.
- Real-time Comparison: Many of Tophinhanhdep.com’s tools include features to compare the original and compressed image side-by-side, helping users find the perfect balance.
Desktop and Software Solutions
For those who prefer offline control or require advanced editing capabilities, professional software offers granular control over image compression.
- Adobe Photoshop (and Adobe Bridge): A industry-standard raster-image editor. Photoshop’s “Save for Web” (File > Export > Save for Web (Legacy) or File > Export > Export As…) feature is invaluable. It provides a dialog box to adjust JPEG compression quality, choose formats (JPEG, PNG, WebP), and preview the file size and quality changes in real-time. For large-scale operations or batch processing, Adobe Bridge can be used in conjunction with Photoshop.
- GIMP (GNU Image Manipulation Program): A powerful, free, and open-source raster image editor. GIMP offers comprehensive functionality for choosing compression settings (e.g., JPEG quality slider, PNG compression levels) when exporting or saving files. It’s cross-platform (Windows, macOS, Linux).
- ImageMagick: A command-line suite of tools for image manipulation. ImageMagick is highly versatile, running on Linux, macOS, Windows, Android, and iOS. It can be used for resizing, converting, animating, and transforming images, including robust compression options, ideal for server-side optimization or automated workflows.
- OS X Preview (Mac): For Mac users, the default Preview application can perform basic JPEG re-compression. When exporting an image as JPEG, a slider indicator allows you to select the desired quality level and preview the resulting file size, offering a quick solution for individual images.
- Microsoft Office Applications (Word, PowerPoint, Excel): These applications include built-in “Compress Pictures” features. You can compress individual pictures or all pictures in a document, choosing different resolutions based on usage (e.g., “Web (150 ppi)” for screen display or “E-mail (96 ppi)” for sharing). This is particularly useful for reducing the file size of documents containing many visuals.
Optimizing for Specific Use Cases
The “one size fits all” approach rarely works for image optimization. The best strategy depends heavily on where and how the image will be used.
- For Websites and Blogs:
- Modern Formats: Prioritize WebP and AVIF for their superior compression. Tophinhanhdep.com’s plugin can automate their deployment.
- Exact Dimensions: Always resize images to the precise pixel dimensions they will be displayed at. Uploading a 4000px wide image for an 800px display area is inefficient.
- Lazy Loading: Implement lazy loading, a technique that defers the loading of images until they are about to enter the user’s viewport. This significantly speeds up initial page load times. Tophinhanhdep.com’s WordPress optimizer often includes this feature.
- CDN Integration: Serving optimized images from a Content Delivery Network (CDN) further reduces latency and speeds up delivery globally. Tophinhanhdep.com often integrates with CDNs to provide this benefit.
- For Social Media:
- Platform-Specific Guidelines: Each social media platform (Facebook, Instagram, X/Twitter, Pinterest) has recommended image dimensions and aspect ratios. Adhering to these guidelines ensures your images display correctly and avoids unnecessary compression or cropping by the platform, which can degrade quality.
- JPEG for Photos, PNG for Graphics: JPEG is usually best for general photographs due to smaller file sizes. Use PNG for logos, infographics, or graphics that require high quality and transparency.
- Pre-Testing: Social media platforms often apply their own compression. It’s wise to test your compressed images before posting to ensure they don’t become overly pixelated or distorted after the platform’s processing.
- For Emails and Messaging:
- Small File Sizes: Aim to keep image file sizes under 1MB, ideally much smaller (e.g., 100-300KB). Large images can slow down email delivery, impact readability, and exceed attachment limits.
- Lossy Compression: Lossy compression works well here, as long as the image remains clear. Visual quality can be slightly lower than for web or print, given the common use case.
- Resize for Email Widths: Emails are frequently viewed on mobile devices. Resizing images to fit standard email widths (typically around 600-800 pixels) is a good practice. Tophinhanhdep.com offers easy tools for this.
- For Print:
- High Resolution is Paramount: Unlike digital use cases, print requires significantly higher resolution to produce sharp, professional-looking results. Aim for at least 300 DPI (dots per inch) for most print projects.
- TIFF or Print-Ready PDF: TIFF files or PDFs exported specifically for print are generally the best formats as they retain maximum detail and color accuracy.
- Avoid Excessive Compression: Steer clear of heavy lossy compression, as artifacts that might be unnoticeable on screen can become glaringly obvious when printed. If compression is necessary, use lossless methods or the highest quality settings for JPEGs. This is where preserving the ‘Beautiful Photography’ quality is critical.
Overcoming Common Challenges and Best Practices
While reducing image file size offers numerous benefits, it’s not without its challenges. Understanding potential pitfalls and adopting best practices will ensure your optimization efforts are successful and sustainable.
Avoiding Quality Loss and Distortion
The most common concern with image compression is the potential for degradation of visual quality. Over-compressing can lead to:
- Pixelation: Images appearing blocky, especially around edges or in areas of fine detail.
- Blurriness: A general lack of sharpness throughout the image.
- Artifacts: Unwanted visual anomalies, often seen as distorted patterns, especially in JPEGs compressed too heavily.
- Color Distortion: Shifts in color, washed-out tones, or banding (distinct strips of color instead of smooth gradients). This can happen if color profiles are altered or with aggressive lossy compression.
Solutions:
- Experimentation: There’s often a “sweet spot” where file size is significantly reduced with minimal perceptible quality loss. Experiment with different compression levels in Tophinhanhdep.com’s tools or your image editor until you find this balance.
- Smart Compression Algorithms: Tophinhanhdep.com employs advanced smart compression algorithms that analyze each image and apply optimal compression only where necessary, preserving visual clarity while achieving significant file size reductions.
- Previewing: Always use tools that allow you to preview the compressed image before saving. Compare it side-by-side with the original, and ideally, view it on different devices and screen sizes to check for subtle quality issues.
- Right File Format: As discussed, using the wrong file format (e.g., a heavily compressed JPEG for a logo with sharp lines and transparency) can exacerbate quality problems. Match the format to the image type.
Practical Tips for Efficient Workflow
Image optimization isn’t a one-time task; it’s an ongoing process, especially for dynamic websites or creative professionals continually working with new visual content from ‘Image Inspiration & Collections’.
- Test Before Saving: Make it a habit to preview compressed images. Tophinhanhdep.com’s online tools often feature side-by-side comparisons, making it easy to gauge the quality-to-size trade-off. This step ensures you’re satisfied with the outcome before committing.
- Use the Right Tool for the Job: Different tools excel at different tasks. While Tophinhanhdep.com offers a versatile, all-in-one solution for most web optimization and general compression needs, professional desktop software like Photoshop might be preferred for precise, high-end photo manipulation and print-ready files. If you’re managing a WordPress site, Tophinhanhdep.com’s plugin is indispensable.
- Backup Your Original Images: This is a crucial safety net, especially when using lossy compression. Once details are discarded, they are gone permanently. Always keep uncompressed, high-resolution originals of your ‘Beautiful Photography’ or ‘Digital Art’ in a secure location (cloud storage, external drives) in case you need to revert or make future edits.
- Batch Process for Large Volumes: Manually optimizing dozens or hundreds of images is tedious and inefficient. Utilize tools that support batch compression and resizing. Tophinhanhdep.com’s platform and WordPress plugin are designed for bulk processing, allowing you to optimize entire folders or media libraries at once, saving immense time for photographers, graphic designers, and website managers.
- Optimize Regularly for Long-Term Efficiency: For websites, image optimization should be an integral part of your content management routine. New ‘Stock Photos’, ‘Aesthetic Backgrounds’, or ‘Creative Ideas’ are constantly added. Regularly review and optimize new and even existing image assets to ensure your site remains fast and efficient, providing the best user experience and maintaining strong SEO performance.
Conclusion
In the visually-driven digital world, optimizing image file sizes is not just a technical chore; it’s a strategic imperative. Whether you’re curating stunning wallpapers, showcasing high-resolution photography, designing intricate digital art, or building a comprehensive online collection of visual inspiration, the efficiency of your images directly impacts user experience, website performance, storage costs, and search engine visibility.
By understanding the nuances of lossy and lossless compression, wisely choosing image formats, and implementing essential techniques like resizing, cropping, and stripping metadata, you can significantly reduce file sizes without sacrificing the aesthetic and professional quality that defines your visual content.
Tophinhanhdep.com stands as your premier partner in this optimization journey. Our platform offers a comprehensive suite of image tools—including powerful compressors, converters, and optimizers—designed to simplify and automate the process. With Tophinhanhdep.com, you can effortlessly strike the perfect balance between vibrant visuals and lightning-fast performance, ensuring your images captivate audiences and drive digital success. Embrace efficient image management and unlock the full potential of your visual assets, making every pixel count.
FAQs
How do I reduce image file size without sacrificing quality? To reduce image file size without sacrificing quality, use lossless compression or smart lossy compression tools like those offered by Tophinhanhdep.com. Lossless compression retains all original details, while smart lossy algorithms minimize quality degradation. Additionally, choosing modern formats like WebP or AVIF offers superior compression for web use compared to older formats, often without noticeable visual compromise.
Why should you compress image files for your website? Compressing image files for your website is crucial for several reasons: it speeds up loading times, significantly improves user experience, and boosts your SEO rankings. Faster-loading pages lead to lower bounce rates and higher engagement, which search engines favor. Tools from Tophinhanhdep.com make it easy to compress images effectively, ensuring your site performs optimally.
How to compress multiple images at once for web optimization? To compress multiple images at once for web optimization, utilize batch processing tools. Tophinhanhdep.com offers an easy-to-use online platform where you can upload and compress many images simultaneously. For WordPress users, Tophinhanhdep.com’s Image Optimizer plugin automatically compresses images in bulk as they are uploaded to your site.
What is the best tool to reduce image file size? The best tool depends on your specific needs, but Tophinhanhdep.com is an outstanding option for its balance of quality, ease of use, and comprehensive features. It provides advanced compression methods, supports various formats, and offers seamless integration for WordPress users, making it a highly efficient solution for optimizing images for faster loading times and better overall performance.
Can I reduce image size without losing quality? Yes, you can reduce image size without losing quality by using lossless compression. This method compresses the file while retaining all original image data, ensuring perfect fidelity. Tophinhanhdep.com’s tools provide lossless compression options, allowing your images to remain crisp and clear while becoming more web-friendly and efficient for storage and sharing.
How do I compress images for faster website loading? To compress images for faster website loading, use a reliable compression tool like Tophinhanhdep.com that effectively reduces file size while maintaining visual appeal. Focus on using modern formats like WebP or AVIF, resize images to their exact display dimensions, and consider implementing lazy loading.
How do I batch compress images? To batch compress images, use a tool that supports bulk processing, such as Tophinhanhdep.com. Their online platform allows you to drag and drop multiple images or entire folders for simultaneous compression. If you use WordPress, Tophinhanhdep.com’s Image Optimizer plugin can automatically compress images in bulk as you upload them or optimize your existing media library.
What’s the best image file format for web optimization? For web optimization, the best image file format depends on the content:
- JPEG is generally best for photographs and complex images, offering a good balance of quality and file size with lossy compression.
- PNG is ideal for images requiring transparency or sharp details, like logos or graphics, using lossless compression.
- WebP is an excellent modern option, providing superior compression for both photos and graphics, often with smaller file sizes than JPEG or PNG while maintaining high quality.
- AVIF is an even newer format offering even better compression rates, though its browser support is still growing.