How to Resize an Image: A Comprehensive Guide for Digital Creators on Tophinhanhdep.com

In the dynamic world of digital content, images are paramount. From captivating wallpapers and aesthetic backgrounds to stunning high-resolution photography and abstract digital art, visual elements are the cornerstone of engagement, communication, and inspiration. Whether you’re a professional photographer, a graphic designer, a content creator, or simply someone looking to optimize images for a personal blog, understanding how to resize an image correctly is a fundamental skill. Improper resizing can lead to pixelation, blurriness, or distortion, transforming a beautiful photograph into an unprofessional mess.
On Tophinhanhdep.com, we understand the critical role that impeccably sized and optimized images play across all our categories—from curated image collections and mood boards to our advanced image tools like AI upscalers and compressors. This guide will walk you through the essential techniques and considerations for resizing images, ensuring your visuals always maintain their integrity, clarity, and impact, no matter their final destination.
The Imperative of Quality: Why Correct Image Resizing Matters
The impact of an image extends far beyond its content; its quality and presentation are equally crucial. Imagine downloading a breathtaking nature wallpaper from Tophinhanhdep.com, only to find it stretched and pixelated when applied to your desktop. Or consider a meticulously crafted piece of digital art losing its sharpness when embedded in a blog post. These scenarios highlight why correct image resizing is not just a technicality but an imperative for maintaining visual fidelity and professional credibility.
Every image is composed of tiny squares called pixels. The number of pixels determines its dimensions and, to a large extent, its quality when viewed at a certain size. When you resize an image, you’re essentially manipulating these pixels.
- Downsizing (making an image smaller): This generally involves discarding pixels. If done correctly, the image can retain much of its quality because there are still enough pixels to convey detail at the reduced size.
- Upsizing (making an image larger): This is where challenges arise. To make an image larger, new pixels must be created. Without intelligent algorithms, this process often leads to interpolation, where software tries to guess the color of new pixels based on existing ones. This guesswork frequently results in blurriness and pixelation, as the original detail simply isn’t there to be magnified.
The consequences of poor resizing are manifold:
- For Wallpapers and Backgrounds: A low-quality, poorly resized image diminishes the aesthetic appeal of a device’s display, impacting user experience. Tophinhanhdep.com strives to provide high-resolution images that scale gracefully.
- For Stock Photos and Digital Photography: Professionals rely on crisp, clear images. Distorted images undermine the artistic intent and perceived value of the photography.
- For Web Performance: Oversized images can significantly slow down website load times, leading to a poor user experience and negatively impacting SEO. Tophinhanhdep.com emphasizes optimized images for swift browsing.
- For Visual Design and Graphic Art: Precise dimensions and uncompromised quality are vital for elements within graphic design projects and digital art. Any loss of fidelity can compromise the entire creative idea.
Understanding the interplay between pixels, resolution (measured in pixels per inch or PPI for digital, and dots per inch or DPI for print), and aspect ratio (the proportional relationship between an image’s width and height) is foundational. Maintaining these elements is key to ensuring your images continue to engage your audience, convey your message effectively, and represent your brand or content in the best possible light.
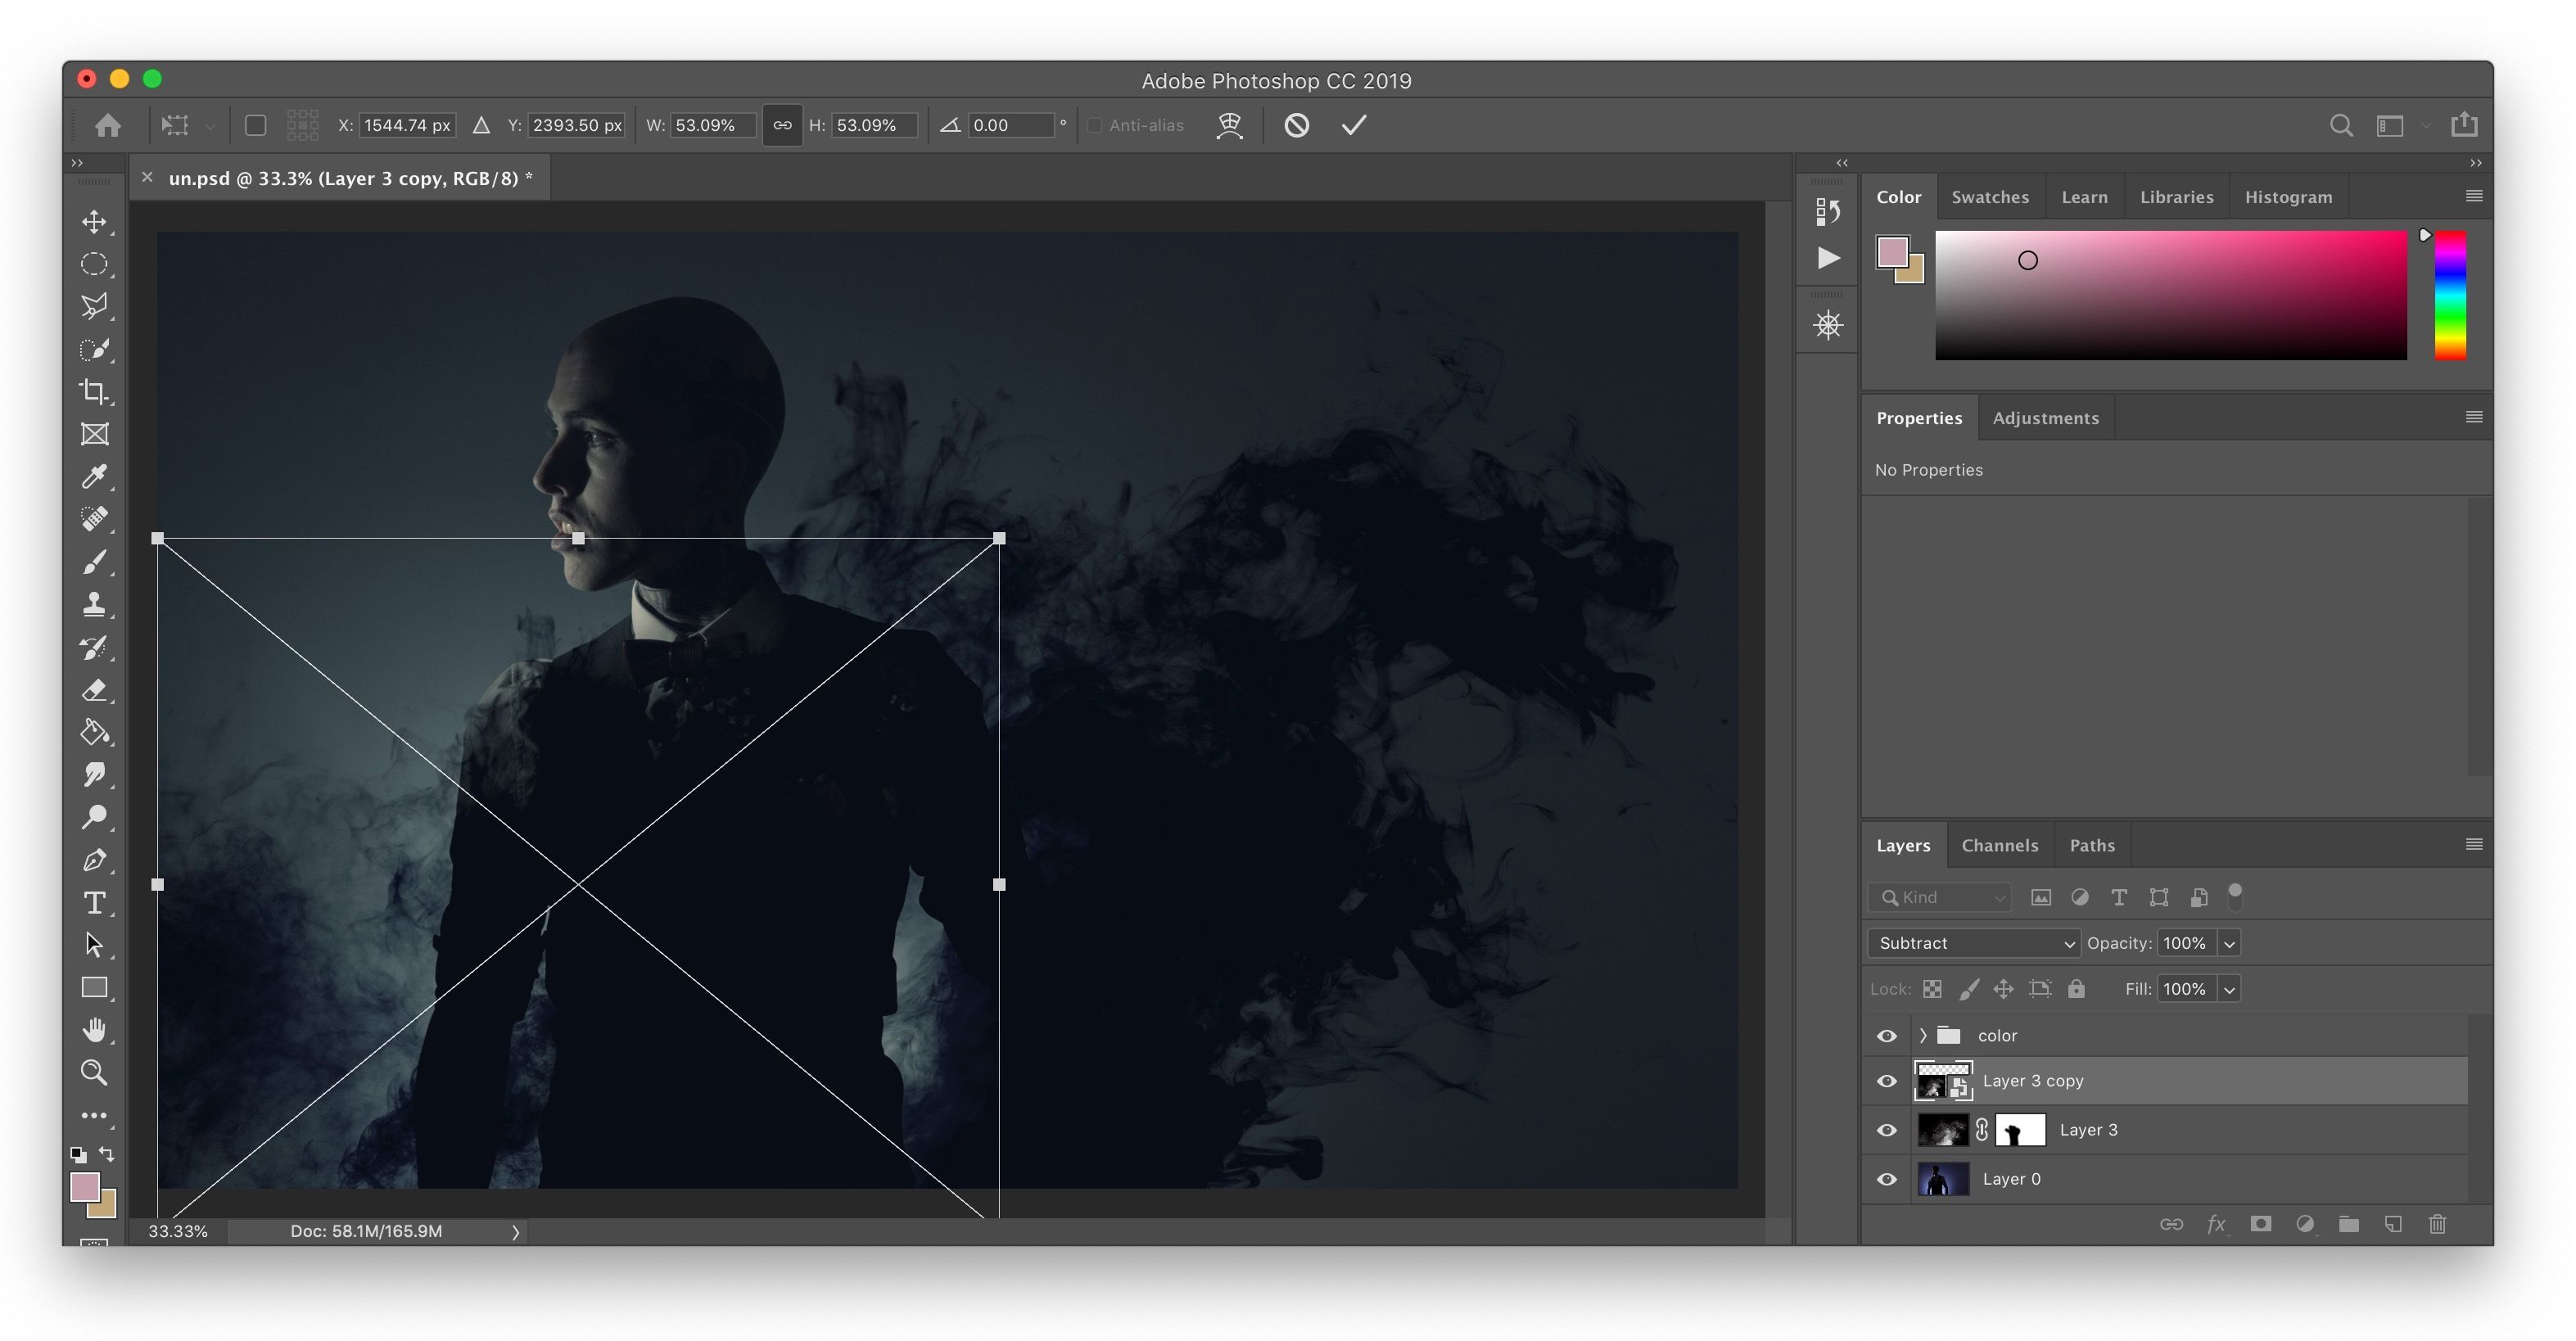
Resizing with Precision: Step-by-Step in Adobe Photoshop
Adobe Photoshop remains the industry standard for professional image editing, offering robust tools for precise image resizing. For those working with high-resolution photography, detailed digital art, or intricate photo manipulation, Photoshop provides unparalleled control. On campuses, Photoshop is often available in computer labs, and many creative professionals globally rely on its capabilities.
Navigating the Image Size Dialog Box
To resize an image in Photoshop, follow these steps:
- Open your image in Photoshop. This is the starting point for any manipulation.
- Go to “Image,” located at the top menu bar of the window.
- Select “Image Size.” A new dialog box will open, presenting several options for resizing.
This “Image Size” dialog box is your command center for altering dimensions and resolution. Here’s a breakdown of its key features:
- Preview Window: A window within the dialog box displays a real-time preview of your image as you adjust parameters. You can drag a corner of the “Image Size” dialog box to resize this preview window, or drag within the preview to view different areas. Ctrl-click (Windows) or Command-click (Mac OS) in the preview to increase magnification, and Alt-click (Windows) or Option-click (Mac OS) to reduce it.
- Dimensions: At the top, you’ll see the current pixel dimensions and the new projected file size. You can click the triangle next to “Dimensions” to choose different units of measurement for the pixel dimensions.
- Constrain Proportions: This is a crucial setting. To maintain the original ratio of width to height, click the link icon to ensure “Constrain Proportions” is enabled. This prevents your image from appearing stretched or warped. If you want to scale width and height independently (which is usually not recommended unless you specifically want distortion or are applying a very specific creative effect), click the link icon again to unlink them.
- Fit To: This pop-up menu allows you to choose from presets to resize the image or select “Auto Resolution” for specific printing outputs.
- Width and Height: These input fields allow you to specify your desired dimensions. You can choose different units of measurement (pixels, inches, centimeters, percent, etc.) from the menus to the right of these text boxes.
- Resolution: This specifies the number of pixels per unit of length (e.g., pixels/inch).
- For printing, a resolution of 300 pixels/inch is ideal, though 200 pixels/inch is often acceptable. Lower resolutions will result in a grainy print.
- For web/screen use, 72 pixels/inch is generally the standard, as screens display pixels directly. Higher resolutions for web images often just add file size without visual benefit.
- Resample: This checkbox is critical.
- If “Resample” is selected: Photoshop will add or remove pixels from your image to achieve the new dimensions. This is necessary if you’re changing the pixel count (e.g., making a 2000px wide image 1000px wide). You’ll then need to choose an interpolation (resampling) method.
- If “Resample” is deselected: Photoshop will change the image size and/or resolution without changing the total number of pixels. This means that if you increase the physical print size (e.g., from 5x7 inches to 8x10 inches), the resolution (PPI) will decrease proportionately because the same number of pixels are now spread over a larger area. This is useful when preparing an image for print where you want to maintain pixel integrity, even if it means reducing print resolution.
After setting your desired width, height, and resolution, click “OK.” If your original image has different proportions than your desired print size, you will likely need to crop your image after resizing it to fit without distortion.
Tip! If you want to keep your original file, which is always recommended, select “Save As” and name your image something different from the original before saving.
Advanced Resampling Techniques for Optimal Output
When “Resample” is selected, Photoshop offers various interpolation methods, each designed for different scenarios:
- Automatic: Photoshop intelligently chooses the best resampling method based on whether you’re enlarging or reducing the image and its content type. This is often a good starting point for general use.
- Preserve Details (enlargement): Introduced for intelligent upscaling, this method helps maintain image details when enlarging. It includes a “Noise reduction” slider to smooth out noise that might become more apparent during enlargement. This is Photoshop’s best attempt to mimic the functionality of advanced AI upscalers, similar to those available on Tophinhanhdep.com.
- Bicubic Smoother (enlargement): A good method specifically for enlarging images. It produces smoother results than standard Bicubic by carefully interpolating new pixel values.
- Bicubic Sharper (reduction): Designed for reducing image size, this method employs Bicubic interpolation with enhanced sharpening to maintain detail. Use with caution, as it can oversharpen some areas; if this occurs, switch to standard Bicubic.
- Bicubic (smoother gradients): A more precise but slower method that examines the values of surrounding pixels. It produces smoother tonal gradations compared to Nearest Neighbor or Bilinear, making it suitable for photographic images with subtle color shifts.
- Bilinear: A mid-quality method that adds pixels by averaging the color values of surrounding pixels. It’s faster than Bicubic but less precise.
- Nearest Neighbor (hard edges): A fast but less precise method that simply replicates existing pixels. It preserves hard edges and produces smaller file sizes, making it suitable for illustrations or pixel art where anti-aliasing is not desired. However, it can produce jagged effects on photographs or when images are distorted.
Choosing the right resampling method is crucial for maintaining the quality of your images, especially when preparing high-resolution stock photos or digital photography for specific uses.
Maintaining Integrity: Resizing Without Distortion or Unnecessary Loss
The goal of resizing is almost always to fit an image into new dimensions without compromising its visual quality or aesthetic appeal. This means avoiding the dreaded stretched or warped look that immediately signals an unprofessional touch. For content creators working with beautiful photography or specific visual design elements, maintaining integrity is paramount.
The Role of Aspect Ratio and Cropping
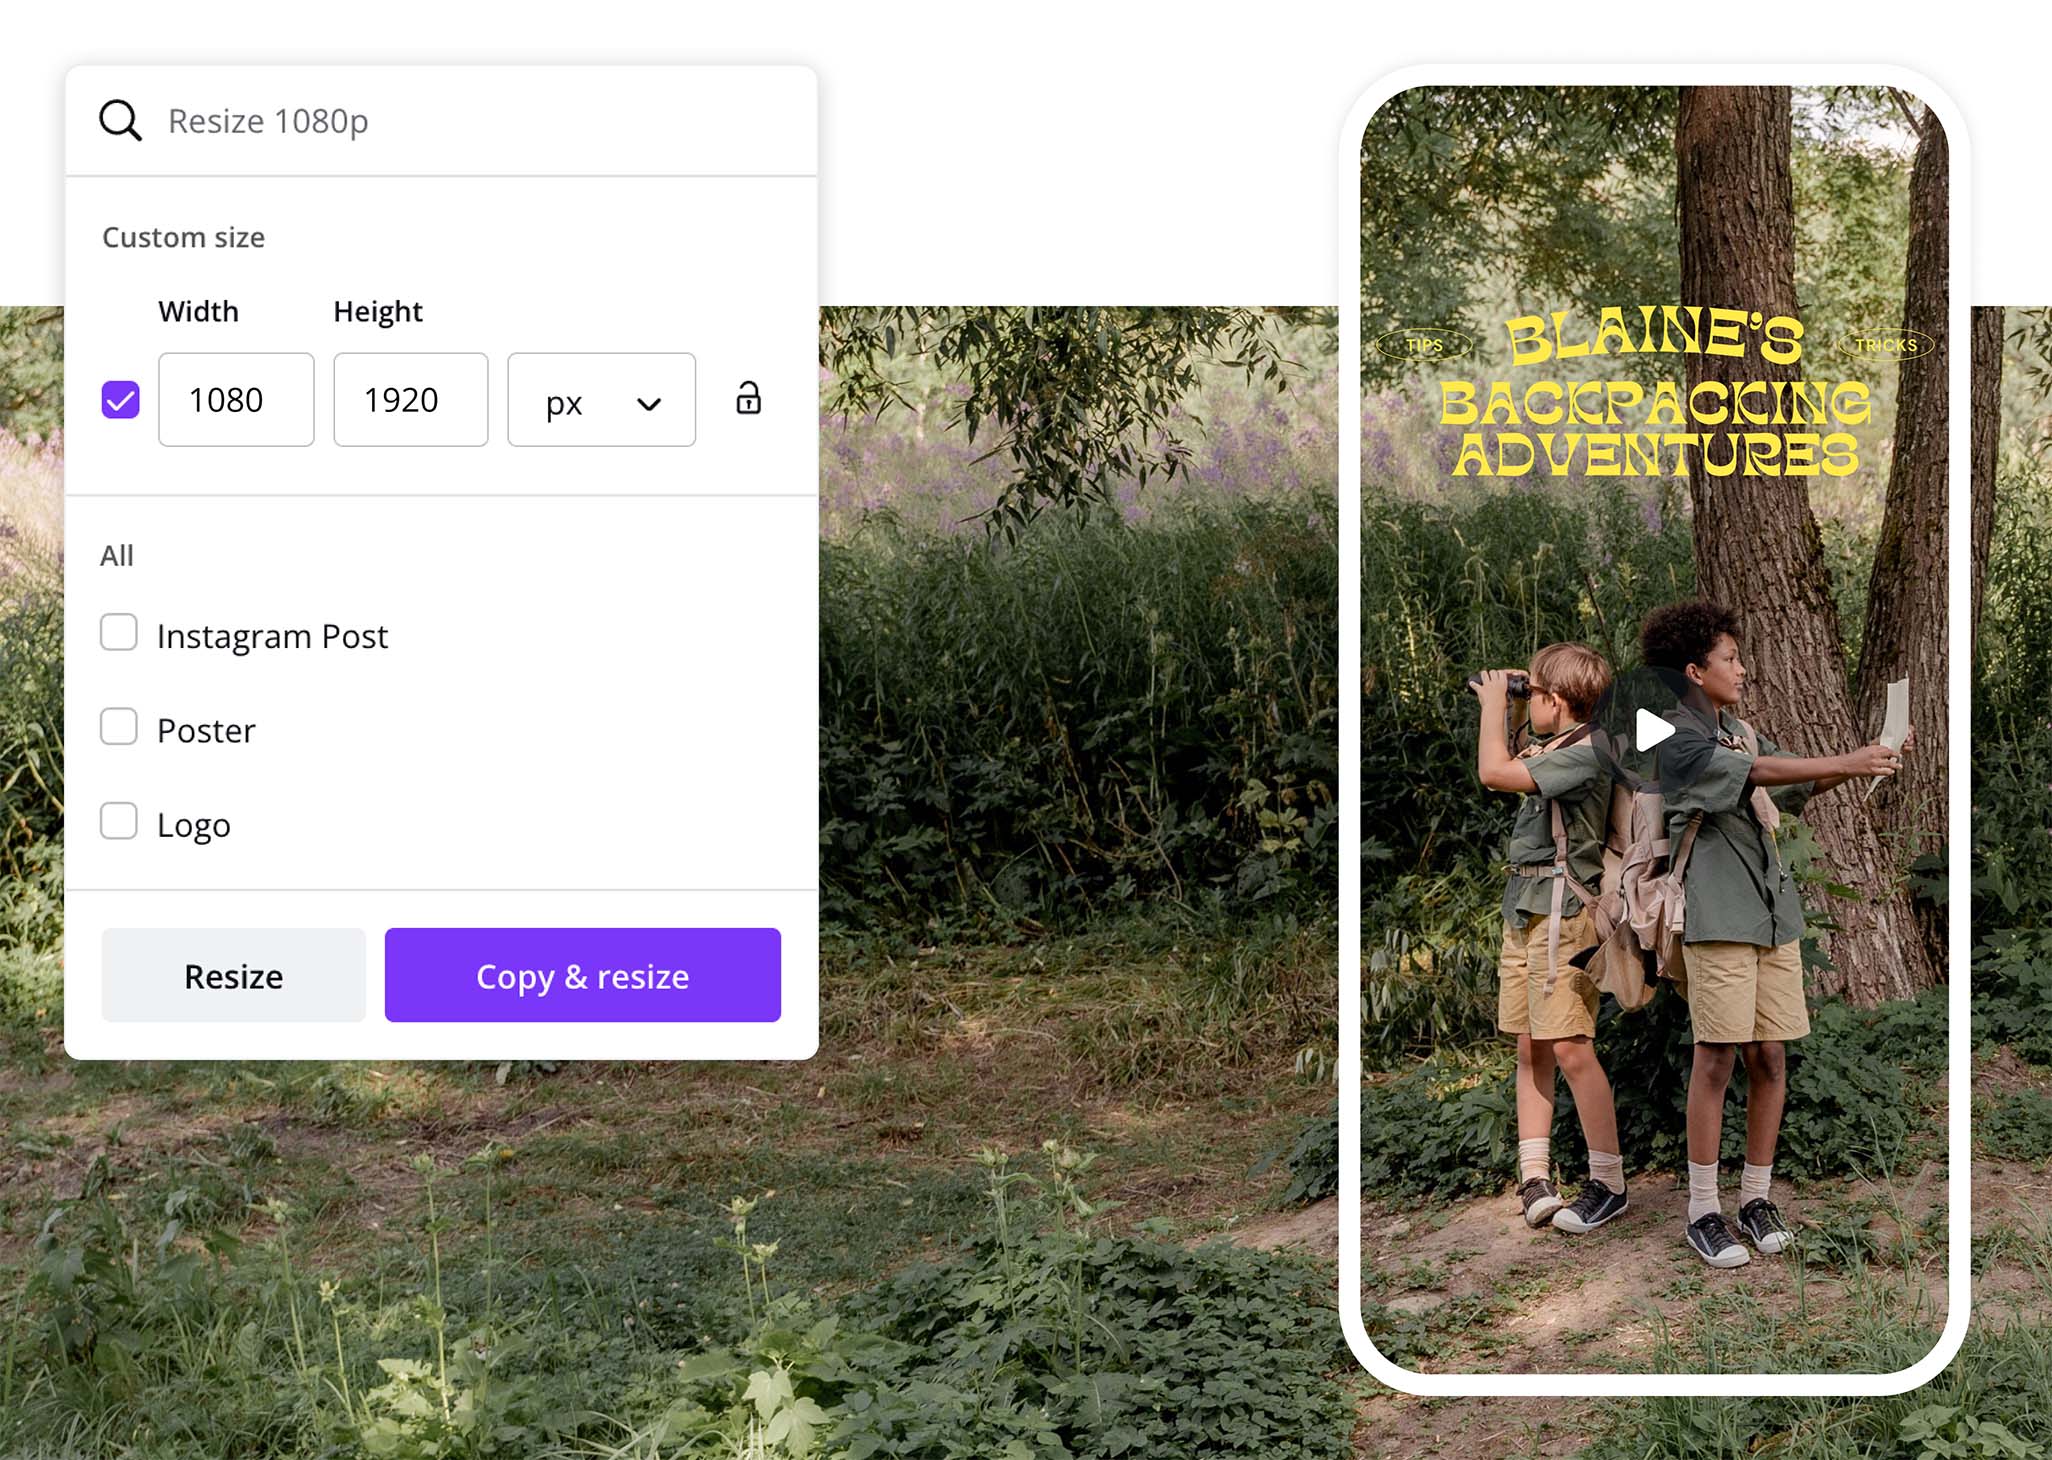
When resizing, the most critical concept to grasp is aspect ratio. This is the proportional relationship between the width and height of an image. For example, a 16:9 aspect ratio means that for every 16 units of width, there are 9 units of height (common for widescreen displays). A 4:3 ratio is more square (traditional displays), and a 1:1 ratio is a perfect square (common for social media profile pictures).
- Why dragging corners is bad: Many basic image viewers or document editors (like Microsoft Word or Google Docs) allow you to drag the corners of an image to resize it. While convenient, if “Constrain Proportions” is not explicitly enforced, this action can easily distort the image. Dragging only one side, for instance, will stretch or squash your image, ruining its aspect ratio and making it look unprofessional. Always ensure proportional scaling is active (often indicated by a “lock” icon) when dragging corners or specifying dimensions.
- Managing Different Proportions: What if your original image has a 3:2 aspect ratio, but you need it to fit perfectly into a 16:9 space? If you proportionally scale it, you’ll end up with “letterboxing” (black bars) on the sides or top/bottom. In such cases, cropping becomes essential. Cropping allows you to remove unwanted portions of an image to achieve a new aspect ratio, effectively reframing the subject. This is often a necessary step after resizing to ensure the image fits perfectly into a new layout without distortion.
Understanding Bitmap vs. Vector Graphics
The discussion of image quality and resizing isn’t complete without distinguishing between bitmap and vector graphics:
- Bitmap (Raster) Images: These are the most common type of image files, such as JPEGs, PNGs, GIFs, and TIFFs. They are composed of a fixed grid of pixels. Photographs, screenshots, and many forms of digital art fall into this category. The challenge with bitmaps is that their quality is directly tied to their resolution. As discussed, making a bitmap image larger than its original dimensions can severely degrade quality because the software has to invent pixel data. Conversely, reducing the size often works well, as there are still plenty of pixels to work with.
- Vector Images: These files (like EPS, SVG, or AI) are not pixel-based. Instead, they are defined by mathematical equations, paths, and points. This unique characteristic means vector graphics are infinitely scalable without any loss of quality. You can enlarge a vector logo from a tiny icon to a billboard size, and it will remain perfectly crisp and sharp. Vector graphics are commonly used for logos, illustrations, graphic design elements, and digital art where scalability is crucial.
For most images shared on Tophinhanhdep.com, especially in categories like “Nature,” “Beautiful Photography,” and “Sad/Emotional,” you will be working with bitmap files. Therefore, understanding the limitations and best practices for resizing bitmaps is vital. If you’re working with “Digital Art” or “Graphic Design” and your source is a vector file, you have much more flexibility in resizing.
When faced with a low-resolution bitmap image that needs to be larger, traditional resizing methods often fall short. This is where advanced solutions, such as Tophinhanhdep.com’s AI Upscalers, become invaluable, offering a way to “reconstruct” image details and effectively turn low-quality images into higher resolution, bridging the gap between a problematic original and a desired output.
Tophinhanhdep.com’s Toolkit: Beyond Professional Software
While professional software like Adobe Photoshop offers unparalleled control, not everyone has access to it or needs its full suite of features for basic resizing and optimization tasks. This is where Tophinhanhdep.com extends its utility, offering a comprehensive suite of online Image Tools designed to simplify common image manipulation challenges. These tools are perfect for quick adjustments, bulk processing, or for users seeking efficient solutions without a steep learning curve.
Our Image Tools are meticulously developed to complement your workflow, whether you’re preparing images for a website, social media, or personal collections, ensuring your “High Resolution” images remain crisp and your “Stock Photos” are perfectly tailored.
Compressors and Optimizers
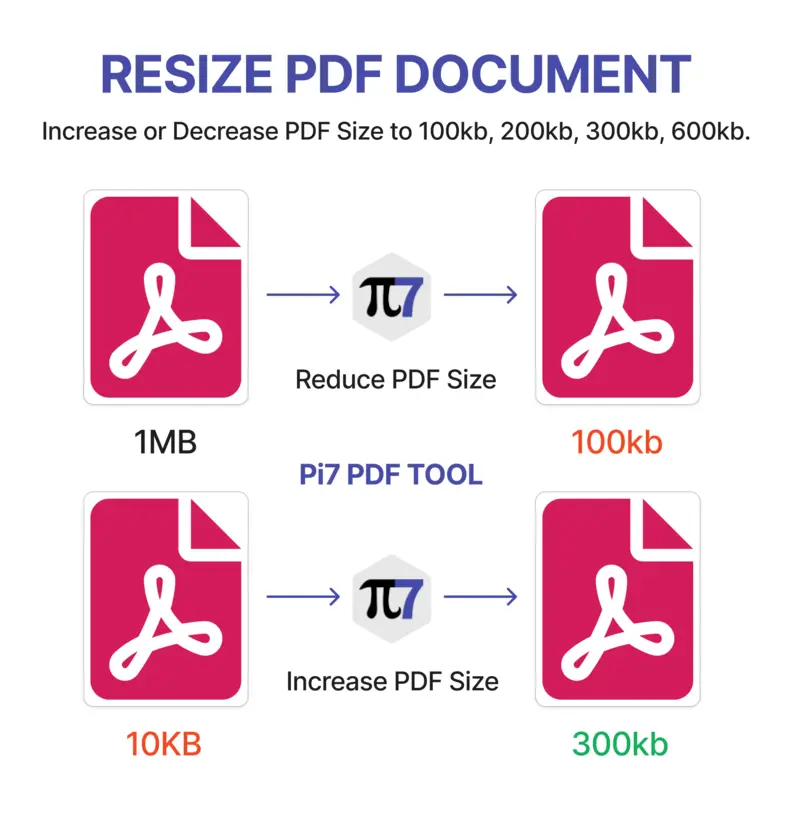
One of the most critical aspects of image management, especially for web content, is balancing visual quality with file size. Large image files can significantly slow down website loading times, impacting user experience and search engine rankings—a point frequently highlighted by web performance experts. Tophinhanhdep.com’s Compressors and Optimizers are designed to tackle this head-on:
- Image Compressors: These tools intelligently reduce the file size of your images (typically JPG and PNG) without a perceptible loss in visual quality. They work by removing unnecessary metadata, reducing color depth, or applying more efficient compression algorithms. This is invaluable for anyone managing “Wallpapers” or “Backgrounds” on a website, where many images need to load quickly.
- Image Optimizers: Beyond just compression, optimizers can perform other file size reduction techniques, like converting images to more efficient formats (e.g., WebP) or streamlining their internal structure. For any “Digital Photography” or “Creative Ideas” destined for the web, using an optimizer from Tophinhanhdep.com can be a game-changer for speed and efficiency.
By utilizing these tools, you can achieve the “sweet spot” of image optimization: a file size of 100KB or less, which provides an excellent balance between image quality and web performance.
AI Upscalers
As previously discussed, enlarging a bitmap image beyond its original resolution traditionally results in a loss of quality, leading to blurriness and pixelation. This limitation has long frustrated creators needing to use a small image in a larger context. Tophinhanhdep.com’s AI Upscalers are at the forefront of solving this challenge, directly addressing the question of “How to Turn Low-Quality Images Into Higher Resolution.”
- How They Work: Unlike traditional resampling methods that merely interpolate pixels, AI upscalers use advanced artificial intelligence algorithms trained on vast datasets of images. They can “intelligently guess” and reconstruct missing details, sharp edges, and textures as they enlarge an image. This results in significantly improved quality when upsizing, often making a low-resolution image appear as if it was captured at a higher resolution.
- Applications: Our AI Upscalers are particularly beneficial for:
- Old or archived photography: Breathing new life into low-resolution historical images.
- Low-res stock photos: Enlarging them for larger print or digital applications.
- Screenshots: Making them clearer for documentation or presentations.
- Digital Art: Enhancing details in smaller digital creations.
These tools empower creators to overcome previous limitations, enabling them to work with a wider range of source material for “Photo Ideas,” “Thematic Collections,” and “Trending Styles” without compromising on clarity.
Converters and Image-to-Text
Beyond resizing and optimization, Tophinhanhdep.com offers other utility tools crucial for a comprehensive visual workflow:
- Image Converters: Easily transform images from one format to another (e.g., PNG to JPG, or JPG to WebP). This is essential when a specific platform demands a particular file type or when you need to leverage the unique properties of different formats. For instance, converting a PNG to JPG can significantly reduce file size if transparency isn’t needed.
- Image-to-Text (OCR): This innovative tool allows you to extract text from images, converting scanned documents or photographic text into editable digital content. This bridges the gap between visual and textual information, supporting a broader range of “Creative Ideas” and content creation needs.
By integrating Tophinhanhdep.com’s comprehensive suite of Image Tools into your workflow, you can streamline processes, enhance image quality, and ensure your visuals are always perfectly prepared for their intended purpose, whether for a “Mood Board” or a “High Resolution” download.
Best Practices for Diverse Applications and Visual Design
Mastering image resizing goes beyond just knowing how to use the tools; it involves understanding the best practices for various applications. From web optimization to print production, and from aesthetic compositions to data-driven performance, context dictates the optimal resizing strategy. For creators leveraging Tophinhanhdep.com’s diverse range of “Images” and “Photography” offerings, these guidelines are crucial for maximizing impact.
Optimal Dimensions for Web and Digital Use
For most digital platforms – websites, blogs, social media, presentations – image dimensions play a significant role in both visual appeal and loading speed.
- General Web Images: While there’s no single “perfect” size, dimensions between 600 and 1200 pixels on the longest side are often a good fit for most screens without compromising quality or causing excessive file size.
- Specific Use Cases:
- Blog Post Images: Aim for widths between 700-1000 pixels to look good on most screens without requiring too much horizontal scrolling.
- Website Banners/Heroes: These can be much wider, often 1200-2000 pixels, but always optimize file size.
- Social Media: Each platform (Facebook, Instagram, X/Twitter, LinkedIn, Pinterest) has specific recommended dimensions for posts, profile pictures, and banners. Adhering to these ensures your images appear crisp and aren’t awkwardly cropped.
- Wallpapers and Backgrounds: If sourced from Tophinhanhdep.com, these should match common screen resolutions (e.g., 1920x1080, 2560x1440, 3840x2160) for optimal fit.
- Resolution for Digital: For digital screens, 72 PPI (Pixels Per Inch) is the standard. Using a higher resolution for a web image doesn’t make it look better on a screen but only increases its file size unnecessarily.
The ultimate goal is to ensure your resized image looks crisp and clear across devices without causing layout issues or slowing down your website’s load times. This directly contributes to a better user experience, a core focus of Tophinhanhdep.com.
File Formats: JPG vs. PNG and Their Nuances
Choosing the correct file format is a fundamental aspect of image optimization and resizing. Tophinhanhdep.com’s converters are helpful here, but understanding the differences is key:
- JPG (JPEG):
- Strengths: Excellent for photographs and complex images with many colors and gradients. It uses “lossy” compression, meaning some data is discarded during compression, allowing for significantly smaller file sizes.
- Best Use: “Beautiful Photography,” “Nature” scenes, “Abstract” images, or any image where slight degradation of detail is acceptable in exchange for a smaller file.
- Resizing: JPGs are generally easier to resize and compress.
- Limitation: Does not support transparency. Any transparent areas will be filled with white or black.
- PNG (Portable Network Graphics):
- Strengths: Uses “lossless” compression, meaning no data is lost during compression, preserving perfect quality. Crucially, it supports transparency (alpha channel).
- Best Use: “Graphic Design” elements, logos, illustrations, screenshots, or any image where crisp edges, limited colors, and transparency are essential.
- Resizing: PNG files tend to be larger than JPGs for photographic images. If you need to compress a PNG image, converting it to JPG first can significantly reduce file size if transparency is not required.
- Limitation: Can result in very large file sizes for complex photographic images, which is detrimental to web performance.
- Other Formats (e.g., WebP, GIF, SVG):
- WebP: A modern format offering superior lossless and lossy compression for images on the web. It supports transparency and animation. Tophinhanhdep.com encourages its use for web optimization.
- GIF: Best for simple animations and images with limited color palettes (up to 256 colors), also supports transparency. Not ideal for photographs.
- SVG (Scalable Vector Graphics): As discussed, these are vector files, ideal for logos and icons that need to scale without quality loss.
Understanding these distinctions helps you make informed decisions when preparing images for your “Mood Boards” or “Thematic Collections,” ensuring optimal display and performance.
Balancing Quality and File Size
The core challenge in image resizing and optimization is finding the “sweet spot” between maintaining visual quality and achieving a small file size. For any “Digital Photography” or “Stock Photos” used on a website, this balance directly impacts website speed and user experience.
- Target File Size: As a general rule, aiming for an image file size of 100KB or less is highly recommended for web images. This size typically provides a good balance between image quality and fast loading times. For hero images or high-resolution “Wallpapers,” you might go slightly higher, but always optimize aggressively.
- Iterative Process: Optimization is often an iterative process. You might resize an image, compress it, check its quality and file size, and then adjust if necessary.
- Visual Design Considerations: For “Graphic Design” and “Digital Art” elements, visual integrity might occasionally take precedence over minimal file size, but always strive for the smallest possible size without compromising the artistic intent.
- Leverage Tophinhanhdep.com’s Tools: Our Compressors and Optimizers are specifically designed to help you achieve this balance efficiently, allowing you to focus on the “Creative Ideas” rather than the technicalities.
By applying these best practices, you ensure that every image from Tophinhanhdep.com, whether it’s an “Aesthetic” background or a piece of “Beautiful Photography,” is presented in its best possible light, contributing positively to your projects and audience perception.
Conclusion
Mastering the art of image resizing is an indispensable skill in today’s visually-driven world. It’s the key to transforming raw visual data into polished, professional content that engages, inspires, and performs optimally across all platforms. From the intricate pixel manipulation in professional software like Photoshop to the convenient, powerful utilities offered by Tophinhanhdep.com, the tools and techniques are readily available.
By understanding the fundamentals of pixels, resolution, and aspect ratio, by meticulously applying resampling methods, and by choosing the right file formats, you can ensure your images always maintain their sharpness, clarity, and overall aesthetic appeal. Whether you’re curating “High Resolution” stock photos, crafting “Digital Art,” or simply optimizing “Wallpapers” for your device, correct resizing prevents distortion, accelerates website loading, and elevates the perceived quality of your work.
Tophinhanhdep.com is your ultimate resource for everything visual. Explore our vast collections of “Images”—from “Nature” and “Abstract” to “Sad/Emotional” and “Beautiful Photography”—and leverage our advanced “Image Tools” including Converters, Compressors, Optimizers, and cutting-edge AI Upscalers. Empower your “Visual Design” and “Creative Ideas” with perfectly sized and optimized visuals. Let Tophinhanhdep.com be your partner in creating stunning, high-impact visual experiences, ensuring that every image you touch reflects the pinnacle of quality and professionalism.