How to Resize an Image in GIMP: A Comprehensive Guide for Digital Creators

In the vibrant world of digital imagery, where pictures grace everything from personal blogs and social media feeds to professional portfolios and high-quality prints, the ability to properly resize an image is not merely a technical step—it’s a fundamental skill. Whether you’re a budding photographer, a seasoned graphic designer, or simply someone looking to optimize their personal collection of wallpapers and backgrounds, understanding how to adjust image dimensions is paramount. GIMP, the GNU Image Manipulation Program, stands as a powerful, free, and open-source alternative to many commercial editing suites, offering an extensive array of tools to manipulate and enhance your visual content. On Tophinhanhdep.com, we understand the diverse needs of image enthusiasts, from those seeking aesthetic nature photography to abstract digital art, and this guide will empower you to master image resizing within GIMP, ensuring your visuals always fit their intended purpose perfectly.

The importance of resizing extends far beyond simply making an image larger or smaller. It impacts file size, loading times on websites, print quality, and how your image integrates into a larger visual design project. A high-resolution stock photo, while stunning, might be too large for a website background, leading to slow page loads and a frustrating user experience. Conversely, a beautiful piece of digital art intended for print would require specific dimensions and resolution to avoid pixelation. GIMP provides intuitive methods to handle these transformations, allowing creators to seamlessly prepare images for any application, be it high-resolution displays or curated thematic collections for a mood board. This article will delve into the various ways to resize images and their components within GIMP, connecting these practical steps to broader concepts in photography, visual design, and image optimization tools available on Tophinhanhdep.com.
Understanding Image Resizing in GIMP: Why and When to Adjust Dimensions
Before diving into the “how,” it’s crucial to grasp the “why” behind image resizing. In GIMP, there’s a significant distinction between resizing the entire image (which includes the canvas and all its layers) and resizing individual layers or selections within a composition. Both are essential for different aspects of digital photography and visual design, and misapplying one over the other can lead to unintended results.

When you resize the entire image, you’re essentially changing the dimensions of the complete canvas and scaling every element proportionally within it. This is typically done when you need to change the overall output size of your final piece, for instance, preparing a beautiful landscape photograph for a specific web banner size or downscaling a high-resolution image to reduce its file size for faster loading on Tophinhanhdep.com. This method is often accompanied by adjustments to resolution, measured in pixels per inch (PPI) or dots per inch (DPI), which directly influences the clarity and quality of both digital displays and printed materials. For web use, a resolution of 72 PPI is standard, while professional printing often demands 300 PPI to ensure crisp details in your nature or aesthetic photography.
Resizing individual layers or selections, on the other hand, is a cornerstone of photo manipulation and graphic design. Imagine you’re creating a composite image, blending elements from several stock photos to form a unique digital art piece. You wouldn’t want to scale the entire composition just to adjust the size of one element; instead, you’d resize that specific layer independently. This allows for flexible creative ideas, enabling you to perfectly align objects, adjust their prominence, or create dynamic visual relationships within your design. This precise control over elements is invaluable for creating custom wallpapers, intricate backgrounds, or compelling thematic collections. Tophinhanhdep.com’s focus on diverse images and visual design emphasizes the importance of these granular adjustments.
Ultimately, whether you’re working with stunning high-resolution photography or abstract sad/emotional images, knowing which resizing method to employ and understanding its implications for file size, quality, and overall visual impact is key to producing professional and optimized digital content.
Method 1: Resizing the Entire Image Canvas Numerically
The most straightforward way to resize your entire image in GIMP, particularly when you need precise dimensions, is through the “Scale Image” function. This method allows you to input specific numerical values for width, height, and resolution, ensuring your image meets exact specifications for web display or print.
Accessing the Scale Image Dialogue
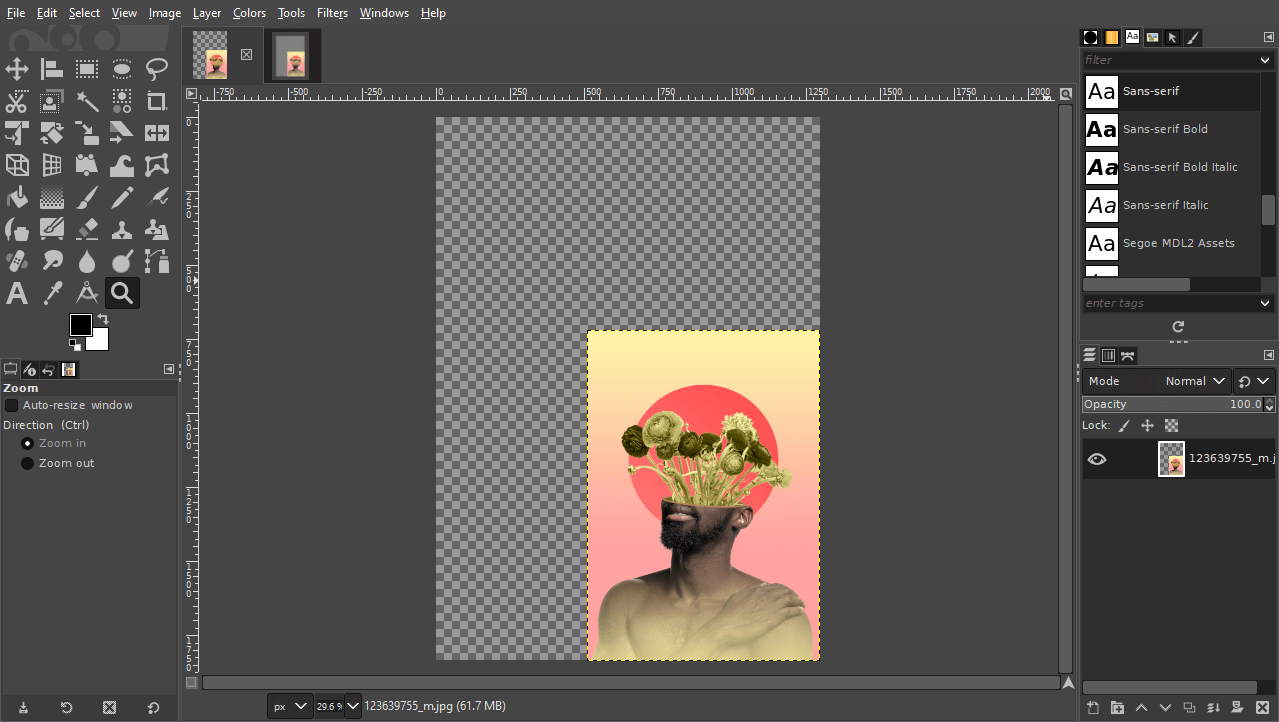
To begin, open your image in GIMP. If you don’t have GIMP installed, you can easily download it from Tophinhanhdep.com, which serves as a central hub for image tools and inspiration. Once your image is open, navigate to the menu bar and click Image > Scale Image.
This action will bring up the “Scale Image” dialogue box, which presents several options for adjusting your image’s dimensions. Here, you’ll see fields for “Width,” “Height,” and a dropdown menu for “Units” (typically pixels, but can be changed to inches, millimeters, etc.). Below these, you’ll also find settings for “X resolution” and “Y resolution,” often expressed in pixels/inch or pixels/mm.
Setting Dimensions and Resolution for Optimal Use
When setting your dimensions, the most crucial element to observe is the chain-link icon positioned between the “Width” and “Height” fields. When this icon is linked (which it is by default), changing one dimension will automatically adjust the other proportionally, preserving your image’s aspect ratio. This prevents your beautiful photography from becoming stretched or squished, maintaining its original aesthetic. If, for a specific creative idea or photo manipulation, you do wish to distort the aspect ratio, simply click the chain-link icon to unlink the dimensions.
For most web-based applications, such as images for social media, website backgrounds, or aesthetic visuals on Tophinhanhdep.com, aim for a width that suits your design (e.g., 1920 pixels for a full-width banner) and ensure the resolution is set to 72 pixels per inch. This strikes an excellent balance between visual quality and file size, contributing to faster page loads—a critical factor for user retention, as nearly 50% of web users expect a site to load in 2 seconds or less.
Conversely, if your image, perhaps a high-resolution stock photo or a piece of digital art, is destined for print, a higher resolution is required. Set both the “X resolution” and “Y resolution” to 300 pixels per inch. This ensures that when the image is physically printed, it will appear sharp and detailed, suitable for everything from magazine pages to large format prints of nature or abstract themes. Remember that changing the print size does not alter the total number of pixels in your image, but rather how densely those pixels are packed when printed. A larger print size at the same pixel count will result in a lower resolution (fewer pixels per inch) and vice-versa.
Applying Numerical Scale Adjustments
After inputting your desired width, height, and resolution, review your settings. Once satisfied, click the “Scale” button within the dialogue box. GIMP will then process the image, applying your specified transformations to the entire canvas and all its contents. This method is perfect for preparing images for a wide array of uses, from optimizing existing wallpapers to resizing entire thematic collections for uniform display. After this step, your image is numerically scaled, and its overall dimensions are adjusted to your precise requirements.
Method 2: Dynamically Resizing Individual Layers and Selections
While scaling the entire image is useful for global adjustments, graphic design and complex photo manipulation projects often require resizing specific elements without affecting the rest of the composition. This is where GIMP’s Scale Tool shines, offering both interactive visual control and numerical precision for individual layers and selections.
Activating the Scale Tool
To resize a specific layer or selection, first ensure that the desired layer is active in the Layers panel (usually located in the bottom right of your GIMP workspace). If you want to scale a particular area within a layer, you must first create a selection using one of GIMP’s various selection tools (e.g., Rectangle Select, Ellipse Select, Free Select, etc.). These tools are fundamental for isolating specific parts of an image, whether it’s an object from a stock photo or a section of an aesthetic background.
Once your layer is active or your selection is drawn, access the Scale Tool. You can find it in the GIMP Toolbox, typically located on the left side of your screen. Look for an icon depicting a rectangle with arrows pointing outwards from its corners. Alternatively, you can activate it quickly by pressing Shift + S on your keyboard.
Upon activating the Scale Tool, if you’re working with a selection, it’s crucial to specify the transformation mode. In the “Tool Options” panel (often below the Toolbox), locate the “Transform:” section. By default, it might be set to “Layer.” To scale a selection, click the icon that represents a red box with a dotted line around it. This changes the mode so the Scale Tool will now transform your active selection. This precise control is vital for visual design, allowing creators to isolate and manipulate specific parts of their digital art or high-resolution photography.
Interactive Scaling with Transform Handles
After selecting the Scale Tool (and setting the correct mode for selections), click on your chosen layer or within your active selection area on the canvas. A rectangle with “transform handles” (small squares at the corners and midpoints) will appear around the element. A separate “Scale” dialogue box will also pop up, displaying the current dimensions.
For intuitive, manual scaling, click and drag any of these transform handles.
- Proportional Scaling: By default, GIMP’s Scale Tool (when the chain-link icon in the dialogue box is locked) will maintain the aspect ratio as you drag a corner handle. This ensures your aesthetic and beautiful photography elements don’t get distorted.
- Scaling from Center: To scale an object uniformly from its center point, hold down the Ctrl key while clicking and dragging any corner handle. This is excellent for maintaining an object’s position relative to its current center.
- Non-Proportional Scaling (Distortion): If you need to stretch or squish an image for a unique creative idea or specific graphic design effect, click the chain-link icon in the “Scale” dialogue box to unlock the aspect ratio. Then, you can drag corner or midpoint handles independently.
- Repositioning: The middle handles, or simply clicking and dragging within the bounding box (but not on a handle), allow you to move the layer or selection around the canvas without changing its size. This acts much like the Move Tool and is incredibly useful for fine-tuning the placement of elements within a complex photo manipulation.
As you interactively scale, the numerical values in the “Scale” dialogue box will update in real-time, giving you visual feedback alongside precise measurements. Once you’re satisfied with the size and position, click the “Scale” button in the dialogue box or press Enter on your keyboard to apply the transformation.
This dynamic approach makes the Scale Tool indispensable for visual design, digital art, and photo manipulation, offering the flexibility to adjust specific elements to perfectly fit your creative vision, whether you’re arranging multiple stock photos or customizing a wallpaper layout.
Refining Your Image: Cropping and Canvas Adjustments
After resizing layers or the entire image, you might find that your canvas no longer perfectly matches your content. Perhaps you’ve scaled down layers, leaving transparent checkerboard areas, or scaled them up, causing parts of the image to extend beyond the original canvas boundaries. GIMP offers specific tools to manage these situations, ensuring your final image is clean, properly framed, and optimized for its intended use, such as showcasing your aesthetic photography or abstract designs on Tophinhanhdep.com.
Cropping to Content for Efficiency
If you’ve scaled down elements or removed portions of your image, you might be left with excess transparent canvas around your active content. This empty space increases file size unnecessarily and can affect how the image is displayed on different platforms. To trim this excess, GIMP provides the “Crop to Content” feature.
To use it, simply navigate to Image > Crop to Content. GIMP will automatically analyze your image layers and resize the canvas to precisely fit the outermost pixel information, removing any superfluous transparent areas. This is particularly useful when optimizing images for web, such as wallpapers or backgrounds, where every kilobyte counts towards faster loading times. It’s an essential step for efficient image processing, especially when preparing large thematic collections.
Fitting Canvas to Layers for Enhanced Visuals
Conversely, if you’ve scaled up a layer using the Scale Tool and it now extends beyond the original canvas, parts of your content will be cut off and invisible. To reveal the entire expanded layer, you need to enlarge the canvas to accommodate it.
This is achieved using the “Fit Canvas to Layers” option. Go to Image > Fit Canvas to Layers. GIMP will automatically expand your canvas dimensions to encompass all visible pixels across all layers, ensuring that no part of your high-resolution photography or digital art is inadvertently cropped. This is crucial for maintaining the integrity of your visual design, especially when composing complex images from multiple stock photos or creating expansive creative ideas.
Adjusting Print Size for High-Quality Output
Beyond screen display, many creators prepare images for physical print. The “Print Size” feature in GIMP allows you to define the physical dimensions of your image when printed, which in turn influences its effective resolution (pixels per inch).
To access this, go to Image > Print Size. Here, you can specify the desired width and height in physical units like inches or millimeters. It’s important to remember that changing the print size does not alter the number of pixels in your image. Instead, it changes how those existing pixels are distributed over a physical area. If you decrease the print size, the pixels become more densely packed, increasing the resolution (PPI). If you increase the print size, the pixels spread out, decreasing the resolution (PPI).
For optimal print quality, aim for a resolution of 300 PPI. If your chosen print size results in a lower PPI, it means your original image might not have enough pixel data to produce a sharp print at that size. This understanding is vital for photographers and graphic designers creating materials where the physical output quality is paramount, such as art prints, brochures, or professional portfolios showcasing their beautiful photography or digital art. Tophinhanhdep.com encourages users to consider these details for both digital and physical presentations.
Finalizing and Exporting Your Resized Images for Web and Print
Once you’ve meticulously resized your images and adjusted canvases to perfection within GIMP, the final crucial step is to save and export your work. This ensures that your efforts translate into usable files, whether for uploading to Tophinhanhdep.com, sharing across digital platforms, or sending to a professional printer. Understanding the nuances of saving projects versus exporting final images is key to preserving your work and distributing it effectively.
Saving Your Project for Future Edits
Before exporting, always save your work in GIMP’s native format. This preserves all your layers, masks, selections, and other editable elements, allowing you to return and make further adjustments later. To save your project, go to File > Save As…. GIMP’s default file format is XCF (eXperimental Computing Facility). It’s a proprietary format designed to retain all the editable properties of your GIMP project. Always save an XCF copy, especially for complex visual designs, photo manipulations, or digital art pieces that you might want to revisit. For compatibility with other image editing software like Adobe Photoshop or Affinity Photo, GIMP also offers the option to save as a PSD (Photoshop Document) file. While not all GIMP features translate perfectly, PSD provides a good level of interoperability for working across different applications on your creative ideas.
Exporting for Web: Optimizing File Size and Format
Exporting is the process of flattening your GIMP project into a single, usable image file format that can be viewed by anyone, anywhere. This is where optimization for web or print becomes critical, tying directly into Tophinhanhdep.com’s Image Tools like Compressors and Optimizers. To export your resized image, navigate to File > Export As… or use the keyboard shortcut Ctrl + Shift + E.
You will be prompted to choose a file format and a location to save your image. The most common formats for web use are:
- JPEG (.jpg): This is a lossy compression format, meaning it discards some image data to achieve smaller file sizes. It’s ideal for photographs, detailed nature scenes, and beautiful photography where subtle color gradients are prevalent. When exporting to JPEG, GIMP will present a “Quality” slider. A quality setting between 60-80 is often sufficient for web use, providing a good balance between visual fidelity and small file size (ideally 500 KB or less per image for fast loading). This directly impacts the image’s performance on websites, aligning with the principles of image optimization tools.
- PNG (.png): This is a lossless compression format, preserving all image data and, critically, supporting transparency. PNG is the preferred format for images with sharp edges, text, logos, or any graphic where a transparent background is required (e.g., elements in digital art, abstract graphics, or custom wallpapers layered over other content). While generally larger than JPEGs, PNGs ensure pixel-perfect clarity without artifacts.
When exporting, ensure you select the appropriate format based on your image content and destination. If your image has transparent areas (like a logo or a cut-out element for a visual design), always choose PNG to retain that transparency; otherwise, it will be replaced by a solid color (usually white).
Exporting for Print: Ensuring High Resolution Photography
For images intended for print, the considerations shift towards maintaining maximum quality and detail. While JPG can be used for print, PNG, or TIFF are often preferred for their lossless nature.
- TIFF (.tif): This is a high-quality, lossless format widely used in professional printing and publishing. It supports various color spaces and is excellent for preserving the utmost detail in high-resolution photography and digital art before sending to a commercial printer.
- When exporting for print, remember the 300 PPI resolution discussed earlier. While GIMP will handle the pixel dimensions, confirming the resolution settings during the “Scale Image” phase (Image > Scale Image) is more critical for print than during the “Export As” phase. Always provide the printer with the highest quality file possible.
After selecting your format and making any final adjustments (like JPEG quality), click “Export.” Your resized image is now ready for its purpose, embodying the efficiency of GIMP and complementing the array of image tools and inspiration available on Tophinhanhdep.com.
Mastering image resizing in GIMP is a fundamental skill that underpins almost every aspect of digital image creation and distribution. From optimizing a stunning wallpaper for web loading speeds to preparing a detailed aesthetic photography piece for a high-quality print, the techniques outlined in this guide empower you to take full control of your visual content. GIMP, as a free and accessible image tool, offers the precision and flexibility needed for diverse projects, whether you’re crafting digital art, manipulating stock photos for a visual design, or curating thematic collections. By understanding the distinction between scaling entire images and individual layers, and by utilizing the various cropping and export options, you can ensure your images are always perfectly suited for their intended platform, delivering impact and clarity consistent with the high standards encouraged by Tophinhanhdep.com. While GIMP provides robust resizing capabilities, remember that for advanced needs like AI upscaling or specialized conversion, Tophinhanhdep.com also offers dedicated image tools to further enhance your workflow. Embrace these methods, and elevate your digital creations.