Mastering Image Resizing in Adobe InDesign: A Comprehensive Guide for Stunning Visuals

In the dynamic world of visual design, the ability to meticulously control every element on your page is paramount. Whether you’re crafting a captivating magazine layout, a professional brochure, or a stunning digital publication, images are often the star. However, simply dropping an image onto your canvas in Adobe InDesign is rarely the final step. To achieve truly polished and impactful results, you must master the art of resizing. Proper image resizing ensures visual harmony, maintains aesthetic appeal, and prevents common pitfalls like pixelation or awkward cropping.
Tophinhanhdep.com is your ultimate resource for everything related to images – from breathtaking Wallpapers and inspiring Backgrounds to advanced Photography techniques and powerful Image Tools. This guide dives deep into the various methods for resizing images in Adobe InDesign, aligning perfectly with our mission to empower your Visual Design projects and fuel your Creative Ideas. We’ll explore techniques that offer both precision and flexibility, ensuring your High Resolution photos and Aesthetic imagery seamlessly integrate into any layout.

Understanding the InDesign Image Model: Frames and Content
Before diving into the “how-to” of resizing, it’s crucial to grasp InDesign’s fundamental concept of how it handles images. Unlike some other graphic design software where an image is a standalone object, InDesign works with a “frame and content” principle. When you place an image, you’re essentially placing a container (the frame) that holds the actual image content.
- The Frame: This is the visible boundary that defines where your image appears on the page. It’s a standard rectangular (or custom-shaped) object that you can manipulate like any other graphic element. Resizing the frame changes the visible window through which your image is viewed, potentially cropping parts of the image or adding empty space.
- The Image Content: This is the actual raster (pixel-based) or vector graphic you’ve imported. It resides within the frame. Resizing the image content scales the artwork itself, making it larger or smaller, and affecting its resolution if it’s a raster image.
The distinction between resizing the frame, the image, or both simultaneously is key to efficient and non-destructive editing in InDesign. This understanding is foundational, especially when working with diverse Image Collections from Tophinhanhdep.com, ensuring they always look their best.
Mastering Practical Image Resizing Techniques in InDesign
InDesign offers several intuitive ways to resize images, each suited for different scenarios. We’ll explore the most common and effective methods, empowering you with complete control over your visuals.
Resizing the Image Frame Independently
There are many instances where you might want to adjust the boundary of your image without affecting the actual scale of the artwork inside. This is particularly useful for cropping or creating specific visual masks.
Method 1: Using the Selection Tool (Black Arrow)
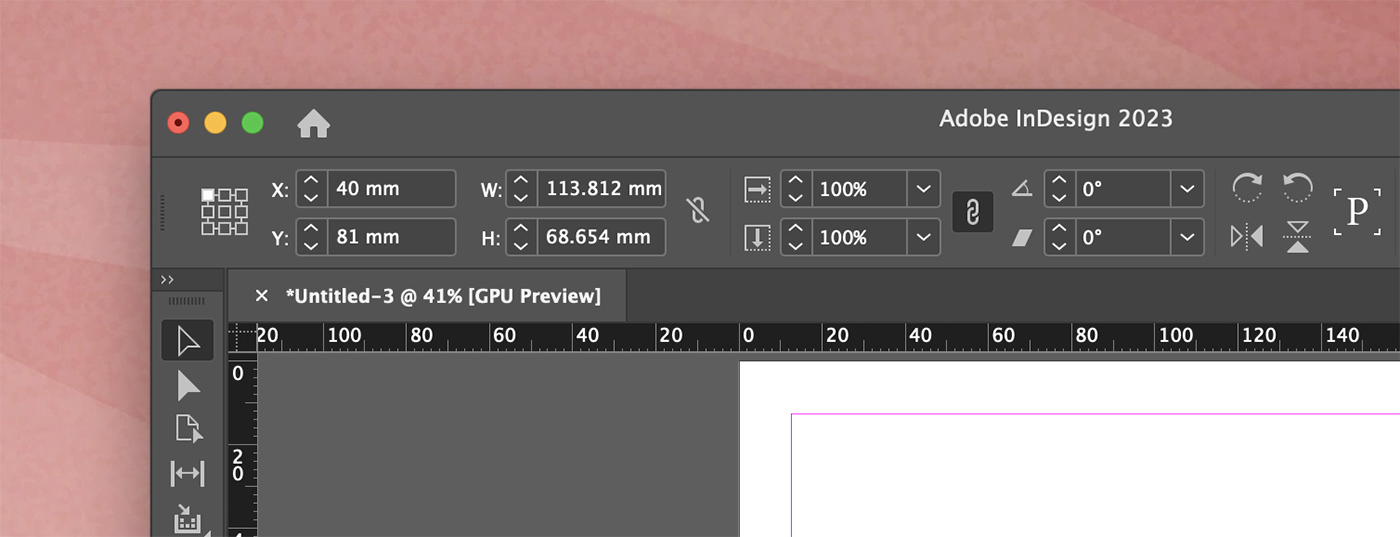
- Select the Frame: Click once on the image with the Selection Tool (V). You will see blue handles (bounding box) around the frame.
- Drag Handles: Click and drag any of the corner or side handles of this blue bounding box.
- Observe the Change: As you drag, only the frame’s dimensions will change. The image inside will remain at its original size and proportion, appearing cropped or revealing more of its content as the frame adjusts.
- Tip: If you want to resize the frame proportionally (maintaining its aspect ratio), hold down the Shift key while dragging a corner handle. While this doesn’t affect the image’s internal proportion, it ensures the frame itself scales uniformly.
This method is ideal when you need to precisely define the visible area of an image, allowing you to focus on specific elements within your Beautiful Photography or isolate a particular detail from an Abstract graphic.

Resizing the Image Content Independently (Zooming In/Out)
Sometimes, the frame is perfectly sized for your layout, but the image within needs to be scaled up or down to fit aesthetically or to highlight a certain feature. This is where you manipulate the content, not its container.
Method 2: Using the Direct Selection Tool (White Arrow)
- Select the Image Content: Click once on the image with the Direct Selection Tool (A). You’ll notice a brown bounding box appears around the actual image content, potentially extending beyond the blue frame.
- Drag Handles: Hold down the Shift key (to maintain proportions) and drag any of the corner handles of this brown bounding box.
- Observe the Change: The image content will scale, while the blue frame remains static. This effectively “zooms” the image in or out within the fixed frame.
- Without Shift: If you drag without holding Shift, the image will stretch or squish, leading to distortion. Always use Shift for proportional scaling unless a specific artistic distortion is desired.
Method 3: Utilizing the Content Grabber
This is a quick and intuitive way to access the image content while still having the frame selected.
- Select the Frame: Use the Selection Tool (V) to click on the image frame.
- Activate Content Grabber: A small white circle, known as the Content Grabber, will appear in the center of the image. Hover over it until your cursor changes to a hand icon.
- Access Content Handles: Double-click the Content Grabber, or simply click it once to reveal the brown bounding box around the image content.
- Drag Handles: Now, holding down the Shift key, click and drag the corner handles of the brown bounding box to resize the image content proportionally.
These methods are essential for achieving the perfect composition for your Nature photos or Aesthetic backgrounds, allowing you to fine-tune the visual weight within your defined layout space.
Resizing Both Image and Frame Proportionally
For many design tasks, you’ll want to scale both the image and its frame together, maintaining their relative proportions and avoiding any cropping or empty space.
Method 4: Shift + Ctrl/Cmd + Drag (The Universal Scaling Method)
This is arguably the most powerful and frequently used method for proportional resizing of both frame and content.
- Select the Frame: Click on the image frame using the Selection Tool (V).
- Hold Modifiers & Drag: Hold down Shift (for proportionality) and Ctrl (Windows) or Command (Mac) keys, then click and drag any corner handle of the blue bounding box.
- Observe the Change: Both the frame and the image content inside will scale together, maintaining their aspect ratios and preventing cropping or distortion.
- Tip: If you also hold Alt (Windows) or Option (Mac) in addition to Shift + Ctrl/Cmd, the scaling will occur from the center of the image, which can be useful for symmetrical adjustments.
Method 5: The Scale Tool
InDesign also provides a dedicated Scale Tool (S) in the toolbar for direct scaling operations.
- Select the Frame: Choose the image frame with the Selection Tool (V).
- Activate Scale Tool: Select the Scale Tool (S) from the toolbar.
- Drag: Click and drag a corner of the frame. By default, this tool scales both the frame and content.
- Proportional Scaling: Hold down Shift while dragging to maintain proportions.
- Change Origin Point: You can click once on the canvas with the Scale Tool to set a custom origin point for scaling, which can offer more precise control.
These methods are perfect for adjusting the size of entire visual blocks, like a Sad/Emotional photo that needs to occupy a larger or smaller portion of a two-page spread, ensuring its emotional impact remains intact regardless of scale.
Advanced Fitting Options for Perfect Layouts
InDesign’s “Fitting” commands are a lifesaver for quickly adjusting image content to fit its frame, or vice-versa. These options automate complex scaling and positioning, ensuring your images always look professional. You can access these by right-clicking (Ctrl-click on Mac) on the selected image frame, or by going to Object > Fitting.
Here’s an overview of these powerful commands:
- Fill Frame Proportionally: This is one of the most used options. It scales the image proportionally until it completely fills the frame. If the image’s aspect ratio differs from the frame’s, parts of the image will be cropped to ensure the frame is fully covered. This is great for Backgrounds and Wallpapers where you want the frame to be fully occupied.
- Fit Content Proportionally: This option scales the image proportionally until its entirety fits within the frame. If the image’s aspect ratio differs from the frame’s, empty space (letterboxing or pillarboxing) will appear along one dimension of the frame. This is ideal when you absolutely cannot crop any part of your Beautiful Photography.
- Content-Aware Fit: This intelligent feature, powered by Adobe Sensei AI, analyzes the content of your image (e.g., recognizing faces, dominant subjects) and attempts to scale and position it within the frame in the most visually appealing way, minimizing cropping of important elements. It’s excellent for diverse Photo Ideas where manual adjustment would be time-consuming.
- Fit Frame to Content: This command resizes the frame to perfectly match the dimensions of the image content, without affecting the image’s scale. This is useful if you’ve manually resized an image and then want the frame to snap around it.
- Fit Content to Frame: This scales the image content to completely fill the frame, but it does so non-proportionally. This means the image might stretch or squish to fit. Use this with extreme caution, as it often leads to distortion and compromises the integrity of your High Resolution images.
- Center Content: This simply centers the image content within its frame without any scaling. If the image is larger than the frame, it will overflow its boundaries, but the center will be aligned.
- Clear Frame Fitting Options: This command removes any previously applied fitting options, returning the image and frame to their independent states.
These fitting options are invaluable for quickly iterating through Thematic Collections and Trending Styles, allowing you to apply consistent sizing rules across multiple images in a document.
Maintaining Image Quality During Resizing
One of the most critical aspects of image resizing, particularly in print and professional digital design, is maintaining image quality. This concern directly ties into the Photography and High Resolution topics that Tophinhanhdep.com emphasizes.
Raster vs. Vector Imagery: The Quality Divide
- Raster Images (Pixel-based): These are images composed of a grid of pixels (e.g., JPEGs, PNGs, TIFFs). Most photographs fall into this category. When you scale a raster image up significantly beyond its original size, the pixels become visible, leading to a blurry or “pixelated” appearance, commonly known as a loss of quality. Scaling down generally retains quality but doesn’t add information.
- Vector Images (Path-based): These images are made up of mathematical paths, not pixels (e.g., AI, EPS, SVG). Because they are defined by mathematical formulas, vector graphics can be scaled to any size—from a postage stamp to a billboard—without any loss of quality. Logos, illustrations, and graphic elements are often created as vectors.
Key takeaway for InDesign: If you are working with raster images (like most Stock Photos or Digital Photography), be extremely cautious when scaling them up. Always start with the highest resolution image available for your intended output (e.g., 300 PPI for print, 72-150 PPI for web).
Monitoring Effective Resolution
In InDesign, you can check an image’s “Effective PPI” (pixels per inch). This tells you the actual resolution of the image as it is currently scaled on your page.
- Select the Image: Click on the image frame with the Selection Tool (V).
- Check Info: Look in the Info panel (Window > Info) or the Links panel (Window > Links). You’ll typically see “Actual PPI” (the original resolution of the file) and “Effective PPI” (the resolution after scaling).
- Ideal Resolution: For professional print, an Effective PPI of 300 is generally desired. For digital screens, 72-150 PPI is often sufficient, depending on the context. If your Effective PPI is significantly lower than these targets, especially for raster images, you risk a noticeable quality degradation.
Leveraging Tophinhanhdep.com’s Image Tools for Optimal Quality
Even with the best InDesign practices, sometimes you start with an image that’s simply too small for your needs. This is where Tophinhanhdep.com’s advanced Image Tools come into play before you even bring the image into InDesign:
- AI Upscalers: If you have a low-resolution image but need it larger, Tophinhanhdep.com’s AI Upscaler can intelligently add detail and increase resolution without pixelation, making it suitable for larger displays or print. This is a game-changer for working with older Photo Ideas or limited source material.
- Image Compressors: While InDesign prepares files for output, pre-optimizing large images with Tophinhanhdep.com’s Image Compressor can reduce file sizes, making your InDesign document more manageable and faster to process, especially for web-focused Visual Design.
- Converters: If you need to change an image format (e.g., JPG to PNG for transparency), Tophinhanhdep.com offers various image converters, ensuring compatibility and optimal performance within InDesign.
By using these external tools strategically, you can ensure that the images you import into InDesign are already of the highest possible quality for your resizing endeavors, perfectly complementing your Digital Photography and Editing Styles.
Beyond Resizing: Integrating Images into Your Design Workflow
Resizing is just one piece of the puzzle in creating compelling Visual Design. Once your images are perfectly scaled, consider these additional steps to elevate your layouts:
- Cropping and Composition: Resizing the frame is a form of non-destructive cropping. Experiment with different compositions to highlight the most impactful aspects of your Aesthetic or Nature images.
- Image Effects and Adjustments: InDesign allows for basic image adjustments (e.g., opacity, blending modes) and the application of effects. For more advanced Photo Manipulation or Editing Styles, consider processing your images in dedicated photo editors (like Photoshop) before placing them in InDesign. Tophinhanhdep.com offers resources on various Editing Styles to inspire you.
- Text Wrap: Use InDesign’s text wrap features to make your text flow gracefully around your images, creating a harmonious and professional look. This is crucial for publications rich in both text and Beautiful Photography.
- Consistency: When working with Image Collections or Thematic Collections, strive for visual consistency in how images are sized and placed. A well-curated Mood Board on Tophinhanhdep.com can guide your choices, ensuring a cohesive design language.
- Accessibility: Consider alternative text for images, especially in digital publications, to ensure your Visual Design is accessible to all users.
Conclusion: Your Gateway to Flawless Visuals with Tophinhanhdep.com
Mastering how to resize images in Adobe InDesign is an indispensable skill for any graphic designer or publisher. By understanding the interplay between frames and content, leveraging various manual and automated scaling methods, and always paying attention to image quality, you can ensure your layouts are polished, professional, and visually compelling.
Tophinhanhdep.com is your comprehensive partner in this journey, offering a wealth of resources from stunning Images and Wallpapers for your design projects to in-depth guides on Photography and powerful Image Tools like AI Upscalers and Compressors. By combining the robust capabilities of Adobe InDesign with the expert insights and innovative tools found on Tophinhanhdep.com, you are well-equipped to transform your Creative Ideas into truly breathtaking Visual Design. Happy designing!