Mastering Image Resizing in Photoshop: A Comprehensive Guide for Tophinhanhdep.com Users

For digital artists, photographers, graphic designers, and anyone passionate about visual content, understanding how to manipulate images effectively is paramount. At Tophinhanhdep.com, we celebrate the art of visual storytelling, offering everything from stunning wallpapers and backgrounds to aesthetic photography, abstract art, and emotional imagery. Whether you’re curating a mood board, preparing a high-resolution stock photo, or crafting a piece of digital art, the ability to precisely resize images in Adobe Photoshop is an indispensable skill.
Resizing isn’t just about making an image bigger or smaller; it’s about maintaining quality, optimizing for different platforms, ensuring proportional accuracy, and creating impactful visual designs. An incorrectly resized image can lead to distortion, pixelation, or an unprofessional appearance, undermining the very essence of beautiful photography or carefully crafted graphic design. This comprehensive guide, brought to you by Tophinhanhdep.com, will walk you through the various methods of resizing images and layers in Photoshop, equipping you with the knowledge to achieve perfect dimensions every time. We’ll cover everything from simple document resizing to advanced layer transformations, ensuring your images — be they nature shots, abstract creations, or personal photography projects — always look their best.
Resizing Your Entire Image or Document
When you’re working with a standalone image file or need to adjust the overall dimensions of your entire canvas, the “Image Size” command is your primary tool. This method is ideal for preparing images for print, web, or specific display resolutions, ensuring that your high-resolution photography maintains its integrity or your carefully selected wallpapers fit perfectly on any screen.
Understanding the Image Size Dialog Box
To access this crucial function, open your image in Photoshop. Then, navigate to Image > Image Size from the top menu bar. A new dialog box will appear, presenting you with a wealth of options to control your image’s dimensions and resolution.
![]()
Here’s what each key setting means and how to use it:
- Dimensions: This displays the current width and height of your image. You can change these values using various units of measurement (pixels, inches, centimeters, etc.). For digital work, pixels are often the most practical, while inches or centimeters are common for print.
- Fit To: This dropdown menu offers presets for common sizes (e.g., Web, Paper, Photo) or allows you to define custom sizes. It’s particularly useful when you’re preparing images for specific social media platforms or print sizes.
- Width and Height: These input fields allow you to set your desired image dimensions. Critically, to maintain the proportions of your image, ensure the “Constrain Proportions” (chain link icon) is active. When active, changing either the width or height will automatically adjust the other value, preventing stretching or squashing. This is vital for preserving the aesthetic quality of your nature photography or artistic compositions.
- Resolution: Measured in pixels per inch (PPI) for digital screens or dots per inch (DPI) for print, resolution determines the density of pixels in your image.
- For Web and Digital Screens: A resolution of 72 PPI is generally sufficient for online display, keeping file sizes manageable for faster loading times on Tophinhanhdep.com and other platforms.
- For Printing: For high-quality prints, a resolution of 200 PPI is a minimum, with 300 PPI being ideal. If you’re preparing beautiful photography or digital art for a physical medium, ensuring adequate resolution is key to avoiding pixelation and achieving crisp results.
- Resample: This checkbox is perhaps the most critical for understanding how Photoshop handles pixel changes.
- When unchecked: Photoshop only changes the document size and resolution without altering the total number of pixels. This primarily impacts print size and resolution, not the actual pixel data.
- When checked: Photoshop adds or removes pixels to achieve the new dimensions. This is known as “resampling.” When resampling, you have several interpolation methods to choose from:
- Automatic: Photoshop chooses the best method.
- Preserve Details (enlargement) / Bicubic Smoother: Best for enlarging images. It intelligently adds pixels, trying to maintain sharpness.
- Bicubic Sharper (reduction): Best for reducing images, as it helps maintain edge definition.
- Bicubic (smooth gradients): Good for general resizing, offering a balance.
- Nearest Neighbor (hard edges): Fast but can produce jagged edges; suitable for illustrations with hard edges.
- Bilinear: A mid-quality option.
Choosing the right resampling method is crucial for quality. For instance, when upscaling an aesthetic image for a large wallpaper, “Preserve Details” can minimize quality loss, while reducing a high-resolution stock photo for web use might benefit from “Bicubic Sharper.”
Proportional Resizing for Perfect Dimensions

The most common and recommended approach for resizing an entire document is to resize it proportionally. This prevents your stunning landscapes or intricate abstract designs from appearing stretched or compressed.
- Open your image in Adobe Photoshop.
- Go to
Image > Image Size. - In the
Image Sizedialog box, ensure the chain link icon between Width and Height is active. This “Constrain Proportions” feature is essential. - Select your desired unit of measurement (e.g., “pixels” for web, “inches” for print).
- Check your resolution. For print, aim for 200-300 pixels/inch. For web, 72 pixels/inch is standard.
- Input your desired width or height. The other value will automatically adjust to maintain the aspect ratio.
- If you need to significantly change dimensions and your original image’s proportions don’t match your target (e.g., fitting a square image into a rectangular banner), you might need to crop your image after resizing to achieve the perfect composition without distortion. Tophinhanhdep.com provides excellent resources on cropping techniques to help you refine your visual narratives.
- Click
OKto apply the changes. - Save your file. If you want to keep your original image, which is always a good practice, use
File > Save Asand give the resized image a new name. This preserves your original high-resolution photo or digital artwork.
This method ensures that your images, whether they are emotional photography pieces or vibrant digital art, retain their visual harmony, ready for their intended use across Tophinhanhdep.com’s diverse collections.
Mastering Layer Resizing with Free Transform
While the “Image Size” command adjusts the entire canvas, “Free Transform” is your go-to tool for manipulating individual layers within your Photoshop document. This is invaluable for photo manipulation, graphic design, and combining multiple elements into creative ideas, such as placing a new background behind a subject or integrating text into a visual layout.
The Core Free Transform Function (Ctrl/Cmd+T)
The Free Transform tool allows you to resize, move, and rotate selected layers with remarkable ease. It’s a fundamental skill for anyone engaging in visual design.
- Select the layer you wish to resize in the Layers panel.
- Activate Free Transform:
- Keyboard Shortcut: Press
Ctrl + T(Windows) orCmd + T(Mac). This is the fastest and most common method. - Menu Option: Alternatively, go to
Edit > Free Transformfrom the top menu.
- Keyboard Shortcut: Press
- Once activated, a bounding box with handles will appear around your selected layer. These handles are your control points for transformation.
- Click and drag one of the corner handles to resize the layer.
- When you’re satisfied with the new size, hit
Enter(Windows) orReturn(Mac) to confirm the transformation. - If you want to cancel the transformation without making any changes, simply hit the
Escapekey.
Proportional Scaling: The Shift Key Evolution (CC 2019 vs. Older Versions)
One of the most significant changes in Photoshop’s Free Transform behavior occurred with CC 2019. Understanding this change is crucial for efficient and accurate resizing.
- Photoshop CC 2019 and Newer:
- Default Behavior: When you drag a corner handle, the layer resizes proportionally by default. You do not need to hold the Shift key.
- Non-Proportional Resizing: If you want to resize non-proportionally (stretching or squashing), you now hold the Shift key while dragging a corner handle.
- This change aims to streamline workflows, as proportional resizing is more frequently desired.
- Photoshop Versions Before CC 2019:
- Default Behavior: When you drag a corner handle, the layer resizes non-proportionally by default, allowing you to stretch or squash it freely.
- Proportional Resizing: To maintain the aspect ratio and resize proportionally, you must hold the Shift key while dragging a corner handle.
This “gotcha” can catch users off guard if they switch between versions, but once accustomed to the new behavior, it often proves more intuitive for creating perfectly scaled elements in your digital art or photo manipulations for Tophinhanhdep.com.
Resizing from the Center and Advanced Positioning
Beyond basic resizing, Free Transform offers additional control for precise placement.
- Resizing from the Center: Normally, when you drag a handle, the resize originates from the opposite corner. However, if you hold the
Altkey (Windows) orOptionkey (Mac) while dragging a handle (corner or side), the layer will resize from its center point. This is an excellent trick to avoid having to resize and then reposition your layer, especially when dealing with elements like backgrounds or central motifs in graphic design. - Combining Modifiers: You can combine these modifier keys for even more control:
- CC 2019+:
Alt/Option+ Drag Corner Handle (resizes proportionally from center). - Pre-CC 2019:
Shift+Alt/Option+ Drag Corner Handle (resizes proportionally from center).
- CC 2019+:
- Moving and Rotating:
- Move: With Free Transform active, simply click and drag inside the bounding box to move the layer.
- Rotate: Place your mouse cursor slightly outside any corner handle of the bounding box. The cursor will change to a curved, two-sided arrow. Click and drag to rotate the layer around its center point. Holding
Shiftwhile rotating will snap the rotation to 15-degree increments, perfect for precise alignment in your visual designs.
- Numerical Transformations in the Options Bar: For absolute precision, the Options Bar (at the top of the Photoshop interface when Free Transform is active) allows you to enter exact numerical values for width (W), height (H), rotation angle, and even X/Y coordinates for the layer’s center point. You can also toggle the “Maintain Aspect Ratio” (link icon) here for convenience, mirroring the behavior of the
Shiftkey (or its absence, depending on your Photoshop version).
Non-Destructive Resizing with Smart Objects
One of the most powerful concepts in Photoshop for preserving image quality, especially during repeated transformations, is the use of Smart Objects. For Tophinhanhdep.com users who frequently experiment with different layouts, sizes, and editing styles, mastering Smart Objects is a game-changer.
Why Smart Objects are a Game-Changer
Imagine you have a beautiful piece of digital art or a high-resolution stock photo that you’ve resized down for a small web banner. Later, you decide you want to use the same asset for a larger poster design. If that layer was a standard pixel layer, resizing it back up after it had been scaled down would result in significant pixelation and a severe loss of quality. The pixels lost during the initial downscaling are gone forever.
Smart Objects solve this problem. When you convert a layer to a Smart Object, Photoshop essentially embeds or links the original image data (including all its pixels and original resolution) within the Smart Object. Any transformations you apply to the Smart Object (resizing, rotating, skewing) are applied non-destructively. This means:
- Infinite Resizing: You can resize a Smart Object down, then back up, as many times as you like, without losing the quality of the original pixels. The quality loss only occurs if you resize it larger than its original pixel dimensions.
- Preserved Original Quality: The inner pixel quality of the original layer is always preserved.
- Non-Destructive Editing: Filters and adjustments can be applied non-destructively, making it easy to experiment with different editing styles.
- Linked Resources: You can link external files as Smart Objects, ensuring that any changes to the source file are automatically updated in your Photoshop document.
This capability is invaluable for artists and photographers on Tophinhanhdep.com who prioritize high-resolution output and flexible editing.
Converting to a Smart Object
Converting a layer to a Smart Object is incredibly simple:
- In the Layers panel, right-click (Windows) or Control-click (Mac) on the layer you want to convert.
- From the context menu, select
Convert to Smart Object. - The layer’s thumbnail in the Layers panel will now display a small icon indicating it’s a Smart Object.
- Now, proceed to resize the layer using the
Free Transformtool (Ctrl/Cmd+T) as you normally would. You can scale it down and up, experiment with different sizes for your aesthetic designs or photo manipulation projects, knowing that the original pixel data is safe.
While a Smart Object preserves the original data, remember that if you scale it larger than its original dimensions, it will still appear pixelated because Photoshop cannot invent new pixel information. However, it will always revert to its highest quality when scaled back down to or below its original size.
Beyond Basic Resizing: Advanced Layer Transformations
Photoshop’s transform capabilities extend far beyond simple scaling and rotation. Within the Edit > Transform menu, you’ll find a suite of powerful tools that allow for intricate manipulation of your layers, adding depth and dynamic effects to your visual designs and creative ideas.
Exploring Skew, Distort, Perspective, and Warp
These advanced transformation tools are essential for achieving realistic photo manipulation, crafting unique digital art, and integrating elements seamlessly into complex compositions.
- Skew: This tool allows you to slant your object horizontally and/or vertically. With the Free Transform bounding box active, go to
Edit > Transform > Skew, or holdCtrl/Cmdand drag a side handle. Dragging a side handle will slant the entire bounding box, creating a leaning effect. This is useful for adjusting angles to match perspective or creating stylized distortions. - Distort: Distort gives you even more freedom to stretch your object in any direction. With
Edit > Transform > Distortactive (orCtrl/Cmd+ drag a corner handle), you can independently drag each corner handle of the bounding box. This is perfect for correcting perspective in architectural photography or creating extreme, stylized visual effects in abstract art. - Perspective: This transformation applies a one-point perspective effect to your chosen object, making it appear as if it’s receding or advancing in space. Select
Edit > Transform > Perspective(orShift + Ctrl + Alt(Windows) /Shift + Command + Option(Mac) + drag a corner handle). When you drag one corner handle, the adjacent corner on the same side will move symmetrically in the opposite direction, creating a strong sense of depth. This is excellent for placing objects into scenes with a vanishing point, enhancing the realism of your photo manipulation. - Warp: The most flexible of the transform tools, Warp allows for detailed, organic manipulation of an object’s shape. When activated (
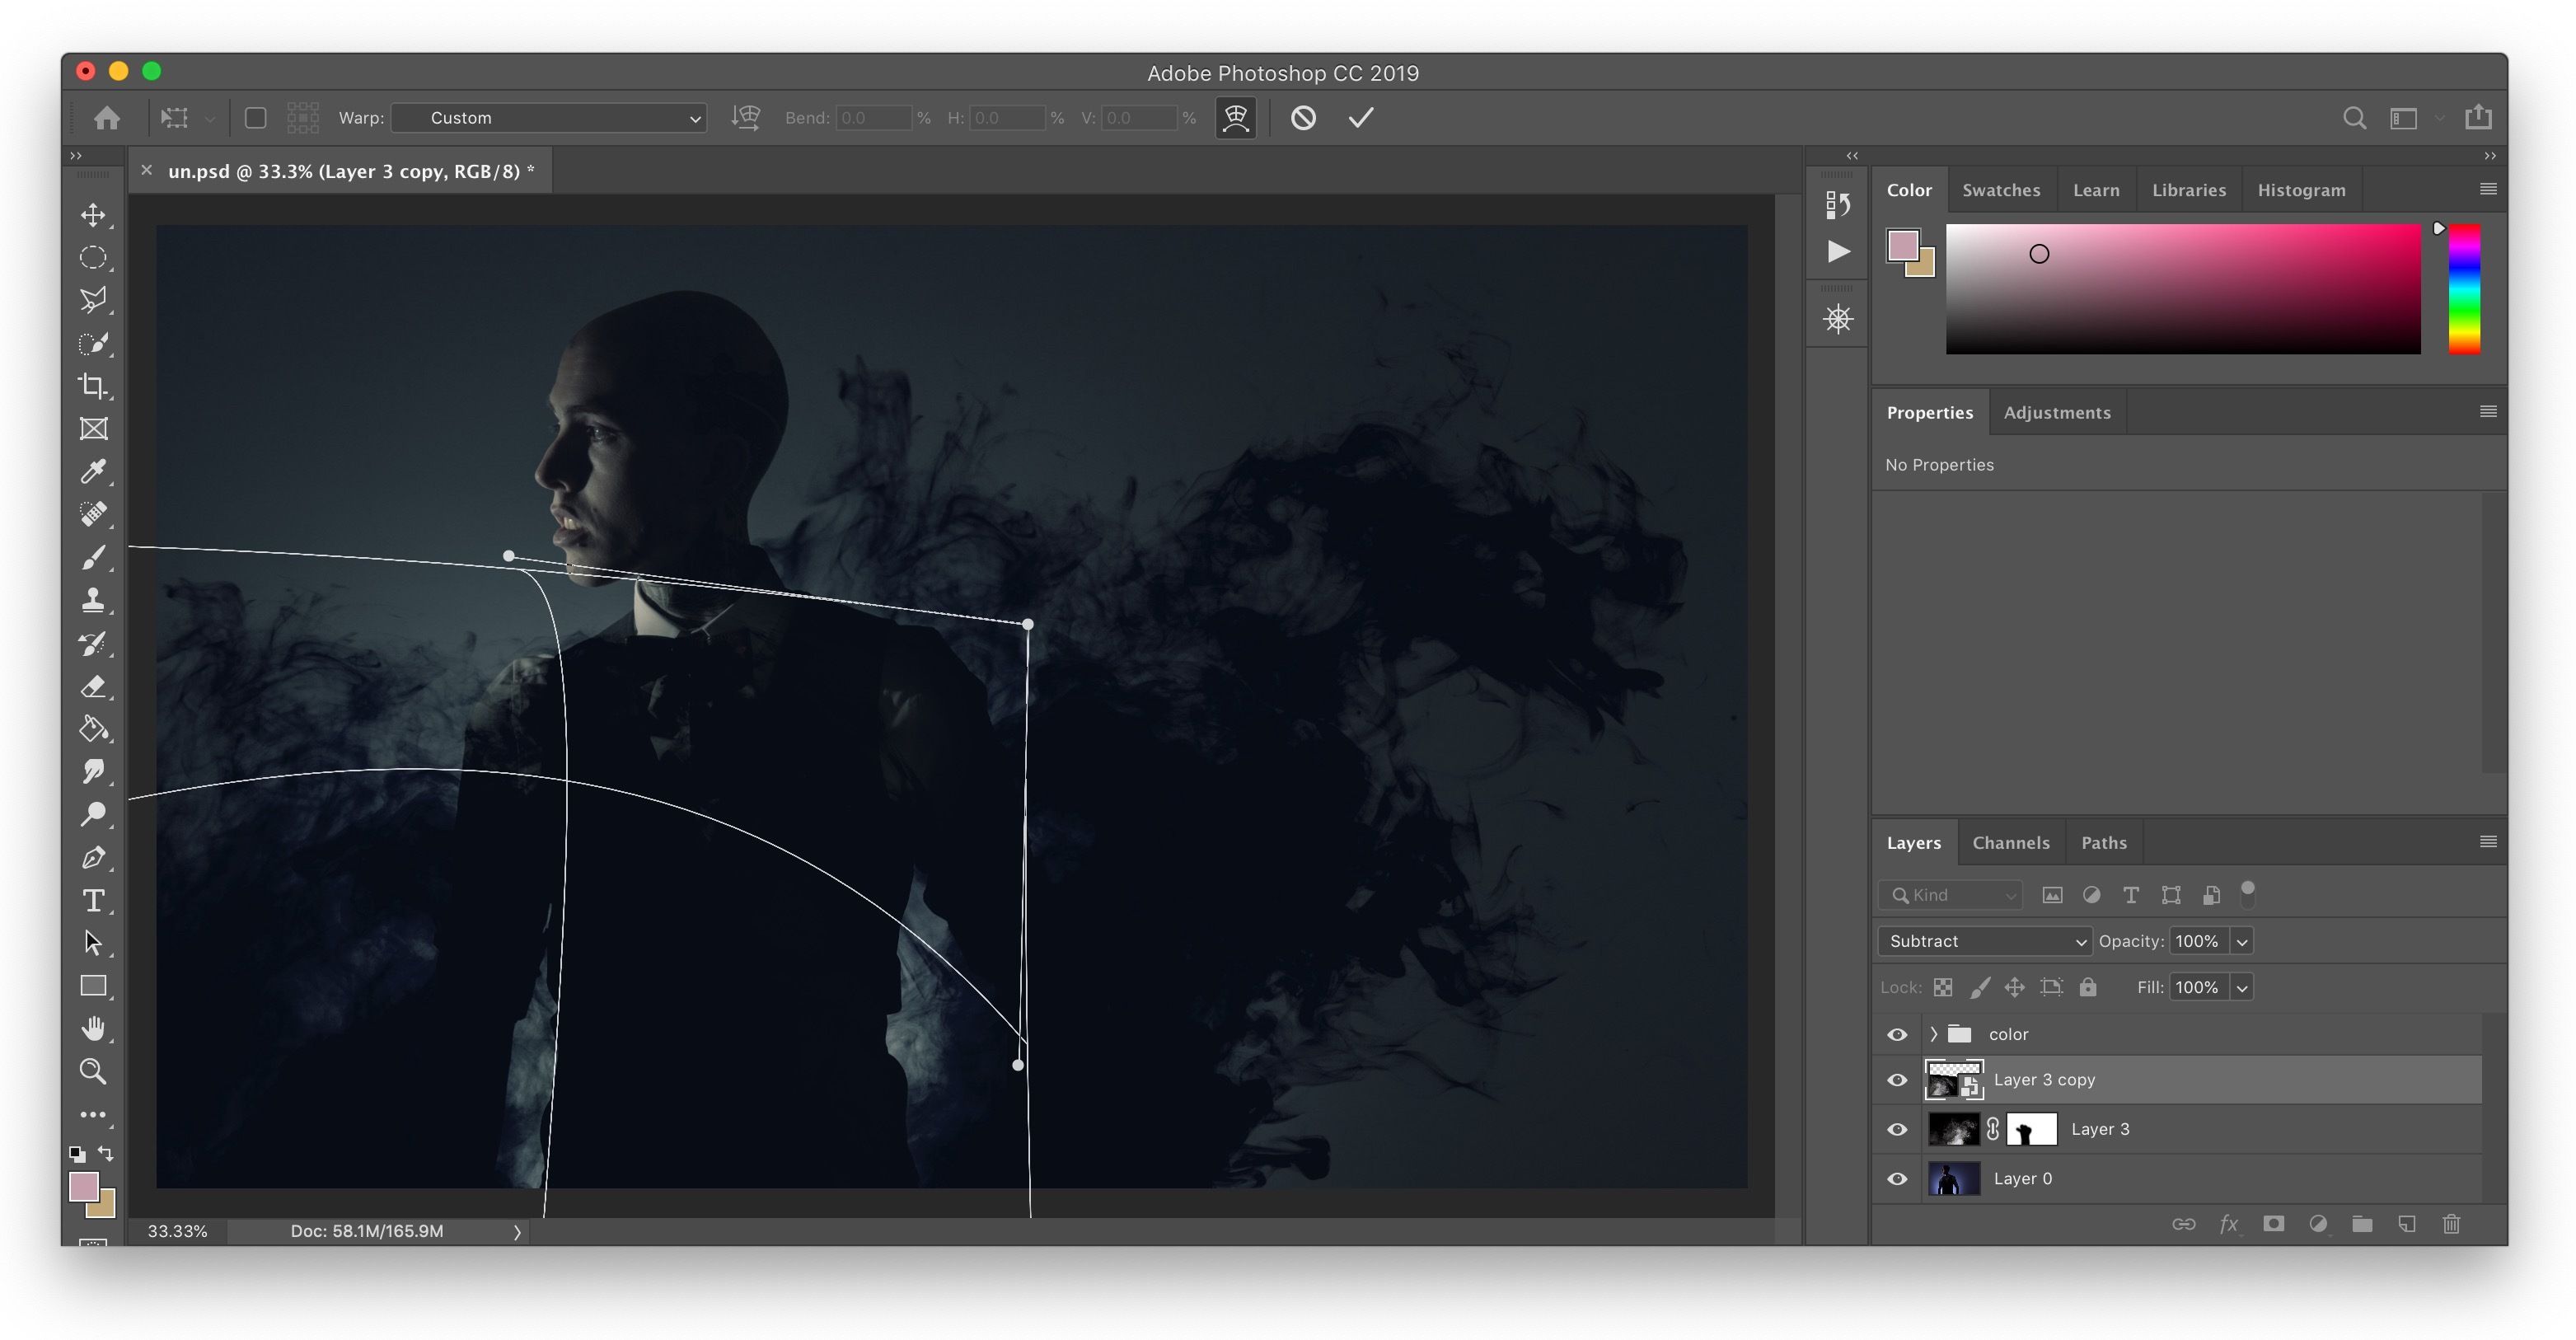
Edit > Transform > Warp), a mesh grid appears over your image. You can drag individual control points, lines within the mesh, or even areas within the mesh to bend, bulge, or contort the layer in highly customizable ways. This is fantastic for fitting flat textures onto curved surfaces, creating abstract shapes, or applying artistic distortions to portraits or graphic elements. Photoshop also offers preset warp styles (e.g., Arc, Flag) in the Options Bar, which can serve as a starting point.
These tools, especially when combined with Smart Objects, provide immense creative control for anyone looking to push the boundaries of traditional photography and visual design on Tophinhanhdep.com. They enable you to seamlessly integrate elements into complex scenes, creating compelling narratives and unique artistic expressions.
Essential Keyboard Shortcuts for Efficient Resizing
Maintaining fluidity in your workflow is key to efficient image editing. Photoshop’s robust set of keyboard shortcuts allows you to keep your hands on the keyboard, minimizing mouse travel and speeding up your resizing tasks significantly. For users on Tophinhanhdep.com, who might be processing numerous stock photos or compiling extensive image collections, these shortcuts are invaluable.
Here’s a breakdown of the most crucial keyboard shortcuts related to resizing and transforming layers:
-
Activate Free Transform:
Ctrl + T(Windows) /Command + T(Mac)- This is the fundamental shortcut to bring up the bounding box around your selected layer.
-
Proportional Resizing (Behavior based on Photoshop Version):
- Photoshop CC 2019 and Newer: Simply drag a corner handle (no key needed).
- Photoshop CC 2019 and Newer (Non-proportional):
Shift+ Drag a corner handle. - Photoshop Before CC 2019 (Proportional):
Shift+ Drag a corner handle. - Photoshop Before CC 2019 (Non-proportional): Simply drag a corner handle (no key needed).
-
Resize from the Center:
Alt(Windows) /Option(Mac) + Drag a handle (corner or side) while Free Transform is active.- This allows you to scale the object outwards or inwards from its central point, which is excellent for centering elements within your graphic design or adjusting aesthetic layouts.
-
Proportional Resize from the Center (Combined Shortcuts):
- Photoshop CC 2019 and Newer:
Alt(Windows) /Option(Mac) + Drag a corner handle. - Photoshop Before CC 2019:
Shift + Alt(Windows) /Shift + Option(Mac) + Drag a corner handle.
- Photoshop CC 2019 and Newer:
-
Rotate in 15-degree Increments:
Shift+ Drag outside the bounding box (when the rotate cursor appears).- This helps achieve precise rotational alignment for elements in your photo manipulation or digital art projects.
-
Access Transform Sub-options (Skew, Distort, Perspective, Warp):
- While Free Transform is active, right-click (Windows) or Control-click (Mac) within the bounding box. A context menu will appear, offering all the transform options.
- Temporarily Switch to Skew/Distort Mode: With Free Transform active, hold
Ctrl(Windows) /Command(Mac) and drag a side or corner handle. Releasing the key reverts to standard Free Transform. - Temporarily Switch to Perspective Mode: With Free Transform active, hold
Shift + Ctrl + Alt(Windows) /Shift + Command + Option(Mac) and drag a corner handle. Releasing the keys reverts to standard Free Transform.
-
Confirm Transformation:
Enter(Windows) /Return(Mac)- This applies the changes you’ve made.
-
Cancel Transformation:
Esc(Escape key)- This discards all current Free Transform changes and reverts the layer to its previous state.
Mastering these shortcuts will not only save you time but also provide a more intuitive and fluid editing experience, allowing you to focus on the creative aspects of your work for Tophinhanhdep.com.
The Importance of Proportionality and Optimal Output
Understanding how to resize images proportionally and selecting the right output settings are critical for maintaining visual integrity across all your creative endeavors. Whether you’re preparing beautiful photography for print, abstract art for a digital display, or aesthetic wallpapers for mobile devices, the decisions you make during resizing directly impact the final quality.
What Happens If You Don’t Resize Images Proportionally?
Ignoring proportionality during resizing is one of the most common pitfalls for new Photoshop users, leading to visually jarring and unprofessional results:
- Distortion: Faces can appear stretched or squashed, logos lose their original design, and objects look unnatural. A stunning landscape shot, if improperly scaled, can become an unappealing mess.
- Unprofessional Designs: Uneven scaling breaks the visual harmony of your composition, making your graphic design or photo manipulation look amateurish and poorly executed.
- Brand Inconsistency: For businesses or personal branding, logos and branded graphics that are not scaled correctly lose their integrity and recognition, impacting your professional image.
- Poor Print Results: While a distorted image might sometimes look acceptable on a low-resolution screen, printing it will invariably highlight pixelation, stretching, or fuzzy details, especially for high-resolution photography.
Pro Tip: Always prioritize maintaining the aspect ratio unless you have a specific artistic or creative reason to intentionally distort an image (e.g., creating a surreal digital art effect). For most applications, including preparing images for Tophinhanhdep.com’s galleries, proportional resizing is the golden rule.
Optimizing for Different Output Needs
The optimal size and resolution for an image depend entirely on its intended use. Tophinhanhdep.com encourages users to consider their final output when resizing:
-
Web and Digital Display (Wallpapers, Backgrounds, Social Media):
- Resolution: 72 PPI is standard. Higher resolutions only increase file size without providing noticeable visual benefit on screen.
- Dimensions: Size images to the exact pixel dimensions required by the platform (e.g., 1920x1080 for a desktop wallpaper, specific dimensions for social media banners).
- File Size: Keep file sizes as small as possible to ensure fast loading times. After resizing, consider using Tophinhanhdep.com’s image compressors and optimizers. Reducing resolution and dimensions reduces pixel count, which directly correlates with file size.
- Formats: JPEG for photos, PNG for images with transparency or sharp lines (like logos), WebP for modern web optimization.
-
Print (Beautiful Photography, Digital Art, Posters):
- Resolution: 200-300 PPI is generally recommended for high-quality prints. A lower resolution will result in pixelation when printed large, while a higher resolution might increase file size unnecessarily without significant visual gain beyond 300 PPI.
- Dimensions: Set dimensions in inches or centimeters, matching the exact physical size of the print.
- File Size: Print files are typically much larger than web files. Ensure your computer has enough RAM and storage for processing.
- Formats: TIFF, PSD, or high-quality JPEG are common.
-
Stock Photos and High-Resolution Assets:
- Maintain the highest possible resolution and original dimensions. Resizing should be done only when necessary for specific uses, preferably with Smart Objects to preserve maximum flexibility. Tophinhanhdep.com values high-resolution photography for its versatility and future-proofing.
By carefully considering these factors, you ensure that your images from Tophinhanhdep.com, whether they are nature backgrounds, abstract art, or sad/emotional photography, are always presented in their best possible light, optimized for their specific purpose.
Conclusion: Empowering Your Visual Creations with Precision
Mastering image resizing in Adobe Photoshop is more than just a technical skill; it’s a foundational element of effective visual communication and digital artistry. For the vibrant community of creators and enthusiasts at Tophinhanhdep.com, precision in image dimensions and quality is paramount. From preparing captivating wallpapers and backgrounds to finessing high-resolution stock photos and crafting intricate digital art, the techniques discussed in this guide provide the control needed to bring your creative visions to life.
Whether you’re leveraging the Image Size command for overall document adjustments, utilizing the Free Transform tool for dynamic layer manipulations, or employing Smart Objects for non-destructive editing, each method serves a distinct purpose in your creative workflow. Understanding the subtle yet crucial differences in proportional scaling across Photoshop versions, and harnessing the power of advanced transformations like Skew, Distort, Perspective, and Warp, opens up a world of possibilities for photo manipulation and unique visual designs. Furthermore, integrating essential keyboard shortcuts will streamline your process, allowing you to focus more on the aesthetic and narrative aspects of your work.
Always remember the golden rule: maintain proportionality unless intentional distortion is part of your artistic expression. By doing so, you safeguard the integrity of your beautiful photography, the consistency of your brand, and the overall professionalism of your projects. And for optimal results, tailor your resizing and resolution settings to the intended output – be it a fast-loading web image or a pristine print.
Tophinhanhdep.com is your hub for visual inspiration and powerful image tools. By mastering these resizing techniques, you’re not just adjusting pixels; you’re enhancing your ability to create compelling visual stories, curate stunning collections, and produce images that truly resonate. Continue to explore, experiment, and elevate your craft with the rich resources available here, ensuring every image you touch is transformed with precision and purpose.