Mastering Image Resizing in GIMP: A Comprehensive Guide for Stunning Visuals on Tophinhanhdep.com

In the dynamic world of digital imagery, the ability to effectively manipulate and optimize your visuals is paramount. Whether you’re a professional photographer, a graphic designer, or simply someone curating beautiful photography for personal use or for sharing on a platform like Tophinhanhdep.com, knowing how to resize images with precision and control is a fundamental skill. GIMP, the GNU Image Manipulation Program, stands as a free and open-source powerhouse offering an extensive suite of tools for photo editing and graphic design, making complex tasks surprisingly accessible.
Resizing isn’t just about making an image bigger or smaller; it’s a critical process that impacts everything from website loading speeds and print quality to the aesthetic balance of your visual compositions. On Tophinhanhdep.com, where high-resolution images, aesthetic backgrounds, and stunning wallpapers are celebrated, ensuring your images are perfectly sized can elevate their impact, enhance user experience, and ensure they meet specific platform requirements. This comprehensive guide will delve into the various methods of resizing images and layers within GIMP, exploring both manual and numerical approaches, and offering best practices to maintain quality and optimize your visual assets.
Understanding Why Image Resizing Matters for Your Visuals
Before diving into the “how-to,” it’s crucial to grasp the “why.” Image resizing is a foundational skill in digital photography and visual design for several compelling reasons, each directly impacting the effectiveness and presentation of your imagery on platforms like Tophinhanhdep.com.
The Difference Between Image and Layer Resizing
One of the first distinctions to make in GIMP is between resizing the entire image and resizing individual layers. This difference is critical for maintaining creative control and achieving your desired visual outcome:
-
Resizing the Entire Image (Canvas): When you resize the overall image, you are changing the dimensions of the entire composition, including all layers within it. This is typically done when you need a final output image to fit a specific dimension, such as for a social media banner, a website header, or a print publication. This method affects the pixel dimensions of your complete artwork. If you have a beautiful nature photograph or an abstract wallpaper that needs to fit a specific screen resolution, resizing the entire image is your go-to.
-
Resizing Individual Layers: In a multi-layered composition – perhaps a digital art piece, a photo manipulation project, or a creative design featuring various elements like stock photos and text – you often need to adjust the size of specific elements without affecting others. GIMP’s ability to resize individual layers allows for immense flexibility, enabling you to compose intricate scenes, adjust the scale of elements within a mood board, or fine-tune the visual hierarchy of your design. For example, you might have a background layer from a beautiful photography collection and want to add a smaller foreground element, resizing it independently to fit the composition perfectly.
Understanding this distinction empowers you to choose the correct resizing method for your specific visual design and photography needs.
Optimizing for Web vs. Print: Resolution & File Size
The intended use of your image heavily influences how you should resize it. The web and print media have vastly different requirements for resolution and file size:
-
For the Web (Tophinhanhdep.com and beyond):
- Resolution: Images intended for screen display (websites, social media, digital backgrounds) typically require a resolution of 72 pixels per inch (ppi). Higher resolutions offer no visible benefit on screens and only increase file size unnecessarily.
- File Size: Smaller file sizes are paramount for fast loading times. Websites, especially those rich in images like Tophinhanhdep.com, benefit from optimized images. A common guideline is to aim for 500 KB or less per image. Large image files can significantly slow down page loads, leading to a poor user experience and potentially costing revenue for image-heavy sites. GIMP offers excellent tools to compress and optimize images during export, ensuring your stunning visuals load quickly.
- Dimensions: Web images are usually defined by their pixel dimensions (e.g., 1920x1080 for a desktop wallpaper or 800x600 for a blog post image).
-
For Print:
- Resolution: Print media requires a much higher resolution, typically 300 ppi (or even higher for very large formats), to ensure sharp, detailed output. Printing a 72 ppi image will likely result in a pixelated or blurry print.
- File Size: Print-ready images will naturally have larger file sizes due to their higher pixel density and resolution. While file size isn’t a direct concern for loading times here, it’s still good practice to manage it to avoid excessively large files that are difficult to handle or transfer.
- Dimensions: Print dimensions are typically measured in physical units like inches or millimeters.
By understanding these fundamental differences, you can strategically resize your beautiful photography, abstract art, or nature wallpapers using GIMP to suit their final destination, ensuring optimal quality and performance.
Essential GIMP Tools for Image Resizing
GIMP provides several powerful tools and features for resizing, catering to different needs and levels of precision. Let’s explore the most crucial ones.
Precision Scaling with the “Scale Image” Dialogue
The “Scale Image” dialogue is your primary method for resizing the entire canvas and all its contents numerically. It’s ideal when you need to set exact dimensions or resolution for your final output, whether it’s for a high-resolution stock photo or an image intended for a specific digital art project.

To access and use the “Scale Image” feature:
- Open Your Image: Launch GIMP and open the image you wish to resize by going to
File > Open. - Access “Scale Image”: Navigate to
Image > Scale Imagefrom the top menu bar. This will open the “Scale Image” dialogue box. - Adjust Dimensions:
- You’ll see input fields for Width and Height. Enter your desired pixel dimensions.
- Crucially, notice the chain-link icon between the Width and Height fields. When this icon is linked (default), it locks the aspect ratio, meaning changing one dimension will automatically adjust the other proportionately, preventing your image from looking stretched or squished. For maintaining the integrity of your aesthetic or nature photography, keep this locked. You can unlink it if you deliberately want to distort the image for creative effects in photo manipulation.
- Units: The dropdown menu next to the dimensions (defaulting to “px” for pixels) allows you to choose different units of measurement, such as percentages, millimeters, inches, and more. This is particularly useful when preparing images for print or specific graphic design layouts.
- Set Resolution (X and Y Resolution):
- Below the dimensions, you’ll find options for X and Y resolution, typically measured in “pixels/inch” (ppi).
- As discussed, set this to 72 ppi for web use (including images for Tophinhanhdep.com) and 300 ppi for print.
- For existing images, reducing the resolution will decrease the overall pixel count and file size, while increasing it (without increasing pixel dimensions) will simply spread existing pixels thinner, potentially reducing print quality.
- Interpolation (Quality Setting): To minimize quality loss during scaling, especially when scaling down, ensure the “Interpolation” setting is optimally chosen. “Cubic” is a good general-purpose option, but if available, “Sinc (lanczos3)” often provides the best results for high-quality resizing, especially for photography.
- Apply Changes: Once you’ve set your desired dimensions and resolution, click the “Scale” button to apply the changes to your entire image.

This method is straightforward and ensures precise, image-wide adjustments, making it a powerful tool for preparing high-resolution stock photos or any image that requires exact sizing.
Dynamic Control with the “Scale Tool” for Layers
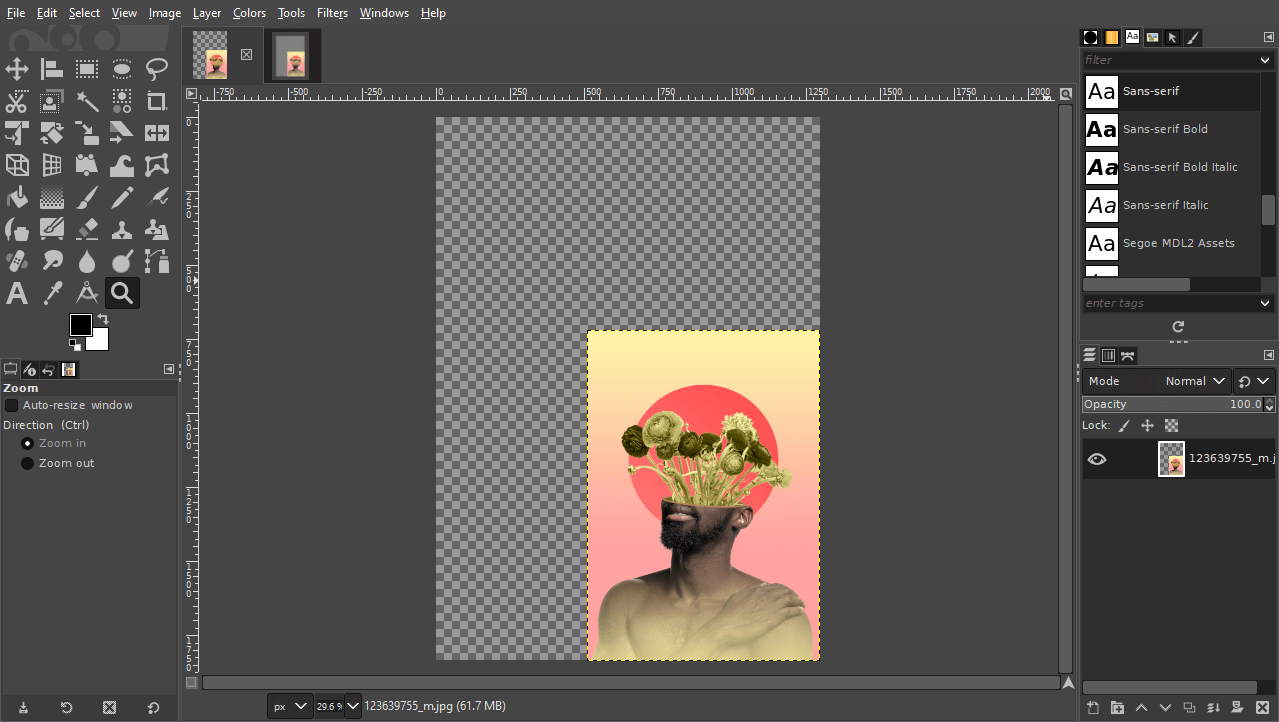
While “Scale Image” affects the entire canvas, GIMP’s dedicated Scale Tool allows for interactive and precise resizing of individual layers or selected areas. This is indispensable for visual design, digital art, and photo manipulation where you’re working with multiple elements within a composition.
Here’s how to use the Scale Tool:
- Create Your Composition (if needed):
- If starting fresh, create a new composition via
File > New, setting your desired canvas dimensions and resolution. - To work with existing images as layers, go to
File > Open as Layersand select the images you want to import. This brings each image in as a separate layer, allowing independent manipulation. Renaming your layers (double-click the layer name in the Layers panel) can significantly improve workflow for complex designs or mood boards.
- If starting fresh, create a new composition via
- Activate the Scale Tool:
- Select the Scale Tool from GIMP’s Toolbox (often represented by a square with arrows pointing outwards).
- Alternatively, use the keyboard shortcut
Shift + S, or navigate toTools > Transform Tools > Scale.
- Select Your Layer: In the Layers panel (usually bottom right), click on the specific layer you wish to resize to make it active.
- Activate Scaling Handles: Click anywhere within the boundaries of your active layer on the canvas. This will reveal transform handles (small squares) around the edges and corners of the layer, along with a “Scale” dialogue box.
- Resize Manually with Handles:
- Click and drag any of the corner handles (or edge handles for non-proportional scaling if the aspect ratio is unlocked) to resize the layer.
- Maintain Aspect Ratio: By default, the Scale Tool usually keeps the aspect ratio locked. If you see a broken chain icon in the Scale dialogue, click it to lock the aspect ratio, preventing distortion.
- Scale from Center: To scale the layer uniformly from its center point, hold down the
Ctrlkey while dragging a corner handle. This is excellent for positioning elements precisely in your graphic design.
- Reposition the Layer: The central part of the Scale Tool’s overlay, or the middle handles, acts like the Move Tool. Click and drag within the layer’s bounding box to reposition it on the canvas as you scale.
- Numerical Adjustments (within Scale Tool): The Scale Tool’s dialogue box also displays the current Width and Height of the layer. You can directly input numerical values here for precise adjustments, similar to the “Scale Image” dialogue, and choose different units.
- Preview and Apply: As you drag, GIMP provides a real-time preview. Once satisfied with the size and position, click the “Scale” button in the Scale dialogue box, or press
Enter, to apply the transformation to the layer.
This method offers dynamic, visual control, perfect for photo manipulation, creating custom wallpapers, or adjusting components of a digital art piece where visual intuition is as important as numerical precision.
Managing Your Canvas: Cropping and Fitting
When you resize individual layers using the Scale Tool, the canvas (the overall working area of your image) might not change automatically. This can lead to either blank, transparent areas or parts of your image being cut off. GIMP offers tools to manage the canvas independently:
-
Crop to Content: If you’ve scaled down layers or removed parts of your image, you might have excess transparent space around your active content.
- Go to
Image > Crop to Content. - This instantly resizes the canvas to perfectly fit the boundaries of your active layer or the composite of all visible layers. This is useful for trimming excess space from resized aesthetic images or wallpapers.
- Go to
-
Fit Canvas to Layers: If you’ve scaled up a layer, it might extend beyond the original canvas, making parts of it invisible.
- Go to
Image > Fit Canvas to Layers. - This will automatically expand the canvas size to encompass all visible layers, ensuring nothing is cut off. This is crucial for digital art or photo manipulations where you’ve enlarged elements.
- Go to
-
Canvas Size: For precise control over the canvas dimensions, independent of image content.
- Go to
Image > Canvas Size. - Here, you can manually set the width and height of your canvas, choose units, and even set an offset to position existing layers within the new canvas dimensions. This is helpful for graphic design when you need to create specific background dimensions.
- Go to
Effectively managing your canvas ensures that your compositions are clean, appropriately framed, and ready for their intended use on Tophinhanhdep.com or elsewhere.
Advanced Techniques for Quality and Consistency
Beyond the basic resizing functions, GIMP offers features and best practices that ensure your images retain their quality and consistency, especially vital for high-resolution photography and professional visual design.
Preserving Image Quality During Scaling (Interpolation)
When an image is resized, GIMP must resample its pixels – either adding new ones (upscaling) or removing existing ones (downscaling). The “Interpolation” method determines how GIMP calculates these new or removed pixels, directly impacting the final image quality.
- Optimal Settings: When using either the
Image > Scale Imagedialogue or the Scale Tool, you’ll find an “Interpolation” option.- “Cubic”: A good balance between speed and quality, suitable for most resizing tasks.
- “Sinc (Lanczos3)”: Often provides the sharpest results, particularly when downscaling images, by performing a more complex calculation. It can be slower but generally yields superior quality, making it ideal for beautiful photography or detailed digital art that you want to showcase on Tophinhanhdep.com without artifacting.
- “None” or “Linear”: Generally produce lower quality results (pixelated for “None,” slightly blurry for “Linear”) and are usually not recommended for photo resizing unless specific artistic effects are desired.
Always choose the highest quality interpolation method available (Sinc if present, otherwise Cubic) to preserve the detail and sharpness of your images during resizing.
Exporting for Optimal Performance and File Size
After resizing and perfecting your image in GIMP, the final step is to export it in the correct format and with appropriate quality settings. This is where you finalize the file size optimization, which is particularly important for web images on Tophinhanhdep.com.
- Export As: Go to
File > Export As(orCtrl+Shift+E). - Choose File Type:
- JPEG (.jpg): Best for photographs and images with continuous tones, as it offers excellent compression.
- When exporting as JPEG, GIMP will present a “Export Image as JPEG” dialogue. Here, you can adjust the Quality slider. A setting between 60-80% often provides a good balance between visual quality and significantly reduced file size for web use. For high-resolution photography, you might go higher, but always check the file size.
- PNG (.png): Ideal for images that require transparency (e.g., logos, graphic elements, digital art with transparent backgrounds) or sharp-edged graphics. PNG files are lossless, meaning they retain all image data, but can be larger than JPEGs for photos.
- JPEG (.jpg): Best for photographs and images with continuous tones, as it offers excellent compression.
- Name and Location: Give your resized image a descriptive name and choose a location on your computer to save it. It’s often good practice to add “_resized” or “_web” to the filename to distinguish it from the original high-resolution file.
- Click Export: Once settings are confirmed, click “Export.”
By carefully managing your export settings, you ensure that your images are perfectly optimized for their intended use, whether they are stunning backgrounds for Tophinhanhdep.com, high-resolution prints, or elements in a complex digital art project.
Enhancing Your Tophinhanhdep.com Image Collections with GIMP
The skills learned in mastering image resizing with GIMP are directly applicable and immensely beneficial for anyone interacting with or contributing to an image-focused platform like Tophinhanhdep.com.
- Wallpapers and Backgrounds: Easily resize abstract art, nature photography, or aesthetic images to perfectly fit various screen resolutions (e.g., desktop, mobile, tablet) without compromising their original visual appeal.
- Photography Collections: Optimize your high-resolution digital photography for web display, ensuring fast loading times for your galleries while maintaining sufficient quality for viewers to appreciate the detail. GIMP bridges the gap between raw high-resolution captures and web-friendly formats.
- Visual Design Projects: For users involved in graphic design, photo manipulation, or creating digital art, GIMP’s layer-specific resizing allows for intricate compositions, mood boards, and thematic collections to be assembled with precision and creative freedom. You can seamlessly integrate various stock photos, graphic elements, and text, scaling each to fit your creative ideas.
- Content Creation: Whether you’re preparing images for blog posts, aesthetic layouts, or specific image inspiration collections on Tophinhanhdep.com, GIMP’s resizing capabilities ensure your visuals are consistent, professional, and perform optimally across different contexts.
GIMP, as a free image tool, complements other image tools you might use. It acts as your personal compressor, optimizer, and photo manipulation studio, enabling you to curate and present your images in the best possible light.
Conclusion
Resizing images in GIMP is a fundamental skill that underpins much of digital photography and visual design. From numerically scaling entire compositions for print or web to interactively manipulating individual layers for intricate digital art, GIMP offers a robust and flexible set of tools. By understanding the distinction between image and layer resizing, optimizing for resolution and file size, and employing best practices for quality retention and export, you gain full control over your visual assets.
For users of Tophinhanhdep.com, these GIMP techniques are invaluable. They empower you to transform high-resolution photography, aesthetic backgrounds, and unique digital art into perfectly optimized visuals, whether for stunning wallpapers, engaging thematic collections, or simply faster-loading content. Embrace GIMP, and unlock the full potential of your images, ensuring they always look their best, no matter where they are showcased. The journey to mastering GIMP is a rewarding one, enhancing your creative capabilities and elevating your visual storytelling on Tophinhanhdep.com and beyond.