Breathing New Life into Cherished Memories: How to Restore an Image in GIMP

Old photographs are more than just faded pieces of paper; they are windows into our past, capturing moments, faces, and stories that define our heritage. Over time, these precious artifacts can suffer from the ravages of age – yellowing, fading, cracks, tears, and stains can obscure the very memories they hold. Fortunately, the digital age offers powerful solutions to revive these historical treasures. Among the most accessible and robust tools for this delicate task is GIMP, the GNU Image Manipulation Program.
GIMP stands as a beacon for digital artists, photographers, and anyone looking to delve into the world of image editing without the burden of costly subscriptions. It’s an open-source, free-to-use software that provides an extensive suite of features, rivaling many commercial applications. This comprehensive guide will walk you through the process of restoring old, damaged photos using GIMP, from digitizing your physical prints to applying advanced editing techniques. We’ll explore how GIMP, a versatile tool, empowers you to transform aged visuals into vibrant, high-resolution images, ready to be treasured for generations to come, aligning perfectly with the ethos of preserving beautiful photography and fostering creative ideas in visual design.
Understanding GIMP: Your Free Powerhouse for Image Restoration
Before we dive into the nitty-gritty of photo restoration, let’s take a moment to appreciate GIMP and why it’s an excellent choice for this particular endeavor. Its capabilities extend far beyond simple cropping and resizing, making it a professional-grade tool accessible to everyone.
What Is GIMP?
GIMP is a free, open-source image editor that has gained widespread popularity among millions of users globally. It’s compatible with various operating systems, including Windows, macOS, and Linux, ensuring broad accessibility. One of GIMP’s key strengths lies in its support for a vast array of image formats, such as JPEG, JPG, PNG, TIFF, and even proprietary formats like PSD. This versatility is crucial when dealing with scans of old photos or collaborating on graphic design projects.
Designed with both basic and advanced features, GIMP offers a comprehensive toolkit for everything from simple touch-ups to complex photo manipulation. Its full-layer support is a game-changer, allowing for non-destructive editing and intricate compositions, vital for meticulous restoration work. For those looking to fix old, low-resolution, or severely damaged photos, GIMP provides the necessary tools without any hidden costs or subscriptions. It delivers full access to all its features without watermarks, making it an ideal platform for high-resolution digital photography and creative visual design projects.
Why Choose GIMP for Photo Restoration?
The decision to use GIMP for photo restoration is multifaceted. Firstly, its open-source nature means it is completely free, eliminating the financial barrier often associated with professional editing software. This makes it an attractive option for hobbyists, students, and professionals alike. Secondly, GIMP’s robust feature set, including its sophisticated selection tools, cloning and healing brushes, color correction capabilities, and plugin architecture, makes it perfectly suited for addressing the diverse range of damage found in old photographs.
Unlike some specialized restoration tools, GIMP offers manual control over every adjustment. This allows for nuanced, artistic interpretations of the restoration process, letting you decide which “patina of age” to retain and which imperfections to erase. For users interested in digital art and photo manipulation, GIMP offers a creative playground. It empowers users to learn essential editing styles and techniques that can be applied to a multitude of other image-related tasks, from designing custom wallpapers and backgrounds to optimizing images for various aesthetic and thematic collections. While GIMP doesn’t have a single “restore” button, its combination of tools provides an unparalleled degree of precision and artistic freedom, making it a truly powerful image tool for comprehensive restoration.
The Essential Steps to Digital Photo Restoration with GIMP
Restoring an old photograph in GIMP is a journey that transforms a faded memory into a vibrant historical record. It requires patience and a methodical approach, but the results are incredibly rewarding. Let’s embark on this step-by-step guide.
Step 1: Digitizing Your Precious Memories
The first and most crucial step in any digital photo restoration project is converting your physical photograph into a high-quality digital format. The success of your restoration heavily depends on the quality of this initial scan.
To achieve the best possible digital copy, use a high-resolution scanner. Set the scanner to its maximum optical resolution (e.g., 600 DPI or higher) to capture every minute detail, scratch, and nuance. Scan the image in full color, even if it’s a black-and-white photo, as this retains more information which can be useful during color correction and enhancement. If you don’t have access to a high-quality scanner, consider visiting a local photography studio or a graphics professional who can digitize your photos with specialized equipment. This ensures that you start with the best possible digital photograph, providing a rich canvas for your GIMP editing styles. Investing in a good scan is investing in the future of your image collection, creating high-resolution digital assets for your photo ideas and mood boards.
Step 2: Setting Up Your GIMP Workspace
Once your old photograph is digitized and saved, it’s time to bring it into GIMP and prepare your workspace for restoration.
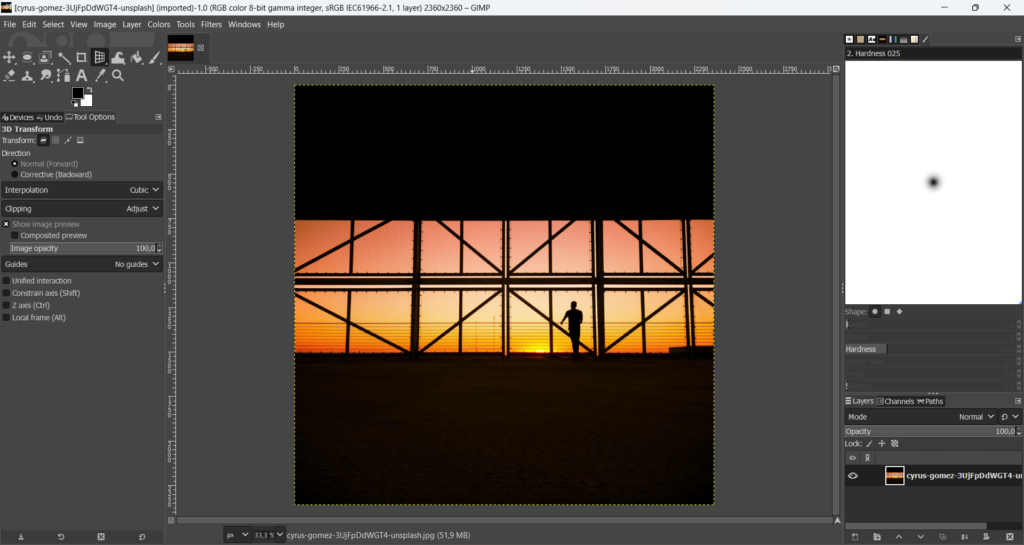
Open GIMP and load your scanned image by navigating to File > Open. As a fundamental rule of non-destructive editing, always duplicate your original layer before making any changes. This ensures that you always have an untouched version of your photo to refer back to or to restart from if needed. To duplicate the layer, right-click on the “Background” layer in the Layers panel and select Duplicate Layer. You can rename this new layer “Restoration Work” or something similar to keep track. This initial setup is crucial for any complex photo manipulation or digital art project, allowing for creative ideas to flourish without fear of permanent damage to the original image.
Step 3: Tackling Common Imperfections
Old photos often present a range of common problems, from discoloration to physical damage. GIMP provides an arsenal of tools to address each of these imperfections systematically.
Addressing Yellowing and Fading
Many vintage photographs, especially black-and-white ones, develop a yellow or sepia tint over time due to chemical degradation or improper storage. GIMP offers powerful color correction tools to neutralize these unwanted color casts.
The Mono Mixer tool is exceptionally effective for correcting yellowing in monochrome images. Go to Colors > Components > Mono Mixer.... Here, you’ll see sliders for Red, Green, and Blue channels. By adjusting the blue slider, you can often brighten the image and remove the yellowish dominance without losing detail in highlights or shadows. Experiment with the sliders until the image appears neutral and bright. Alternatively, a simpler approach for a quick fix is to desaturate the image completely (Colors > Desaturate), though Mono Mixer provides more control for a nuanced result. This step is vital for restoring the intended aesthetic of original photography, transforming faded backgrounds into crisp, clear images suitable for any aesthetic collection.
Enhancing Contrast and Brightness
Often, old photos appear dull, lacking the vibrancy and dynamic range of modern photography. Enhancing contrast and brightness can dramatically improve their visual appeal.
For a quick, automatic improvement, navigate to Colors > Auto > Equalize. This function attempts to distribute the brightness and contrast evenly across the image. While it can sometimes yield good results, for more precise control, the Curves tool (Colors > Curves) is indispensable. By creating an “S-curve” shape on the curve graph (lifting the highlights and lowering the shadows), you can significantly boost the image’s contrast. This gives you fine-tuned control over the tonal range, allowing you to bring out details that were previously lost in the shadows or blown out in the highlights. You can also use Colors > Brightness-Contrast... for simpler adjustments, but Curves offers superior control for achieving optimal editing styles.
Repairing Stains, Cracks, and Tears
Physical damage like scratches, tears, stains, and missing pieces are perhaps the most challenging aspects of old photo restoration. GIMP’s Heal Tool and Clone Stamp Tool are your primary weapons here.
- Heal Tool: This tool is designed to intelligently blend pixels from a sampled area with the damaged area, making it ideal for removing small blemishes, dust, and minor scratches. To use it, select the Heal Tool (looks like a band-aid). Hold
Ctrland click on a clean, undamaged area adjacent to the imperfection to sample it. Then, releaseCtrland click or paint over the damaged spot. The Heal Tool will attempt to match the texture, lighting, and shading of the sampled area, making the repair seamless. - Clone Stamp Tool: For larger areas of damage, repeating patterns, or reconstructing missing parts, the Clone Stamp Tool (looks like a rubber stamp) is more effective. Similar to the Heal Tool,
Ctrl-clickto select a source area, then paint over the damaged region. The Clone Stamp Tool creates an exact copy of the source, making it excellent for replicating textures or filling in larger voids with content from a good area. The difference between the two is that the Heal Tool blends more softly, while the Clone Tool makes a direct copy. For severe damage, you may need to zoom in and work meticulously, bit by bit.
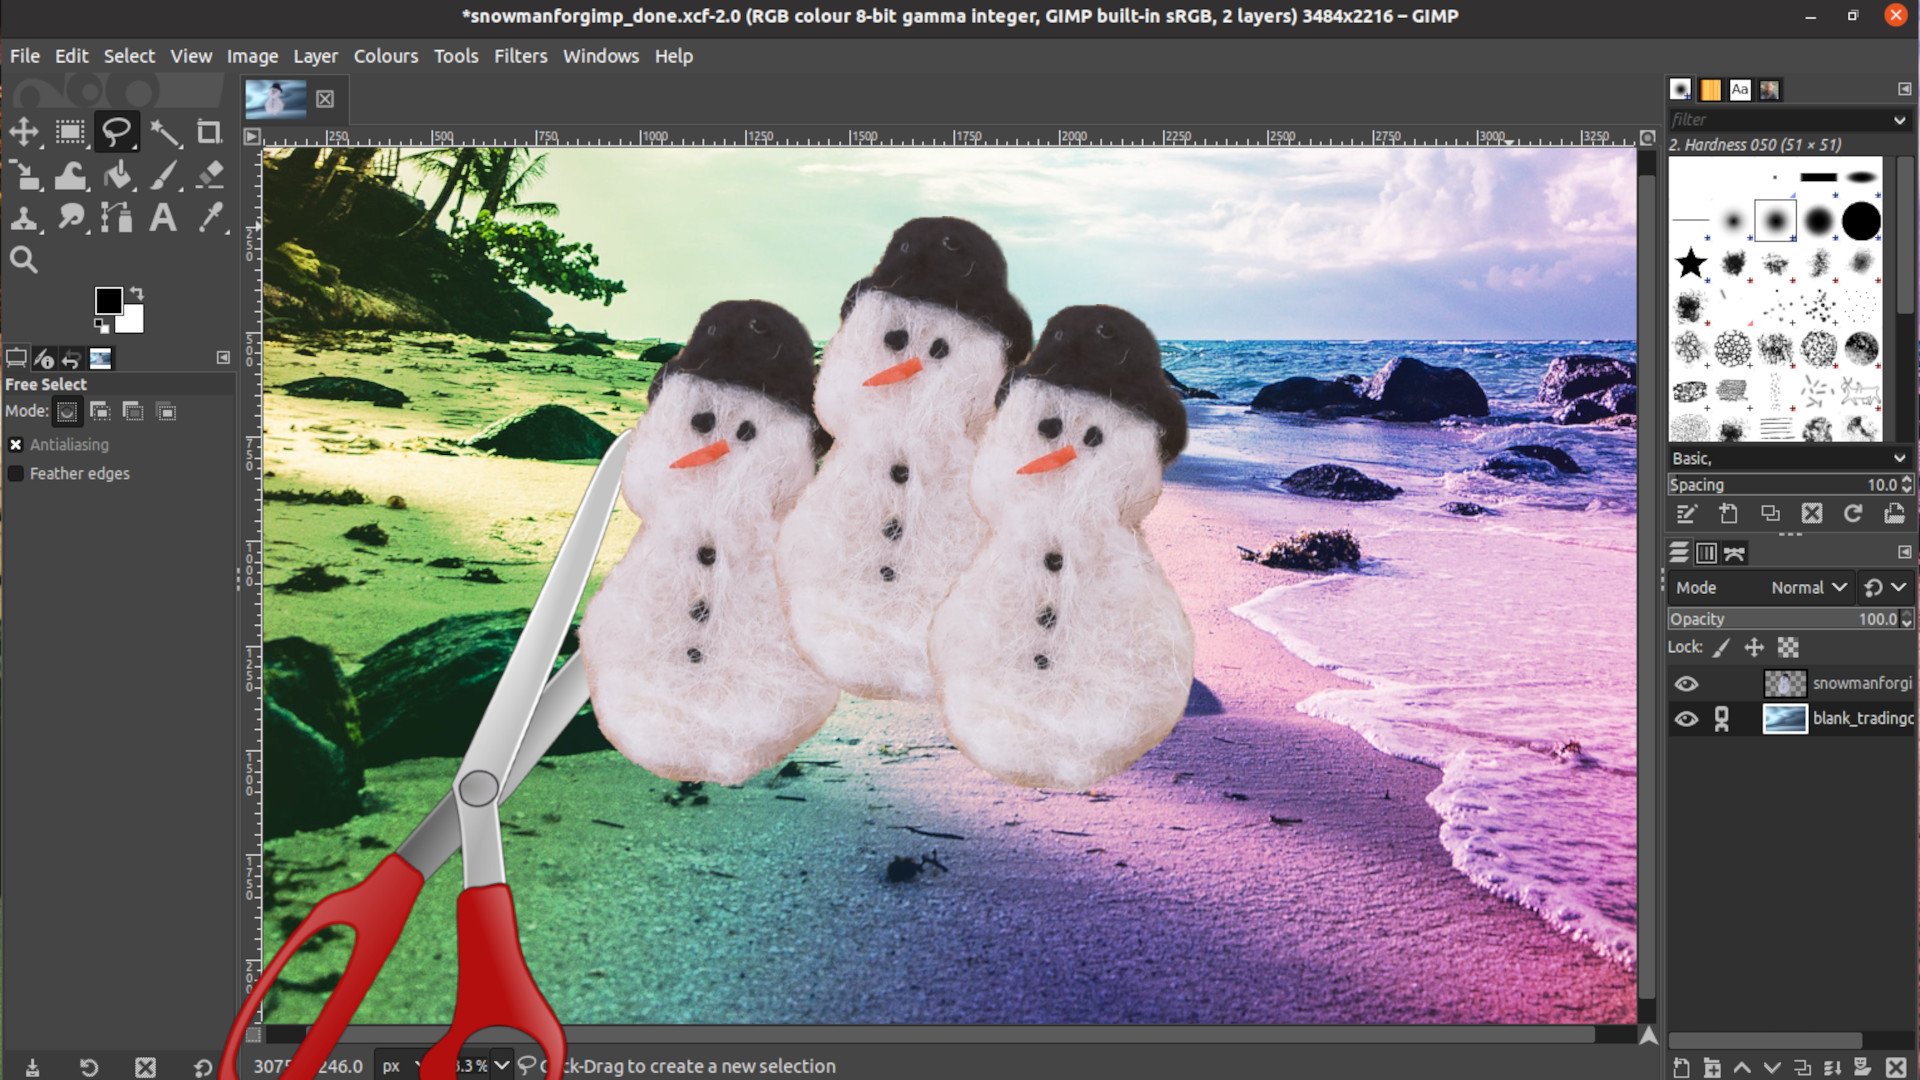
For specific selections, like an object or an area that needs a more targeted repair, use the Lasso Tool to draw a selection around it. Then, go to Filters > Enhance > Heal selection.... In the pop-up dialog, set “Sample from” to “All round” and adjust other settings as needed. This can perform an automated repair based on the surrounding pixels, often saving significant time for distinct blemishes. These tools are fundamental for photo manipulation, allowing graphic design enthusiasts to effectively “erase” time’s imperfections.
Reducing Graininess and Noise
Many old photographs, especially those taken with lower quality film or cameras, exhibit significant grain or noise, making them look fuzzy. GIMP, especially with the help of plugins, can mitigate this.
The G’Mic-Qt plugin (if installed) offers advanced noise reduction filters. Filters like Smooth (Mean-Curvature) and Smooth (Anisotropic) are particularly useful.
Smooth (Mean-Curvature)can aggressively reduce grain but may lead to a loss of sharpness, best used where details are not paramount.Smooth (Anisotropic)preserves more detail while still smoothing out grain. Experiment with these filters and their settings. For best results, you might duplicate your layer, apply a grain reduction filter to one, and then selectively blend it back using layer masks and reduced opacity to retain important details while smoothing others. This is a critical step in achieving high-resolution, stock photo quality from a grainy original, demonstrating advanced digital photography editing styles.
Step 4: Final Touches and Export
With the major imperfections addressed, the final steps involve refining the composition and saving your restored masterpiece.
Cropping for a Clean Look
Old photos often have uneven edges, borders, or unwanted background elements that detract from the main subject. The Rectangular Selection Tool is used to define the area you wish to keep. After making your selection, go to Image > Crop to Selection. This cleans up the composition, focusing attention on the essential elements of your photograph. Cropping is a simple yet powerful tool in visual design, enhancing the overall aesthetic and emotional impact of your images.
Saving Your Restored Photo
Once you are satisfied with your restoration, it’s time to save your work. Go to File > Export As.... You will be prompted to choose a file format and location.
- JPEG: A common choice for general-purpose images, offering good compression for smaller file sizes, ideal for sharing online or as backgrounds.
- PNG: A lossless format, excellent for preserving image quality, especially if your image contains sharp lines or text, and supports transparency.
- TIFF: A high-quality, uncompressed format, perfect for archiving your restored image with maximum detail for future edits or printing as beautiful photography.
- XCF: GIMP’s native format, which preserves all layers, selections, and paths, allowing you to return to your project and make further edits. Always save a copy in XCF if you anticipate needing to make more changes.
Choose an appropriate format based on your intended use. For high-resolution archival, TIFF or XCF are recommended. For web sharing or general use, a high-quality JPEG or PNG will suffice. This step ensures your revived memories are preserved for future enjoyment, ready to be included in thematic collections or used as inspiring visual design elements.
Beyond the Basics: Advanced GIMP Techniques for Professional Restoration
For those looking to push their restoration skills further, GIMP offers advanced features that provide even greater precision and creative control.
Precision Color Correction
Beyond simply removing color casts, GIMP allows for sophisticated color grading to achieve a specific mood or to accurately reproduce historical tones. Dive into Colors > Color Balance to adjust the color balance in shadows, midtones, and highlights independently. The Colors > Hue-Saturation tool gives you control over specific color ranges, allowing you to fine-tune individual hues, saturation, and lightness. These advanced tools are crucial for achieving professional-level editing styles and transforming images into aesthetic, high-resolution masterpieces that evoke a specific emotional response. This level of control is fundamental in digital photography and art, enabling nuanced visual design.
Mastering Layer Masks for Precision
Layer masks are an indispensable tool for non-destructive, selective editing. Instead of permanently erasing or changing pixels, a layer mask allows you to hide or reveal parts of a layer, making your edits incredibly flexible. For example, if you apply a grain reduction filter to a duplicated layer but find it softens important facial features, you can add a layer mask to that layer. By painting black on the mask over the faces, you can selectively reveal the sharper details from the layer below, while keeping the background smooth. To add a layer mask, right-click on a layer in the Layers panel and select Add Layer Mask. This technique provides unparalleled precision in photo manipulation and is a hallmark of advanced graphic design, enabling truly creative ideas.
Sharpening Details with High Pass Filter
After extensive repairs and possibly noise reduction, some areas of your photo might appear slightly soft. The High Pass Filter is an excellent way to enhance fine details and textures without introducing noticeable halos or artifacts. Go to Filters > Enhance > High Pass. This filter isolates the edges and details in your image. Once applied, change the layer’s blending mode (e.g., to “Overlay” or “Soft Light”) and adjust its opacity to control the intensity of the sharpening. This technique gives your restored image a professional, crisp finish, elevating it to a beautiful photography standard. It’s a key part of refining high-resolution images, contributing to overall image optimization.
Plugins for Workflow Automation
While GIMP doesn’t have a direct “batch process” button for complex restoration sequences in the same way some commercial software might, its plugin architecture allows for significant workflow automation. Tools like the Resynthesizer plugin, which often includes the “Heal Selection” functionality, can dramatically speed up the process of repairing textures and removing unwanted objects. Exploring GIMP’s extensive plugin ecosystem can unlock specialized functionalities that streamline repetitive tasks, making your restoration projects more efficient, especially when dealing with large collections of images. These image tools are invaluable for compressing the time spent on digital photography workflows.
When to Consider GIMP Alternatives for Photo Restoration
While GIMP is incredibly powerful and versatile, there are situations where considering alternative tools, especially AI-powered ones, might be beneficial.
Limitations of Manual Restoration
GIMP’s strength lies in its manual control, but this can also be its limitation. Restoring an image in GIMP can be a time-consuming process, especially when dealing with severely damaged photos or a large volume of images. Each scratch, tear, and stain requires careful attention with the Heal and Clone tools. For casual users, the learning curve for mastering GIMP’s advanced features can be steep, requiring dedicated practice to achieve satisfactory results. Furthermore, GIMP does not offer a single, specific “old photo restoration” feature; rather, it relies on the skillful combination of various general-purpose editing tools. For those without the time or inclination to learn complex photo manipulation, this can be a hurdle.
Embracing AI for Quick & Effortless Restoration
In recent years, Artificial Intelligence (AI) has revolutionized image processing, offering compelling alternatives for photo restoration. AI-powered tools, such as Picwand AI Photo Restoration (as an example), are designed to automate much of the restoration process. These web-based or software solutions can repair scratches, fix blurry parts, enhance overall quality, and even colorize black-and-white photos in seconds, leveraging advanced algorithms to analyze and intelligently reconstruct missing details.
The benefits of AI tools are clear: speed, ease of use, and often impressive results with minimal effort. They are particularly good at tasks like AI upscaling, photo colorization, and general image enhancement. For users who prioritize efficiency and simplicity, or who are looking to process many images quickly for an image collection or mood board, AI restorers are an excellent choice. However, it’s important to note that while AI can do wonders, no photo restorer – AI or manual – can perfectly recreate truly missing information. For the most intricate and extreme cases of damage, professional human restoration services, though costly, often remain the gold standard. Nonetheless, AI tools represent a fantastic middle ground, offering a powerful way to revive old photos and contribute to aesthetic, high-resolution image collections with ease.
Frequently Asked Questions about GIMP and Photo Restoration
Here are answers to some common questions regarding GIMP and the photo restoration process:
Question 1: Is GIMP totally free? Yes, GIMP is completely free and open-source software. You can download it without any hidden costs, subscriptions, or advertisements from its official website. It also doesn’t add watermarks to your edited photos, making it a truly unrestricted image tool for all your visual design needs.
Question 2: Can I restore an old photo for free? Absolutely. Besides GIMP, there are other free options available, such as Paint.NET for Windows users or various online photo restorers (some of which may have limitations on free usage). However, GIMP generally offers the most comprehensive free toolkit for detailed, manual restoration.
Question 3: How much does it cost to restore an old black-and-white photograph professionally? The cost of professional photo restoration can vary widely, from a few tens to several hundreds of dollars, depending on the extent of the damage, the desired quality of the final result, and the specific services offered. While free tools like GIMP allow you to do it yourself, and AI tools provide a faster, cost-effective alternative, professional services are often sought for irreplaceable photos with severe, complex damage.
Question 4: Where are GIMP files stored on Windows and Mac?
On Windows, GIMP typically saves configuration files and temporary data in your user’s AppData folder, specifically %APPDATA%/GIMP/2.10 (which resolves to C:/Users/<YourUsername>/AppData/Roaming/GIMP/2.10). Your actual project files (XCF) are saved wherever you specify when you perform File > Save or File > Export As. On Mac, you can find GIMP-related files in user folder/Library/Application Support/GIMP/2.10.
Question 5: How can I recover an unsaved GIMP project after a crash?
Unfortunately, GIMP does not have an automatic “autosave” or “auto-recover” feature like some other image editors. If GIMP crashes before you’ve saved your work, it might be lost. However, you can check File > Recent > Document History to see if your last visited file is in the list. If it is, you might be able to open it, but there’s no guarantee that unsaved changes will be present. Regular saving is crucial for any graphic design or digital art project.
Conclusion: Elevate Your Photo Restoration Game
The journey of restoring an old photograph with GIMP is a testament to the power of digital tools in preserving our most cherished memories. From systematically addressing yellowing and fading to meticulously repairing tears and smoothing out graininess, GIMP provides a robust and free platform for breathing new life into historical images. This process is not merely about technical repair; it’s an act of visual design, transforming faded snapshots into beautiful photography that evokes a stronger emotional connection and becomes part of a timeless image collection.
As you explore GIMP’s vast array of features, remember that practice is the key to mastery. Each tool and technique, from the precision of the Heal Tool to the artistic control of layer masks, offers new possibilities. Whether you’re aiming for professional-quality restorations or simply want to enhance family heirlooms, GIMP equips you with the means to achieve your creative ideas. Embrace the blend of traditional GIMP techniques with the emerging efficiency of AI tools, selecting the best approach for each unique image. So, go forth, experiment, and let your creativity shine as you continue your captivating journey into the world of photo restoration, enriching your collection of images and contributing to the digital preservation of our shared visual heritage.